Blog Archives

Minute to Win It Games Using Household Items
Here are some games you can play as a family using average household items typically used for housework and housekeeping. Play these games to celebrate “No Housework” Day on April 7. Wouldn’t it be great to declare a day of fun and games with the spouse and kids rather than doing housework?!

%20%23nohousework)
Below you will find links to games that you can play with household items such as a broom, bucket, iron board, laundry basket, forks, spoons, plates, and cups! Way more fun than doing the laundry and washing the dishes!
*Broomski Ball: Roll tennis balls over a taped down broomstick and jump them into three buckets at different heights.

You’ll Need: 3 Buckets / 1 Broomstick / Tennis balls / Foul line / Tape
1) The game begins with the broomstick and buckets affixed to the floor, and the foul line placed 9 feet back from the front of the first bucket.
2) When the clock starts, player can begin rolling tennis balls.
3) To complete the game, player must land at least one ball into each basket.
*Bucket Head: Catch 3 balls in a bucket on top of the head.

You’ll Need: “bucket headgear” made of small bucket or water jug with top cut off / materials like a sweatband to keep it affixed to the head / container of ping-pong balls / wall with a foul line on the ground 5′ away
1) When the clock starts, player may grab 1 ball at a time and bounce it so that it hits the floor then wall before attempting to catch it in the bucket headgear.
2) Only balls caught behind the foul line may count toward total.
3) Ball must bounce directly from wall to bucket in order to score.
4) Player can’t play from a kneeling or seated position, or touch the bucket with the hands while trying to catch a ball.
5) To complete the game, player must catch and retain a total of 3 balls in the bucket atop the head within the 60-second time limit.
*Get Forked: Roll quarters from behind a foul line so that one stands between the tines of a fork from a designated distance.

You’ll Need: Fork / Foul line
1) Create a foul line.
2) Secure the fork a designated distance away from the foul line so that it is face down and the tine openings are facing the foul line.
3) When the clock starts, player rolls quarters toward the fork.
4) To complete the game, get one quarter to stand in one of the tines within the 60-second time limit. The quarter must remain in the tine opening for 3 seconds.
*Ka-Broom: Drop a broom onto a plate, catapulting a marshmallow into the air, then catch it in a cup.

You’ll Need: 1 cup / 1 broom / 10 paper plates / 10 large marshmallows / table
1) Set up each plate so that it hangs halfway off the table with a marshmallow centered on the portion of the plate covering the table.
2) Create a foul line 7′ from the plates.
3) When the clock starts, player places broom bristle side down, and releases the handle so it makes contact with the plate.
4) The marshmallow should catapult into the air and the player must attempt to catch it in the cup while at least 1 foot is behind the foul line.
5) If a player’s hand makes contact with a marshmallow, the attempt does not count.
6) To complete the game, player must catch 3 marshmallows so that they are in the cup concurrently within the 60-second time limit.
*Nimble Thimble: Player must bounce a marble into each of 6 thimbles.

You’ll Need: 6 thimbles / at least 6 marbles
1) Affix each thimble to the table with the open side facing up.
2) When the clock starts, player may toss 1 marble at a time towards the thimbles.
3) A marble must bounce at least once on the table, without being redirected by the player before landing in a thimble.
4) To complete the game, a marble must be stationary in each of the 6 thimbles concurrently within the 60-second time limit.
*Spoon Frog: Bang down on a spoon to propel another spoon into a glass.

You’ll Need: at least 6 spoons / 3 glasses
1) Set up 3 glasses in a row.
2) When the clock starts, player may begin arranging spoons and banging down on them to propel them into the glass.
3) Player must make a single motion, making contact with only 1 spoon when catapulting the spoon into the glass.
4) The spoon must land in the bottom of the glass to count.
5) To complete the game, player must land 1 spoon into each of 3 glasses and they must remain there concurrently within the 60-second time limit.
*Spoon Tune: Arrange glasses of water within 60 seconds so that they play a preselected song when tapped with a spoon.

You’ll Need: Glasses / Water / Spoon / Table / Tuning instrument
1) Prior to game start, fill glasses with water and tune them to the notes of the preselected song. Arrange the glasses in random order in the center of the table.
2) When the clock starts, contestant may start arranging the glasses in a line and tapping them with the spoon.
3) Glasses must be positioned in a clear line within 60 seconds to count toward completion of game.
4) If contestant knocks a glass over or spills enough water to change a glass’ note, the game will result in failure.
5) To complete the game, contestant must arrange the glasses in a line in the correct order correlating to the musical notes of the preselected song and have hands off the glasses within the 60-second time limit.
6) “Jingle Bells,” “Twinkle, Twinkle Little Star,” “Row, Row, Row Your Boat” and “Old MacDonald Had a Farm” are just a few examples of recommended songs.
*By a Thread: Use 1 hand to run a piece of thread through the eye of 10 needles.

You’ll Need: thread / 10 needles (each with an increasingly smaller eye)
1) All needles are placed sharp side down into a stable surface, arranged from largest eye to smallest.
2) Before starting the game, the player may hold thread with hand of choice, but may not lick or bend it.
3) When the clock starts, player may lick or bend thread as needed, but may only use 1 hand at all times.
4) To complete the game, player must get the thread through the eyes of all 10 needles within the 60-second time limit.
*Iron Board Man: Two people maneuver opposite ends of an ironing board in an attempt to land a marble in one of three designated holes.

You’ll Need: Ironing board / Marbles
1) Prior to game start, players stand in designated start zones with their hands holding the board with a marble preloaded on the ironing board.
2) Once the clock starts, players may place their hands on the sides of the ironing board behind the designated zone and will begin rolling the marble down the board by tilting the board.
3) If a marble falls off of the board at any time, the player must re-use marble or pick up another marble and place it in the start zone before attempting the game again.
4) Only one marble may be on the board at a time.
5) To complete the game, player must get one marble from the start position to one of the 3 end positions at the middle of the ironing board as described above within the 60-second time limit.
*Magic Carpet Ride: Player must sit on a bathroom floor mat and use an inchworm technique to move around obstacles.

You’ll Need: 1 standard bath mat / 3 obstacles (i.e. toilet brush, plunger, toilet paper roll) / smooth floor with start line
1) Set up 3 obstacles in a line in front of the start line.
2) Player begins game sitting on bathmat with fuzzy side down.
3) When the clock starts, player may begin moving across floor using the designated inchworm motion to move around the obstacles.
4) Player may slalom in any direction around the obstacles, then turn around and slalom back past the same obstacles.
5) If player touches the ground with any part of his or her body, he or she must stop moving forward until their body is correctly positioned back on the mat.
6) To complete the game, player must slalom around the obstacles to the end and back, and the bath mat must cross the start line entirely within the 60-second time limit.
*Whack Job: Use a broom to knock a pie tin off a glass, allowing the egg that is sitting on a toilet paper roll on top of the tin to fall into the glass.

You’ll Need: glass of water / pie tin / toilet paper roll / raw egg / kitchen broom
1) Set up tower so that it has a glass of water with a pie tin on top. On top of the pie tin is an empty toilet paper roll with an egg balanced on top.
2) When the clock starts, player steps on broom bristles and releases handle so that the handle hits the pie tin with the demonstrated motion.
3) The player may not make contact with the egg tower, and the entire egg must land inside the glass to count.
4) To complete the game, player must knock the egg off the tower and completely into the glass within the 60-second time limit.
*Whippersnapper: Player must use a towel affixed to the floor to whip a ping-pong ball into a laundry basket.

You’ll Need: 1 towel / ping-pong balls / 1 laundry basket
1) Set up laundry basket 15′ away from a towel which has 1 end affixed to the ground.
2) When the clock starts, player may put a ball on the towel and “pop” the ball into the laundry basket by holding the 2 closet corners of the towel.
3) Player may place the ping-pong ball anywhere on the towel, but may only place 1 ping-pong ball at a time.
4) To complete the game, the player must toss 1 ping-pong ball into the laundry basket within the 60-second time limit.
Link up your housework related projects with the No Housework Party April 07-12, 2014. Domestic Goddess’ and the Domestically Challenged welcome!
Tweet using the hashtag #nohousework


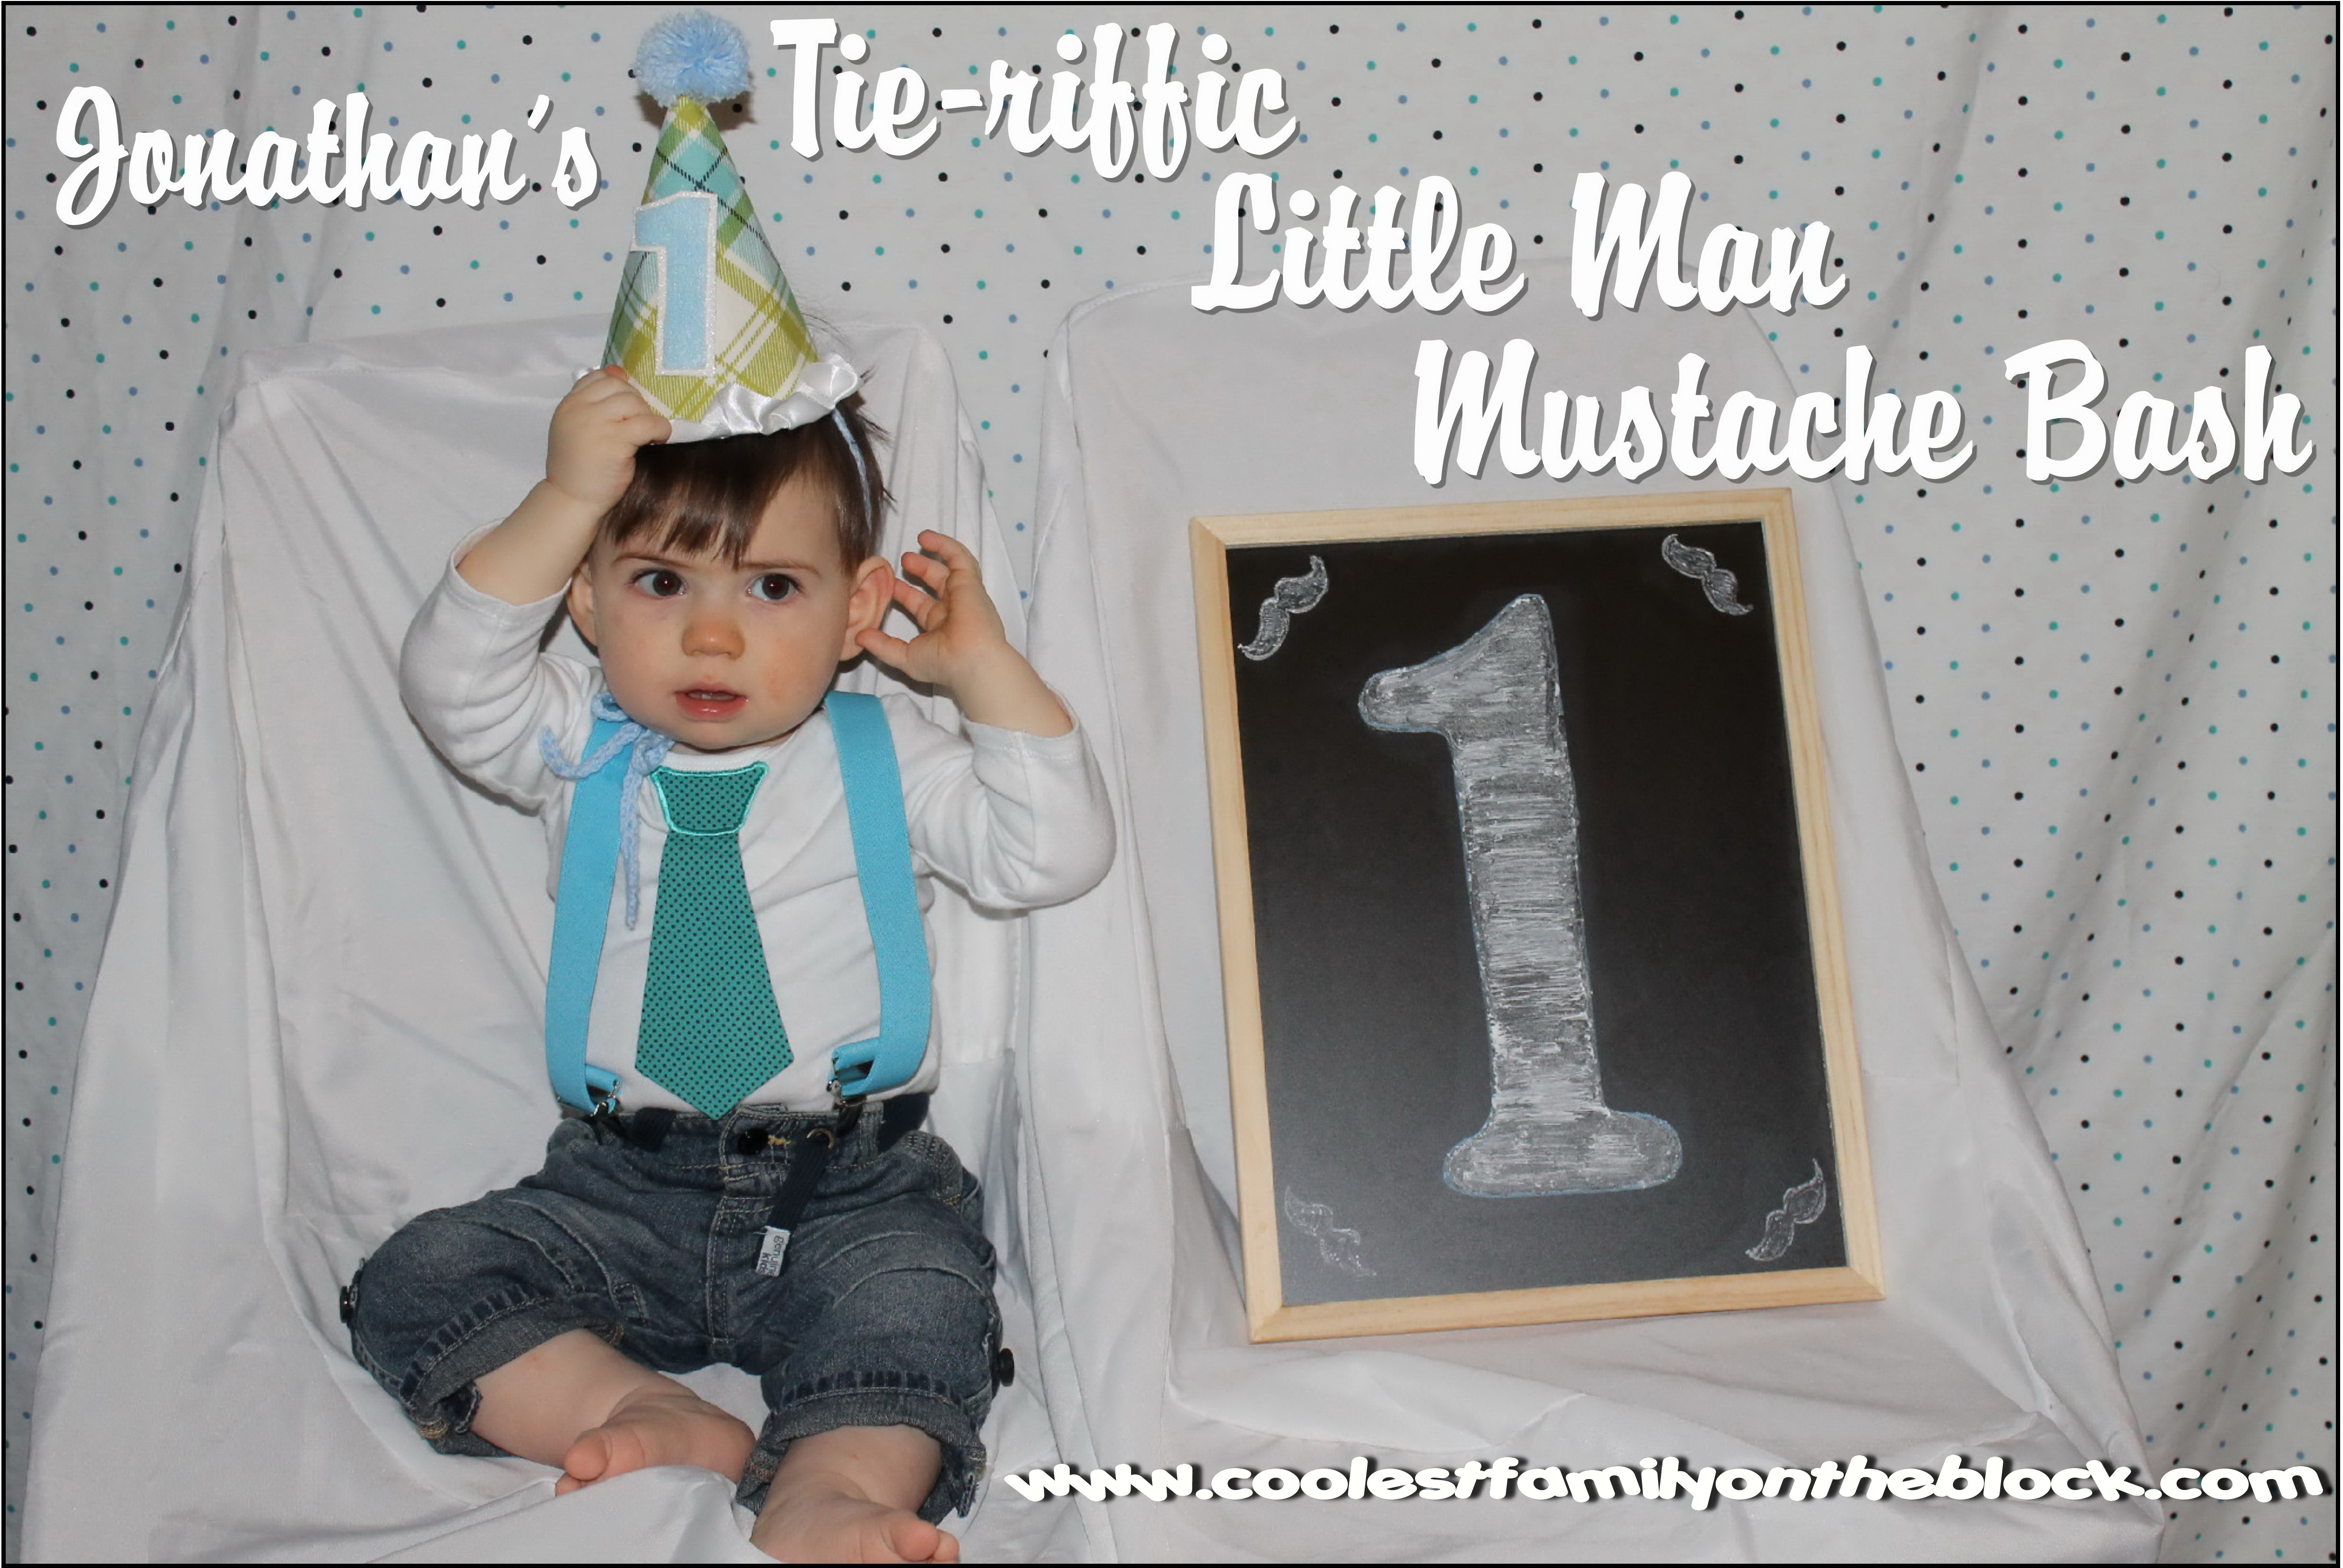
Jonathan’s Tie-riffic Little Man Mustache Bash 1st Birthday Party
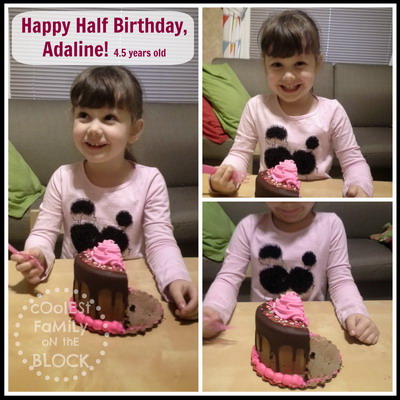
Yesterday was Adaline’s half birthday!
She’s 4.5 years old and in just a few days Jonathan will turn 2!

(You can see how we celebrate half-birthdays here.)
Last year my little man’s 1st birthday came and went and I didn’t even mention it on the blog. I’m a bad mom. Or a bad blogger. Maybe both. Anyway, now it’s days before his 2nd birthday and I’m finally going to show you the pictures from his first birthday party.
(Please scroll to the bottom of the post to find a complete vendor list of party items.)
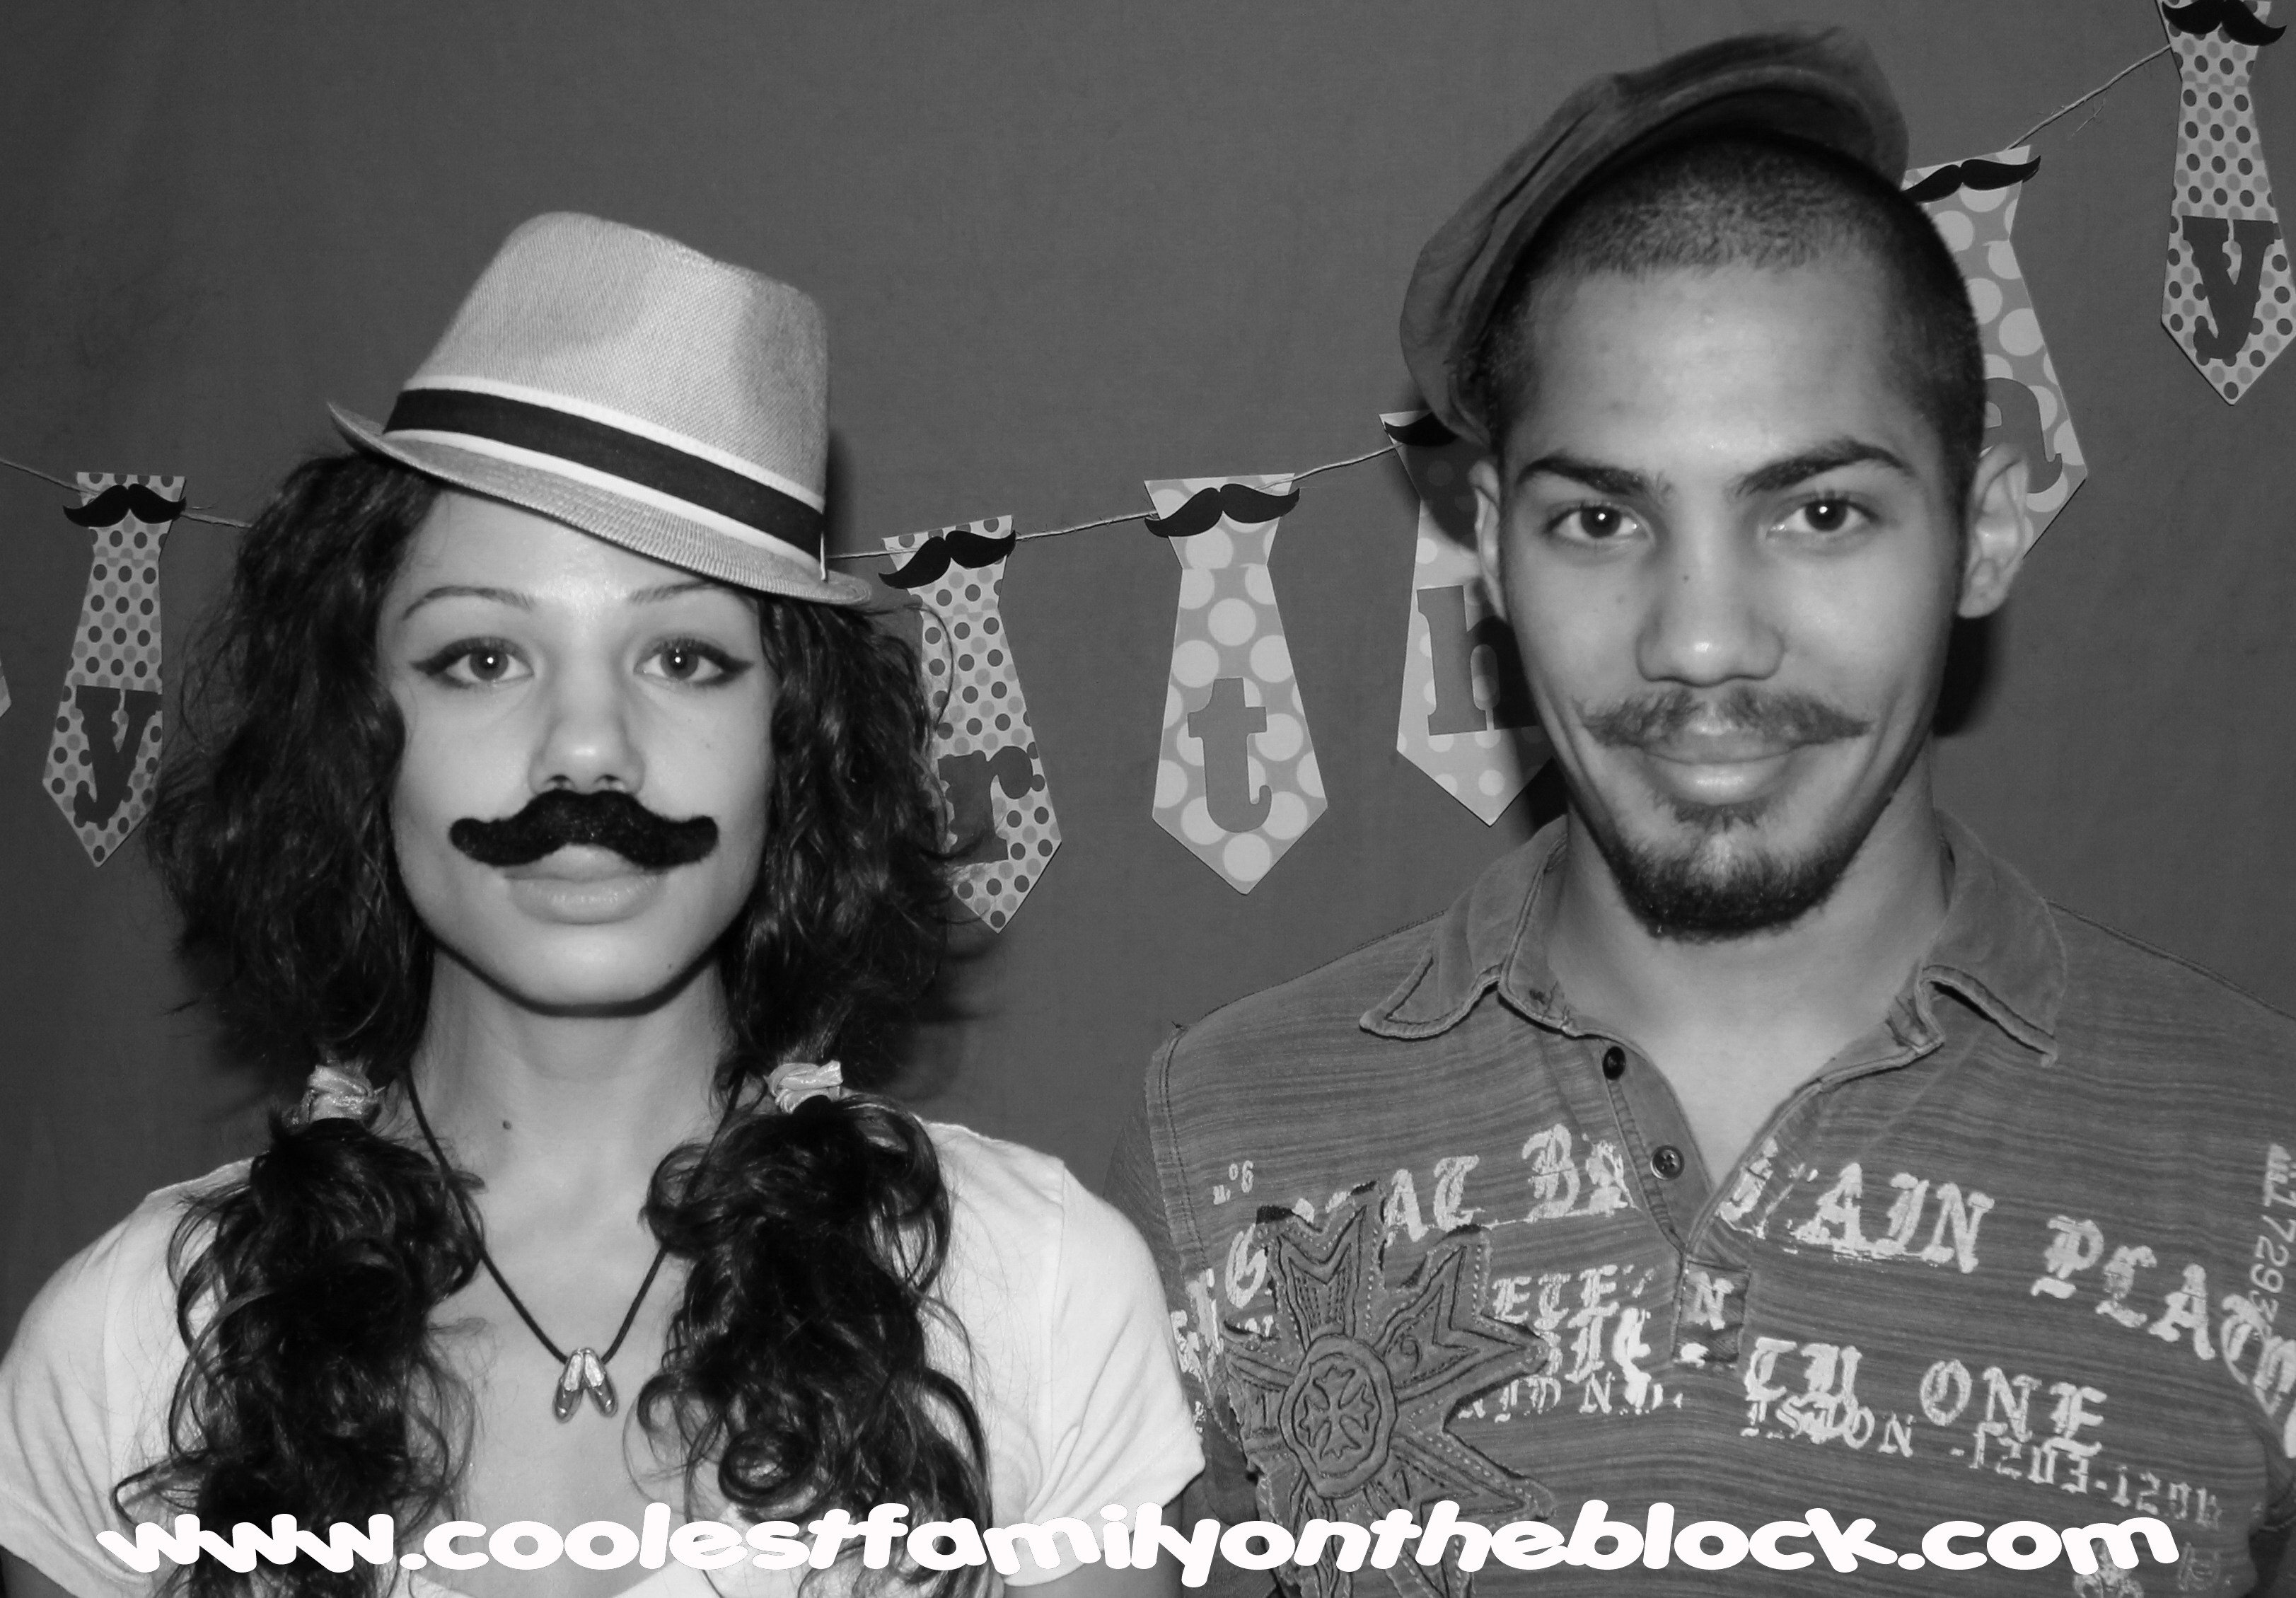
Jonathan’s Tie-riffic Little Man Mustache Bash 1st Birthday Party
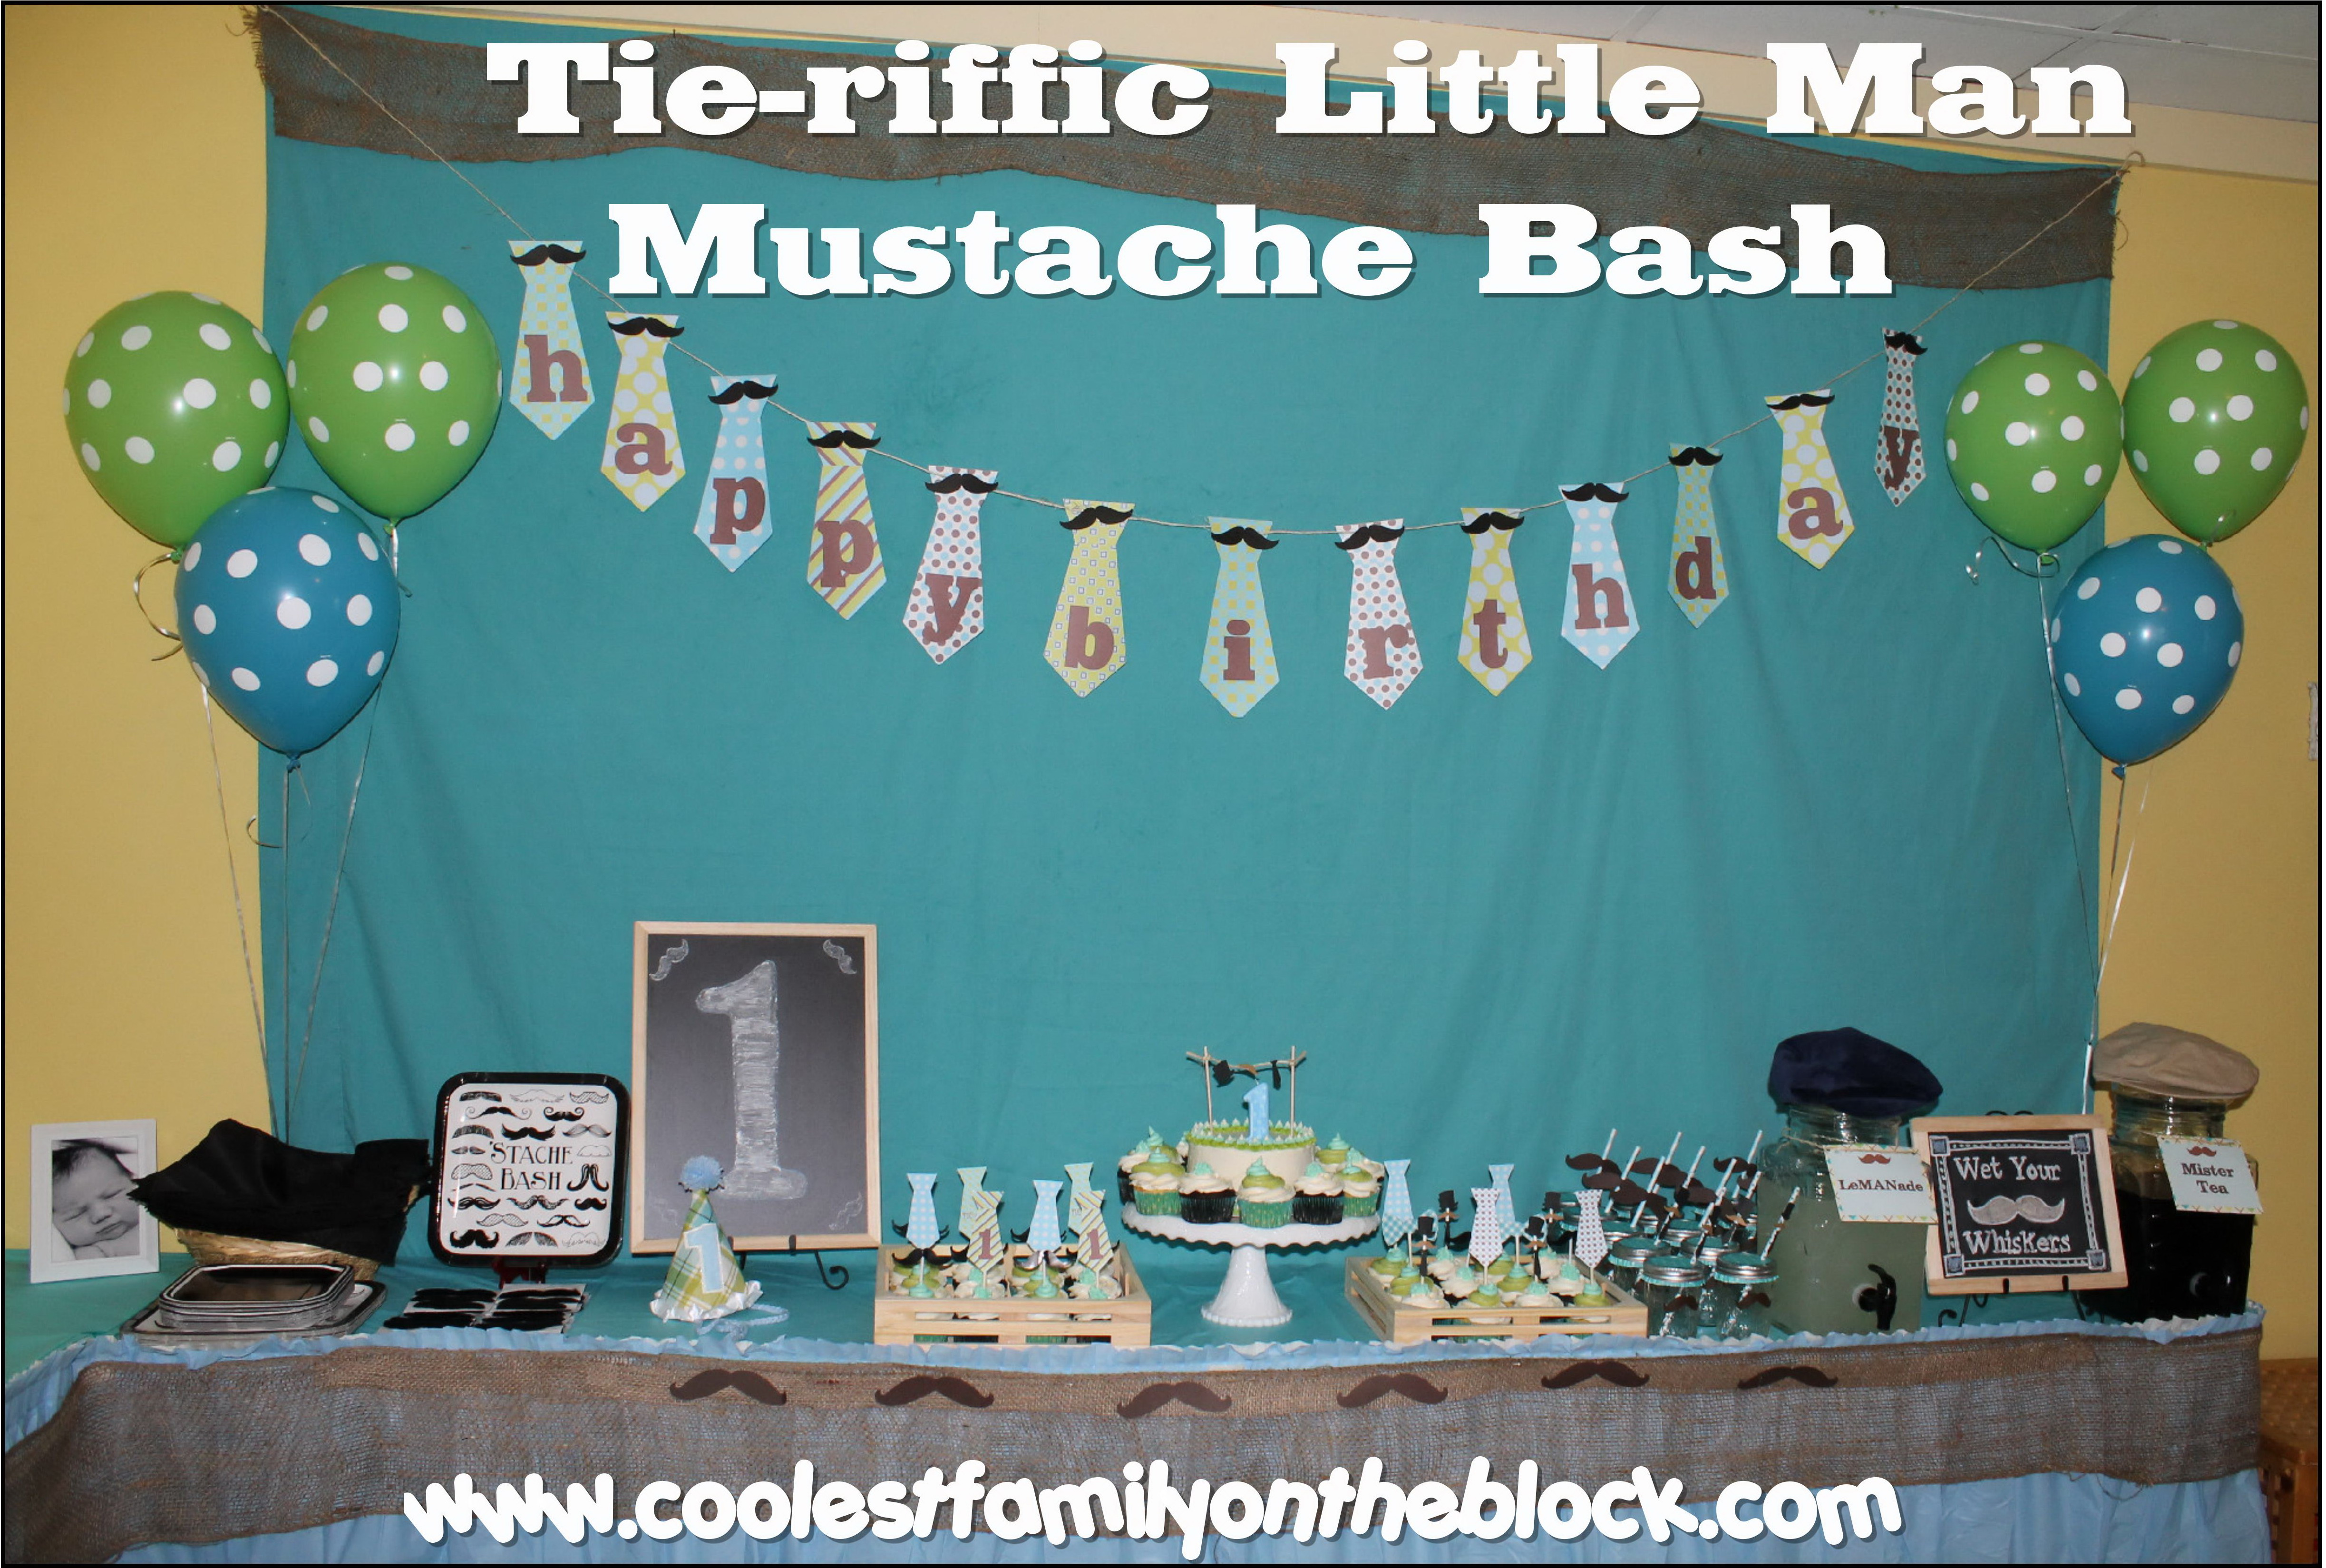

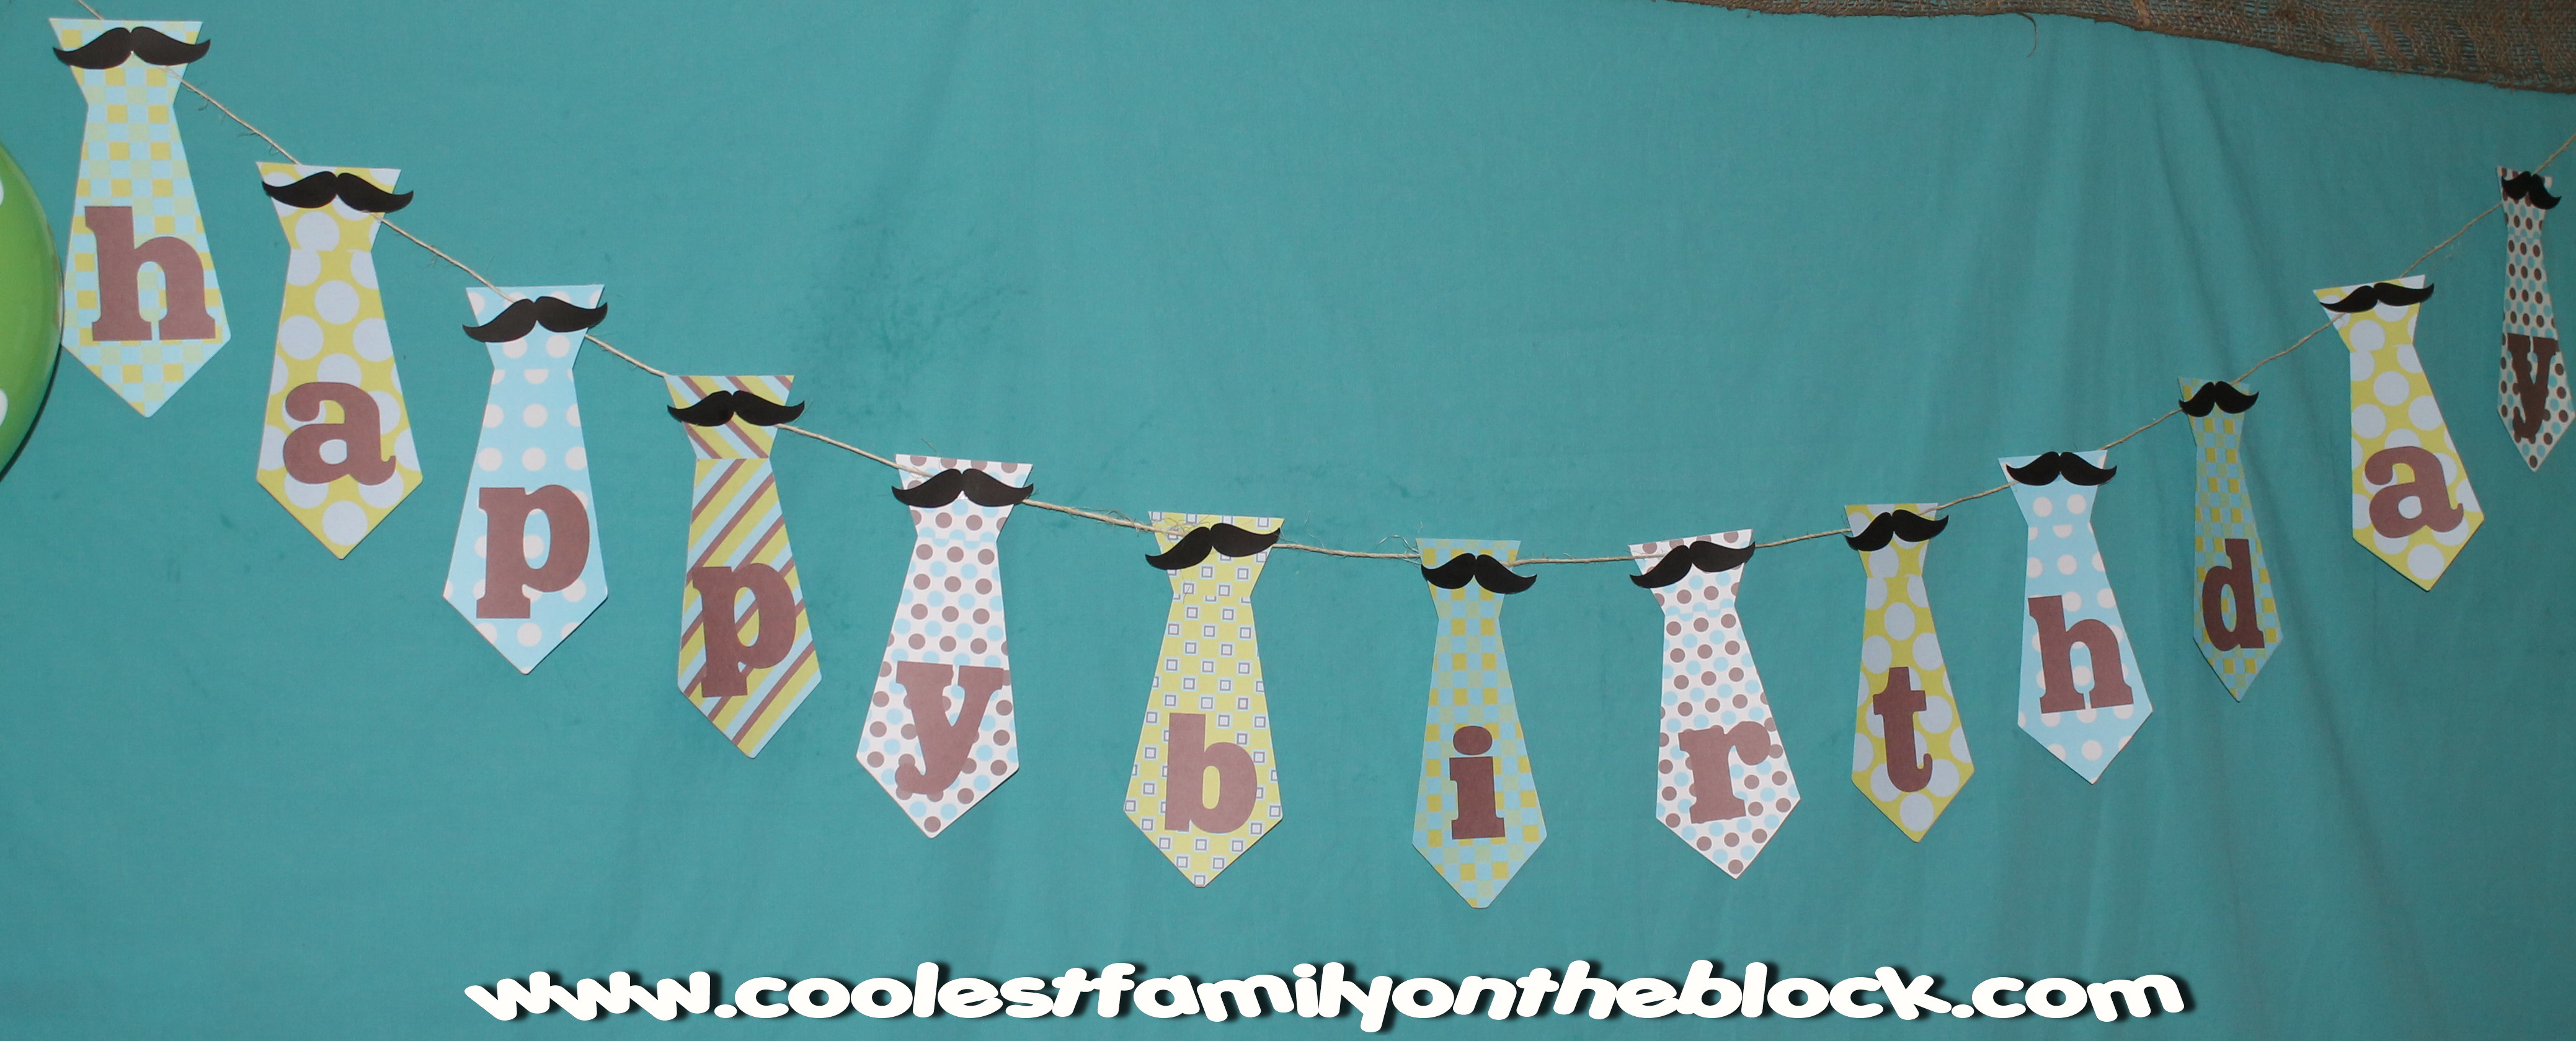
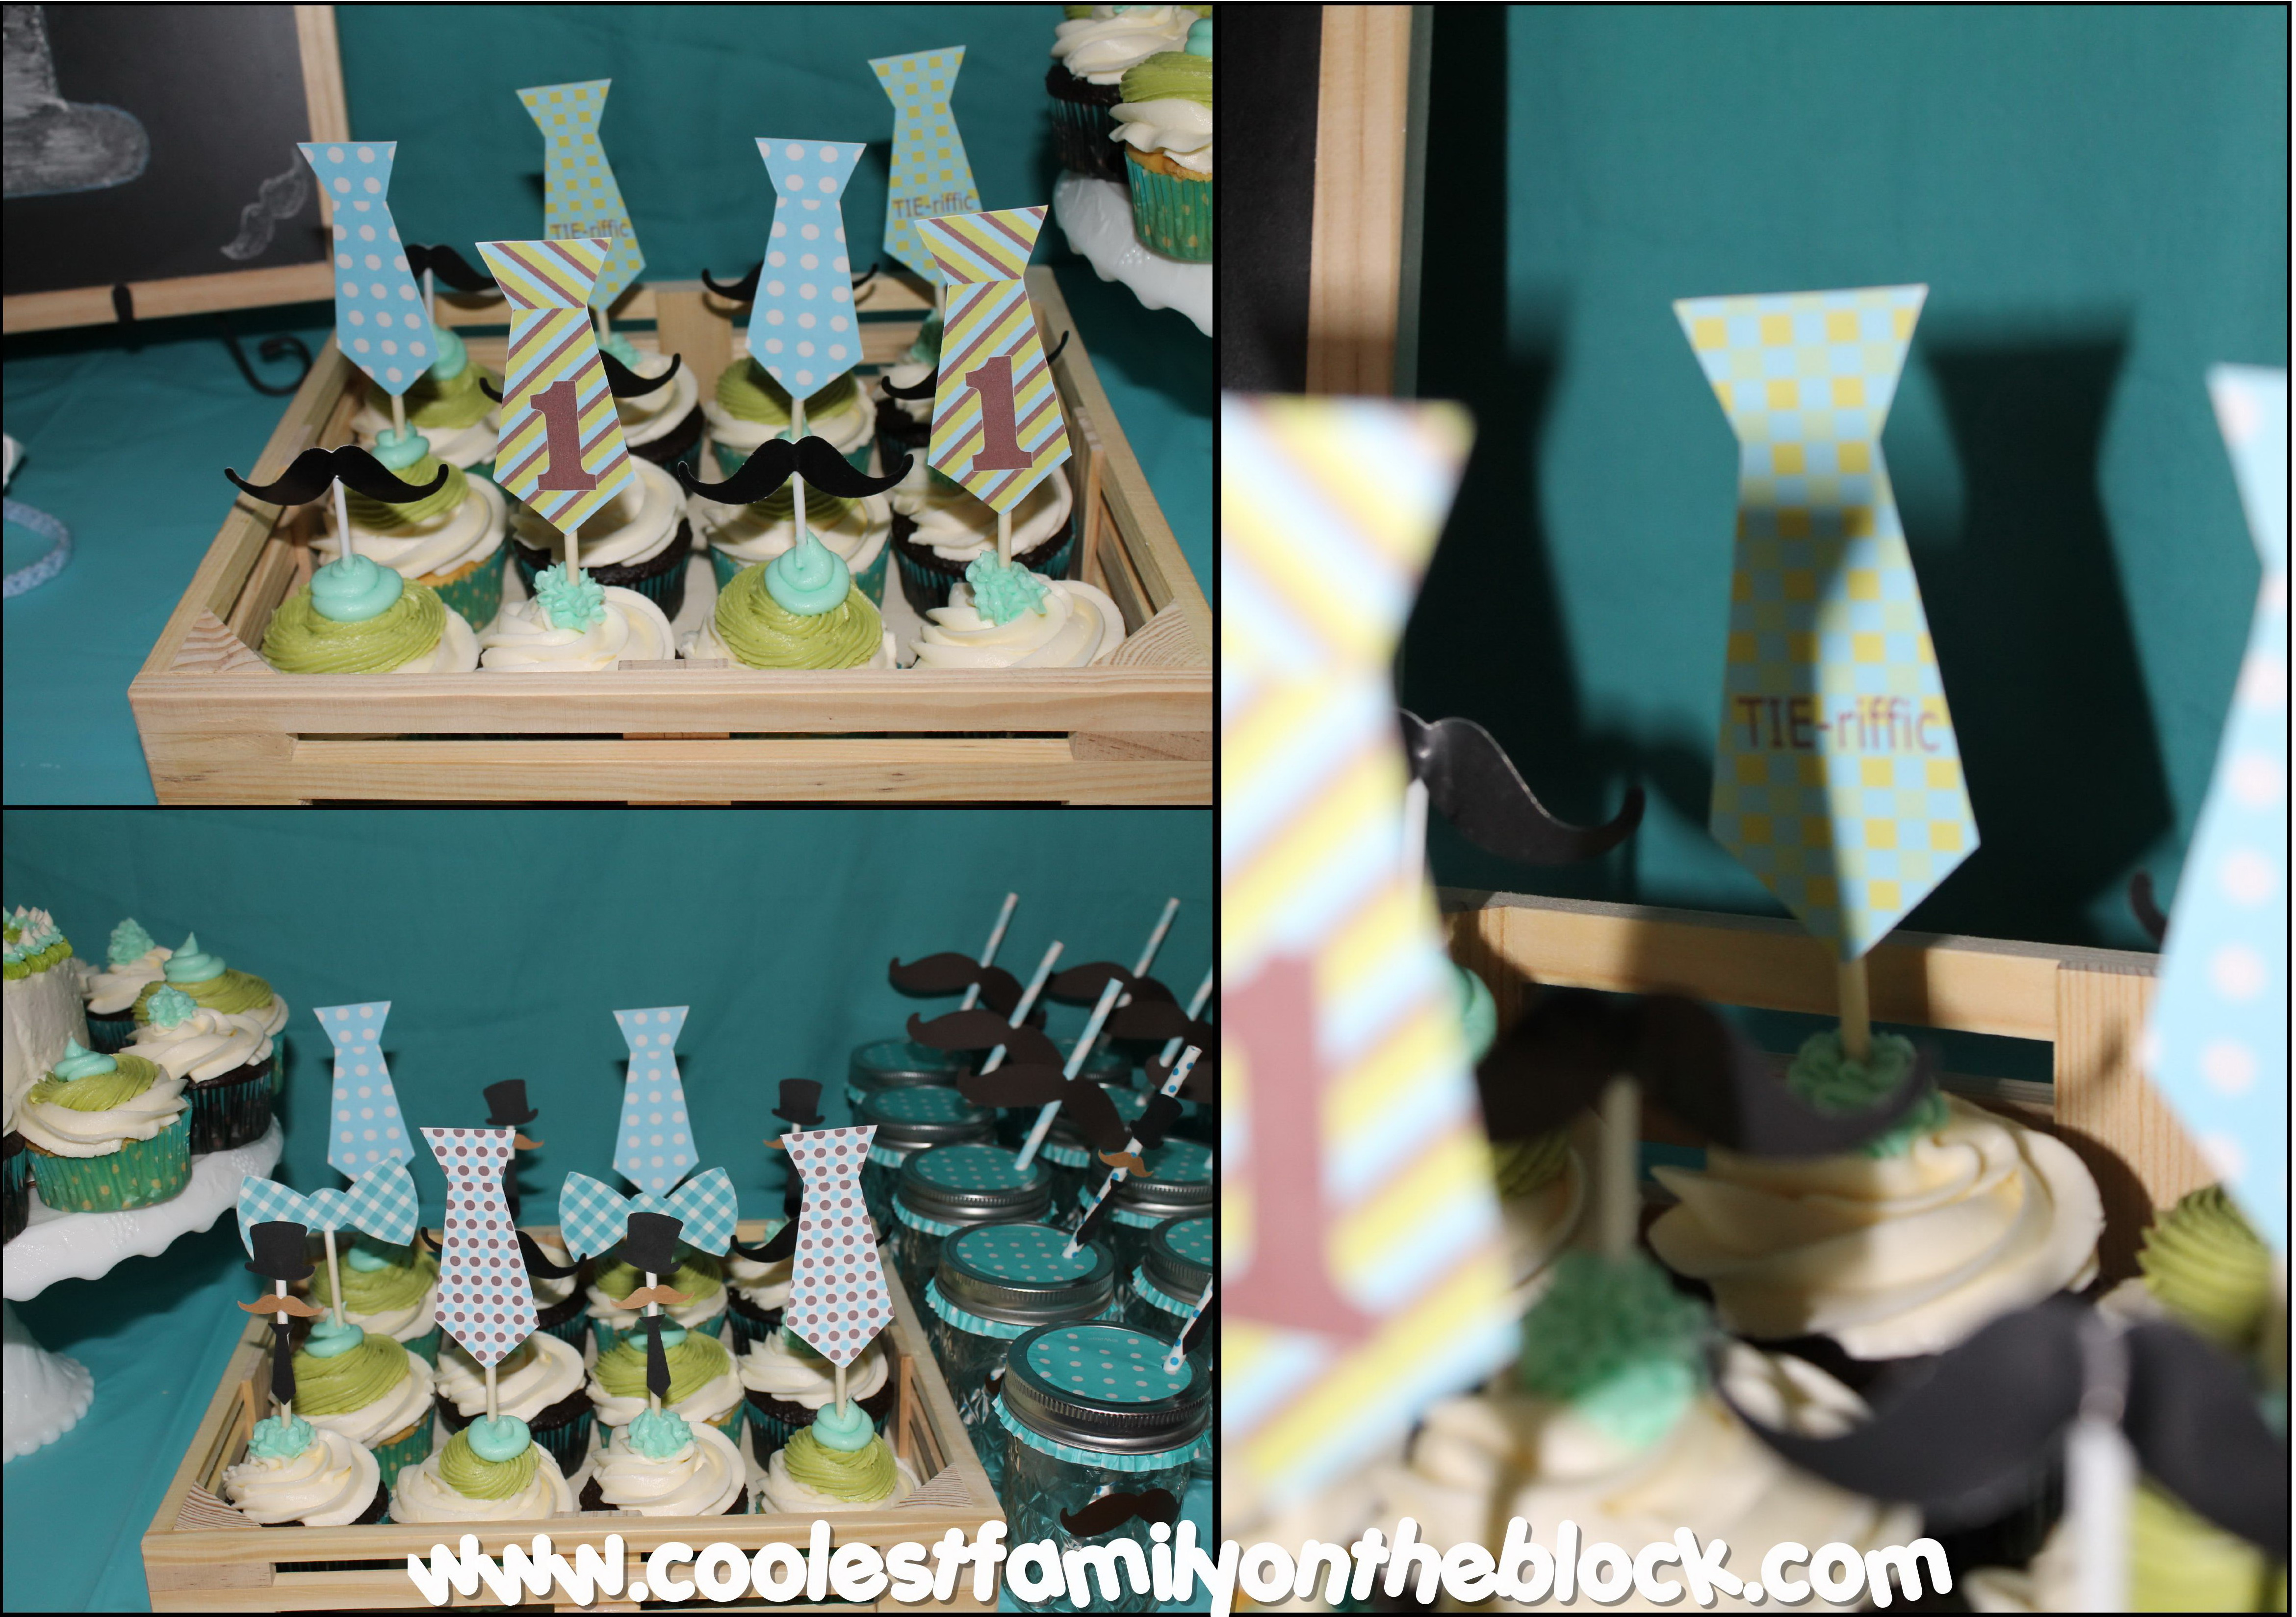
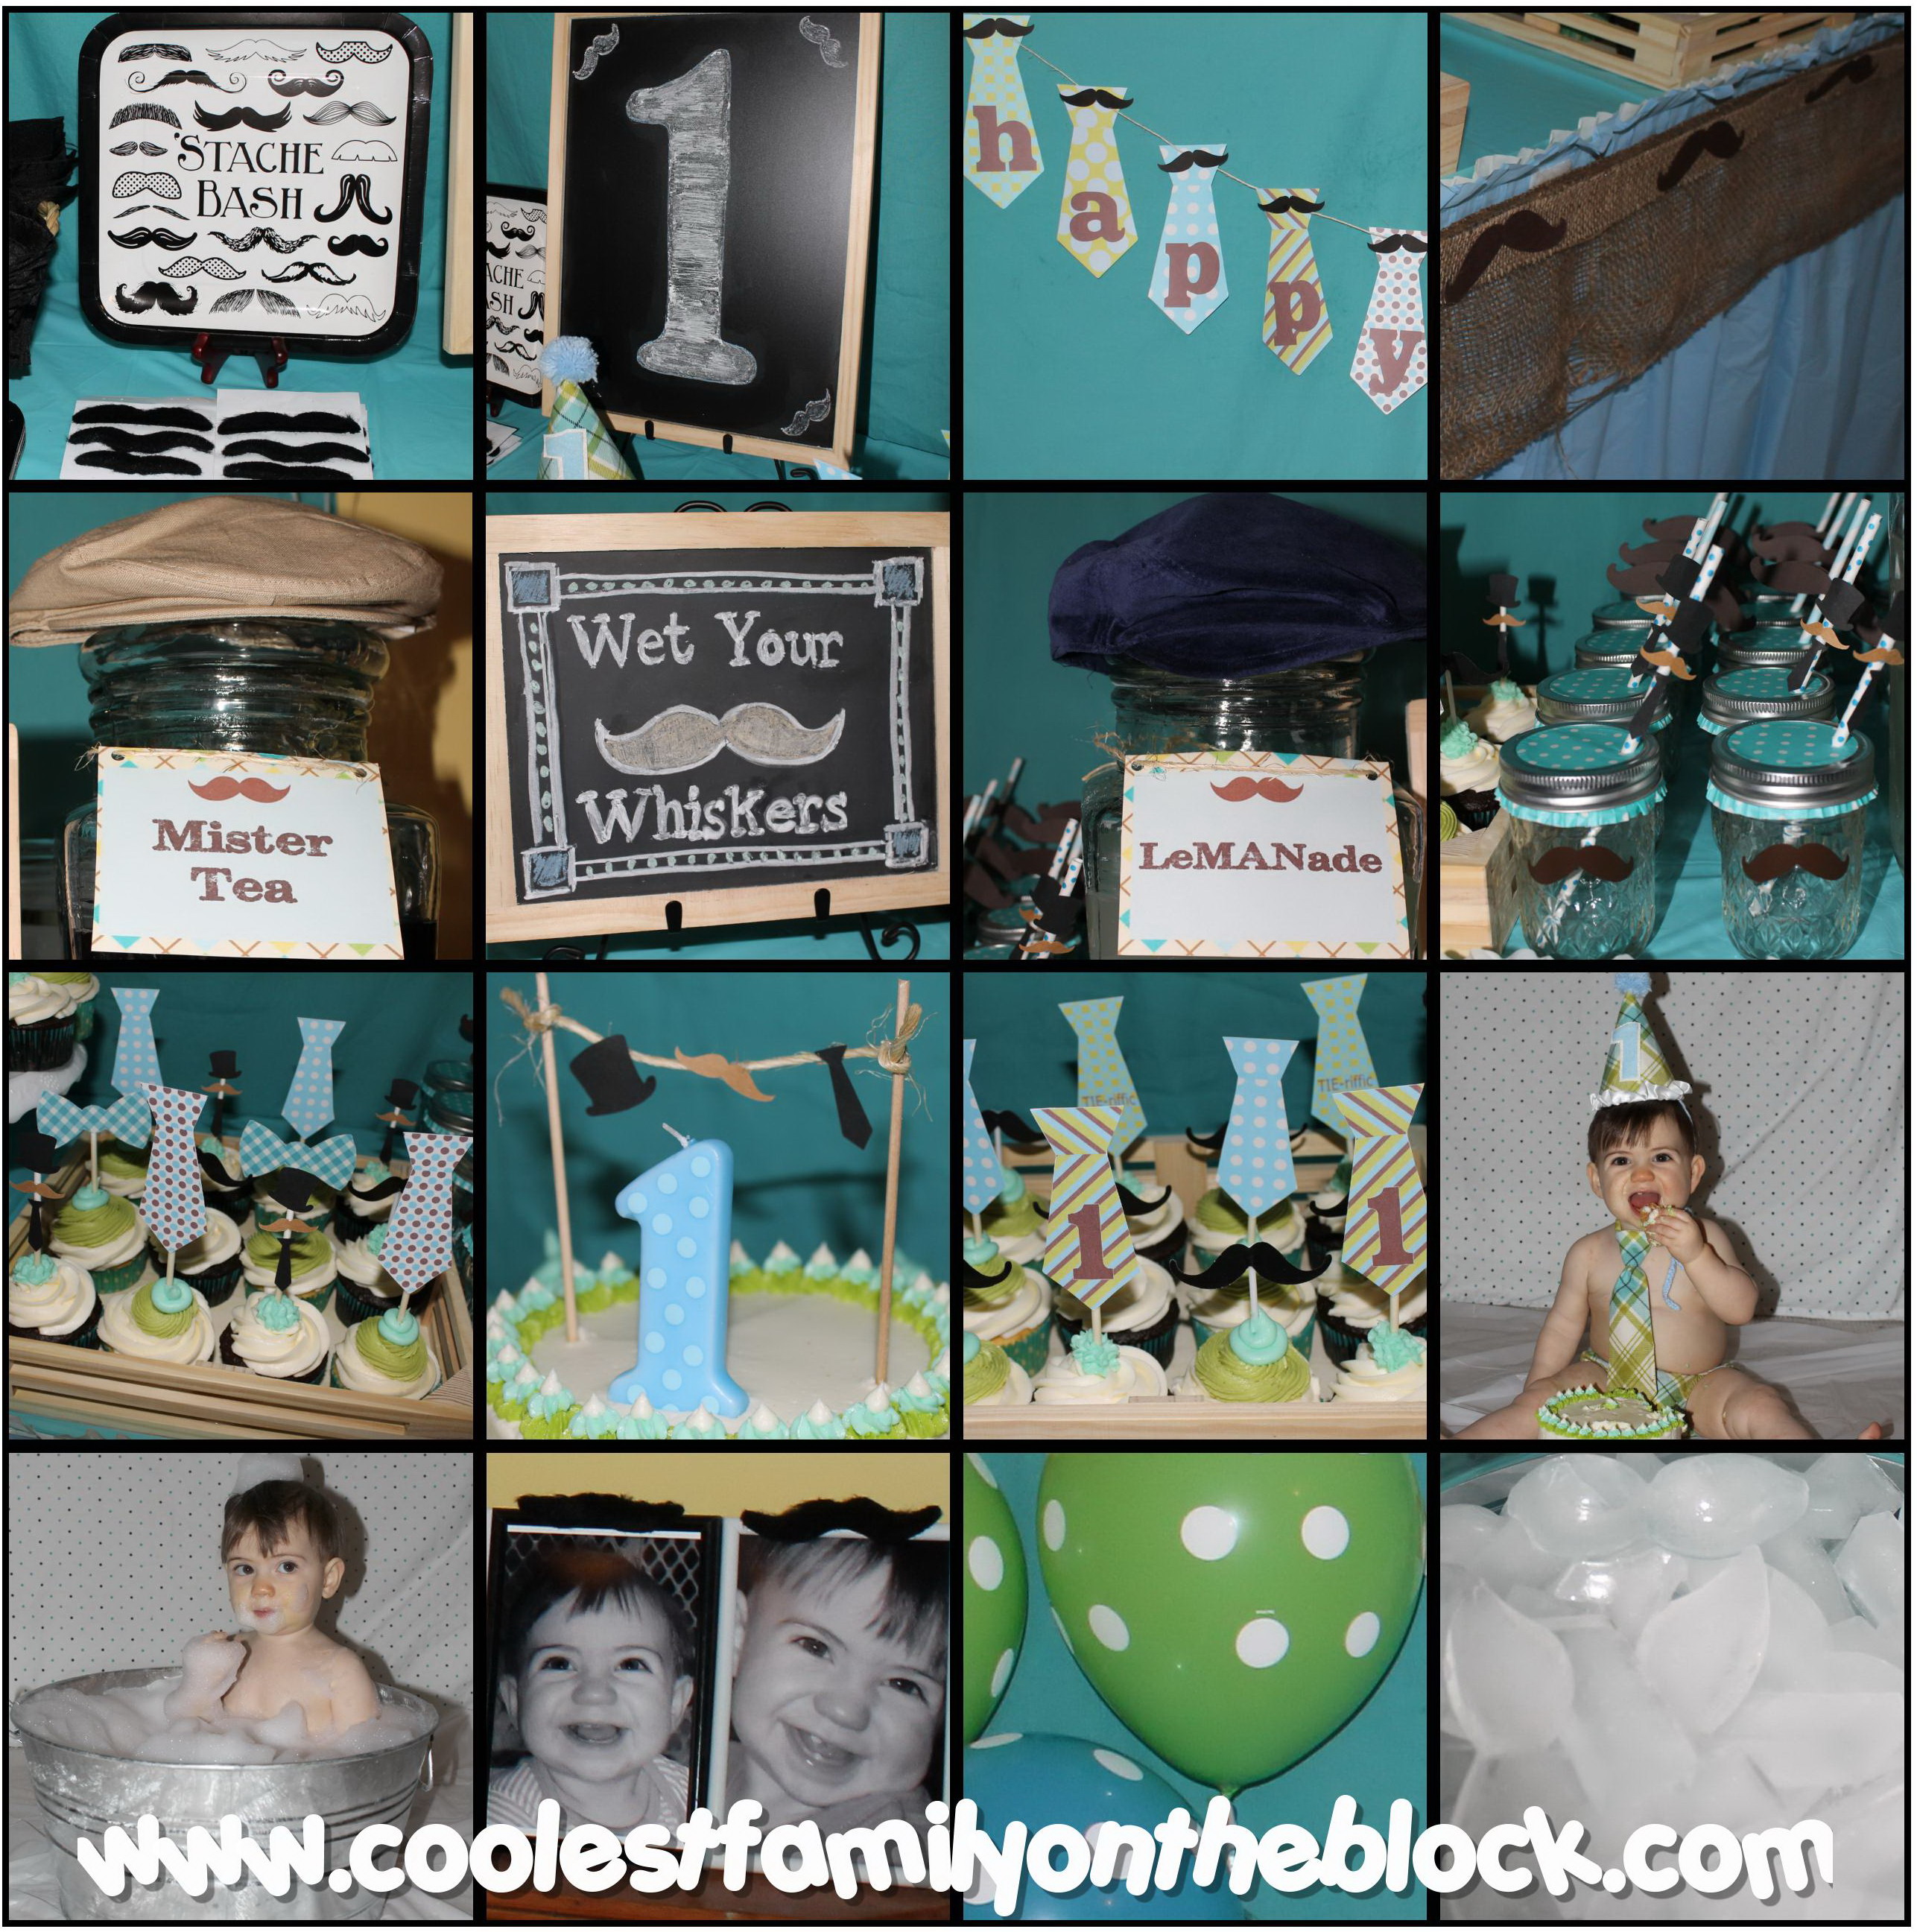
The printable necktie banner is actually a free Father’s Day printable. The only letters missing for “Happy Birthday” were “b” and “i” so I put the file in Paint, painted over it and added new letters. I cut out some free printable mustaches and attached them to each letter of the banner.
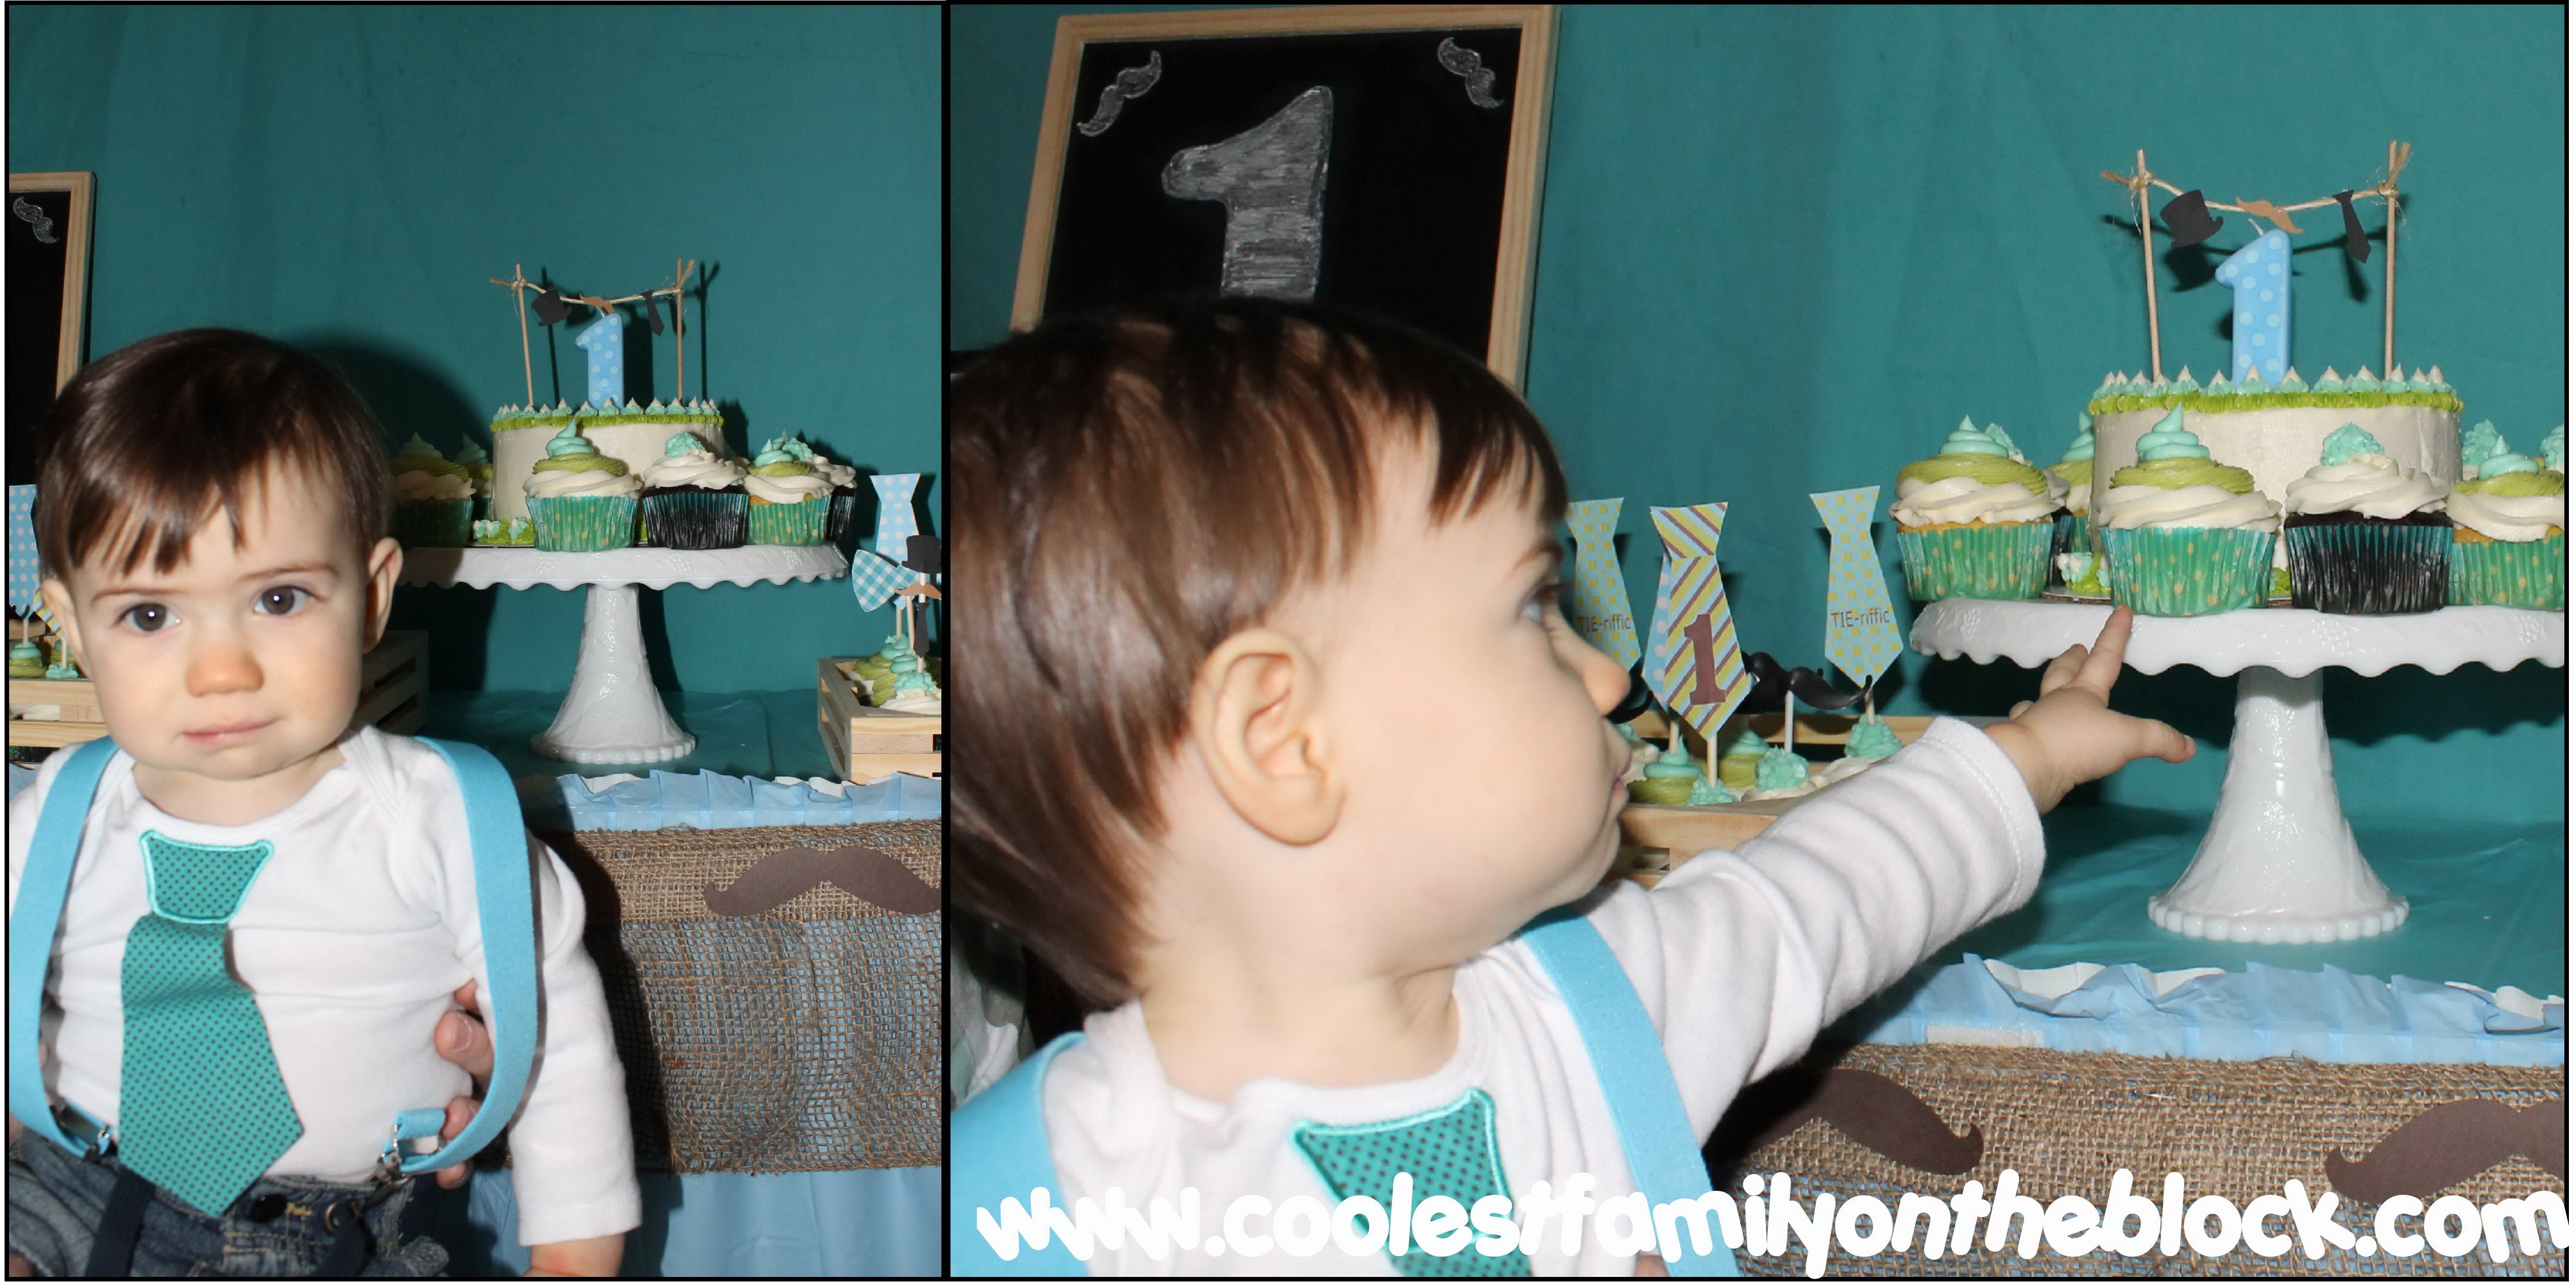
The cupcake toppers were from the same Father’s Day set. Some had said #1 so I just removed the “#” symbol in Paint by “painting” over it. The wooden crates that the cupcakes are in are actually from sets of Melissa and Doug play food.
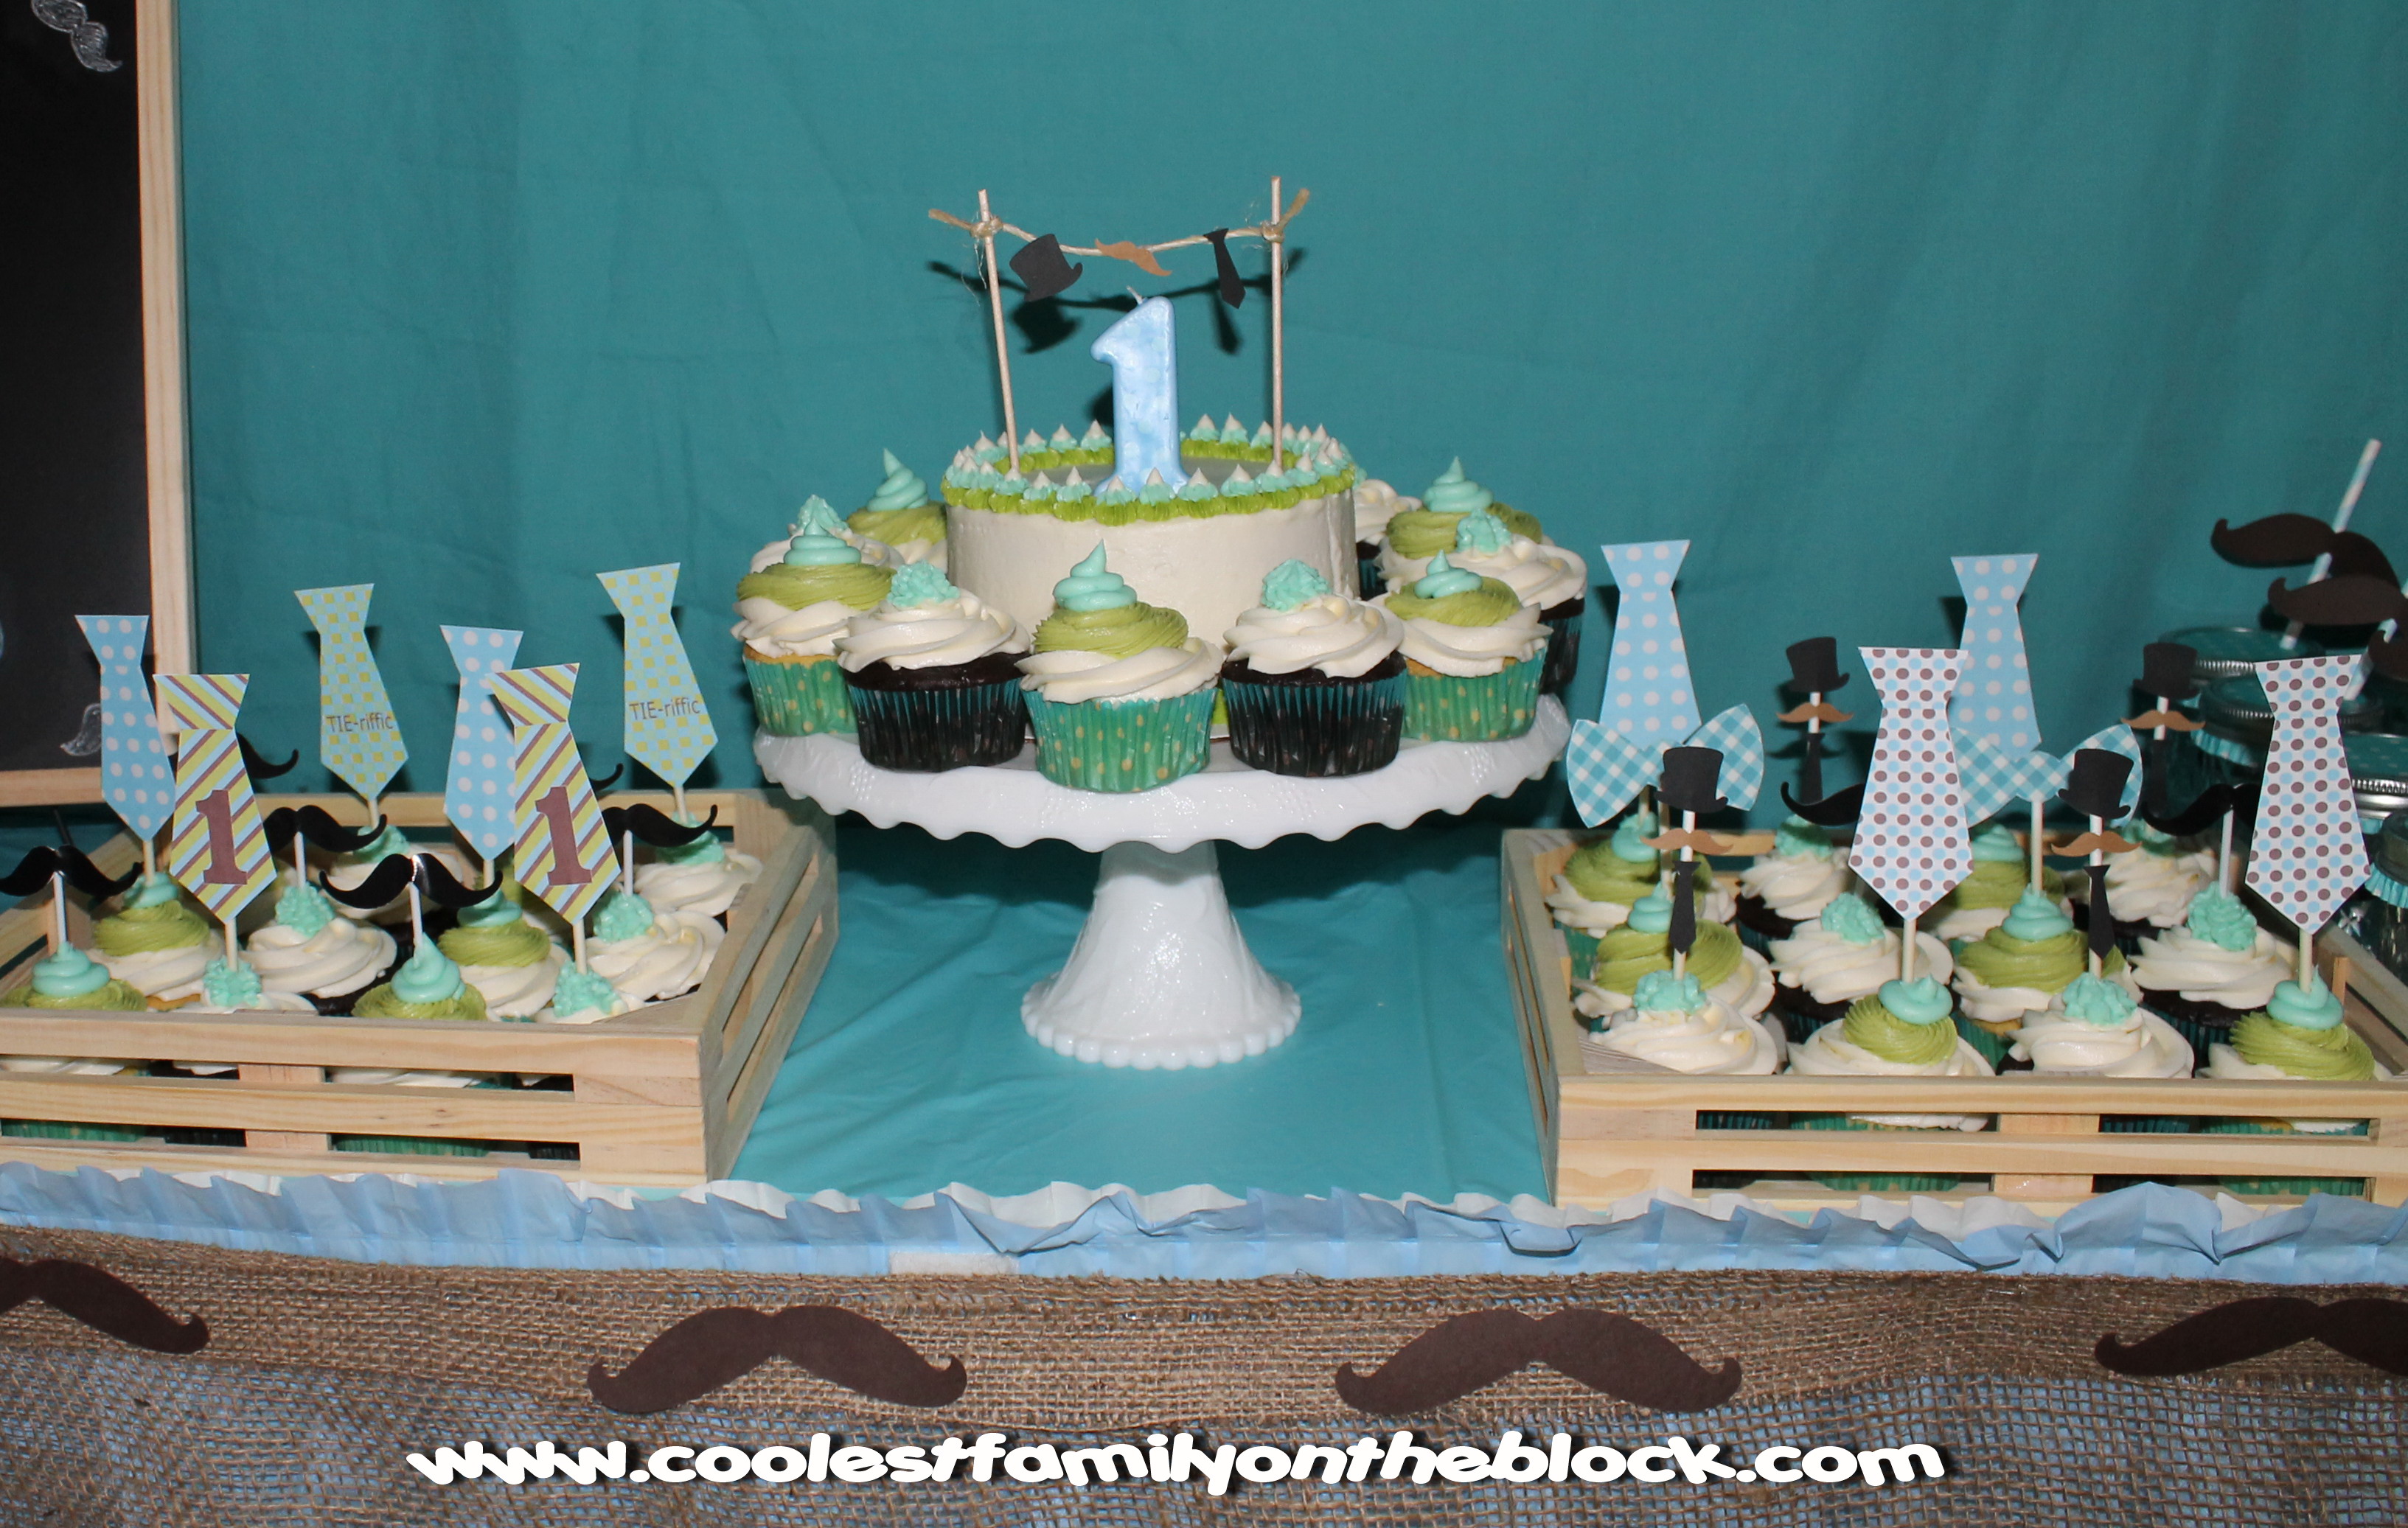
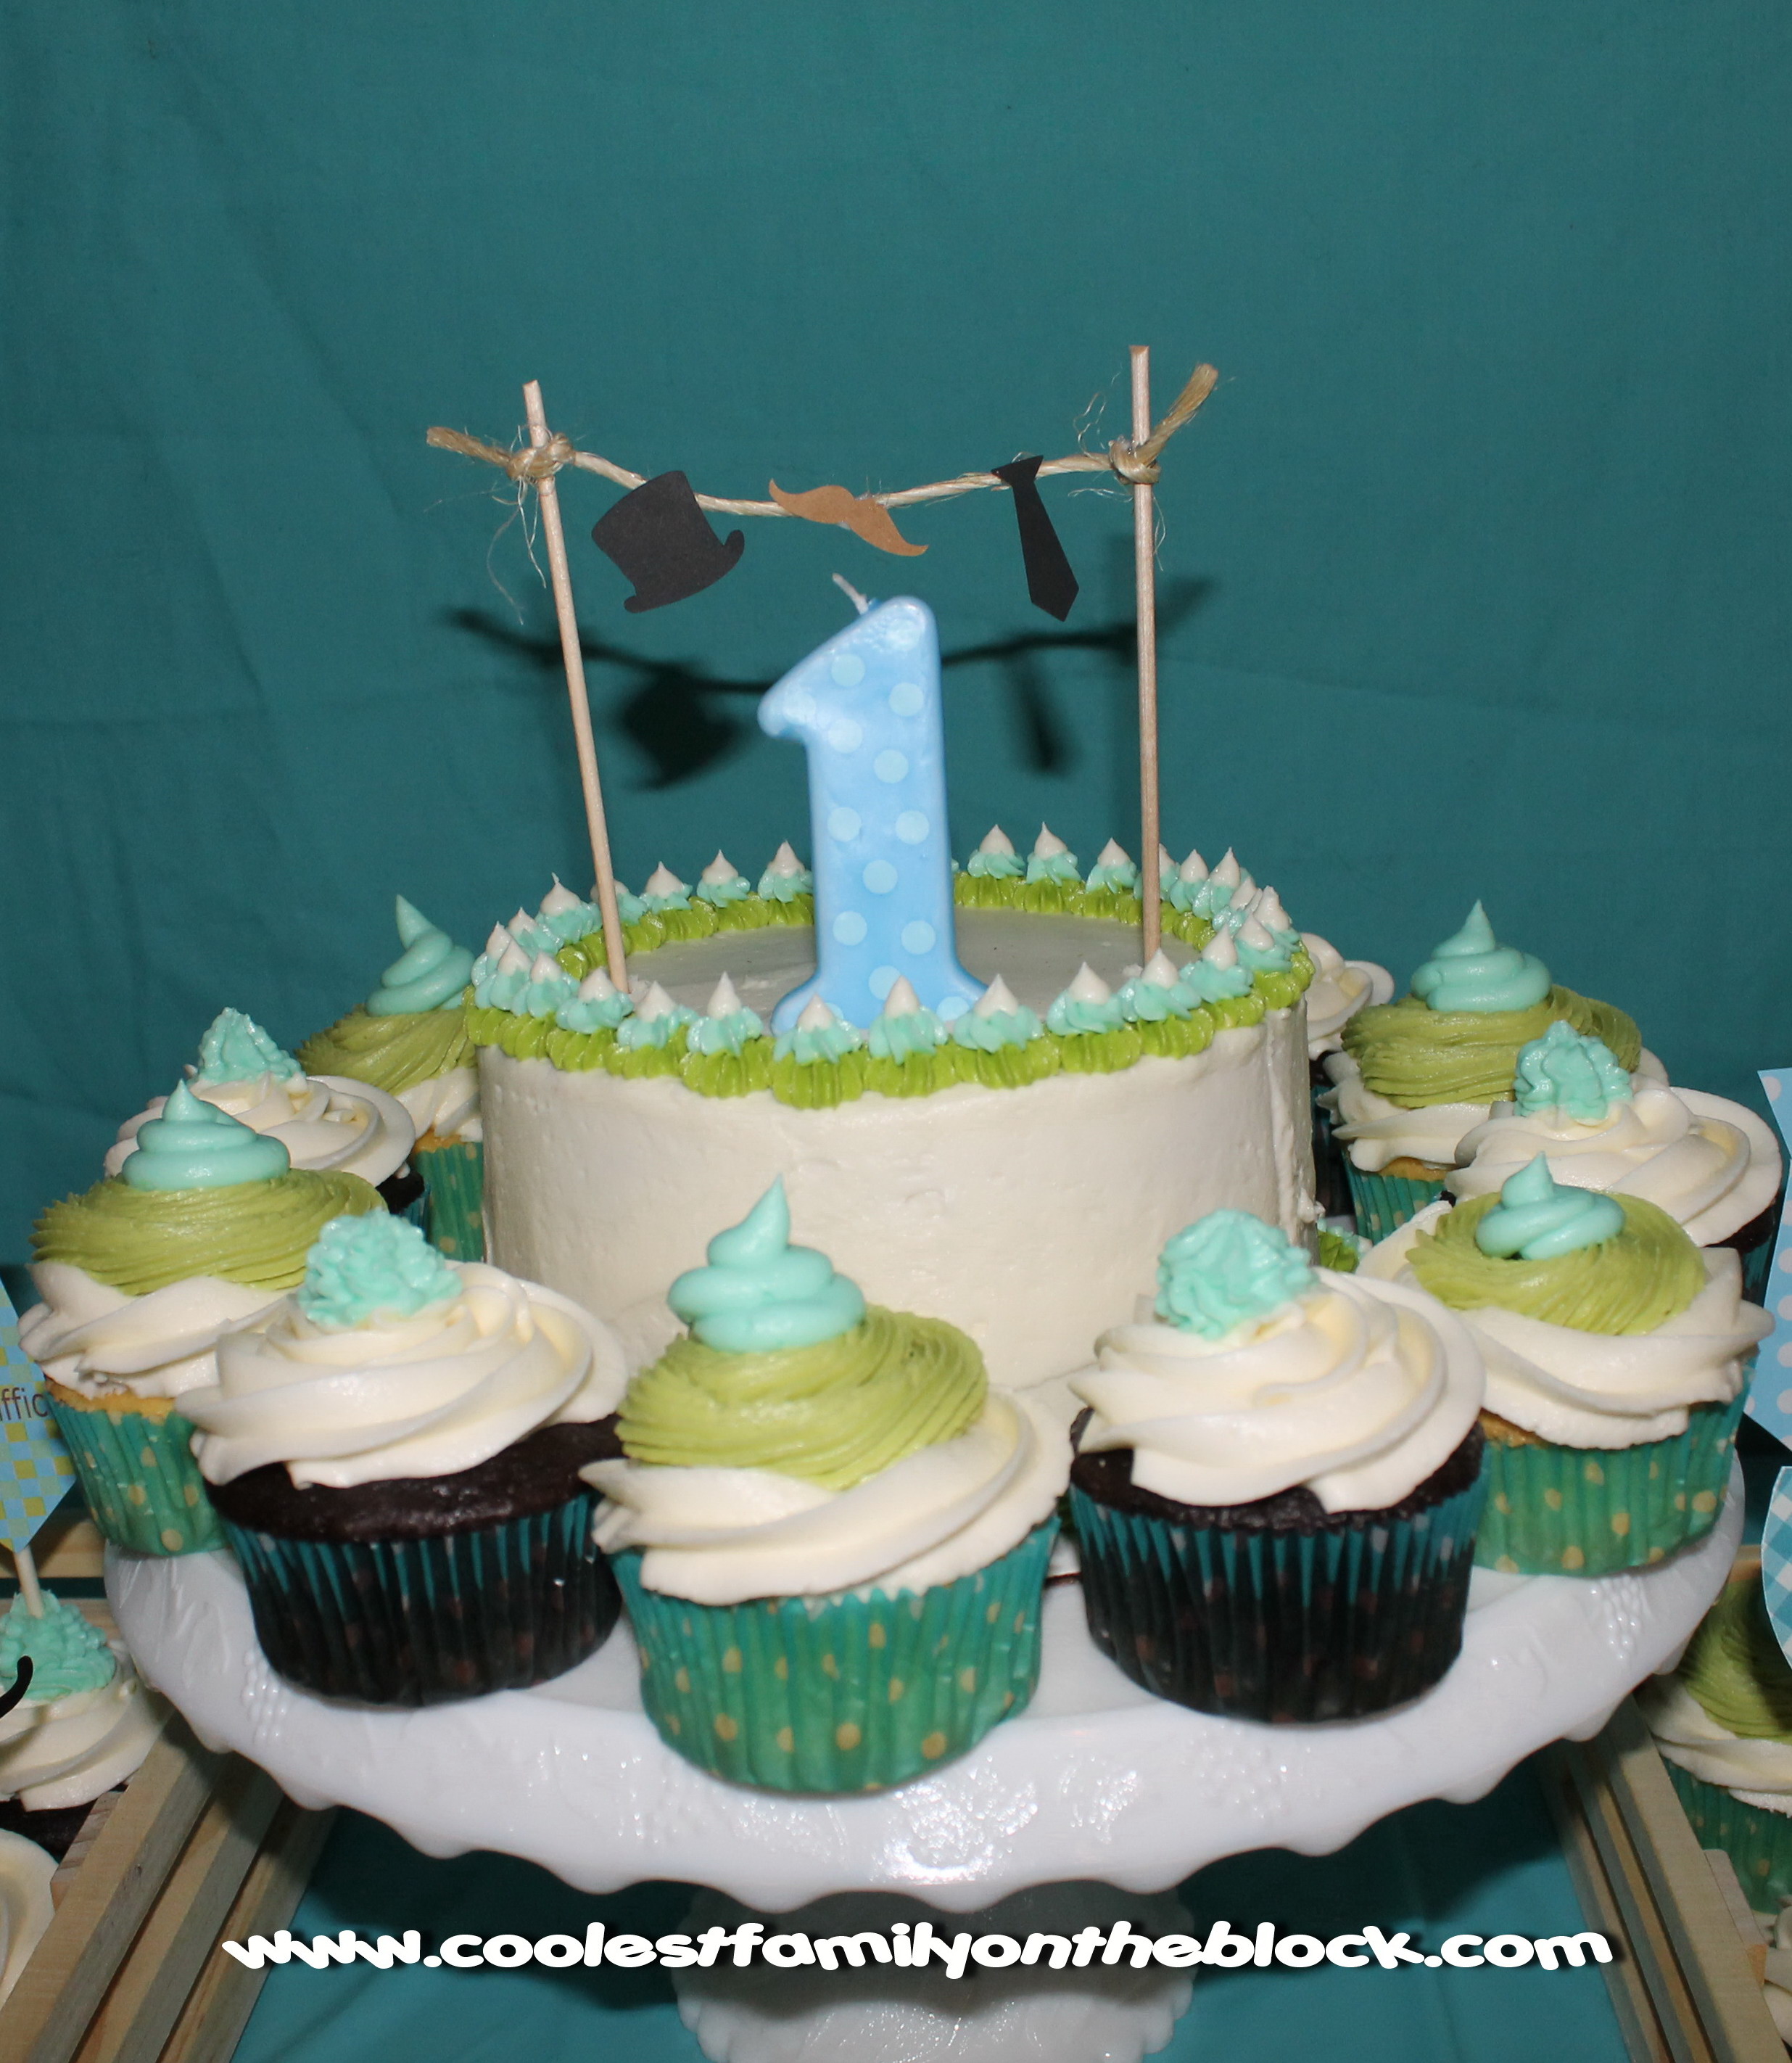
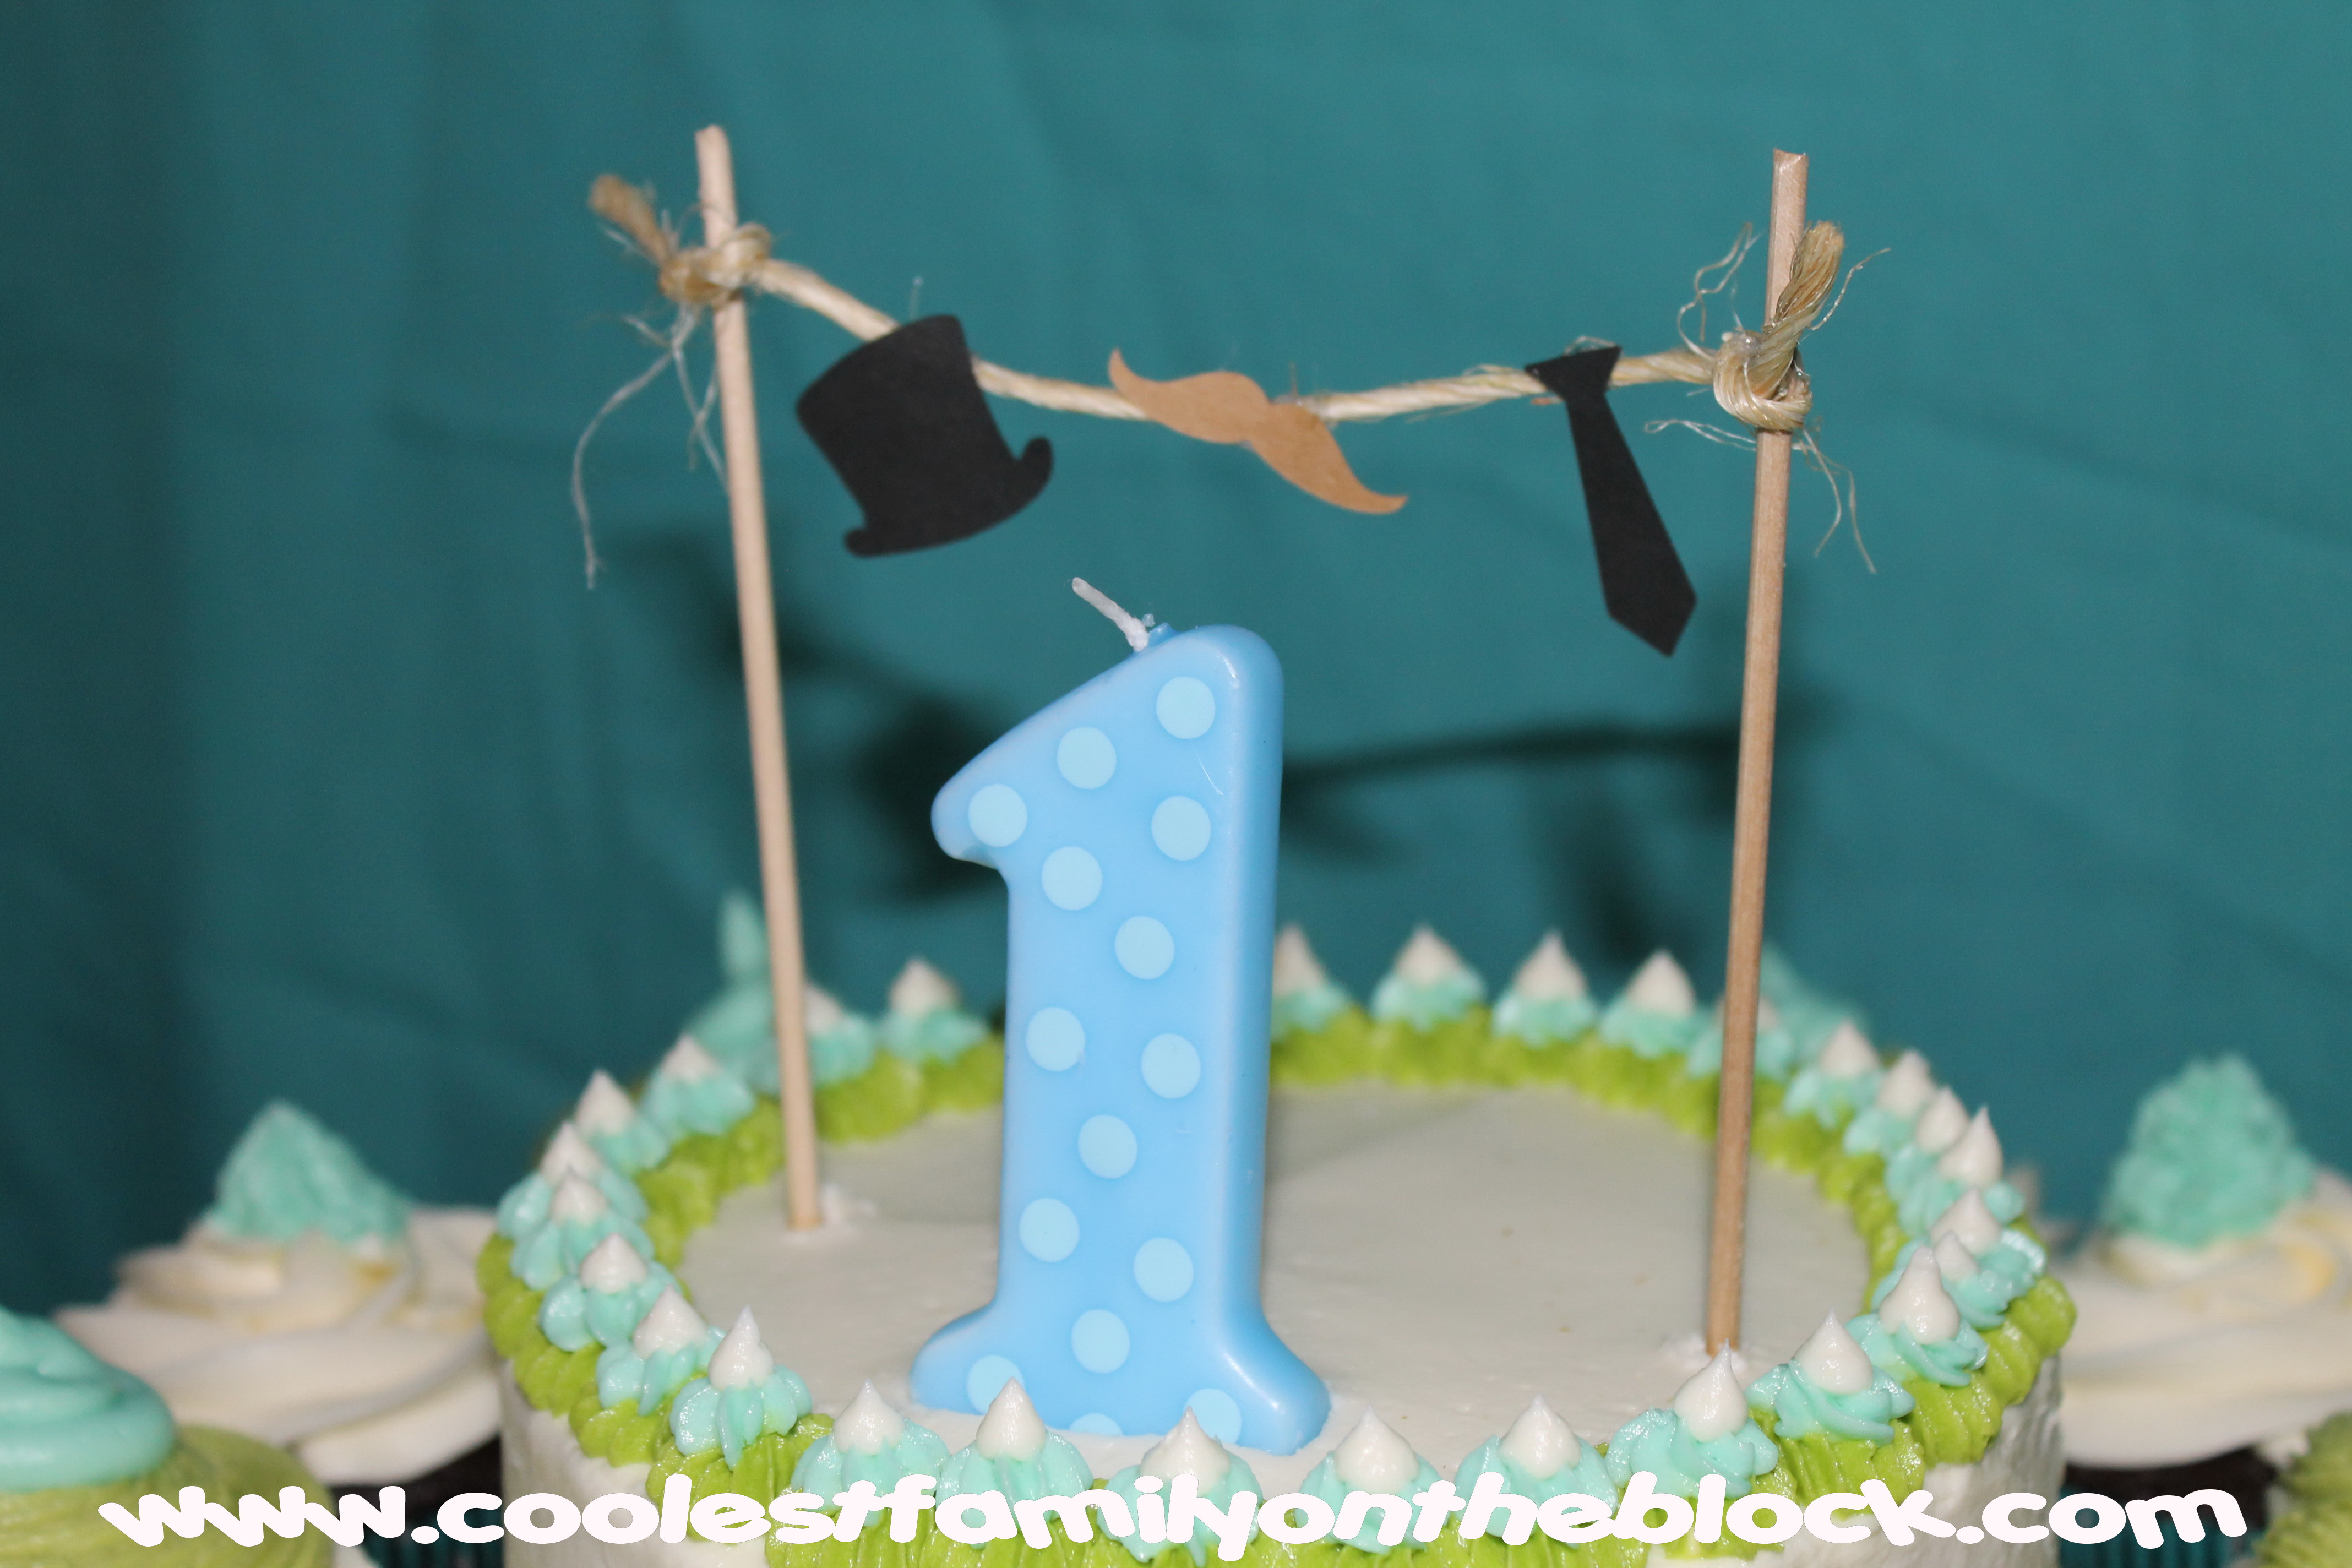
The Little Man cake topper was made using little dowel rod craft stick thingies (the technical term) and twine. The top hat, mustache, and necktie cutouts are from Etsy and were attached using craft glue.
Another look at the cupcake toppers
I think the Little Man drink station was my favorite detail of the party.
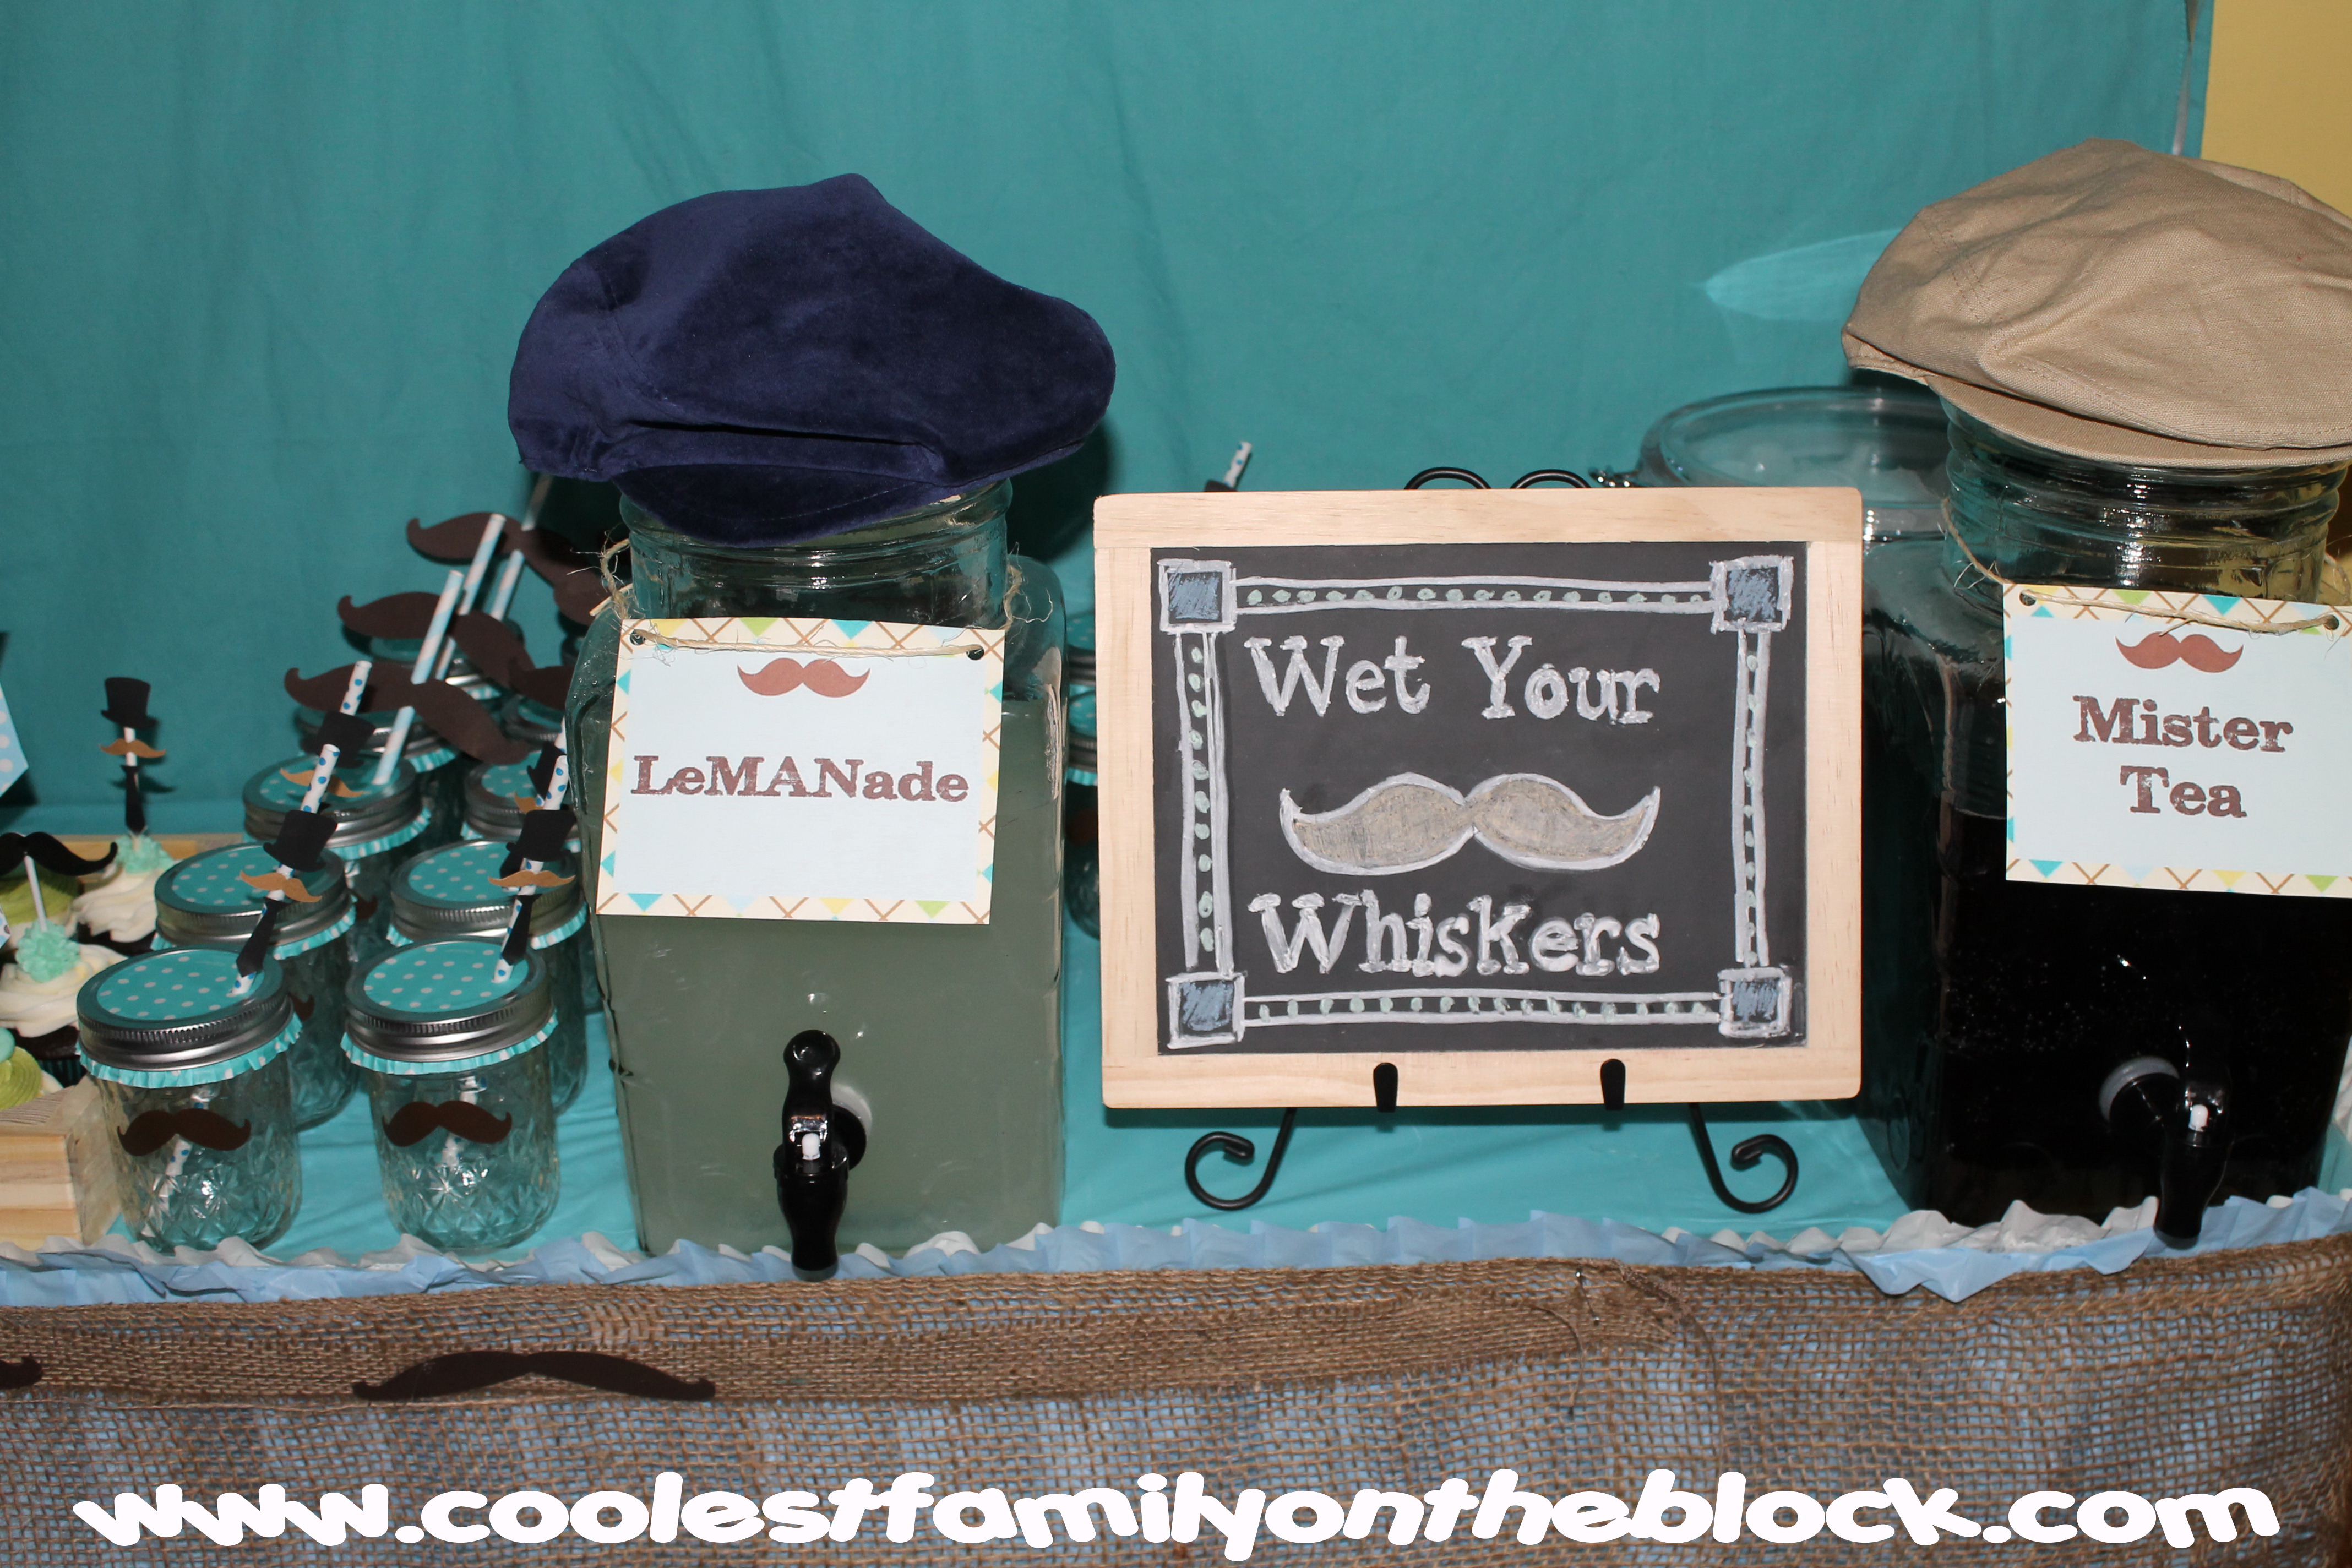
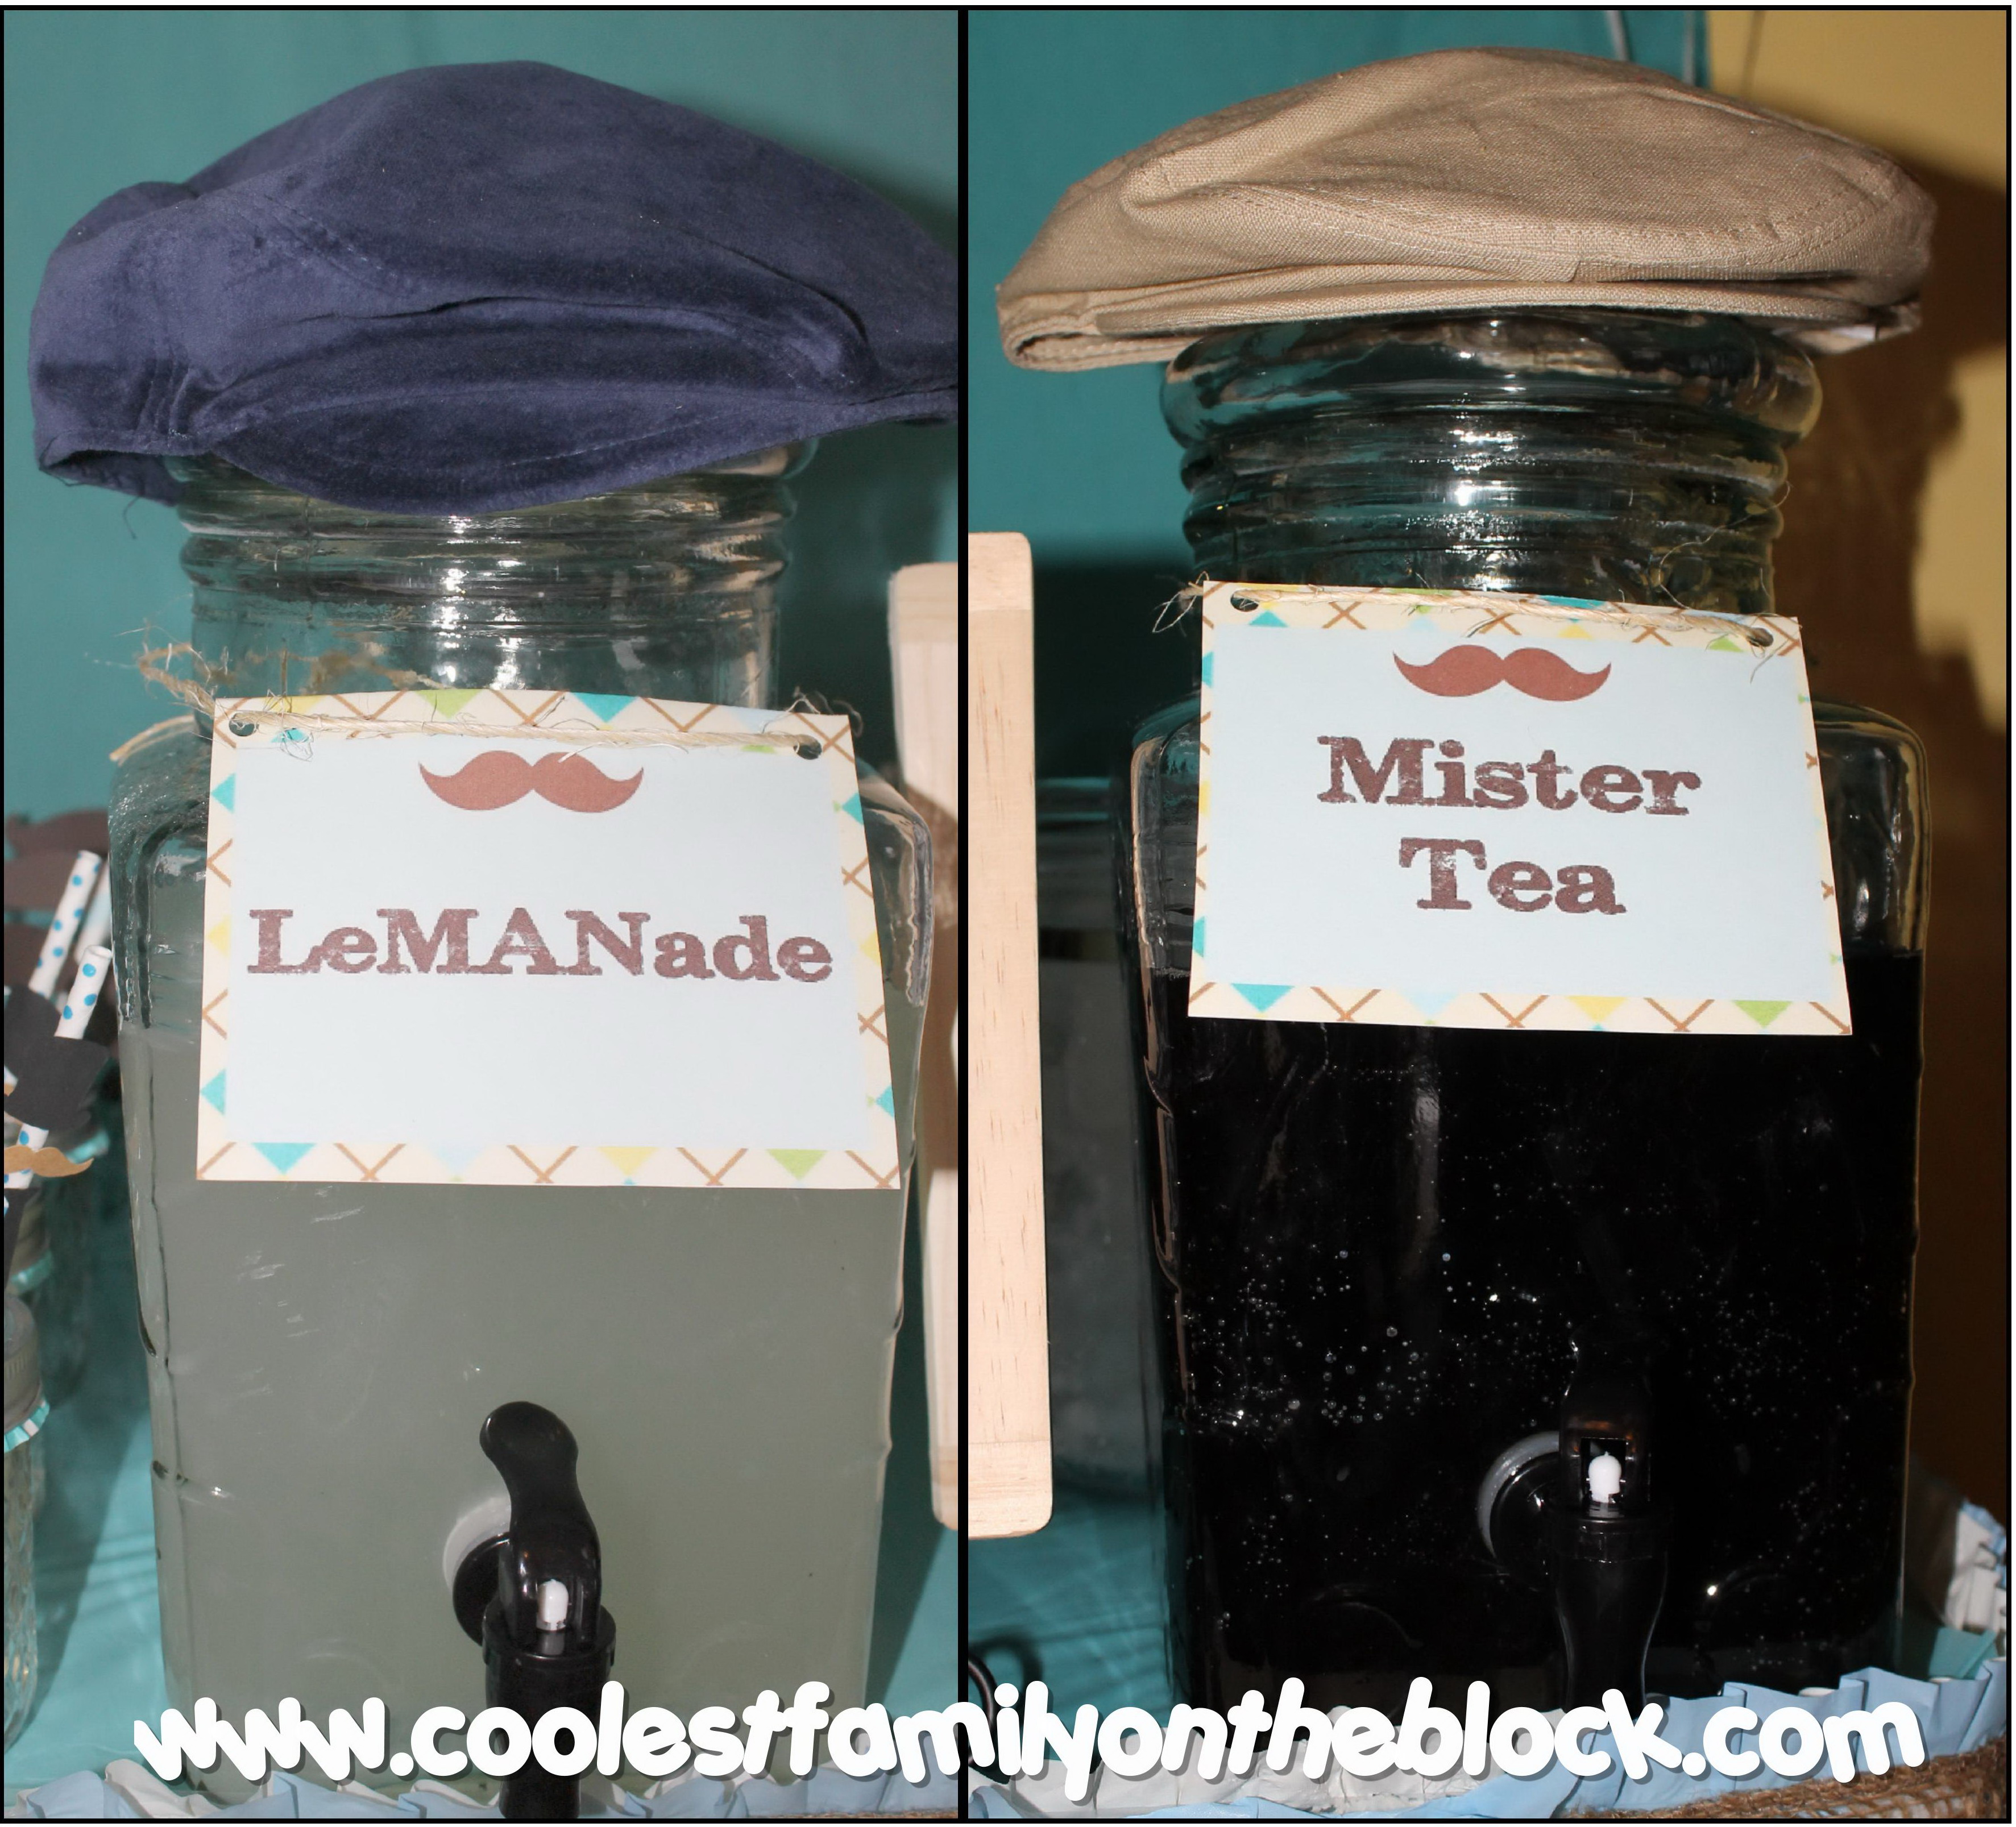
…and my favorite part of my favorite part is the punny names of the drinks: LeMANade and Mister Tea! I do love a good play on words! 😉
I used printable tent cards for the signs and added the text myself.
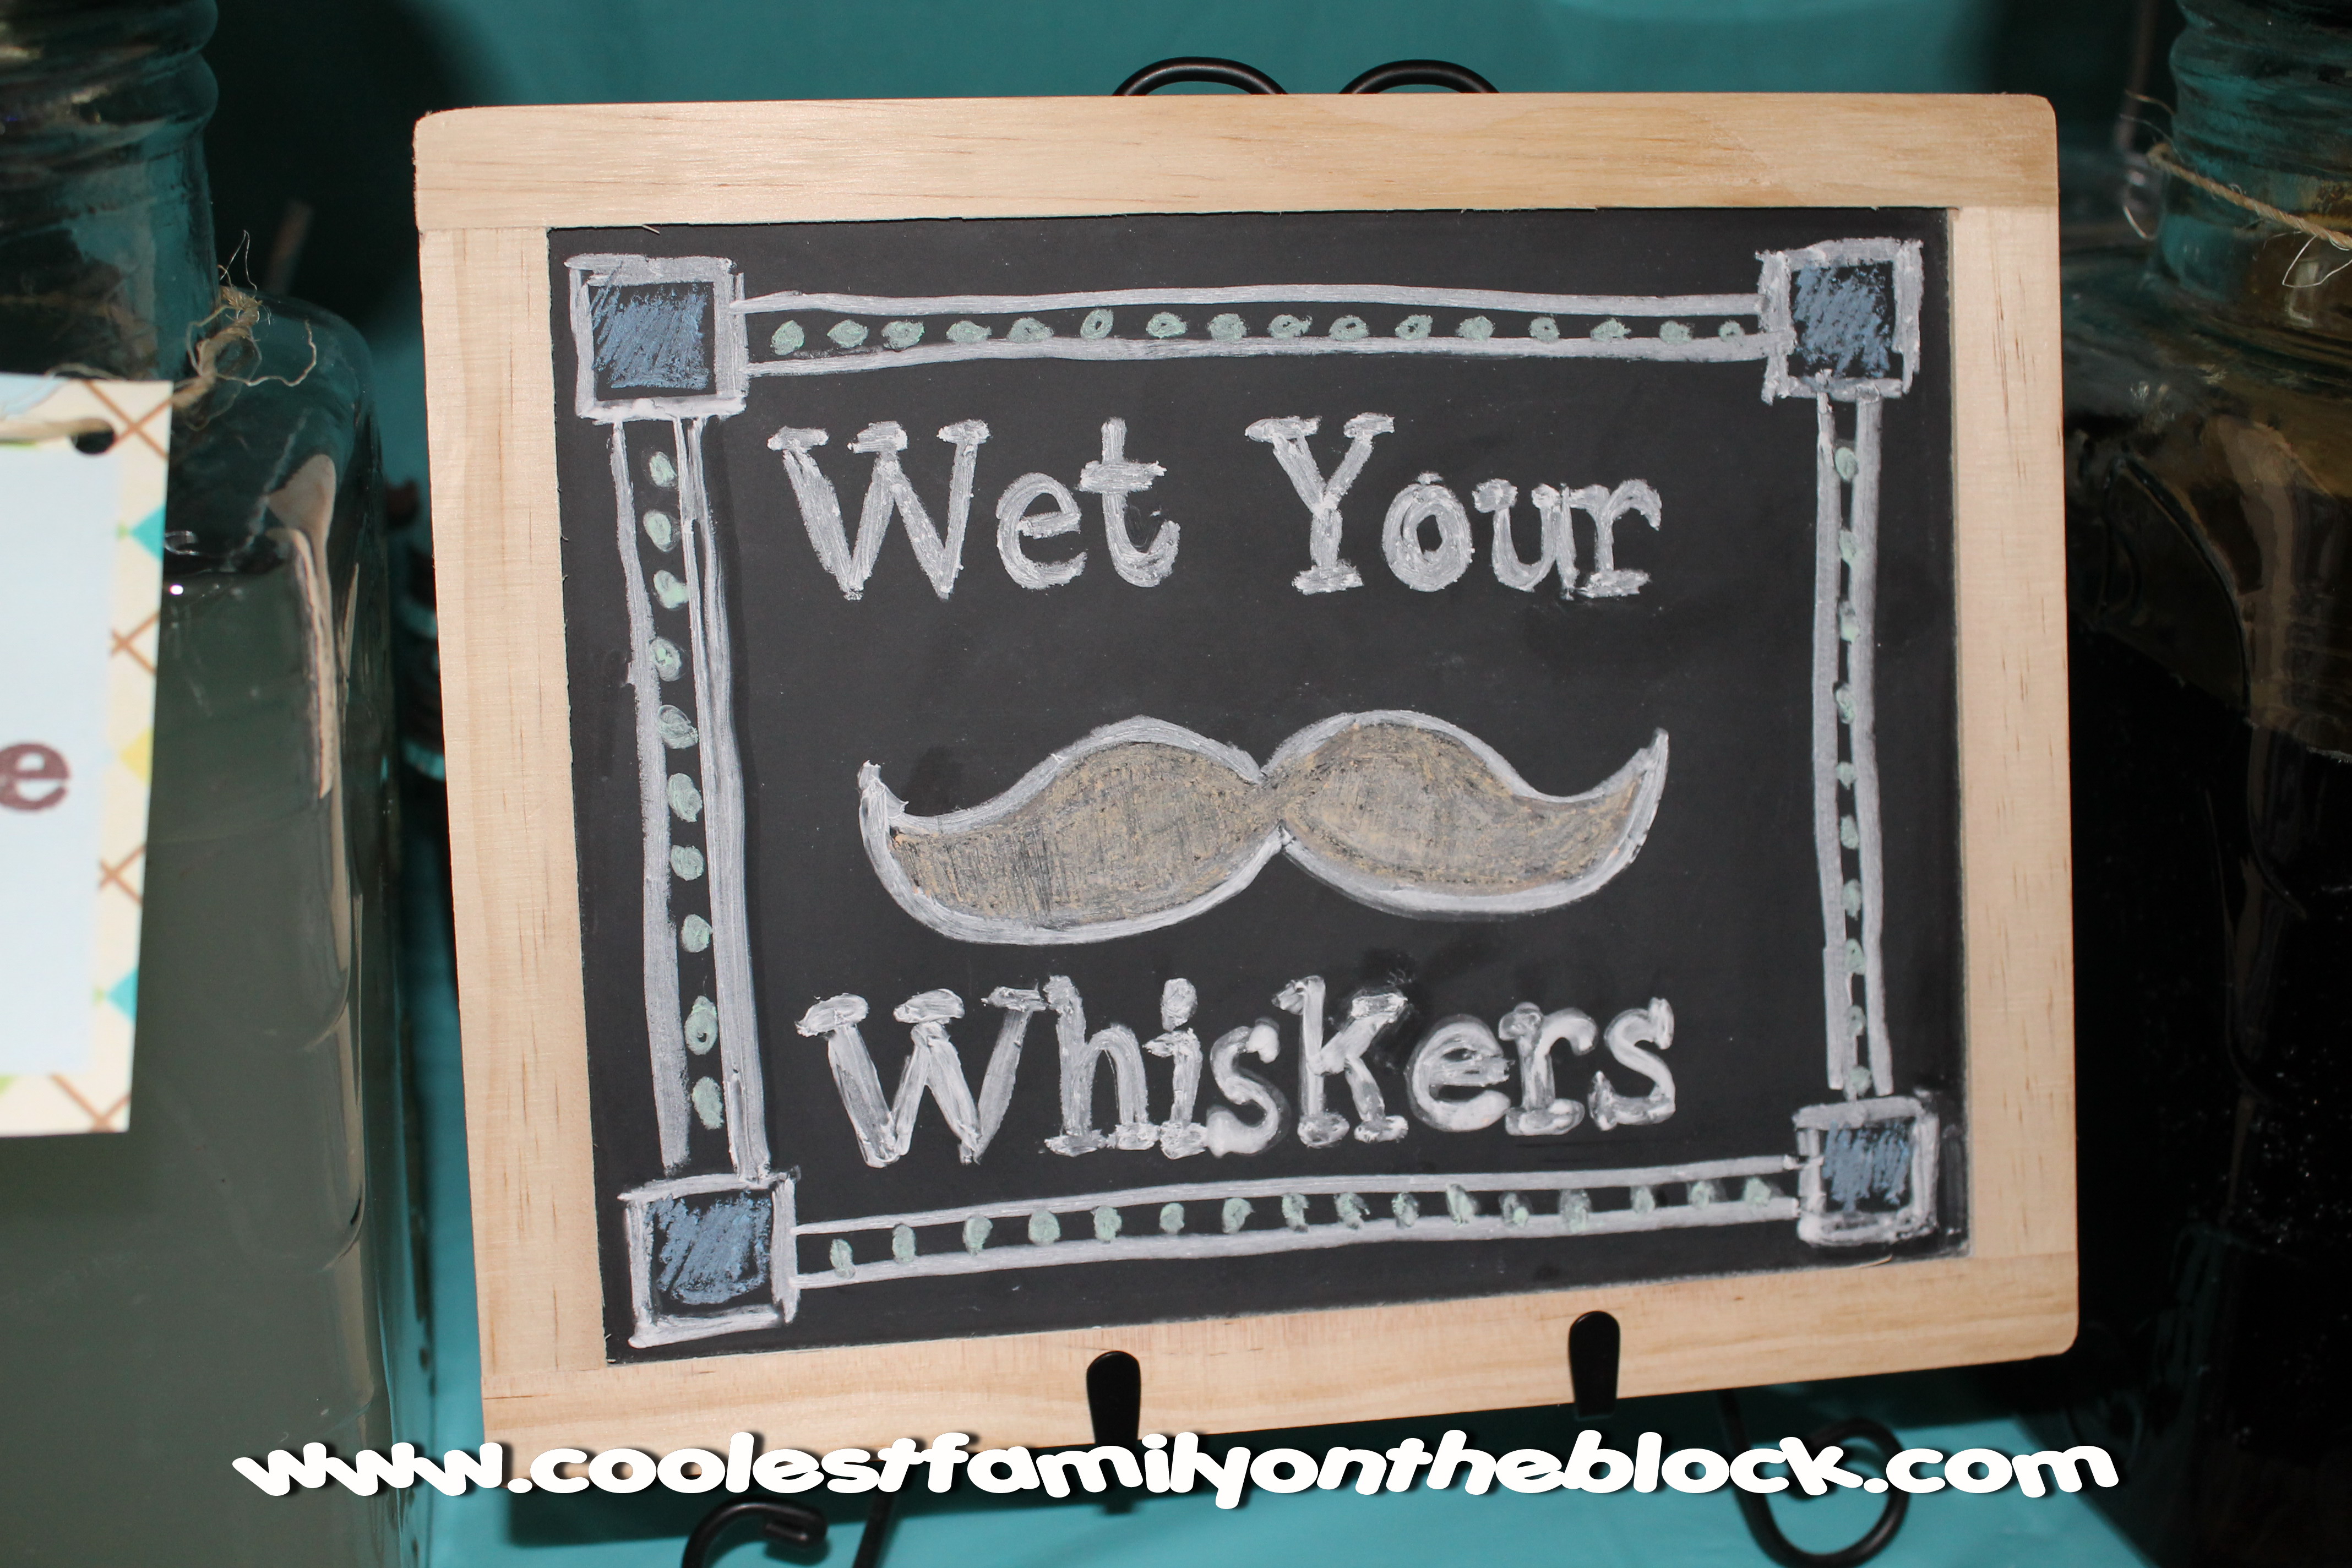
This was my first attempt at a chalkboard sign and I think the “Wet Your Whiskers” sign turned out really nice.
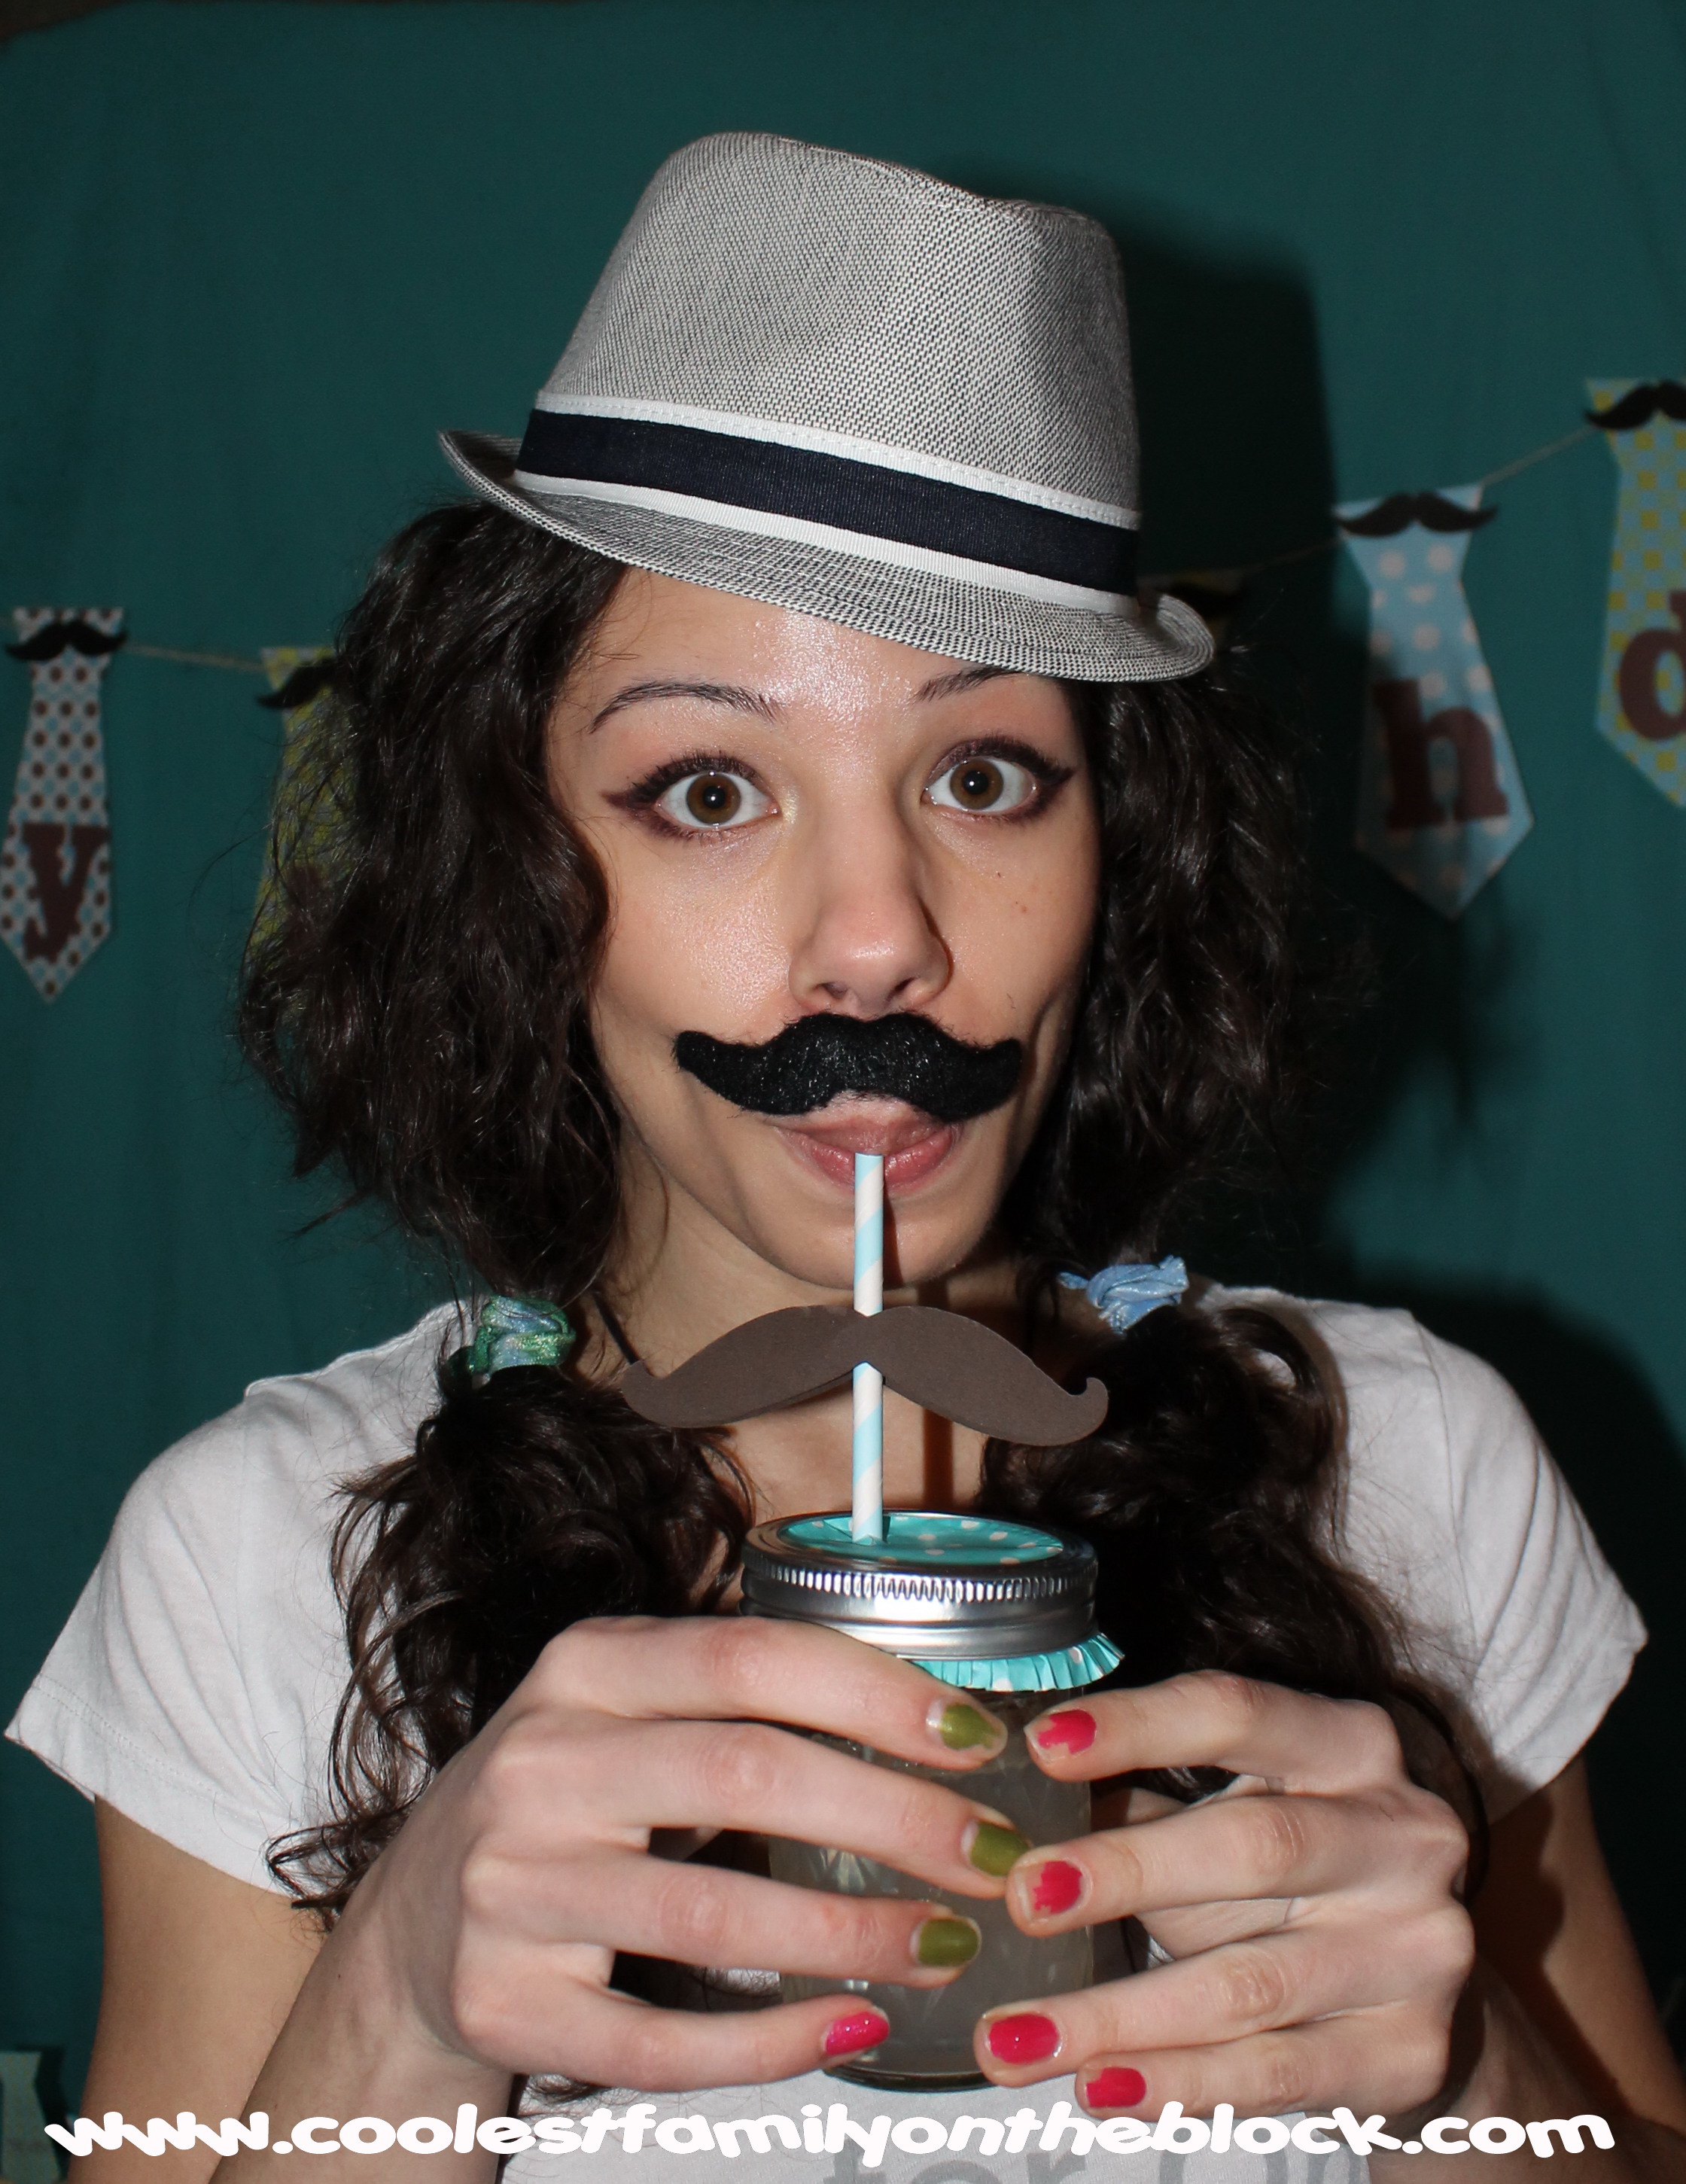
The drink glasses are mason jars with vinyl mustaches on them, cupcake paper toppers, and paper straws with mustaches or other details on them.

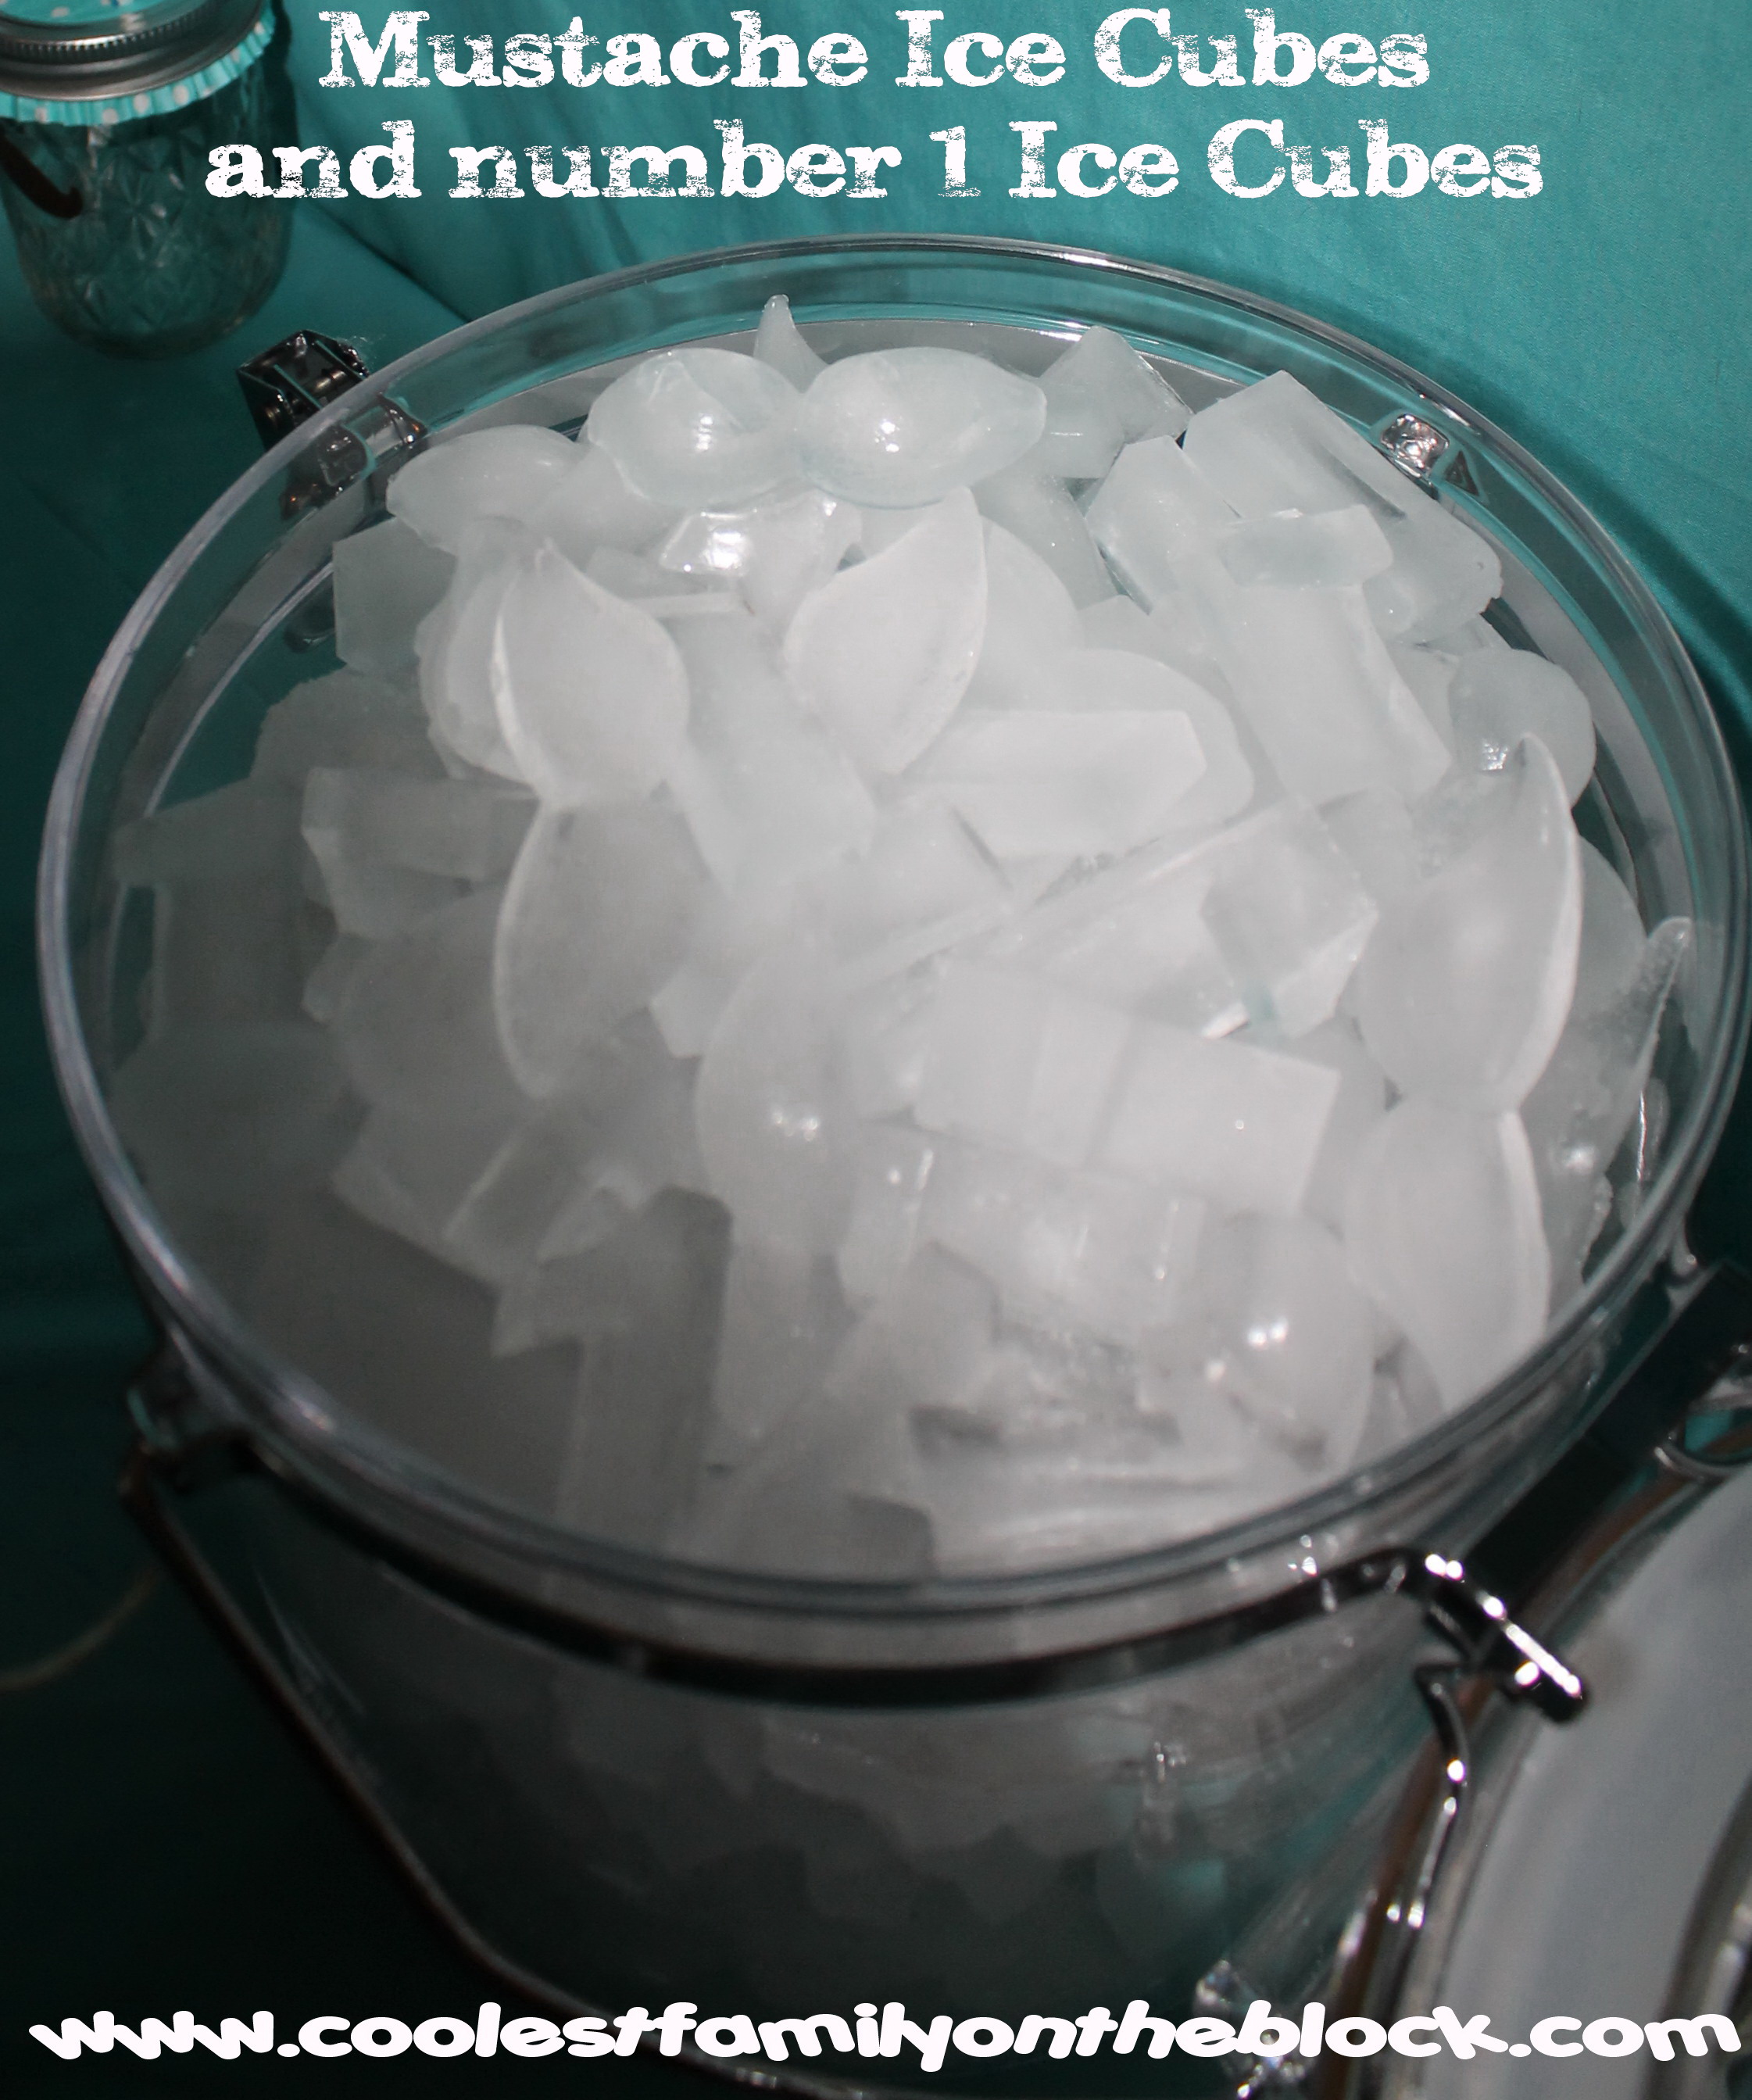
I make number ice cubes for the kids’ birthdays each year. This time I made mustache ice cubes in addition to the #1 ice cubes.
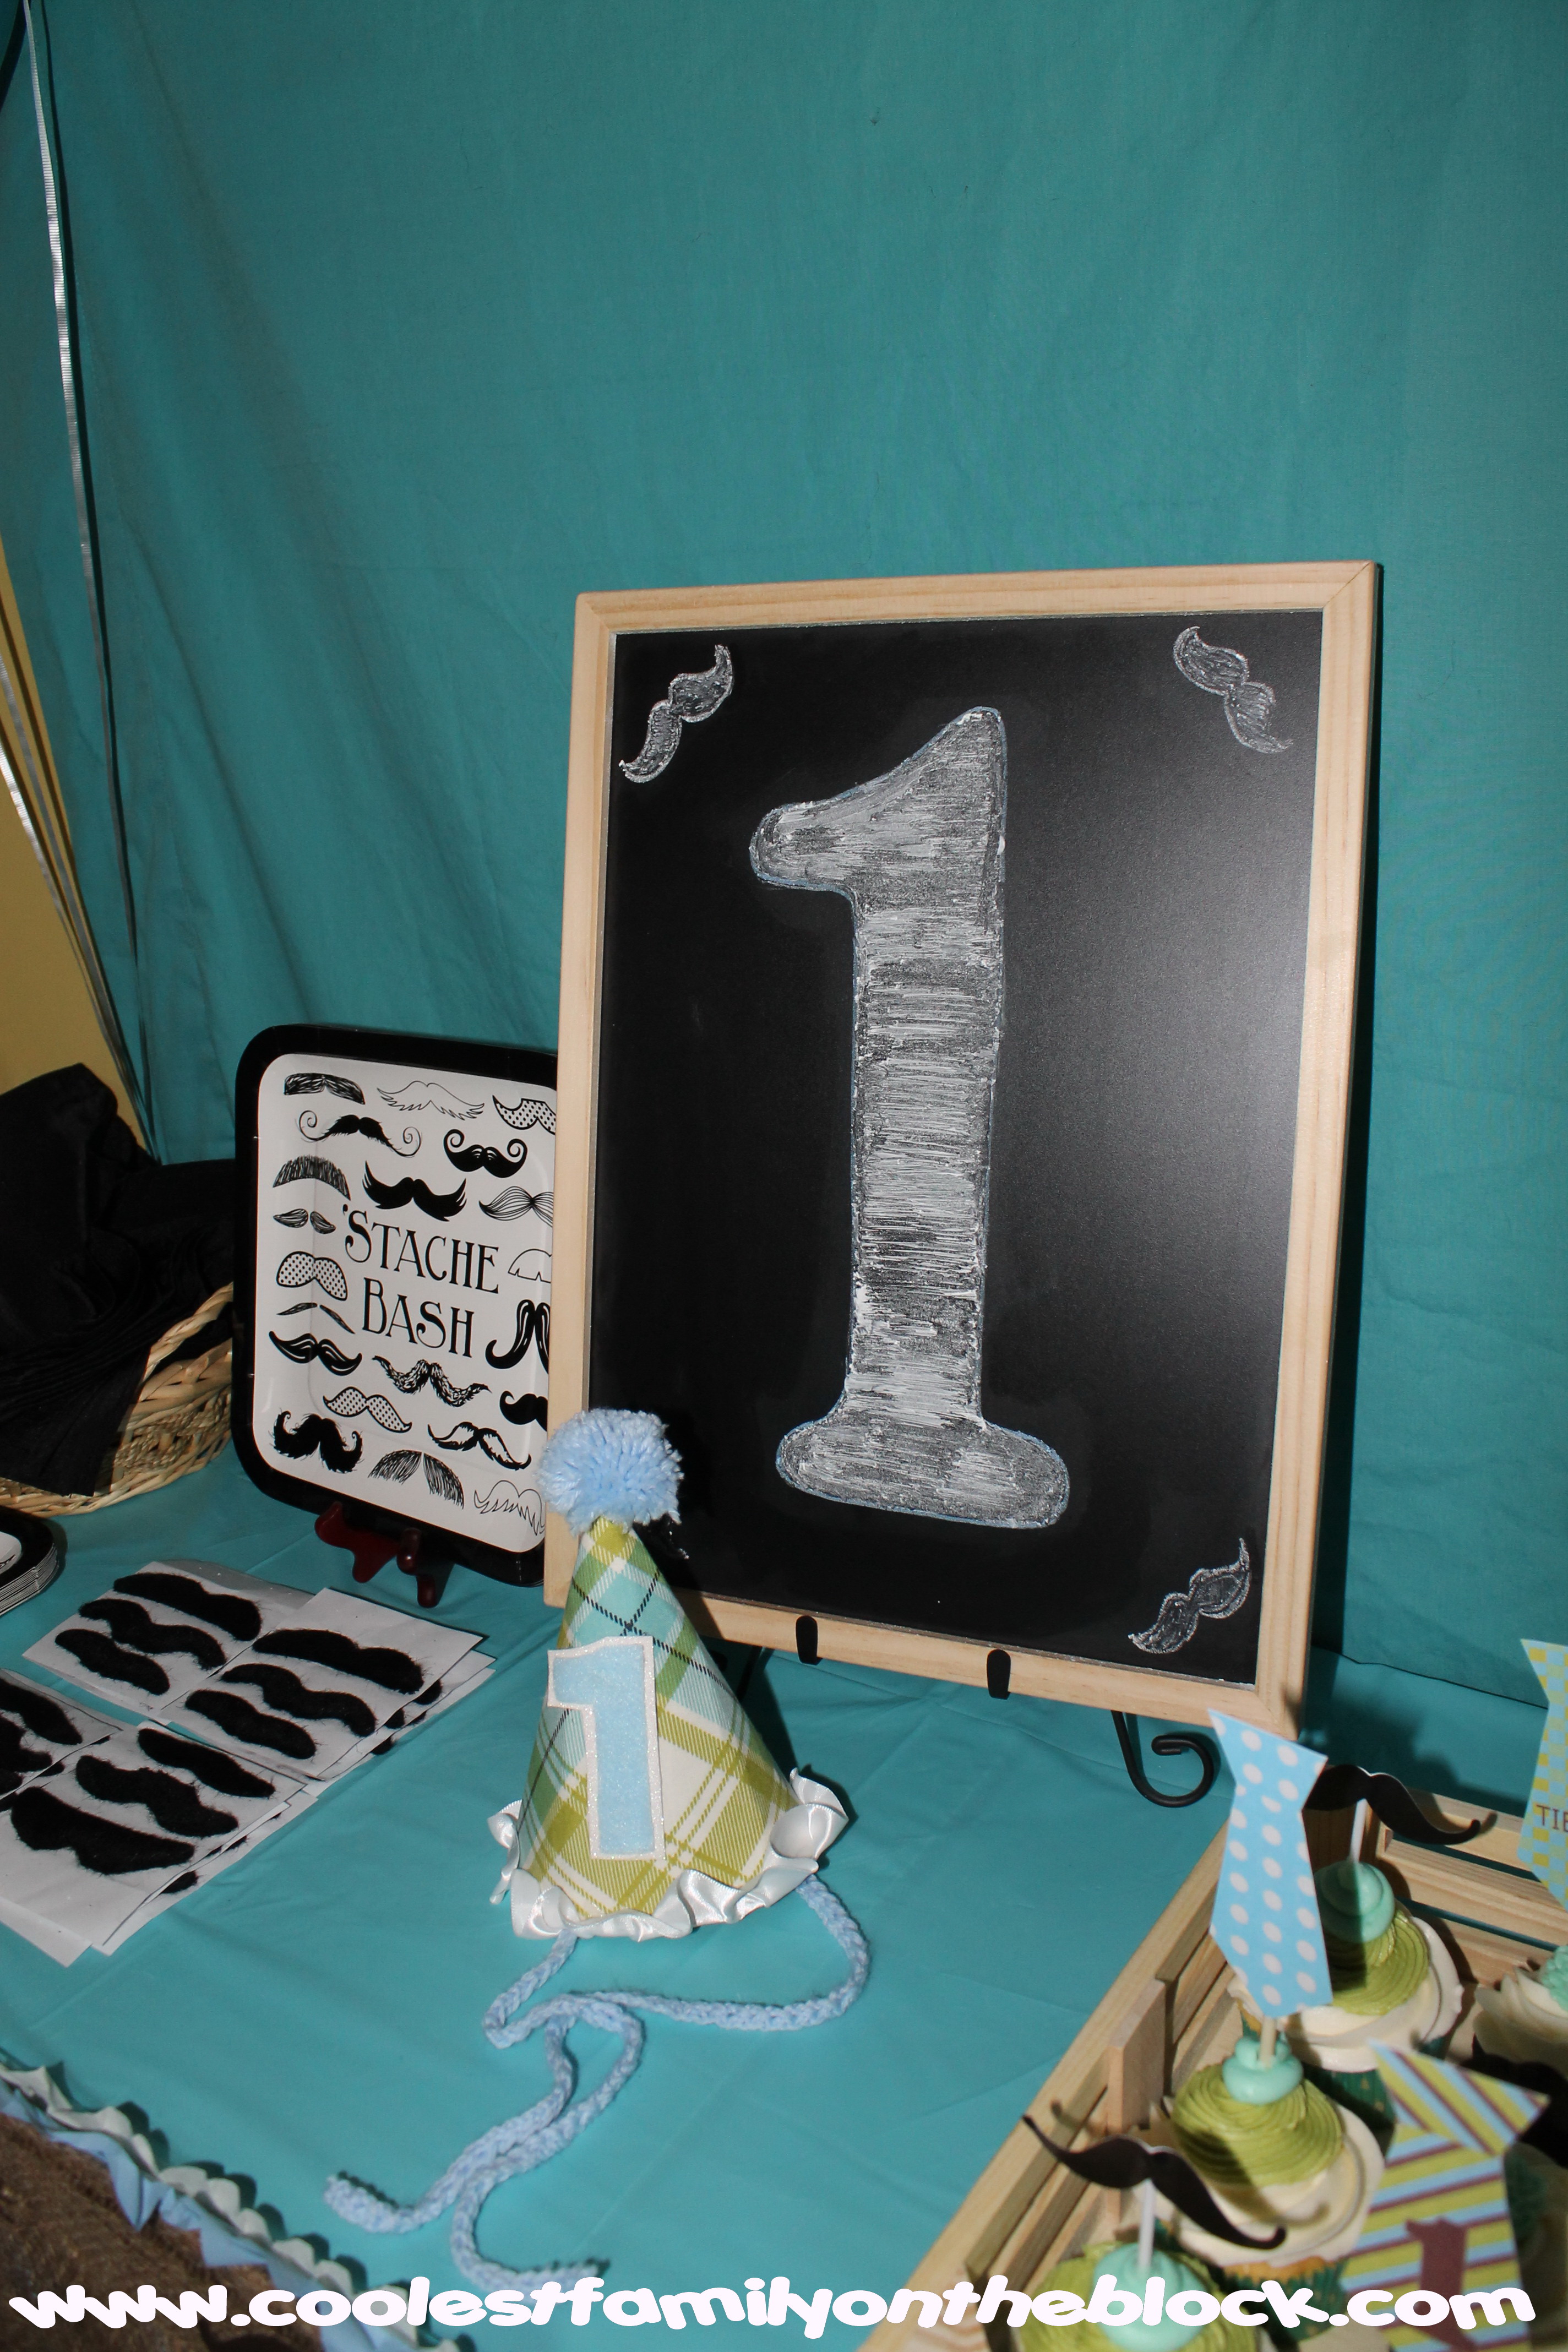
I wasn’t as thrilled with this #1 chalkboard sign as much as the “Wet your whiskers” one. I tried it a bunch of times but it never came out right.
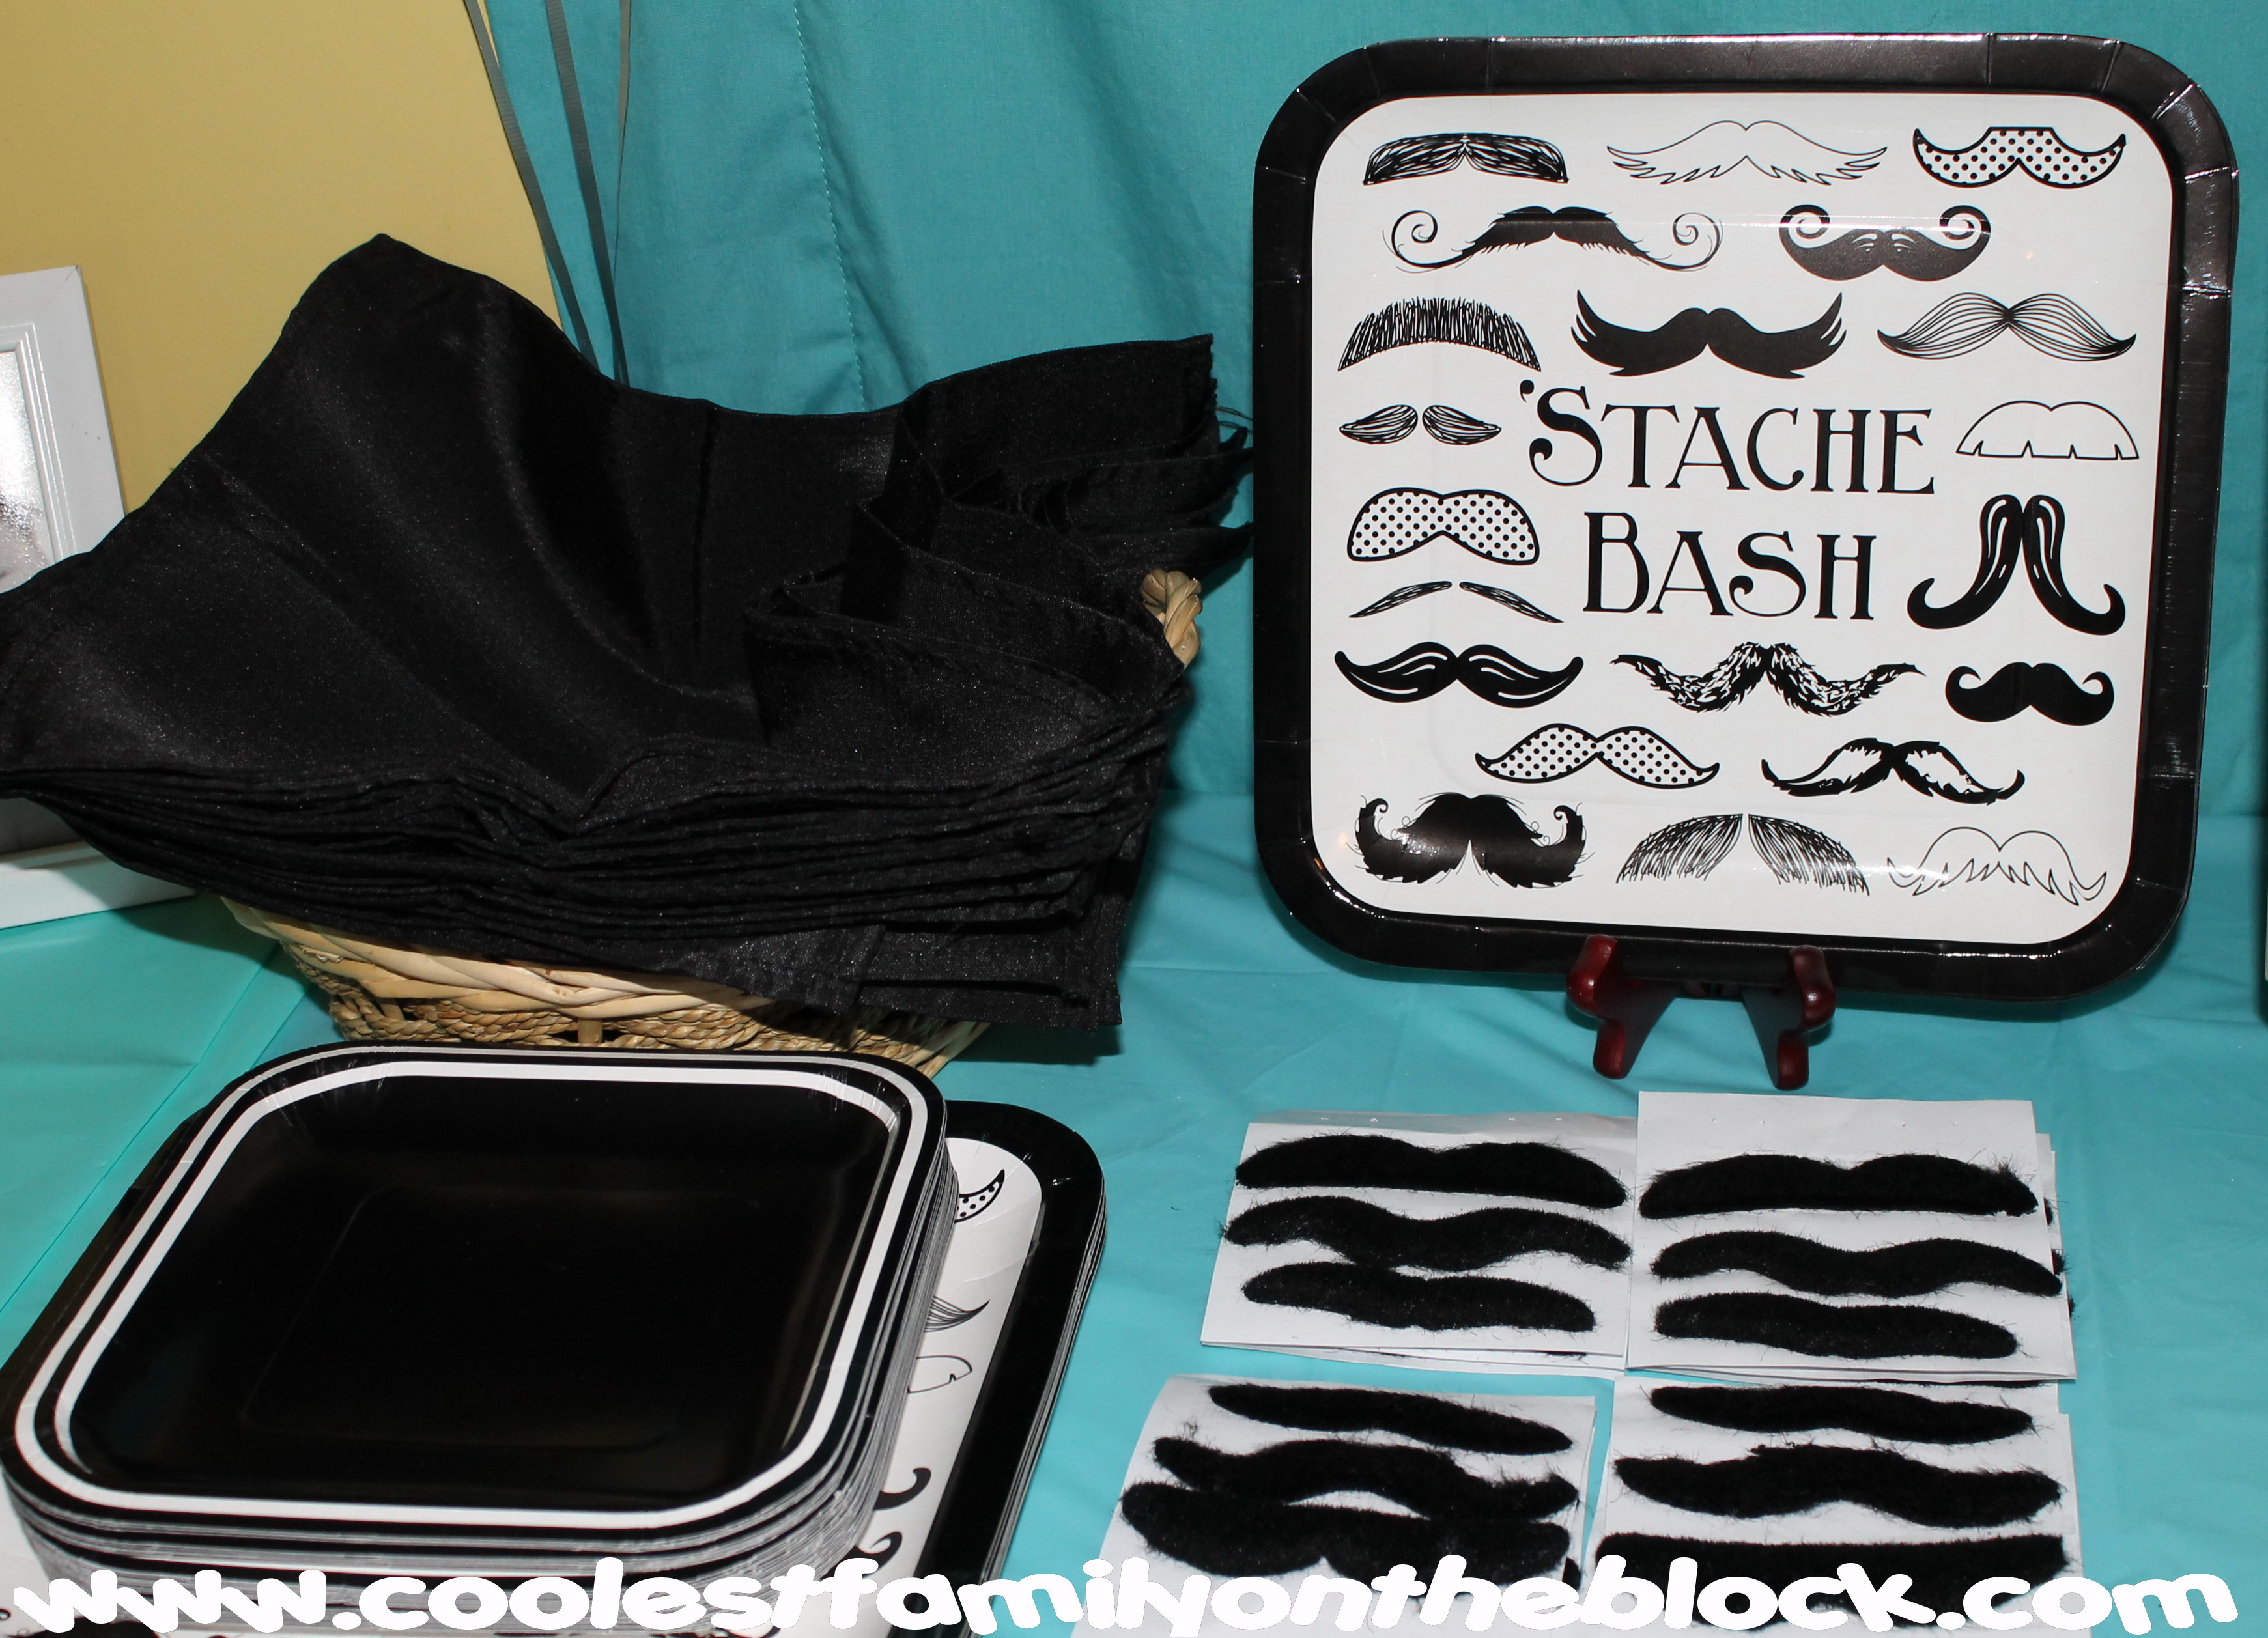
Cute “Stache Bash” paper plates and adhesive mustaches for all to enjoy! I was going to fold the napkins into neckties and ran out of time, so it’s just a basket of napkins. Oh well.
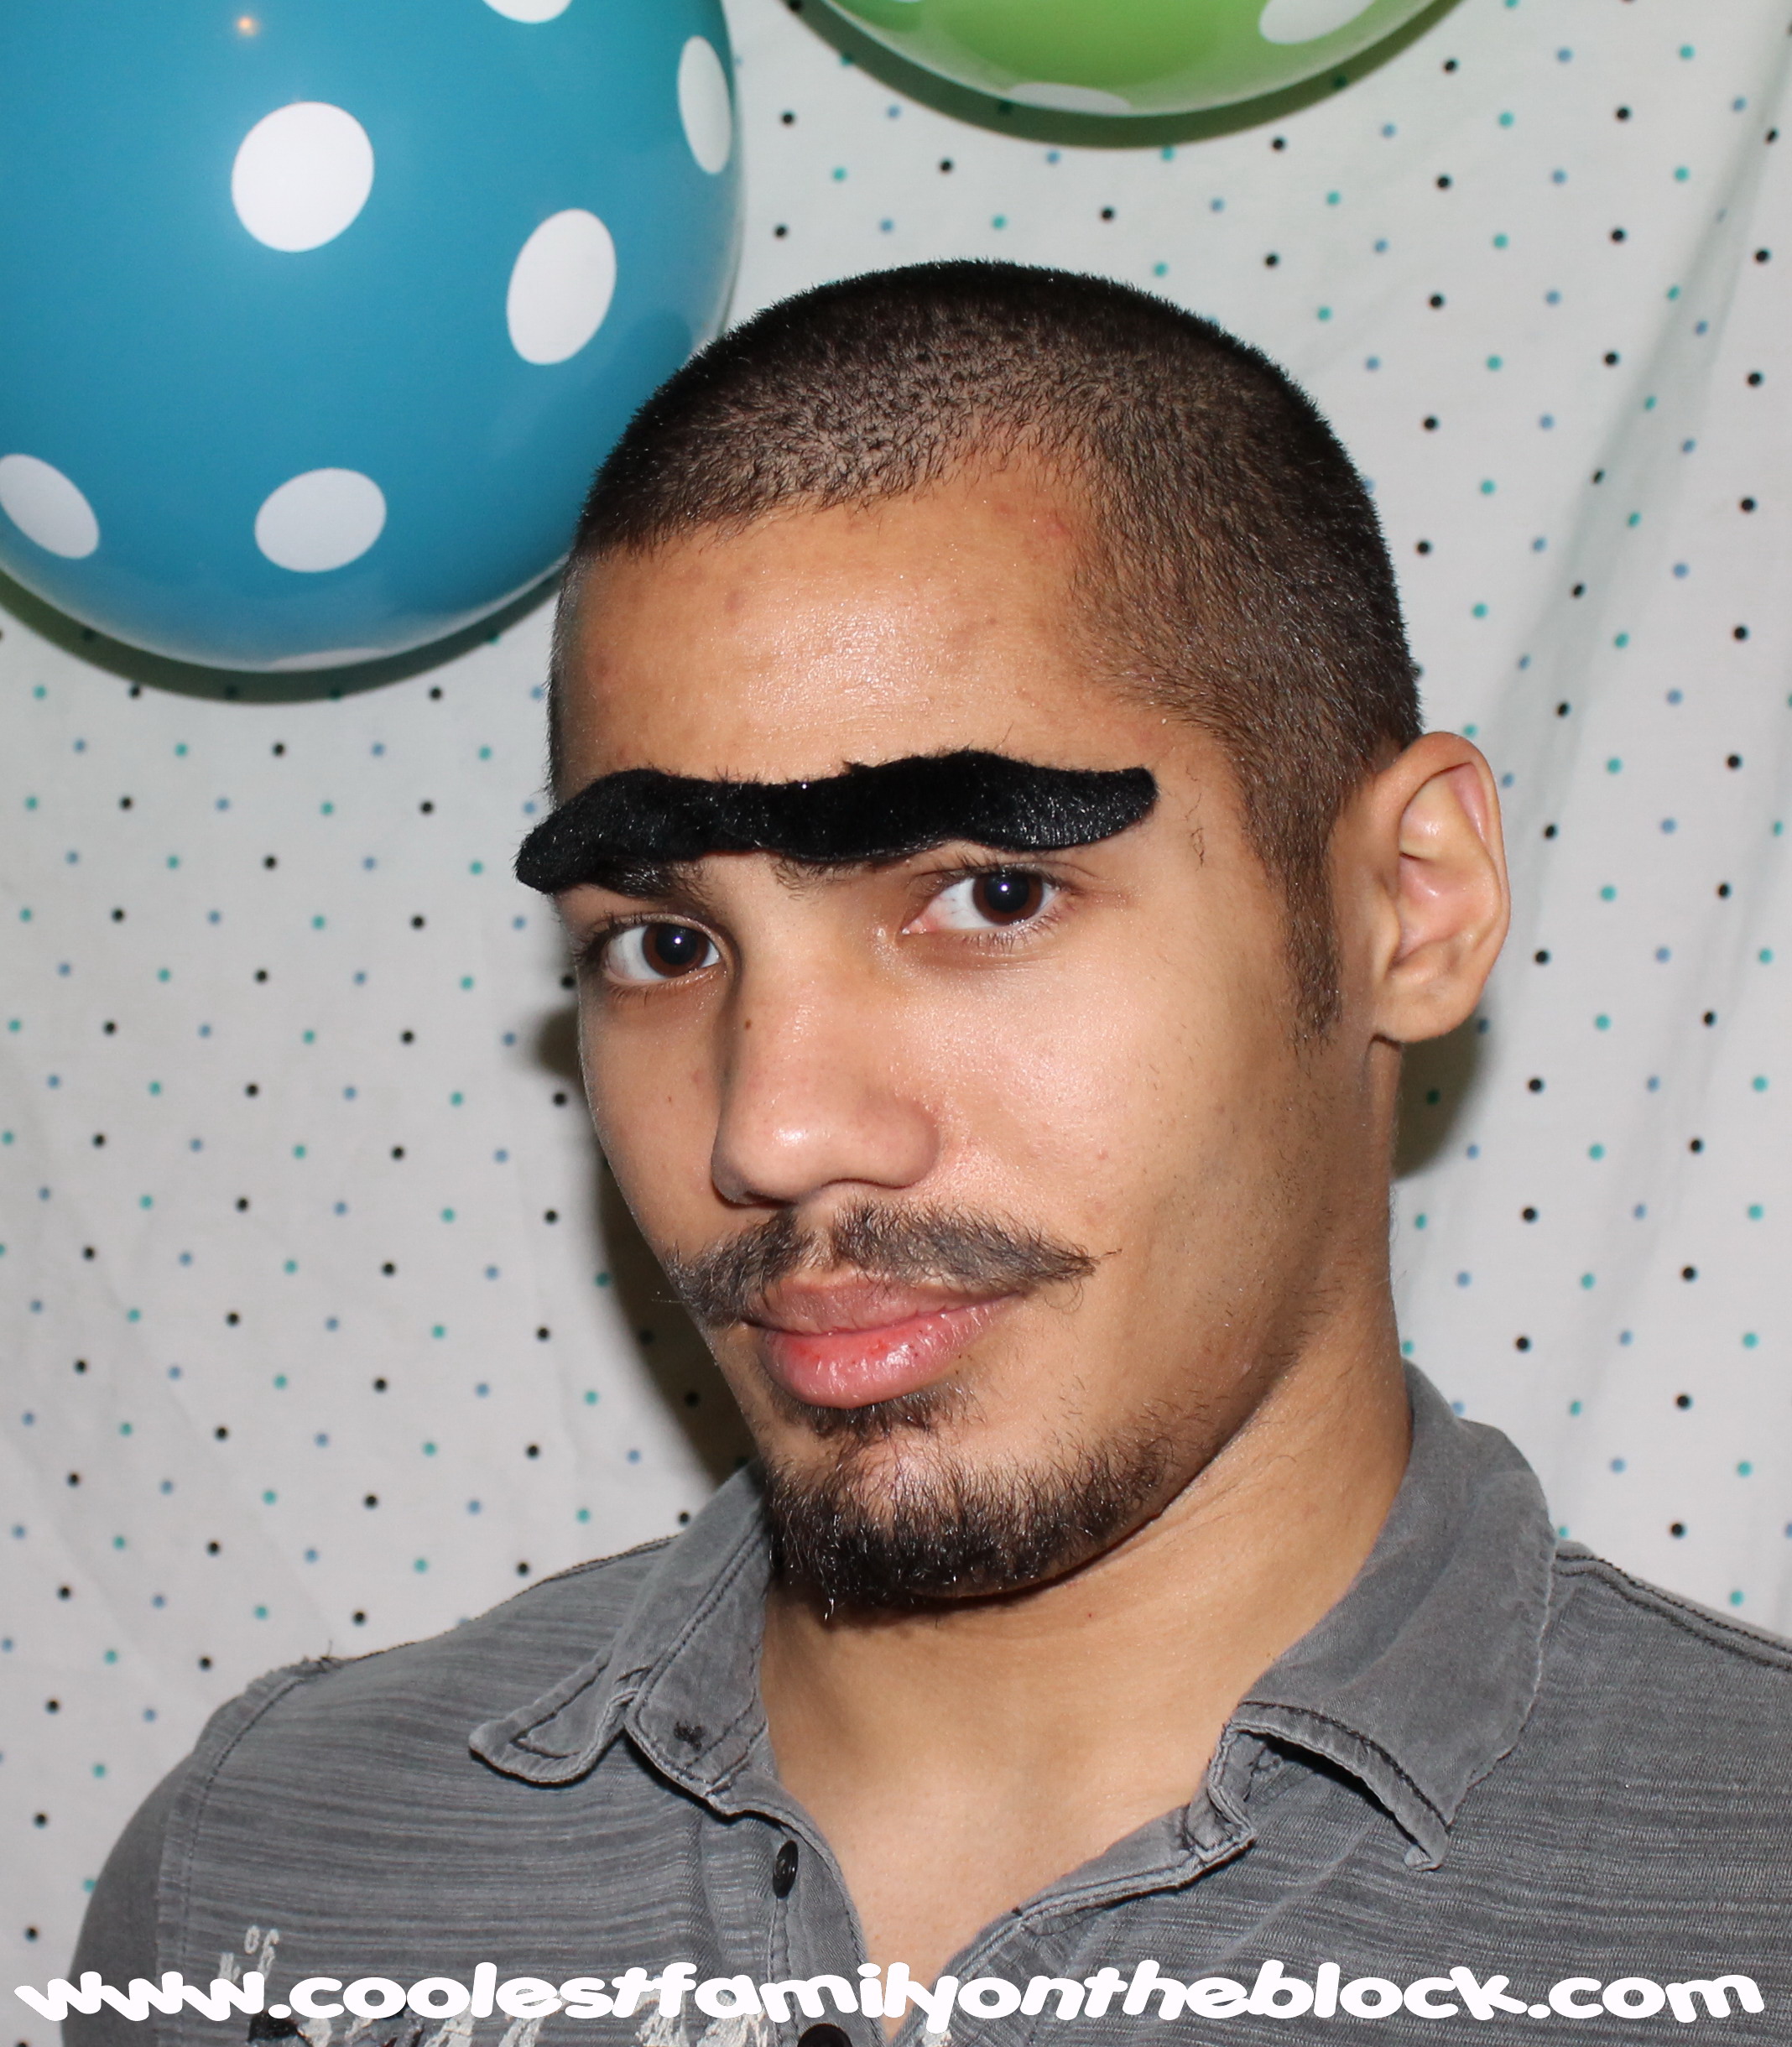
These are my cousins. Weirdness runs in the family.
13 photos of Jonathan from birth to 12 months line the mantel. I attached adhesive mustaches to the picture frames. The picture frames were purchased in 3-packs at Target in 2010 for Adaline’s 1st Birthday.

Jonny checking out his cake.
It’s time to sing Happy Birthday!
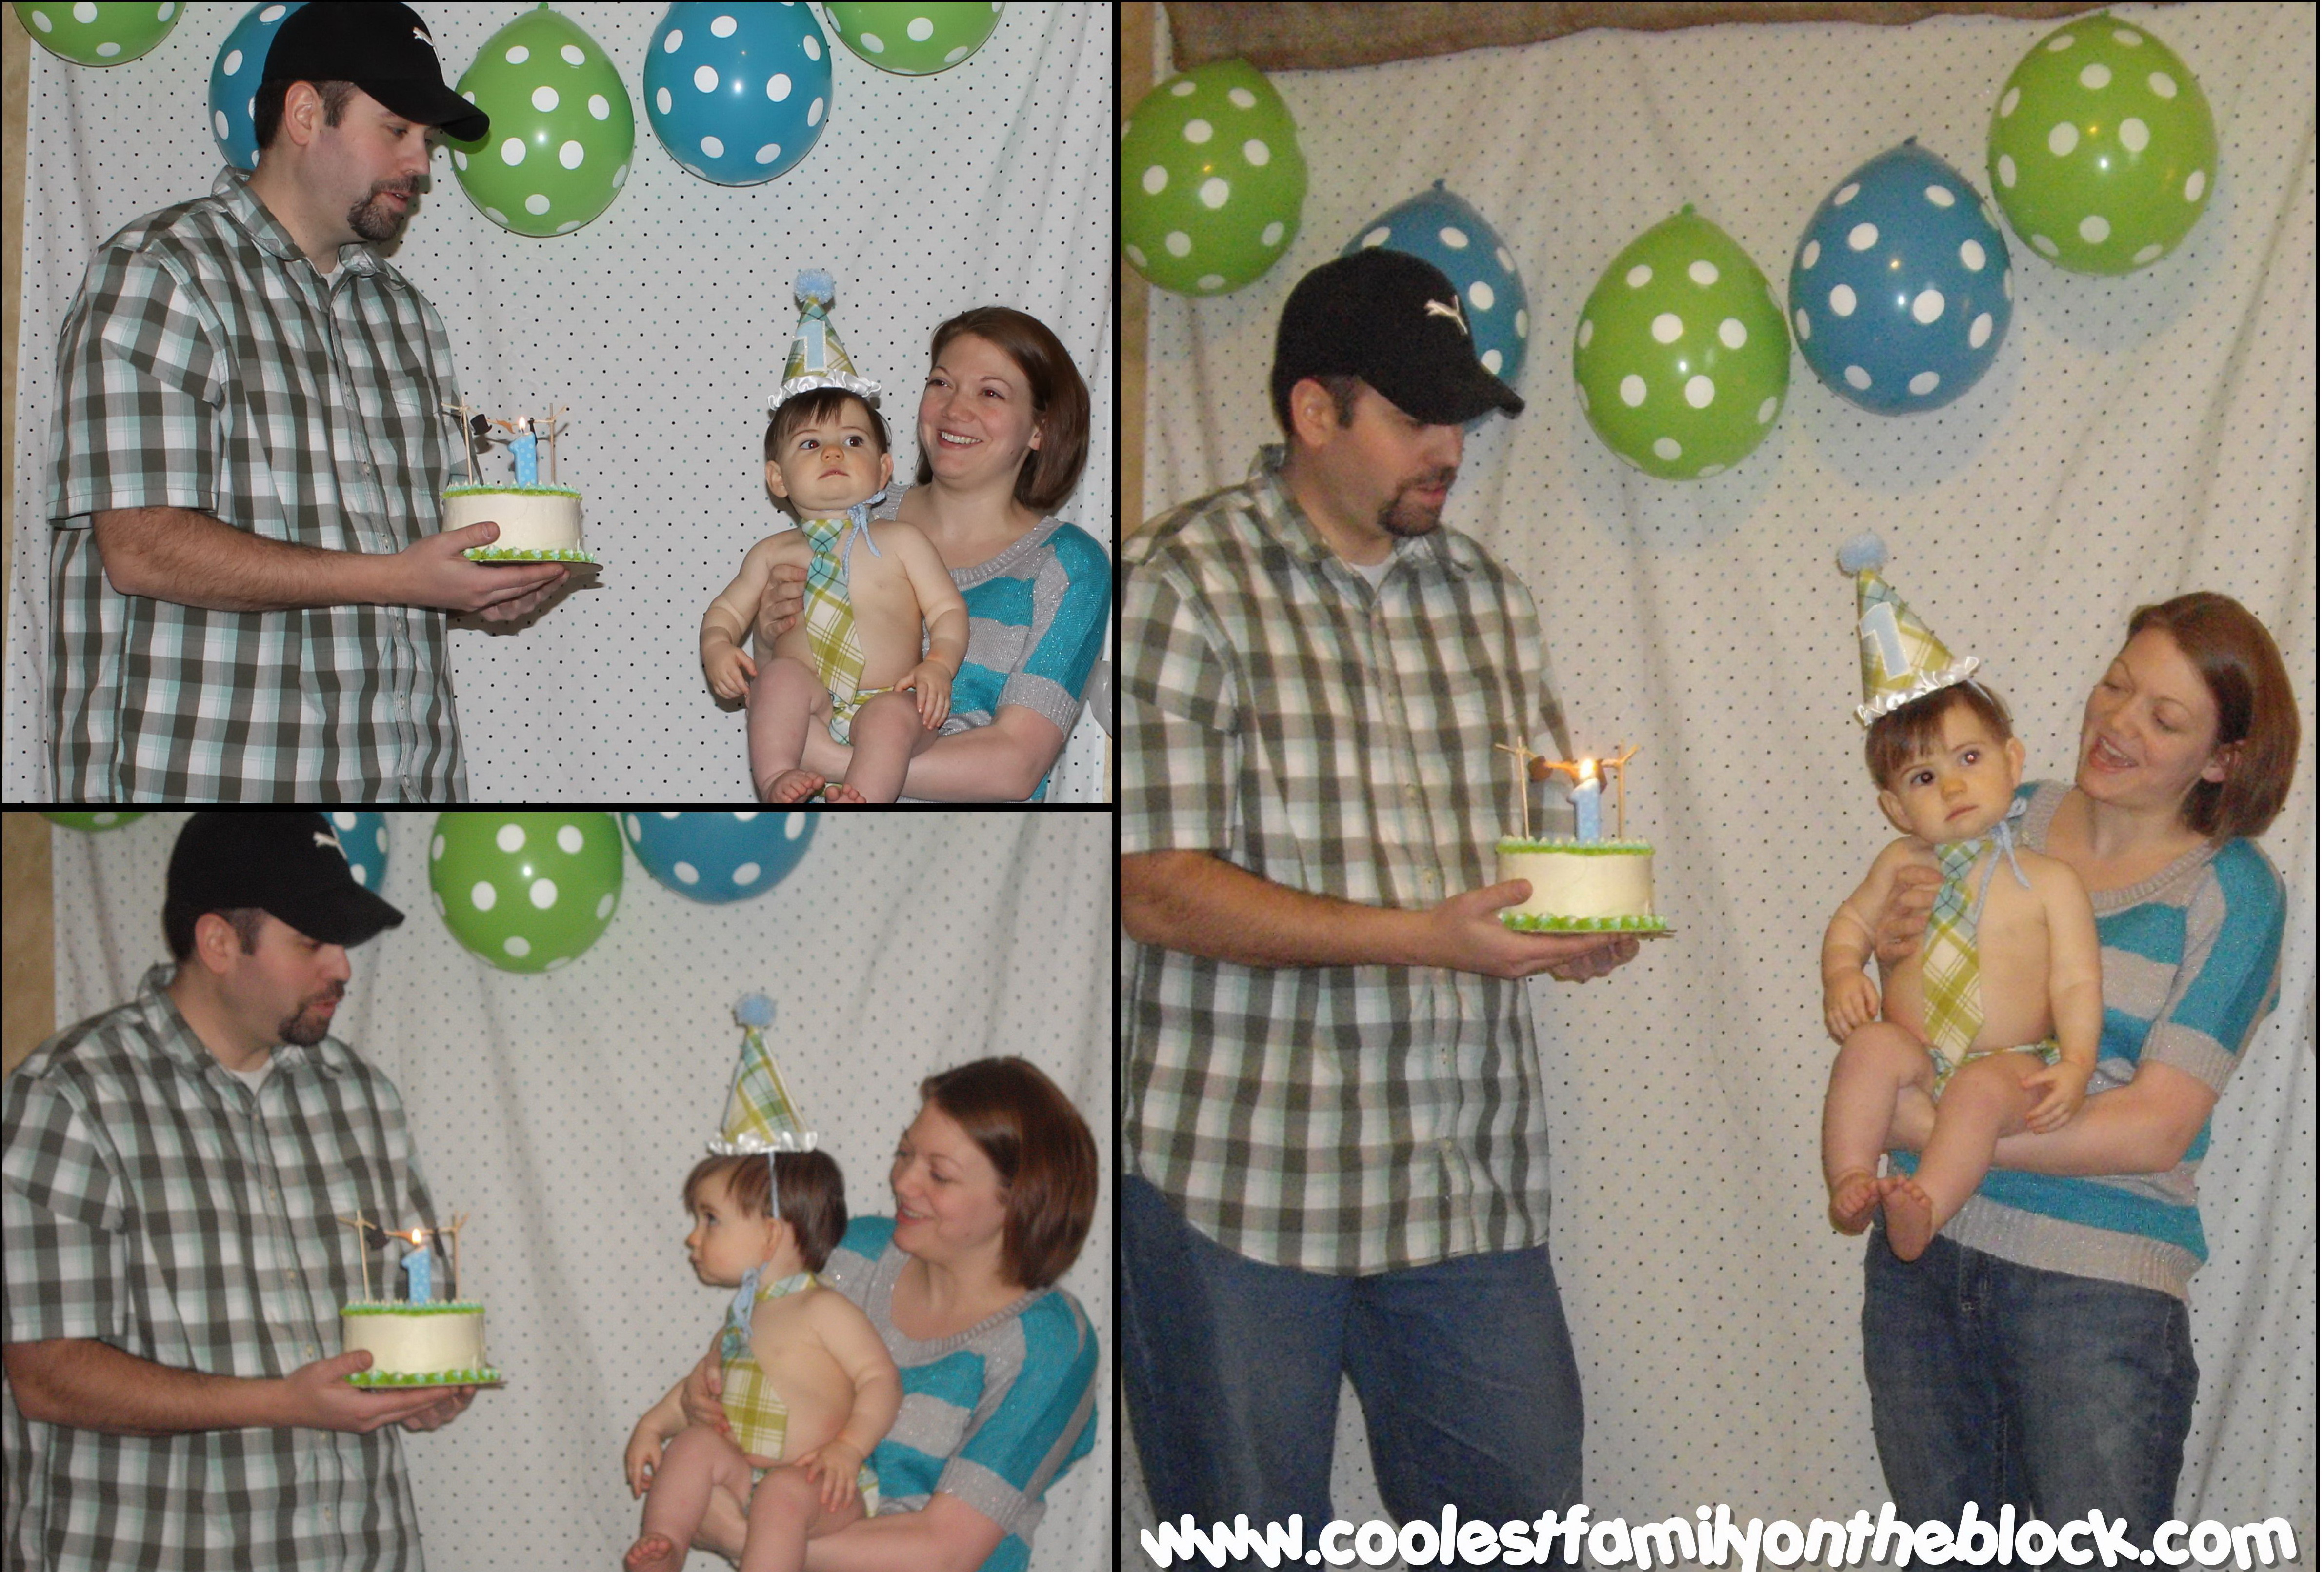
For the cake we laid a plastic table cloth on the floor and let him go to town. He never really did go to town. He just kinda walked around the block a little.
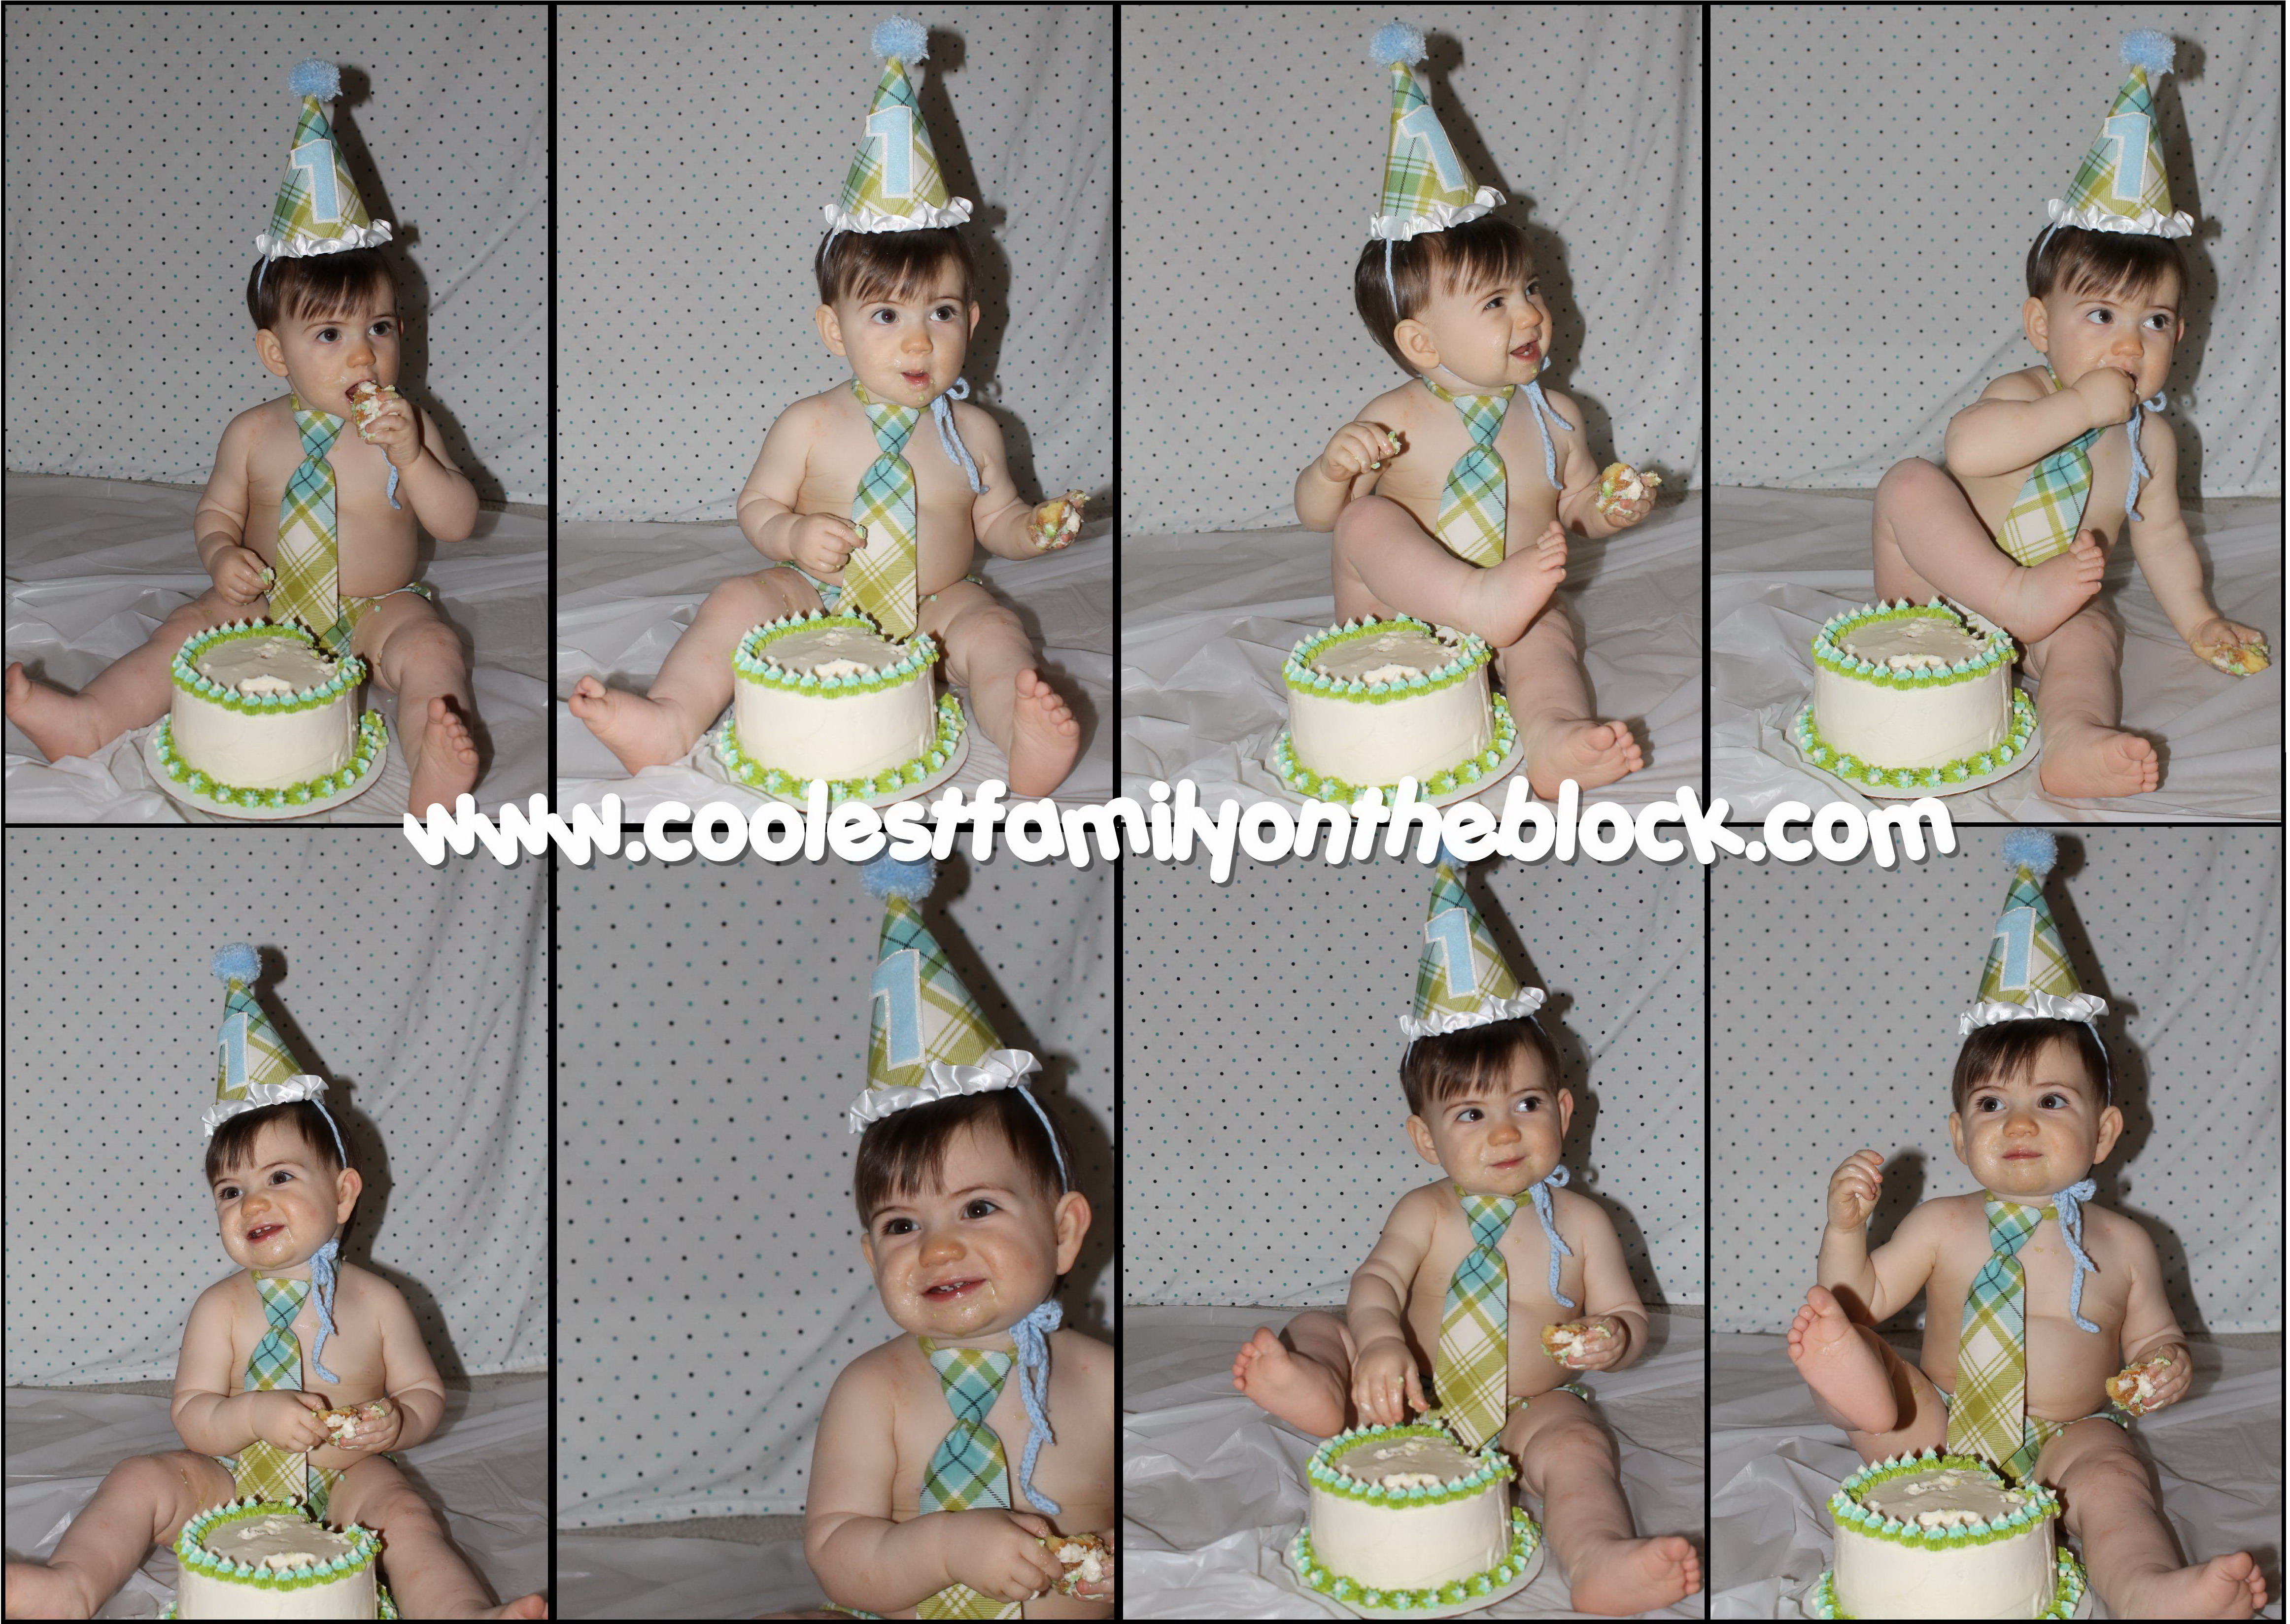
I adore the smash cake set we found on Etsy:
birthday hat, necktie, and diaper cover

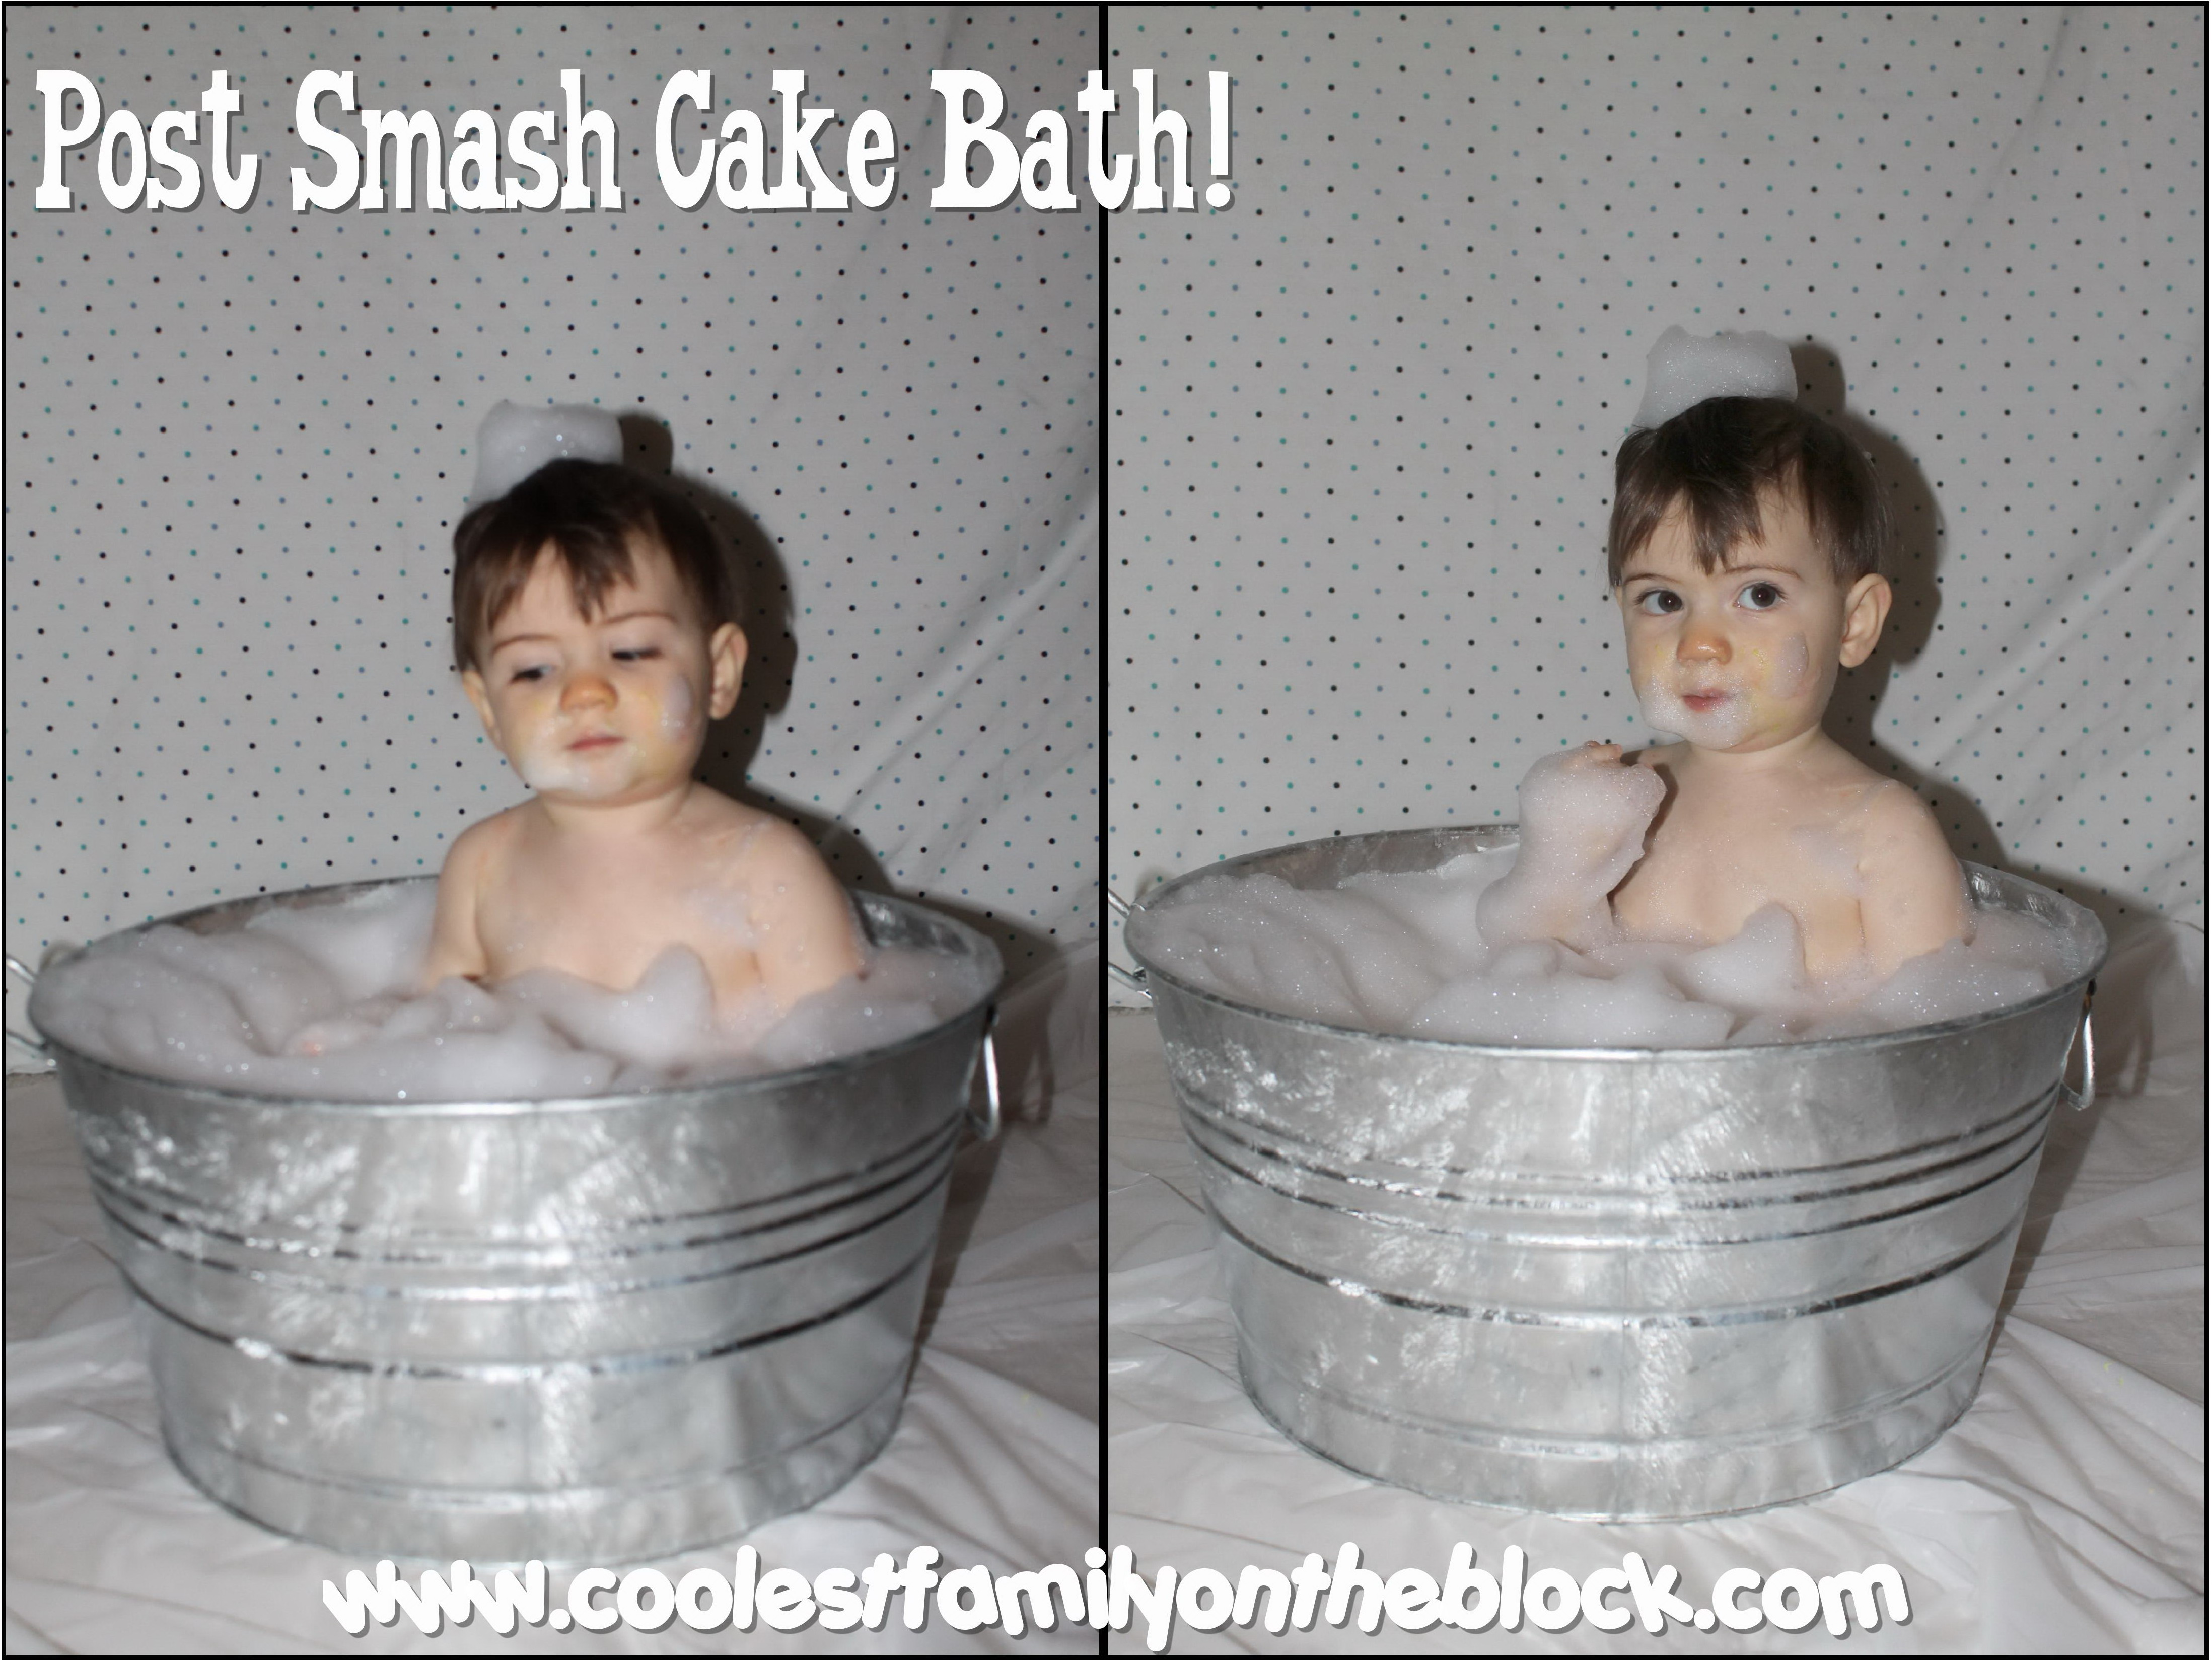
Jon barely had any cake on him but we still went ahead with his post smash cake bath. He was more interested in eating the bubbles than he was in the cake!
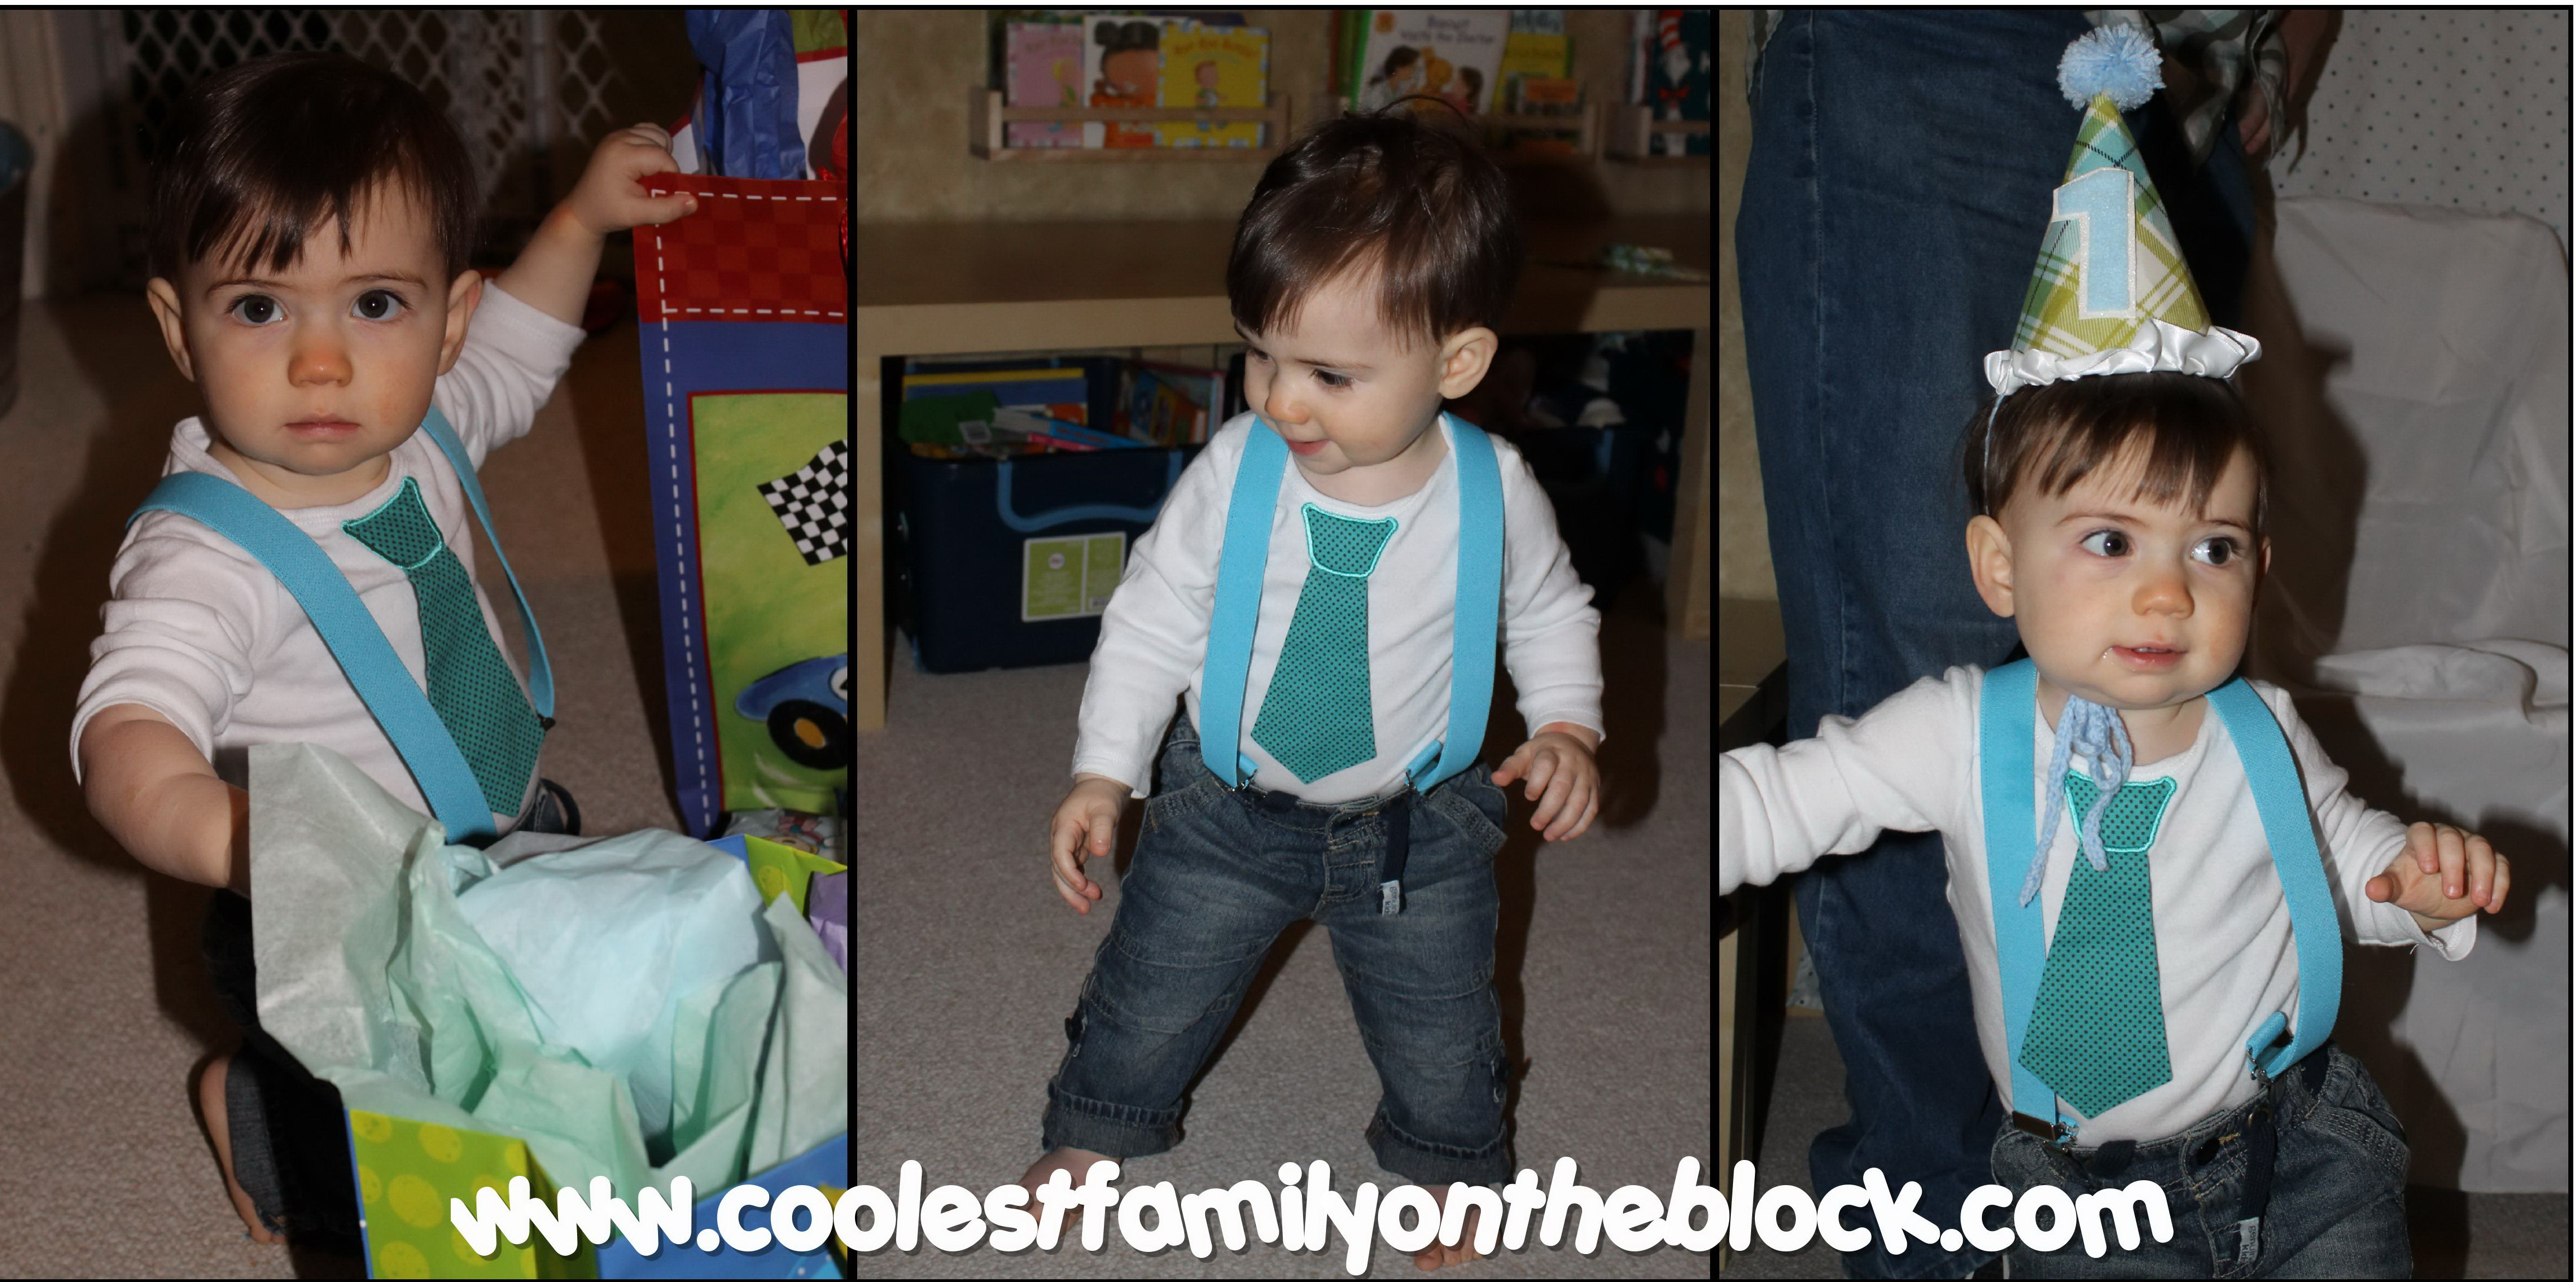
Here our little man was taking some of his first steps.
Adaline started walking on her first birthday as well.
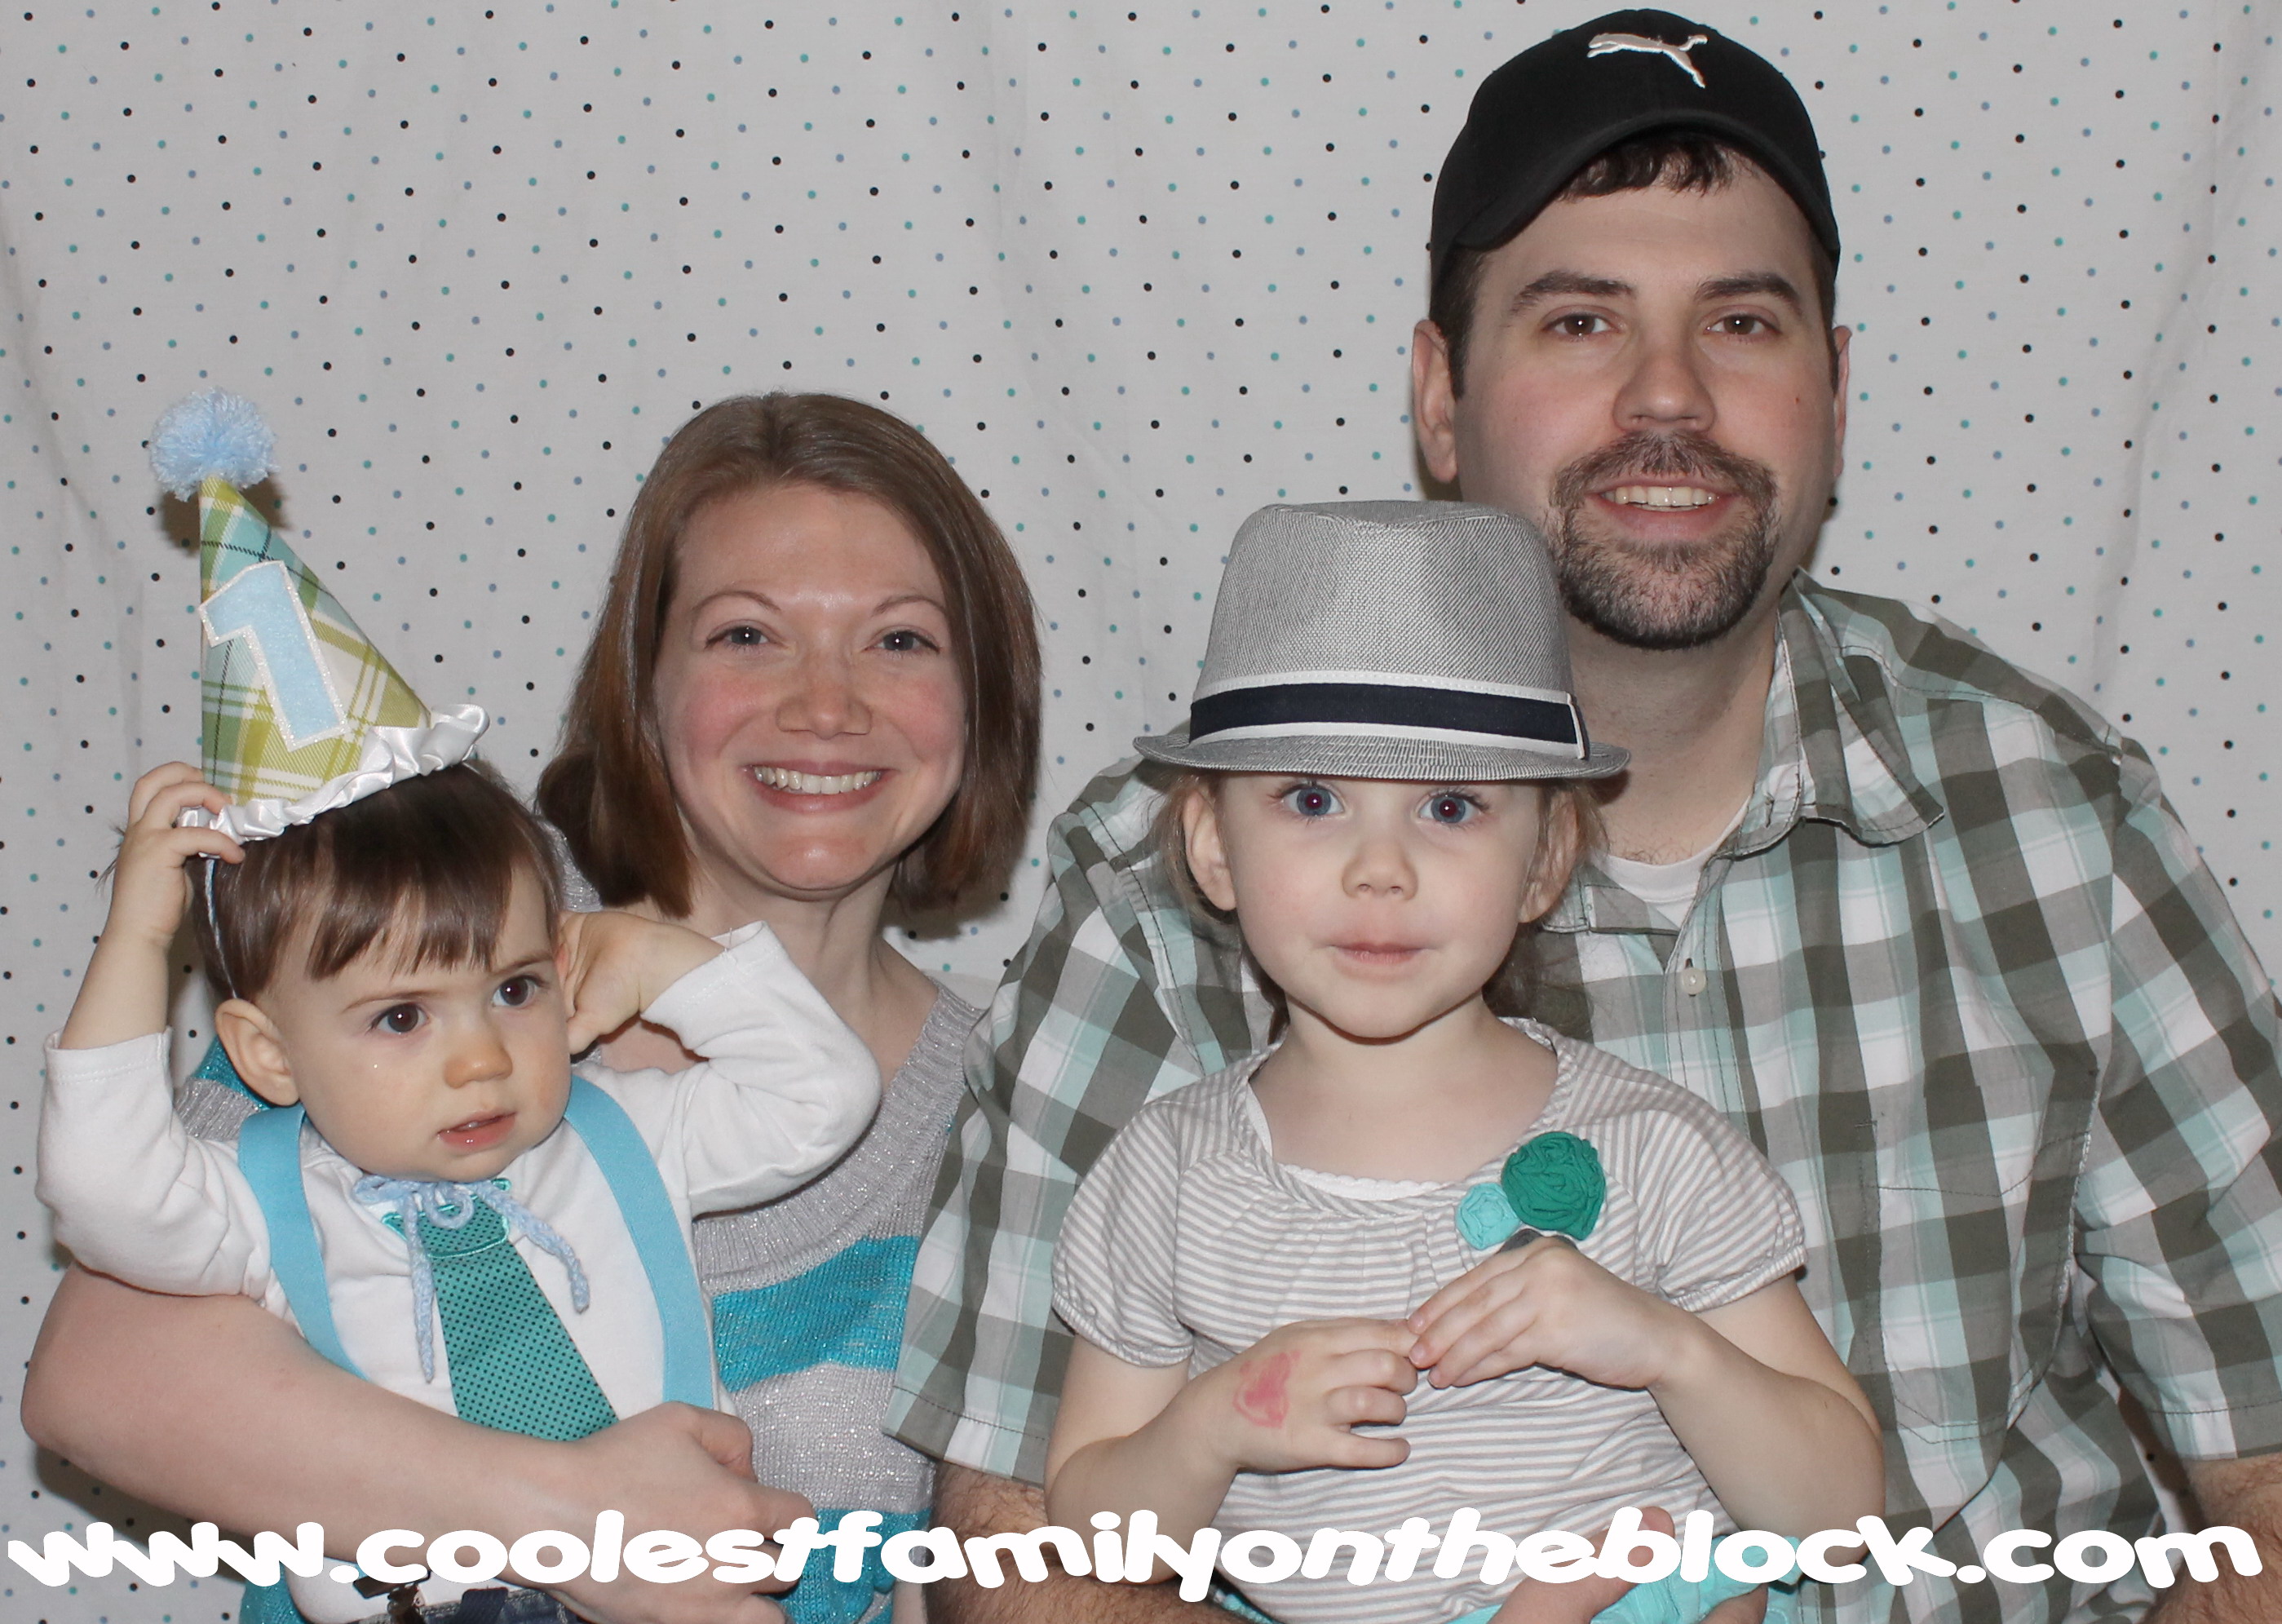
Family photo!
By the way, it’s not easy to smile wearing one of those adhesive mustaches.
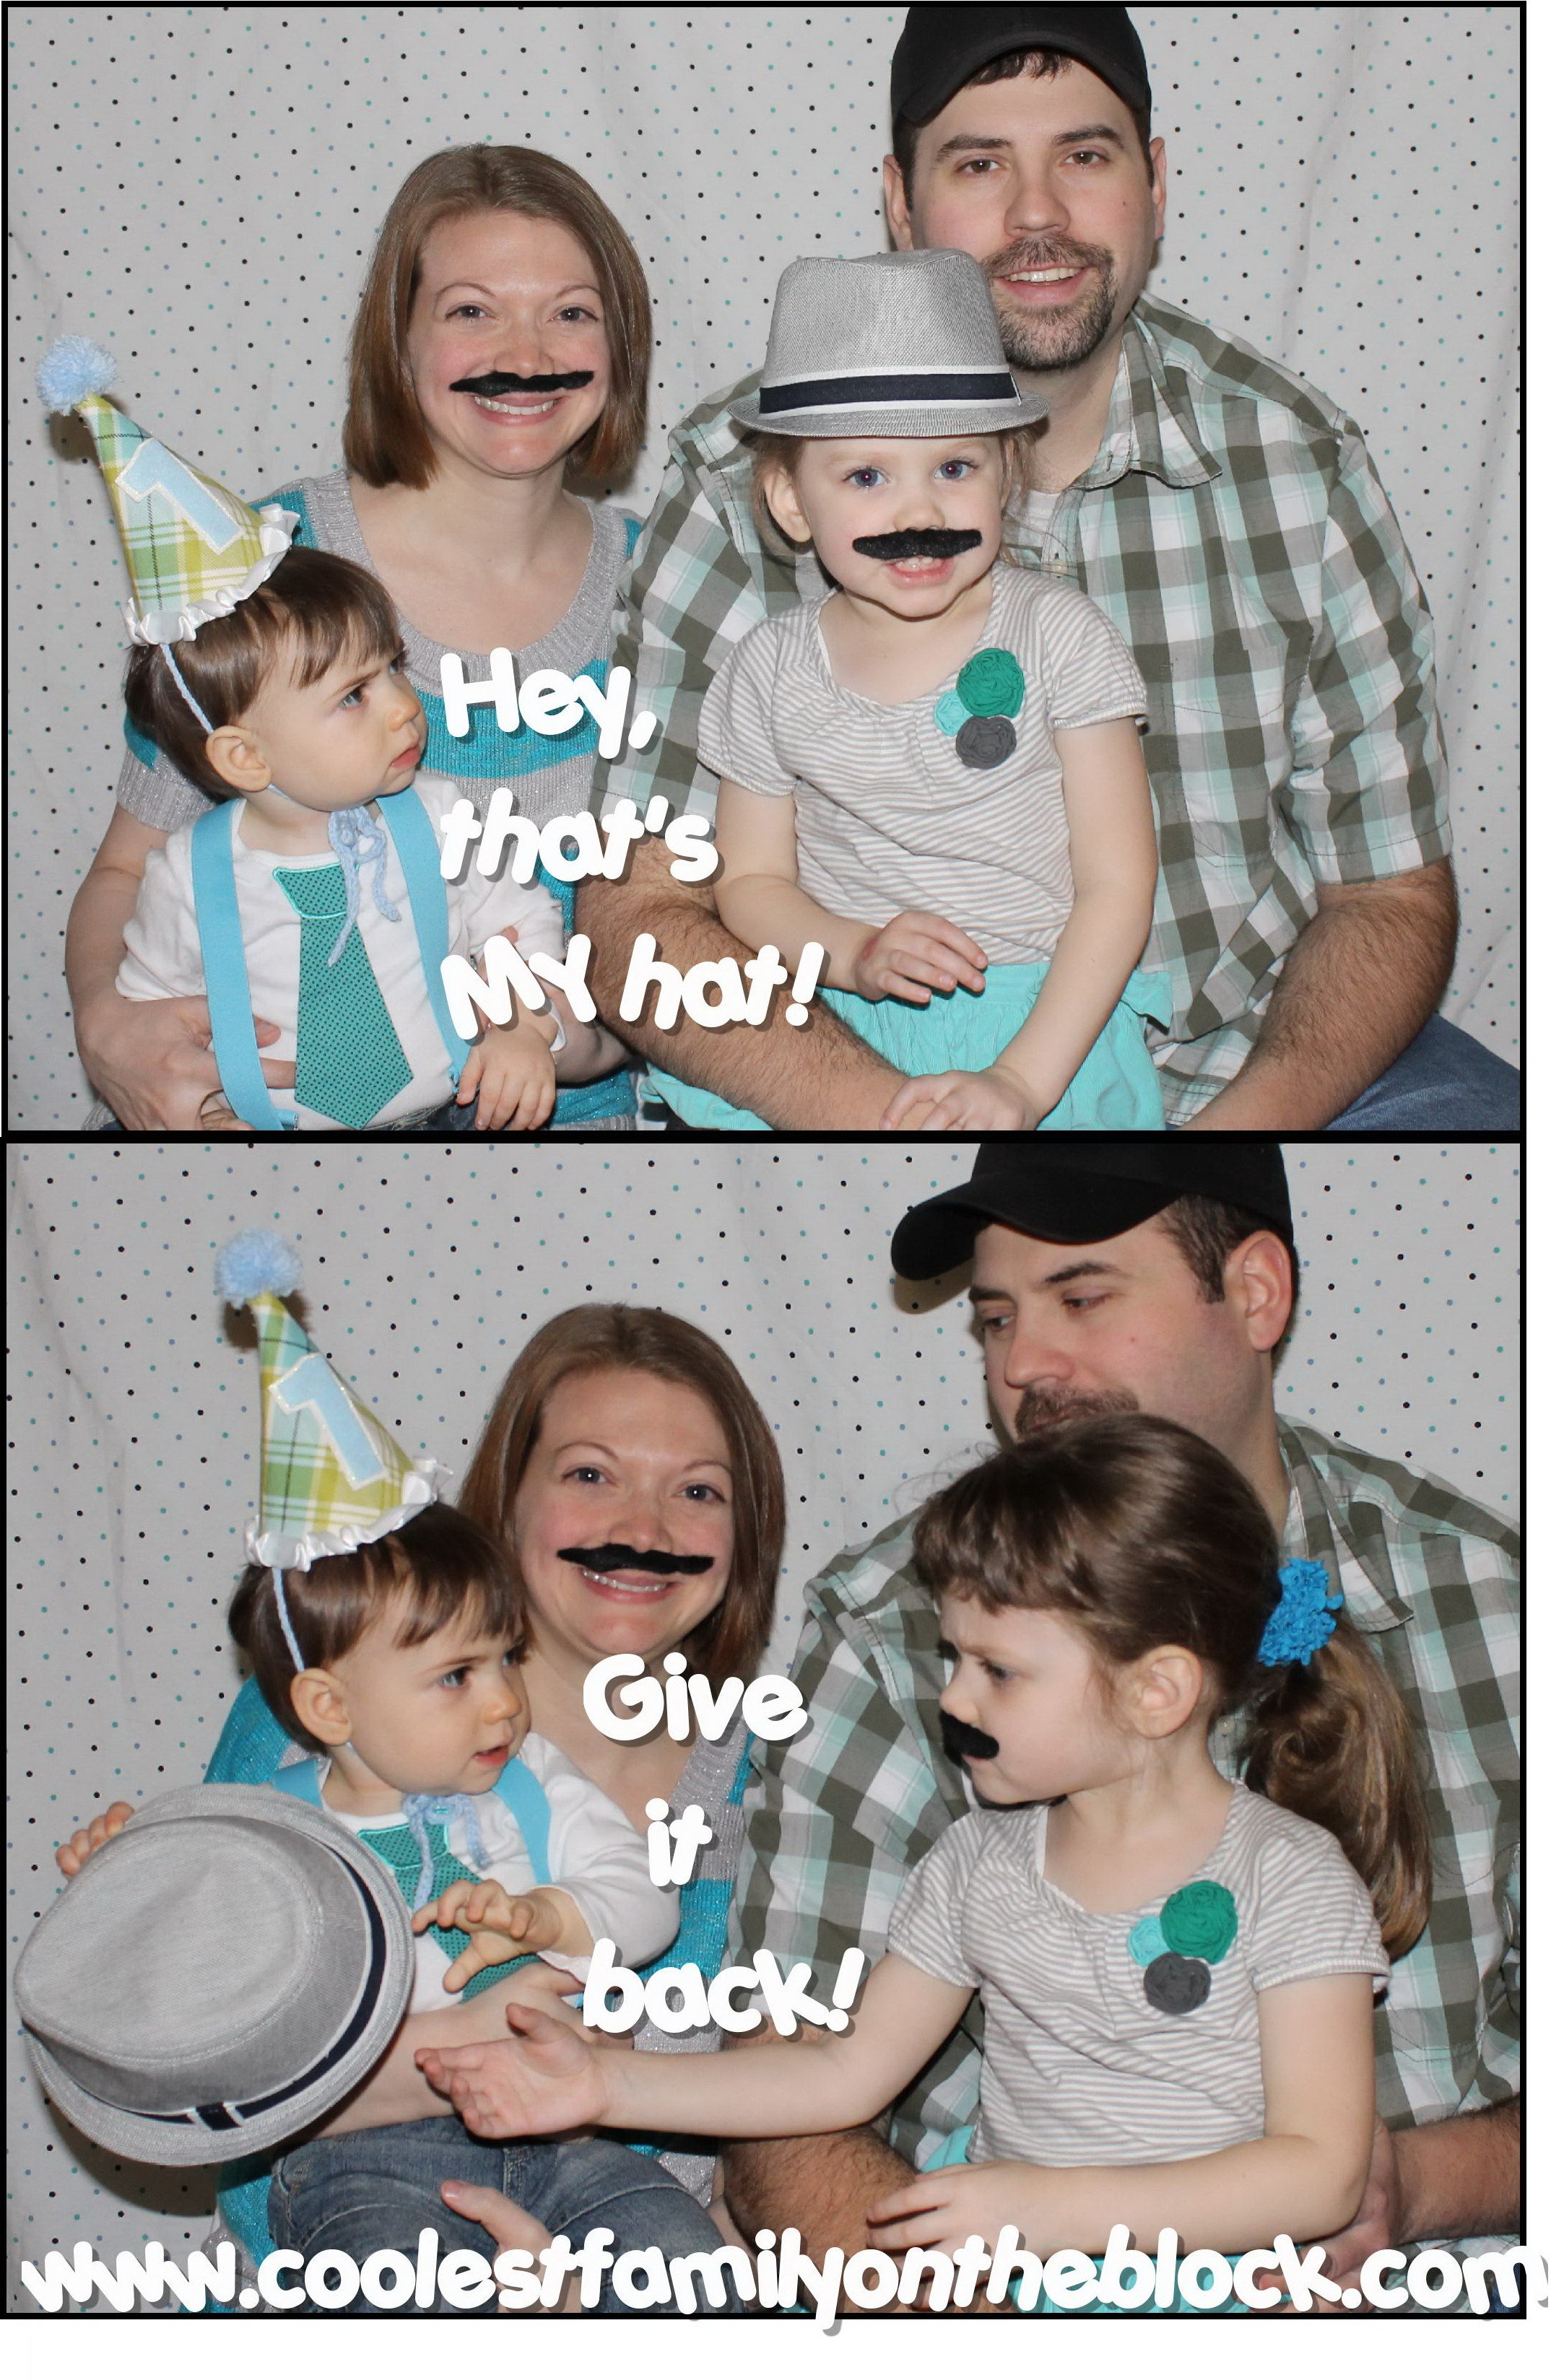
Here’s our family mustache free (for the most part).
I always try to get a photo of the birthday kid next to their number sign.


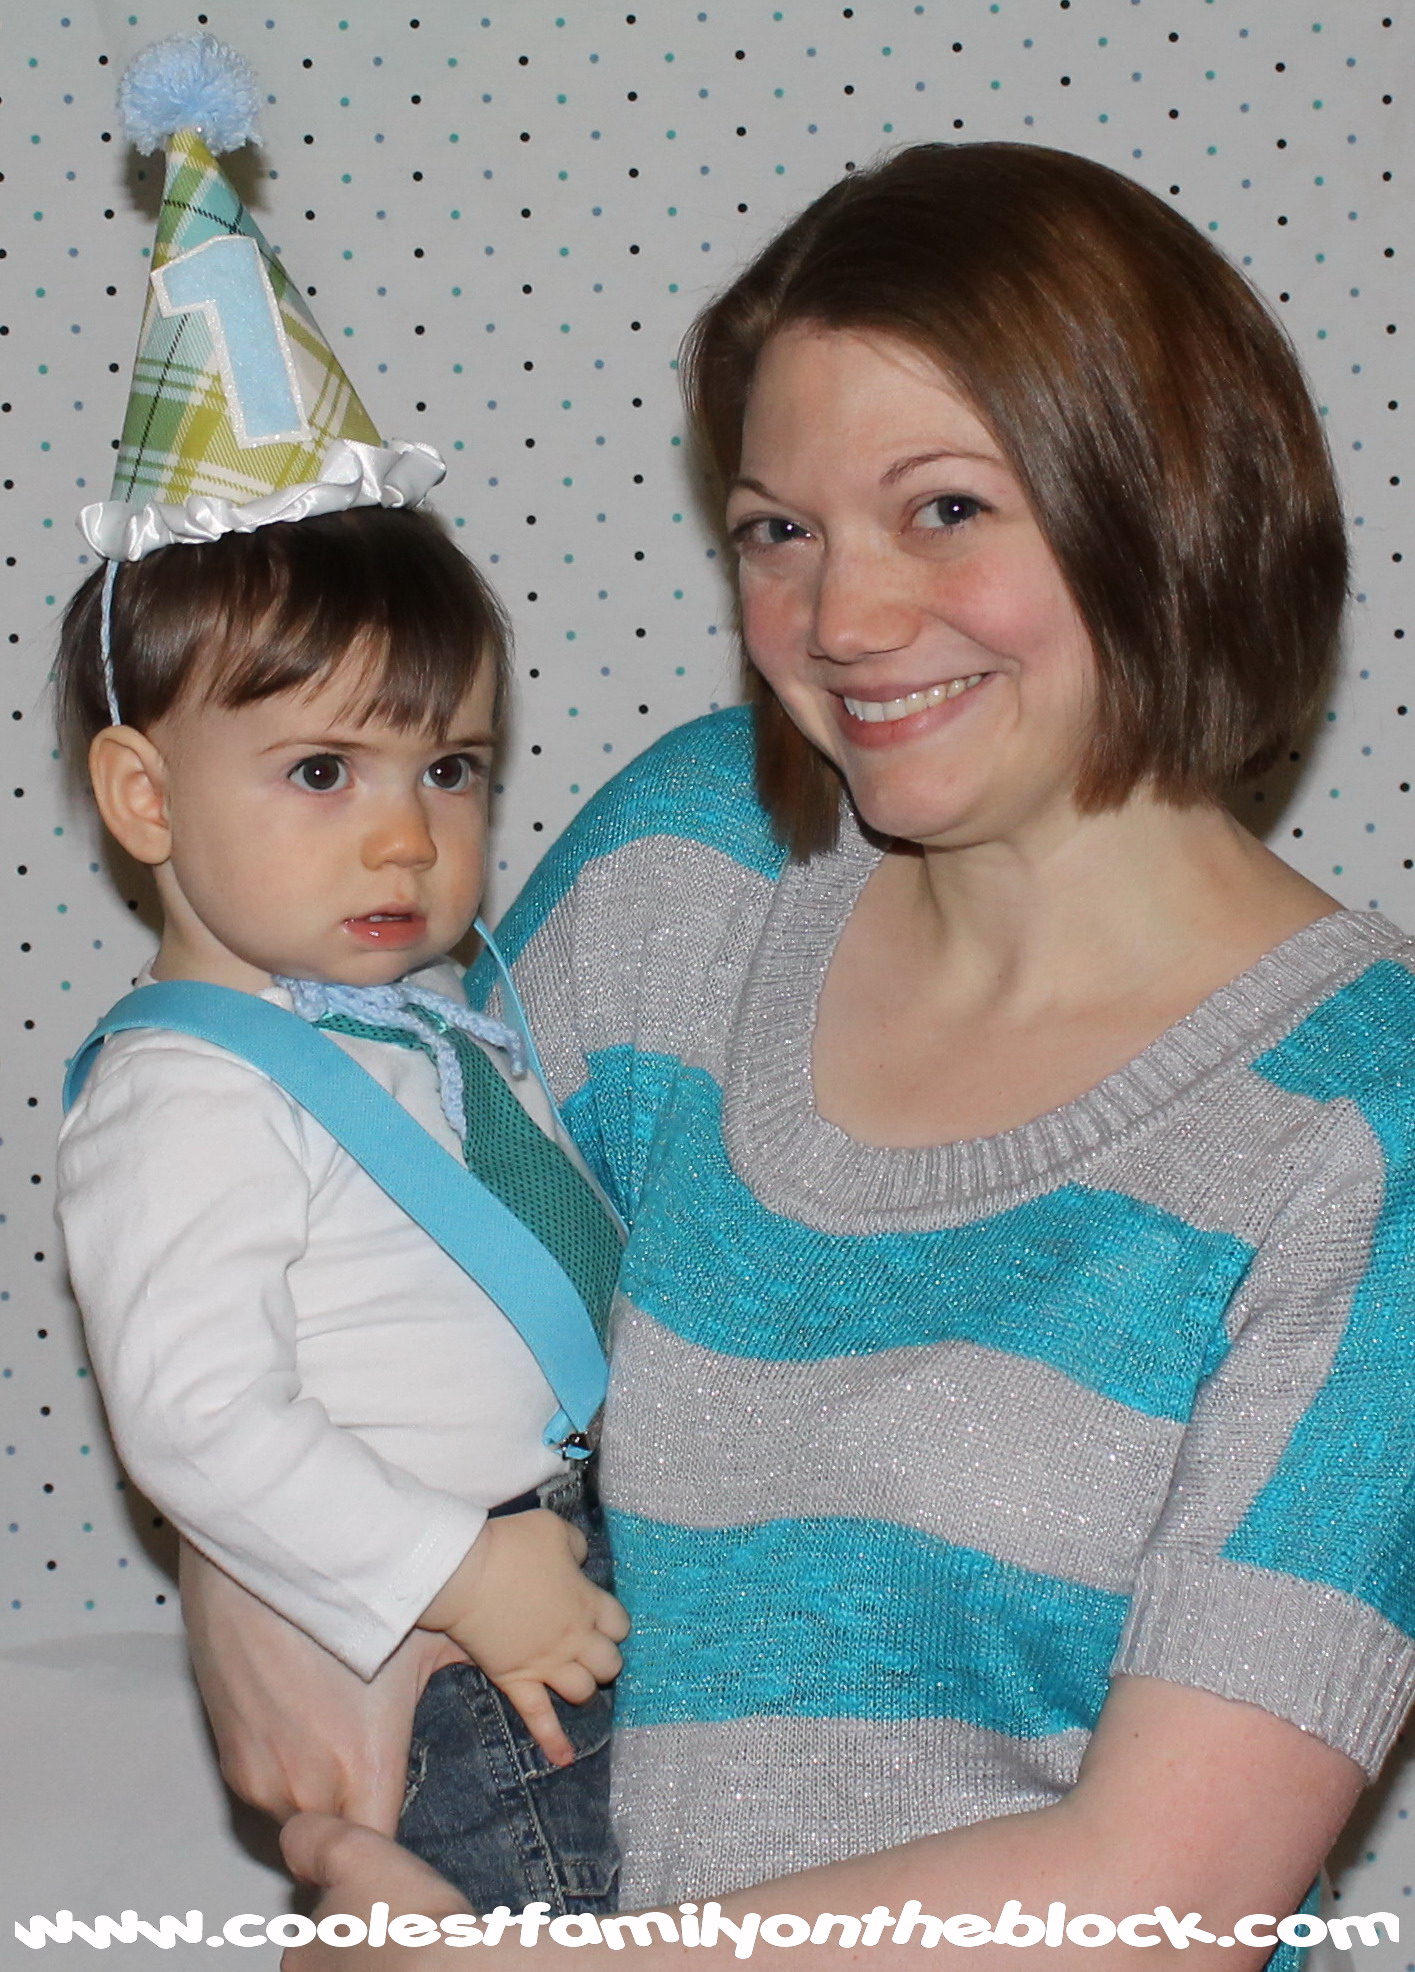
Jonny and Mommy!
What was your little one’s first birthday theme? How did they react to the smash cake? Let me know in the comments!
VENDOR LIST
This post does not contain affiliate links.
*Father’s Day Freebie Printables from Amanda’s Parties to Go
*Little Man Tie Onesie from Tabitha942 on Etsy
*Birthday Boy Diaper Cover, Necktie, and Cone Hat Set from JHP Couture on Etsy (Pattern #141) A note about the hat: It actually came with a small white fuzzy pom pom on it but we made a bigger one from yarn to replace it.
*Mustache Party Vinyl Stickers from QuiltedPolkaDot on Etsy
*Mucho Mustaches Burlap Border Banner from QuiltedPolkaDot on Etsy
*Mustache Stripey Straws from QuiltedPolkaDot on Etsy
*Little Man Straw Toppers (Top hat, Mustache, Necktie) from Confetti Grove on Etsy
(She made a separate price/listing for me to purchase the straw toppers alone.)
*”Stache Bash” Mustache Party Dinner Plates from Oriental Trading Company
*Polka Dot Paper Straws from Amazon
*Self Adhesive Mustaches Set – Fake Costume Accessory from Amazon
*Accoutrements Cool Mustache Ice Cube Tray Novelty from Amazon
*Solid Color Elastic Infant’s Suspenders by Suspender Factory from Amazon
*Blue Polka Dot #1 Birthday Candle: Purchased from a local party store, but you can find it on Amazon here and a similar one here

Ladybug Picnic: 2nd Birthday / Pink and Green Polka Dots and Cupcakes Party: 1st Birthday / Ham and Man Party: 30th Birthday / Celebrating 30 years in 30 days! All of my birthdays from 1980-2009 / Birthday Girl…2 years old


Birthday Traditions: Personalized Birthday CD / Birthday Traditions: Knife and Cake Server / Birthday Traditions: Professional Photos / Birthday Traditions: Photo Puzzle / Happy 2nd Birthday, Adaline!

DIY No Sew Party Hat Tutorial / Tissue Number Birthday Sign (Mini-Tutorial)


Adaline’s 2nd Birthday Party: Ladybug Picnic

Saturday we had Adaline’s 2nd Birthday Party. The theme was Ladybug Picnic and the colors were red, black, green, and white.

I reused Adaline’s birthday sign from last year out front again. Even though it didn’t go with this year’s theme it’s just too cute to sit in a box and not get used!

I made a balloon wreath for the front door. I decided to use multi-colors so that it can be used each year. I’m so glad that I made it…Adaline loves it!

*Coming Soon: Balloon Wreath Tutorial and Links Post
This way to the Ladybug Picnic…

Tent and Tablescape
We rented a tent for the backyard so that everyone would have a place to sit and eat. Unfortunately it was so hot that once we finished eating we all crammed inside the house for the remainder of the party. Since Adaline and her 1 year old cousin were the only kids I didn’t bother to plan any games or activities.

I thought these pinwheels and mesh butterflies really added a lot in the tent, but it’s hard to tell in the picture. It was a really windy day so Adaline had fun standing in front of the pinwheels yelling, “They’re spinning!” 🙂


I couldn’t get great pictures of the tables because it was so windy and everything kept blowing away!


Centerpieces
I put together these centerpieces of a Ladybug having a picnic 🙂
*Coming Soon: Lady Bug Picnic Centerpiece Tutorial


Place Settings

The tissue paper flowers are actually noisemakers. Adaline loved carrying them around but every time someone would blow one (which wasn’t often) she would say, “I scared of those!”.
I added adhesive wooden ladybugs to these bamboo forks that I got at a party store.


Bug Juice
The Ladybug Lemonade is raspberry lemonade with frozen blackberries in it and the Bug Juice is iced tea. I made the little signs myself. They don’t fit quite right because I was going to set them on the table rather than attach them to the dispensers but it was so windy they kept blowing away.
*FREE Ladybug Fonts Other free fonts include butterflies, bees, and other bugs/insects.

Yay, for number 2 ice cubes!
They’re actually frozen cranberry juice, but you could use food coloring, or Kool-Aid or any red beverage 🙂
(I tried adding blueberries so that the ice cubes would have ladybug spots. Unfortunately the silicone molds were too small and the cubes would break everywhere there was a blueberry :()

Food Table


I made this Happy Birthday sign last minute (literally half and hour before the party) by using a ladybug font and printing it out onto red cardstock.
*FREE Ladybug Fonts Other free fonts include butterflies, bees, and other bugs/insects.


We kept the food really simple. Sandwiches, veggies and dip, and fruit salad. The end.
To keep the picnic theme going we put all of the food inside of baskets from The Dollar Tree and lined them with a cut up plastic gingham tablecloth from a different dollar store.


I got these cute mini bug nets with lollipops in the clearance section of Wal-Mart after Easter.

Ladybug Cake
I decorated this ladybug cake, which is why it looks like such a mess. This is only the 3rd cake that I’ve ever decorated
*Related Posts: Adaline’s Giant Cupcake Smash Cake
Cool Daddy’s Ham and Man Pig cake

Singing Happy Birthday to the Birthday Girl! 🙂


Oh no, black teeth! Too bad this is the best pic I got of her all day!

*Related Posts: Birthday Girl…2 years old: Additional photos of Adaline from her birthday and party
Nice 😉

Party Hat and Dress
This is a closer look at the hat that I made for Adaline.

Sorry, she’s stuffing her face in the first picture and the antennae are crooked in the other. Oh well.

DIY No Sew Party Hat Tutorial: Step by step instructions 🙂
This is the only picture I have where you can see Adaline’s entire dress. I loved that the dress was gingham so it tied in the picnic theme with the ladybugs…which are pockets by the way ;)! The dress is by Jenny and Me and I got it at Burlington Coat Factory for $9.99!

Photo Display
I set Adaline’s photos up the same way as last year but replaced them with pics of the last 12 months. This year I added sticky felt ladybugs above each photo 🙂


Photo “Booth”
I found a polka dot shower curtain and Wal-Mart and thought it would be perfect for a photo backdrop. We just hung it on the side of the house and put covered chairs in front 🙂

By the end of the day Adaline was not interested in getting a picture with her parents 😦

To see more pictures of Adaline at her birthday party click here.

**Disclosure: Links to amazon.com contained in this post may be affiliate links in which case I might receive a very small amount of money if you make a purchase using my links**
Related Posts

BIRTHDAY TUTORIALS
*DIY No Sew Party Hat Tutorial
*Ribbon Topiary Video Tutorial (Centerpiece)

*Tissue Number Birthday Sign (Mini-Tutorial)
BIRTHDAY PARTIES
*Birthday Girl…2 years old: Photos of Adaline at her birthday party
*Ladybug Picnic: 2nd Birthday

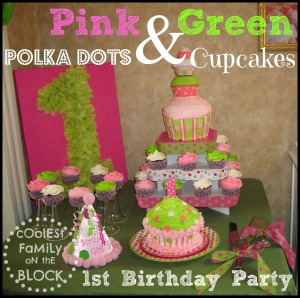
*Pink and Green Polka Dots and Cupcakes Party: 1st Birthday

*Ham and Man Party: 30th Birthday

*Celebrating 30 years in 30 days! All of my birthdays from 1980-2009
BIRTHDAY TRADITIONS
Birthday Traditions: Personalized Birthday CD / Birthday Traditions: Knife and Cake Server / Birthday Traditions: Professional Photos / Birthday Traditions: Photo Puzzle / Happy 2nd Birthday, Adaline!


Celebrating Seuss
During the month of March we’ve been celebrating NEA’s Read Across America. March 02 was Dr. Seuss’ birthday and we had a little “celebration” here at home.
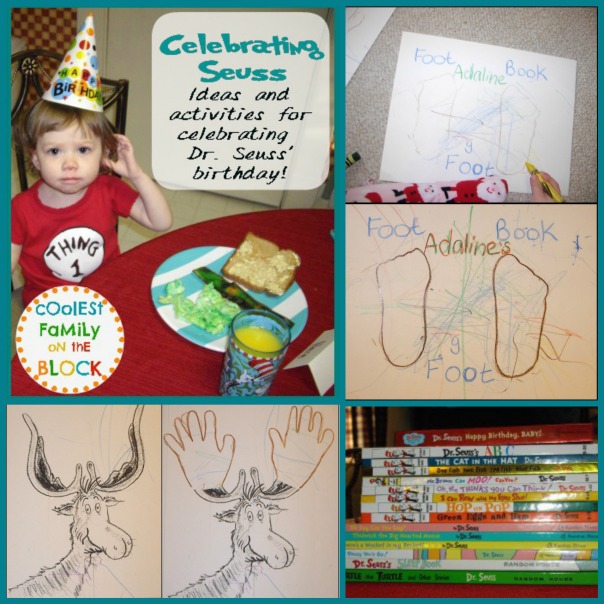

We began our day with A Splendiferous Dr. Seuss Breakfast of Green Eggs and “Ham” served with Moose Juice and our bread butterside up!

We watched Horton Hears a Who!

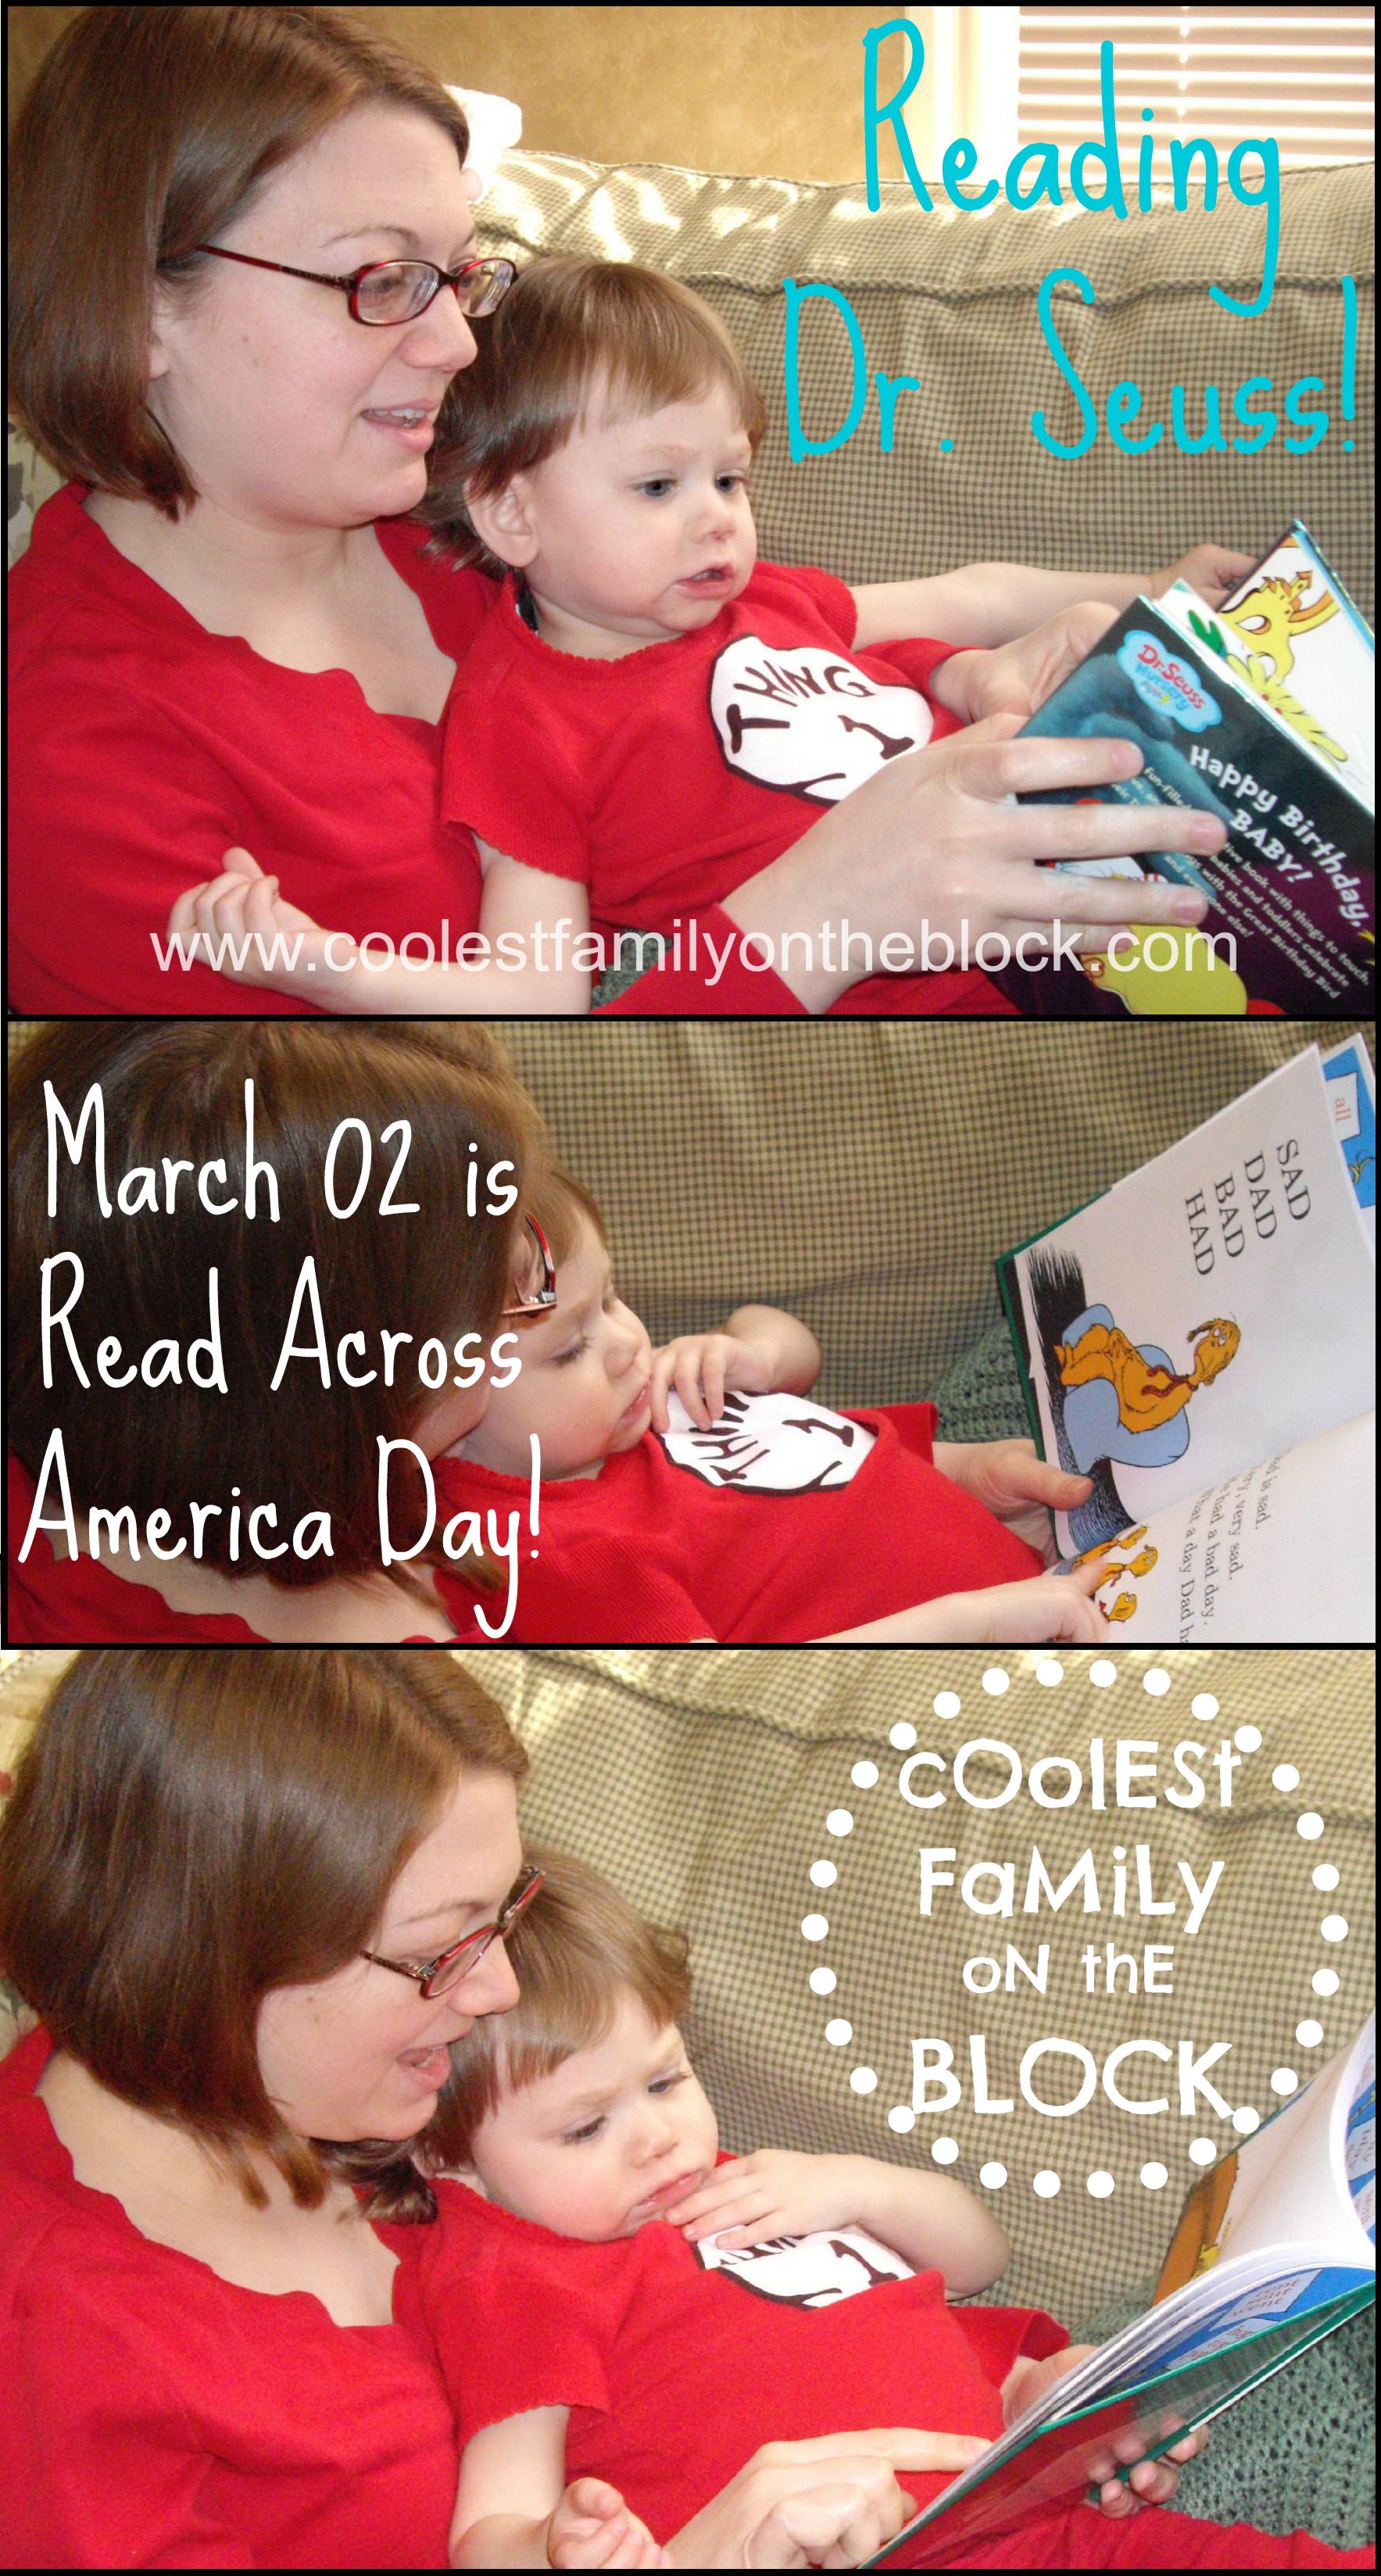
Adaline and I read some Dr. Seuss books. We read the board book version of “Happy Birthday to You” then I read Adaline “Hop on Pop”, “Mr. Brown Can Moo, Can You?”, The Cat in the Hat, and “One Fish, Two Fish, Red Fish, Blue Fish” for the first time. Hop and Pop and Mr. Brown are now favorites. When reading the Cat in the Hat she likes to point out “Sally” and “Baby” (the unnamed brother) on each page and she gets a little irritated when I don’t read fast enough for her to turn the page and find Sally again.
(After reading her Hop on Pop and Mr. Brown only two times on two different days Adaline began bringing me the books and saying “Mr. Bonk Moo” (Bonk = Brown) and “Hop Pop”. I couldn’t believe she’d remembered the names of the books when I’d only read them to her twice!)
I traced Adaline’s hand for some projects that I wanted to do. She didn’t really like getting her hand traced, but she was excited to see it after it was done. I had to trace back over them since her fingers looked crazy 😉
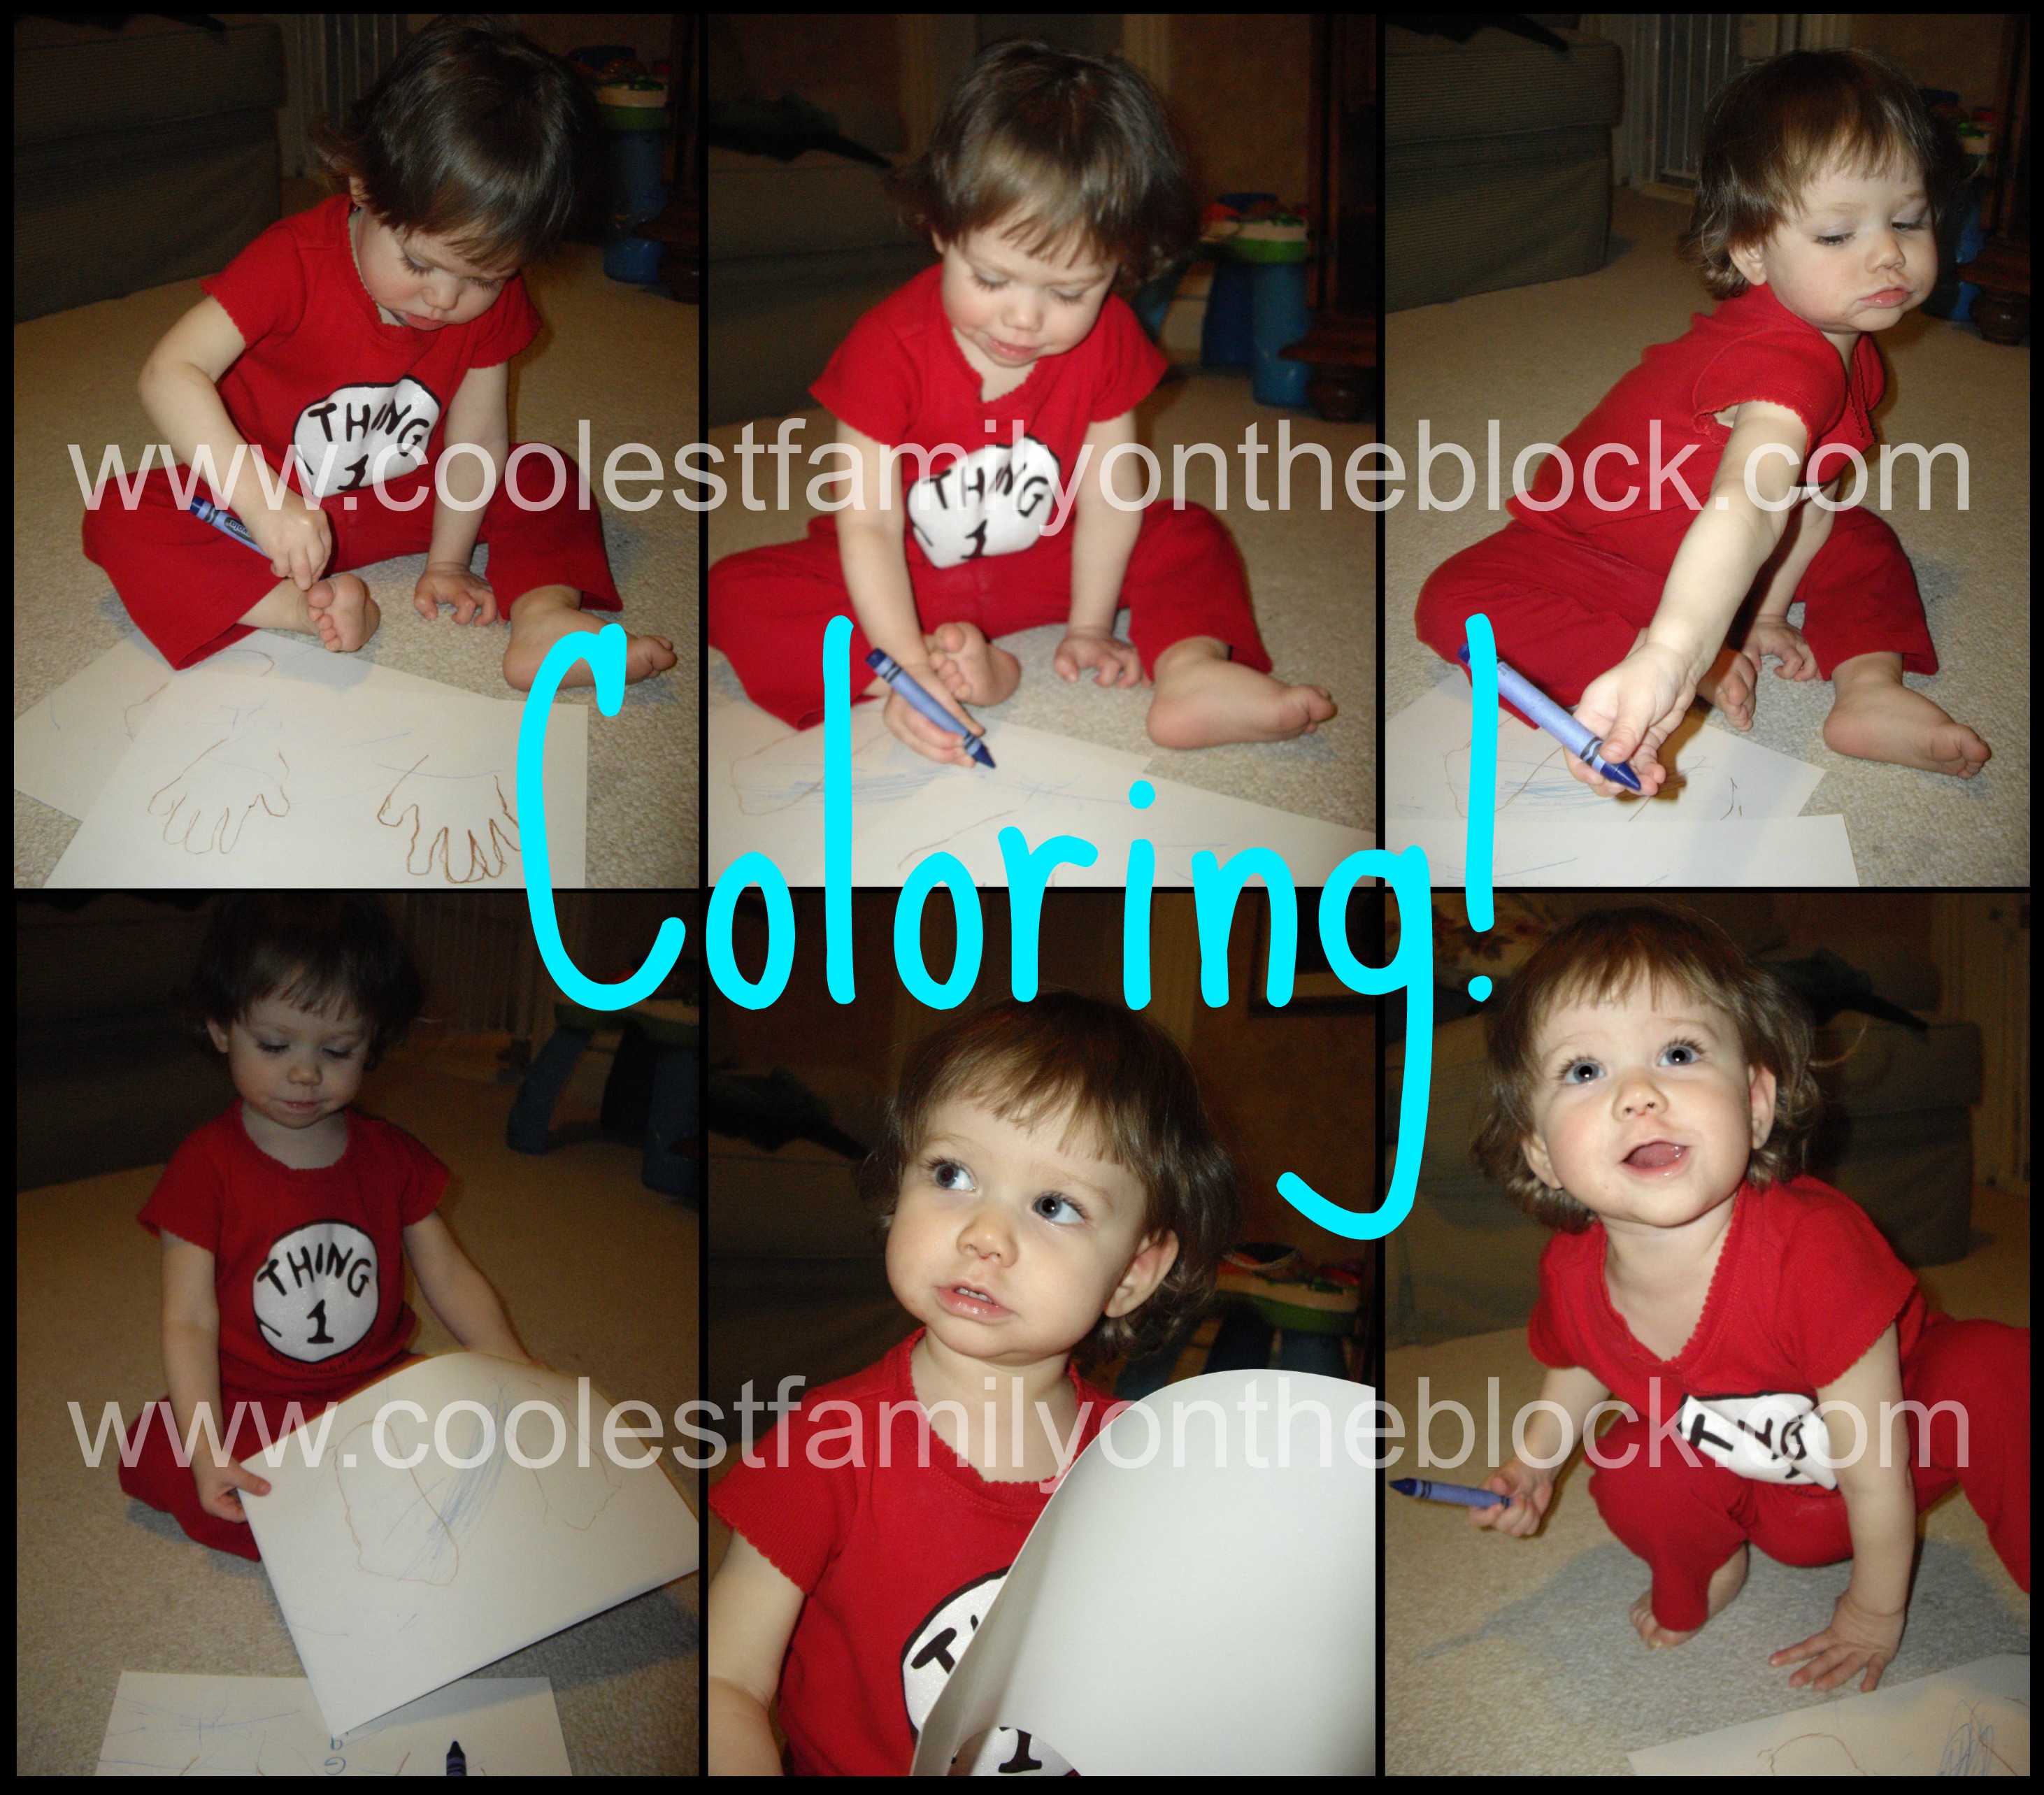
(That’s not some strange cryptic code…Adaline’s been into letters lately especially since Dr. Seuss’ ABC is one of her favorite books so she’s always asking me to draw O, G, or B on her coloring sheets.)
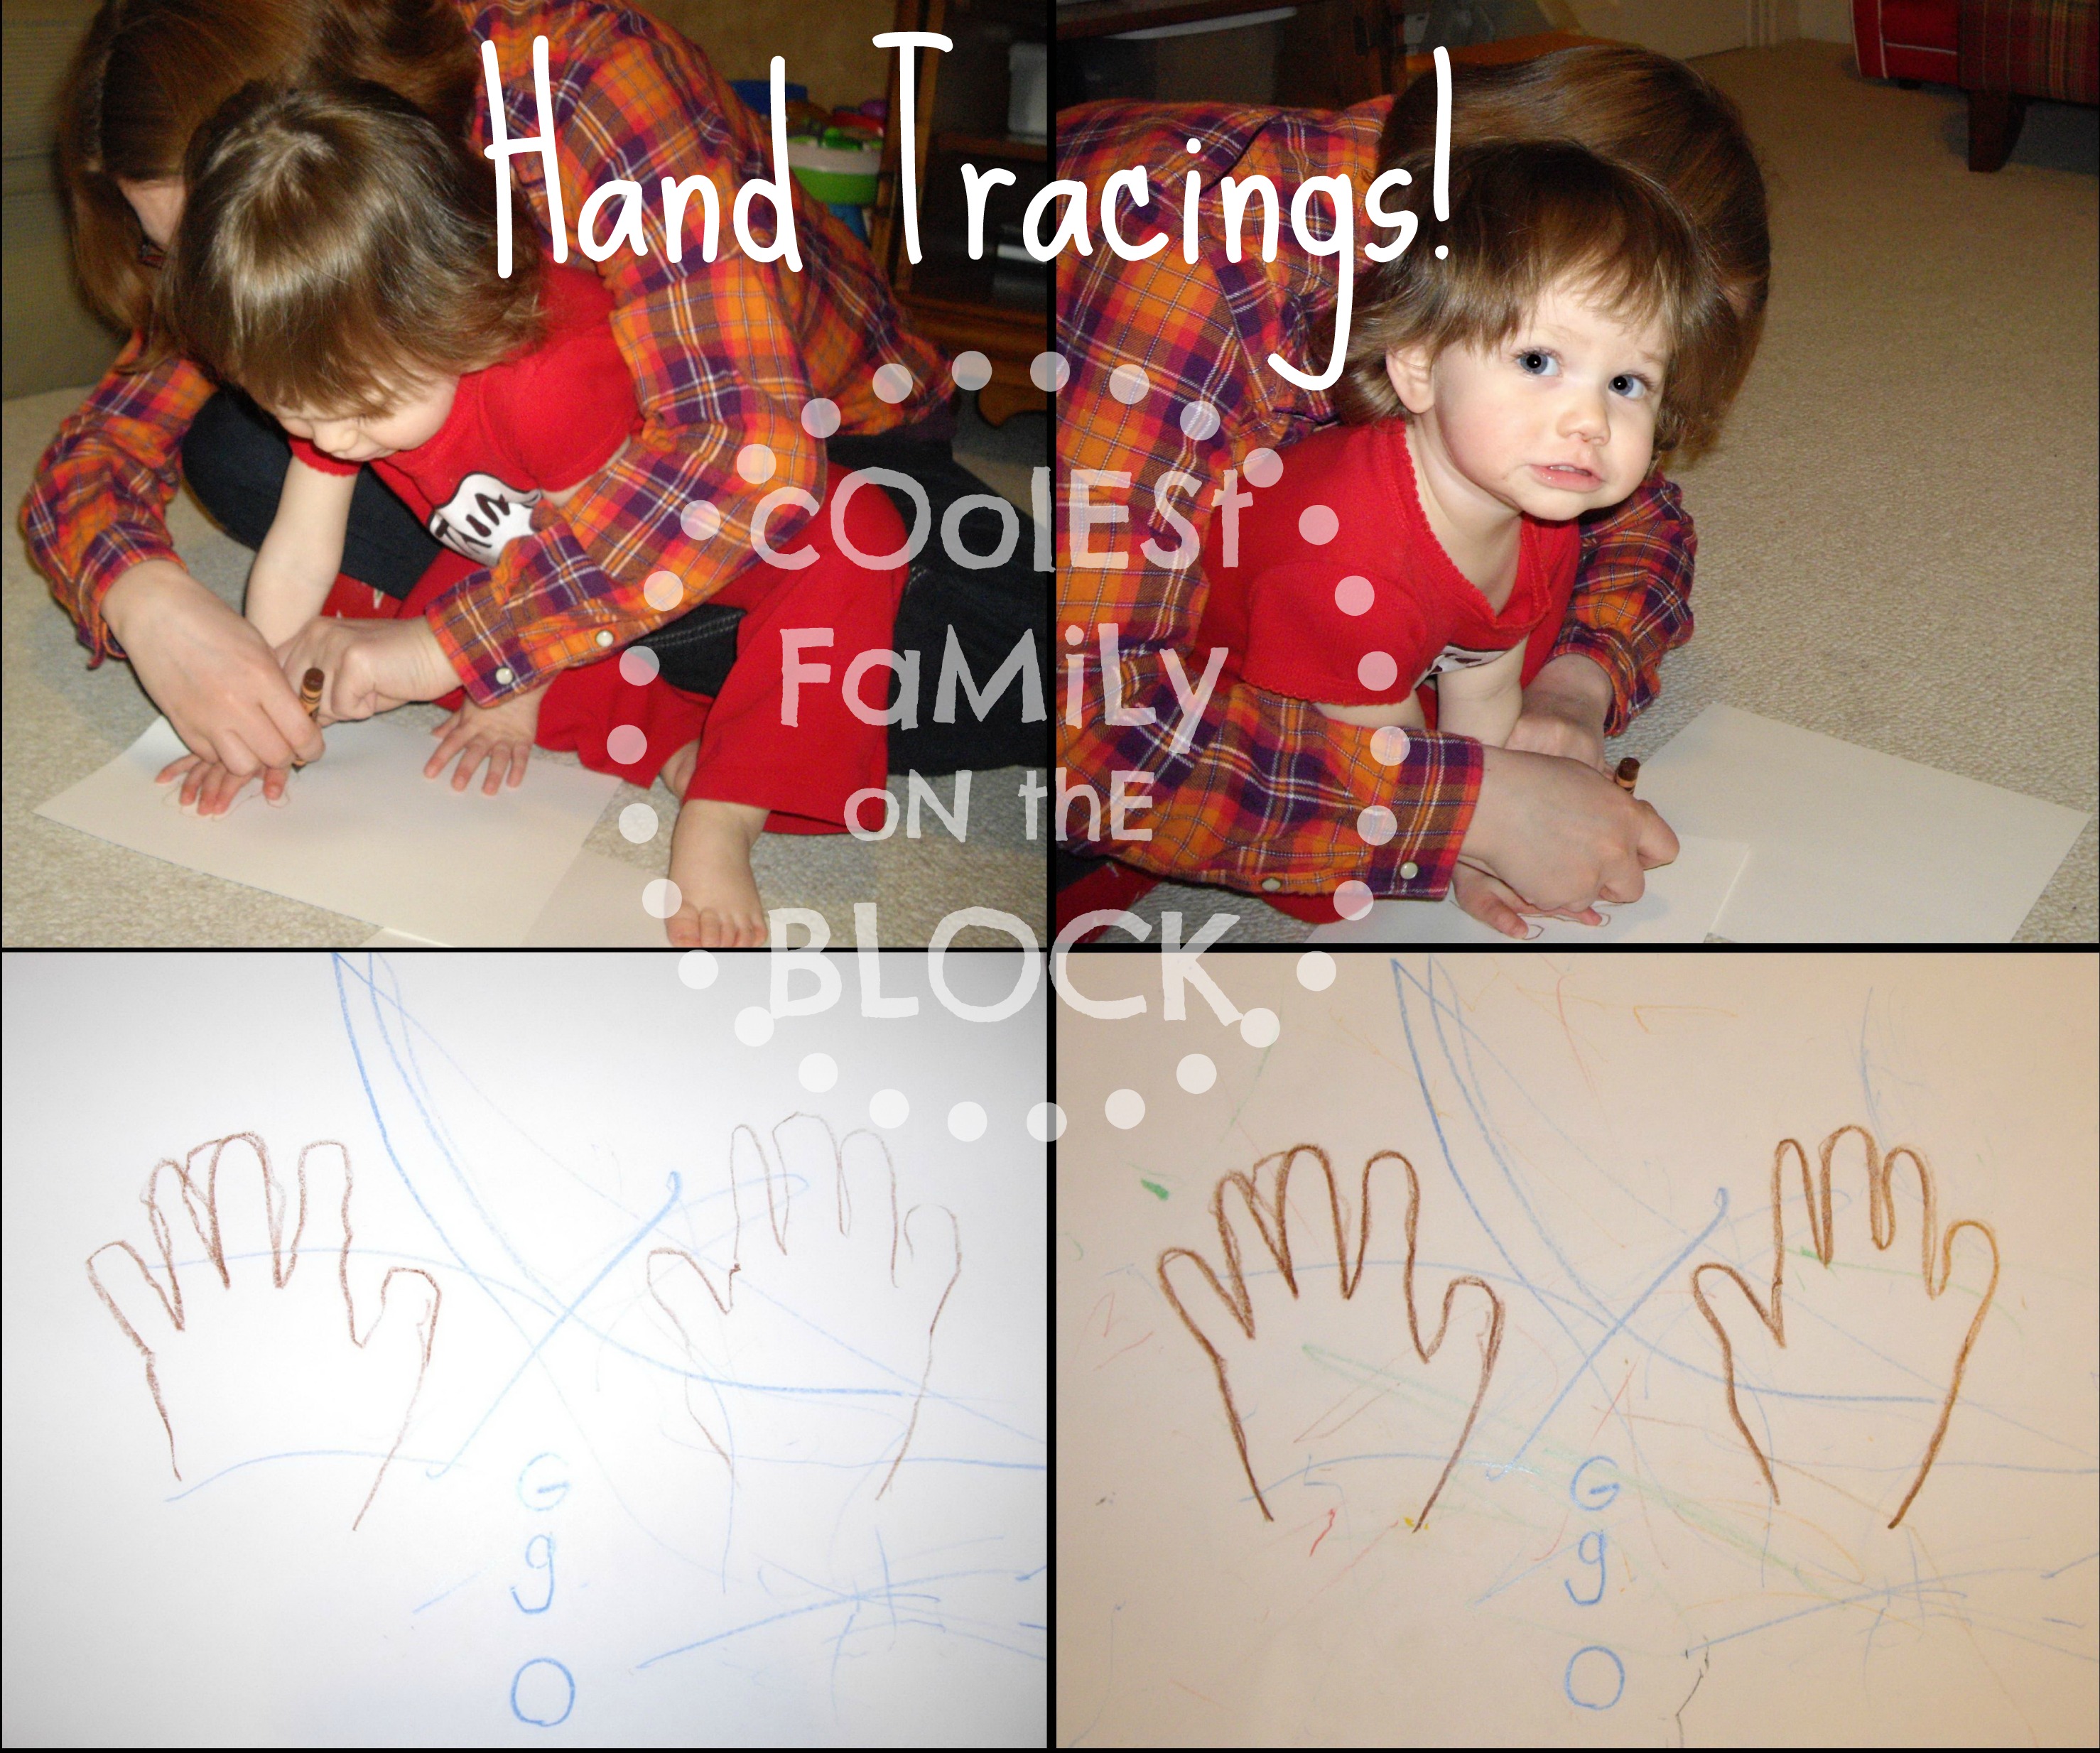
(Yes, I did a wardrobe change…I’m fancy like that.)
Next I traced Adaline’s feet on to cardstock. She seemed to like that a little better than the hands (I don’t think she likes the crayon going in between her fingers).
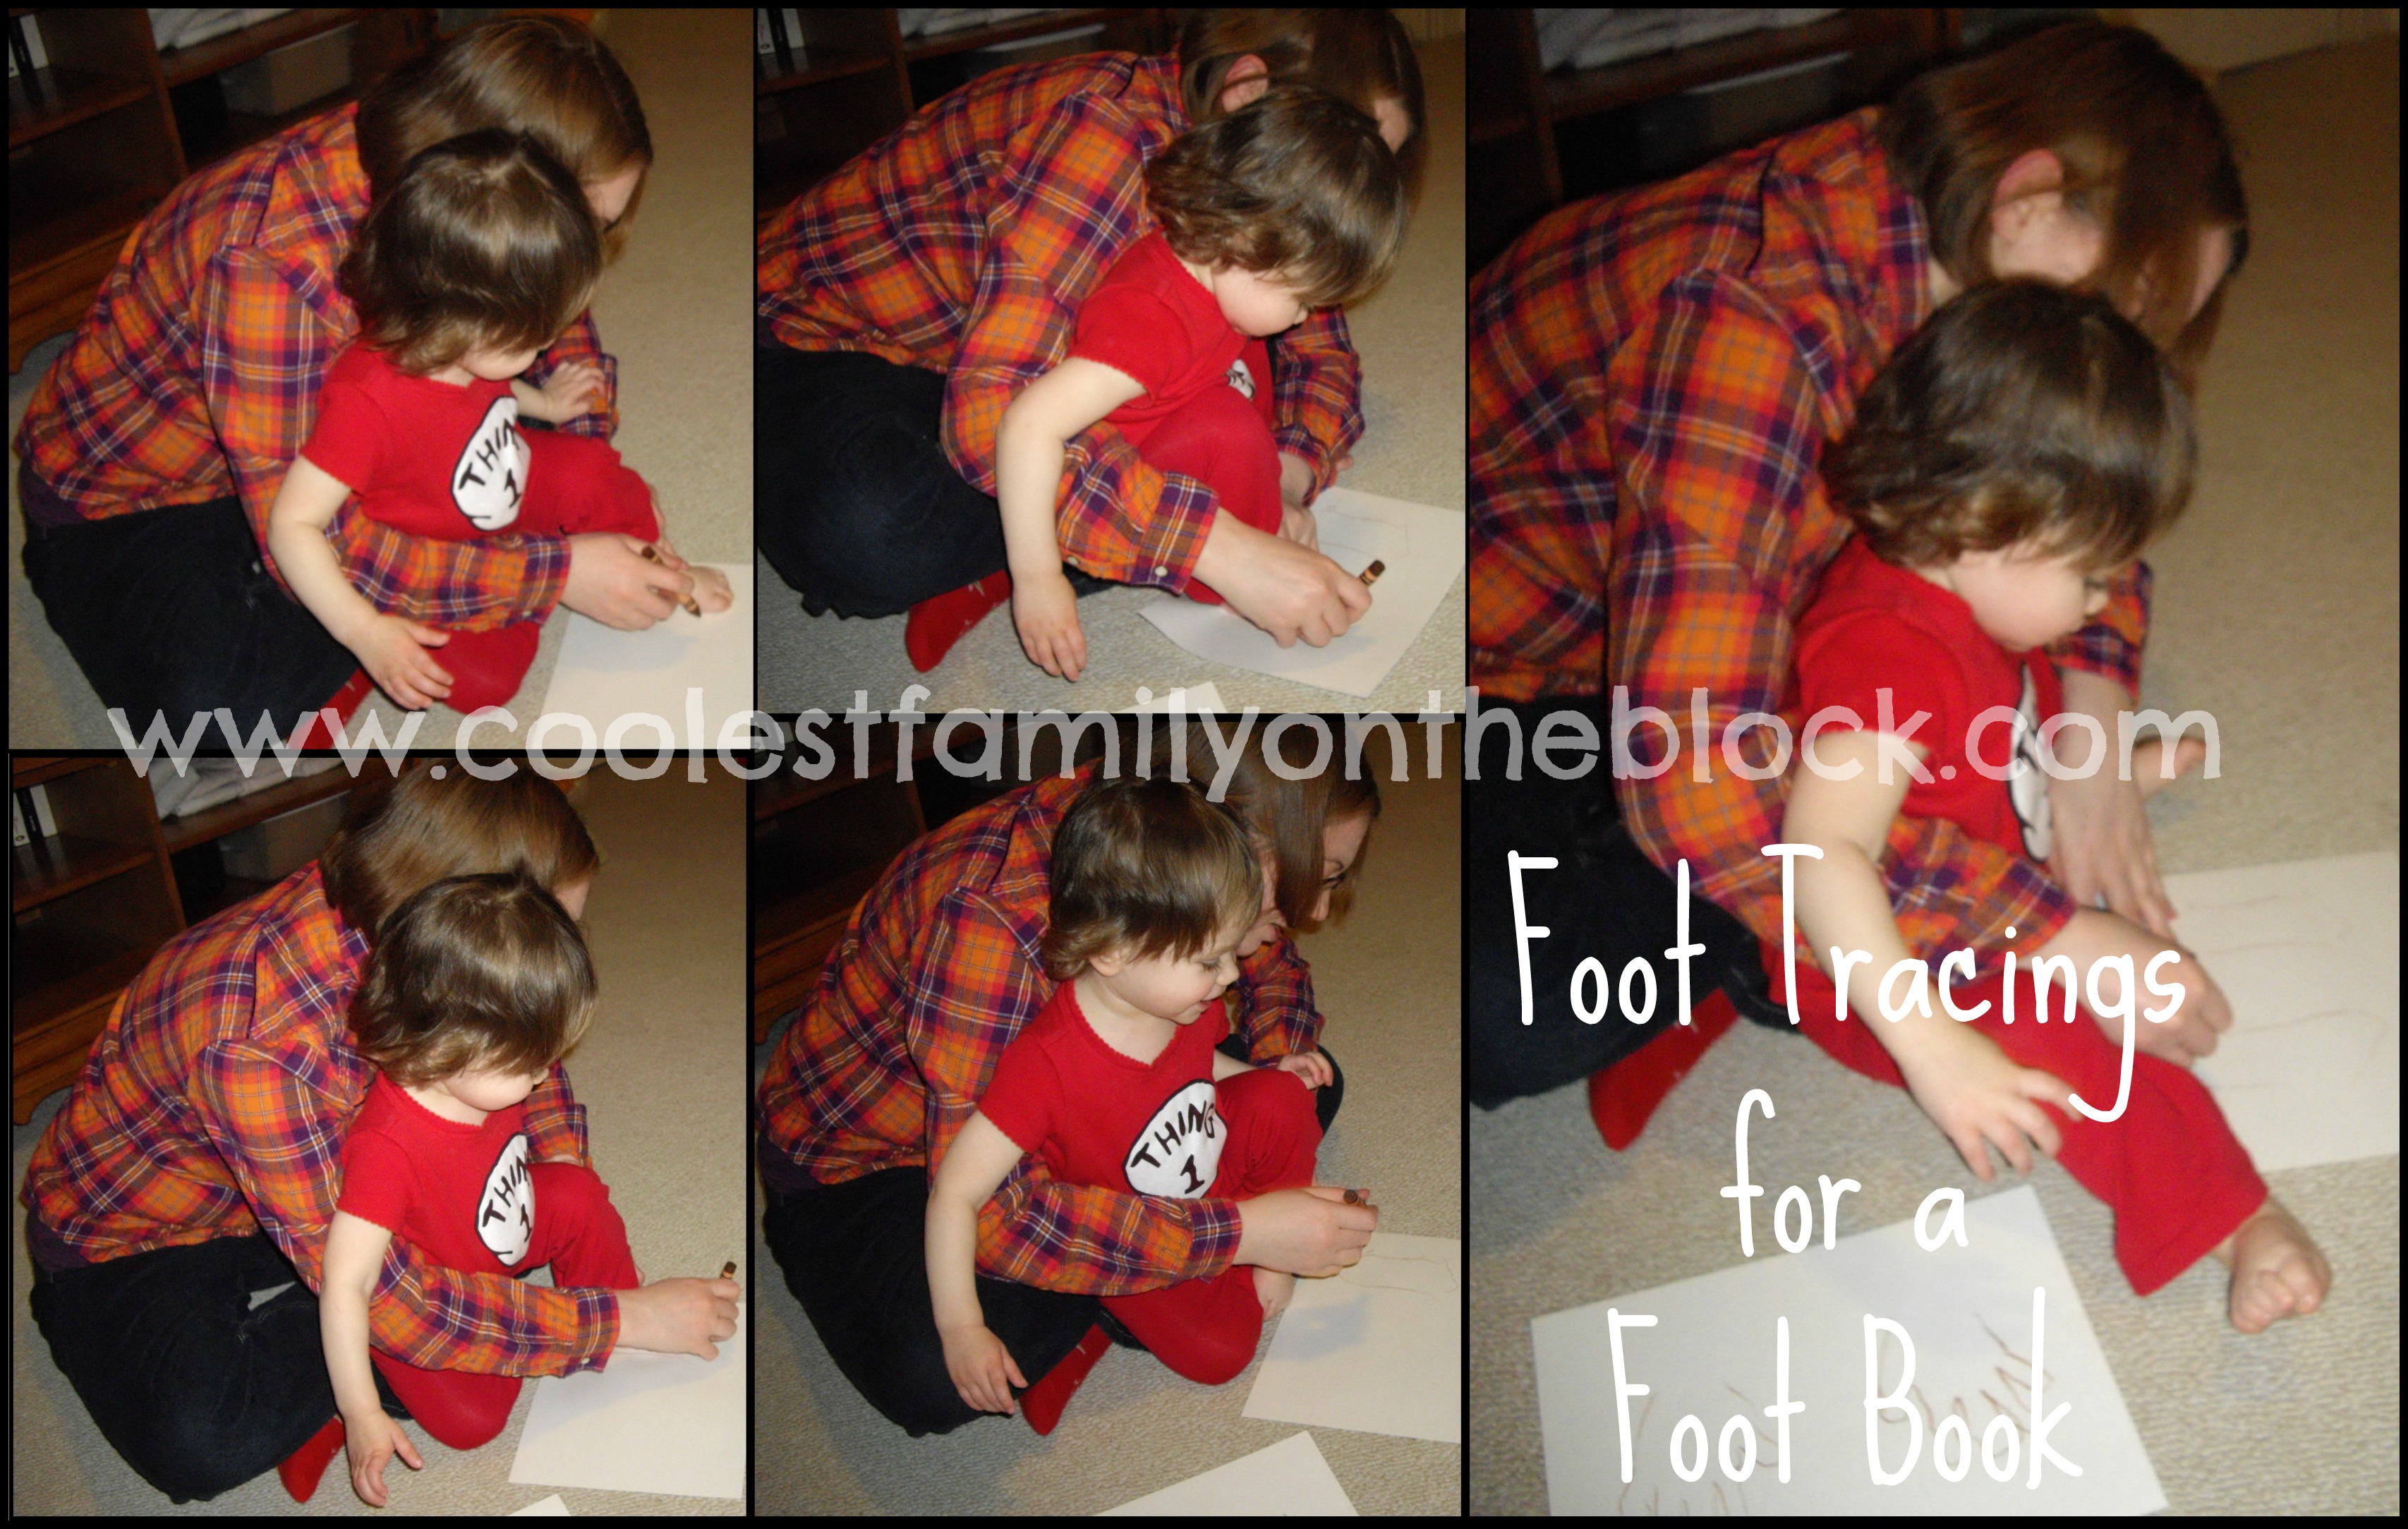
I let Adaline color her hand and foot tracings.
I wasn’t brave enough this year to stick her hands or feet in any paint, so the tracings will have to do.
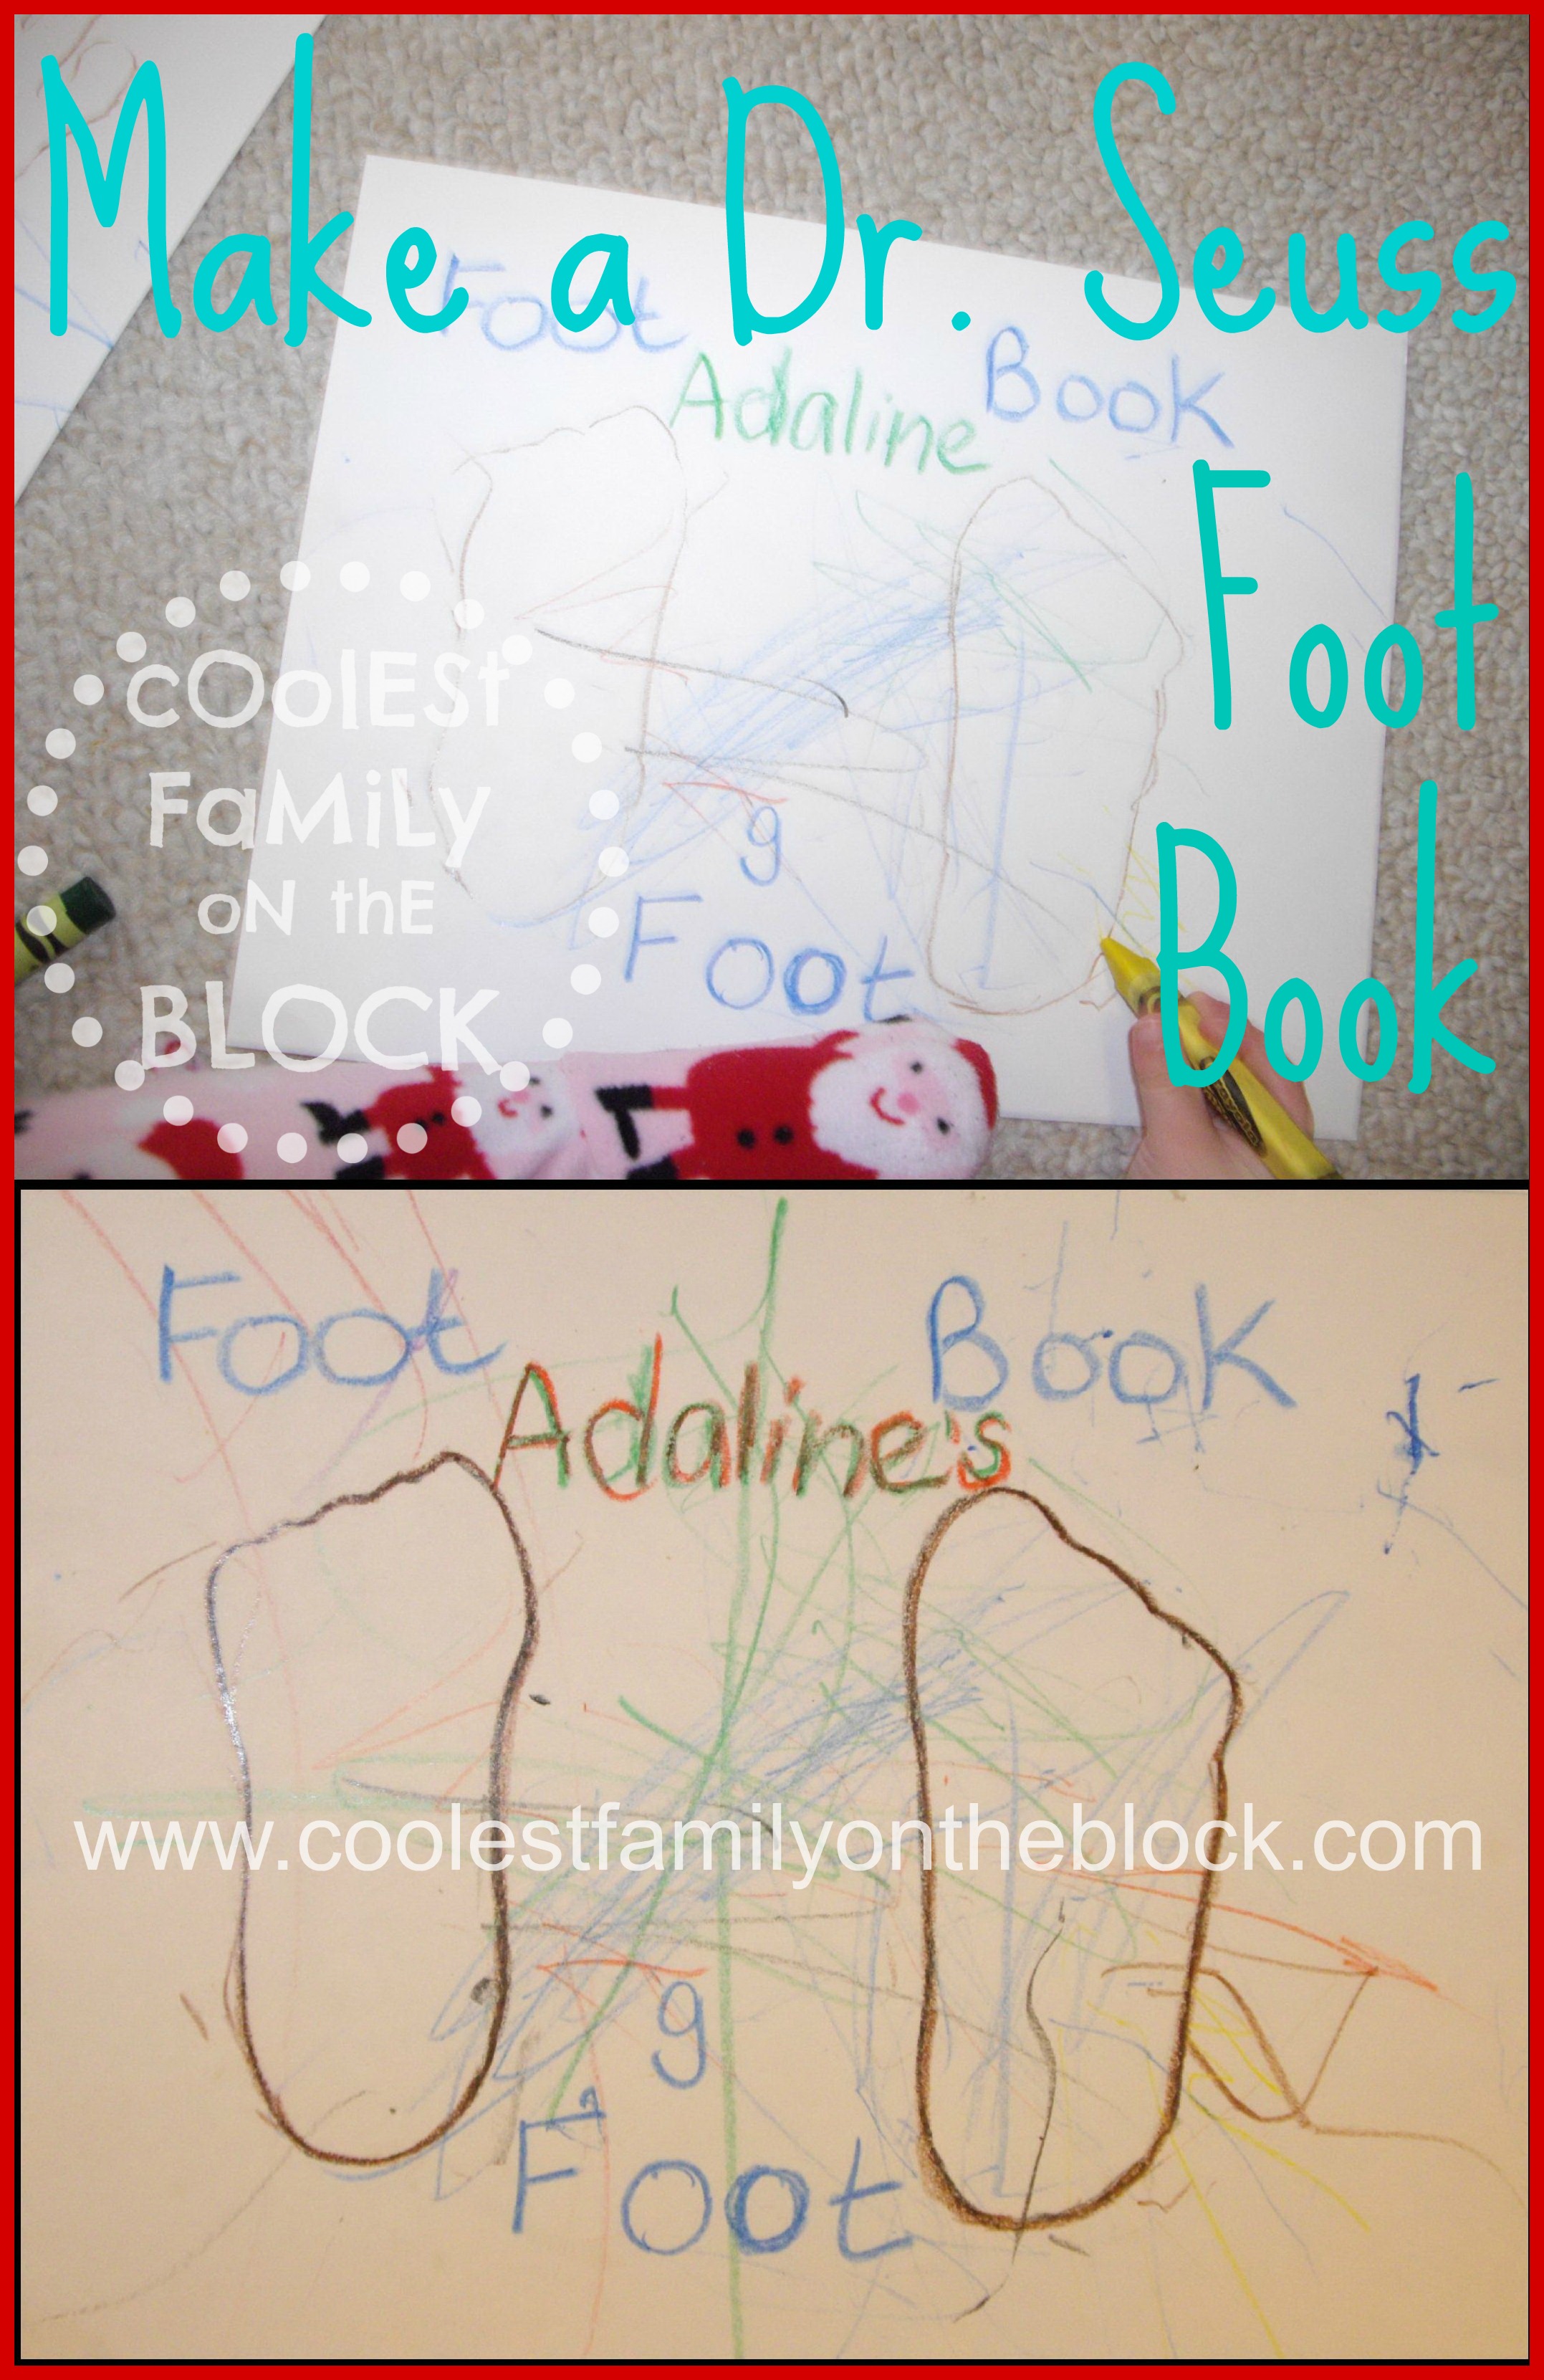
I plan on saving this foot tracing and doing something similar each year and putting it all together as her own “Foot Book”. As she gets older maybe we’ll include some real footprints and other things. We’ll have a Dr. Seuss project that we can work on every year and have a keepsake too 🙂
(I held Adaline’s hand and together we wrote out “Foot Book” and her name.)

I had a different plan for the handprints. Adaline really loves Thidwick the Big-Hearted Moose. She’s not interested in the story so much as she just loves the illustrations of Thidwick. She’s since replaced her love of Thidwick with the ABC book, but she still really loves to look at that moose.
I thought that I’d use Adaline’s hand tracings as Thidwick’s antlers. Using Adaline’s crayons I traced Thidwick from the book cover (I don’t have time for free hand!). I took the drawing and scanned it into the computer and printed out a copy on cardstock. I cut out Adaline’s handprints (also drawn on cardstock) and glued them over top of Thidwick’s antlers. Ta-da…
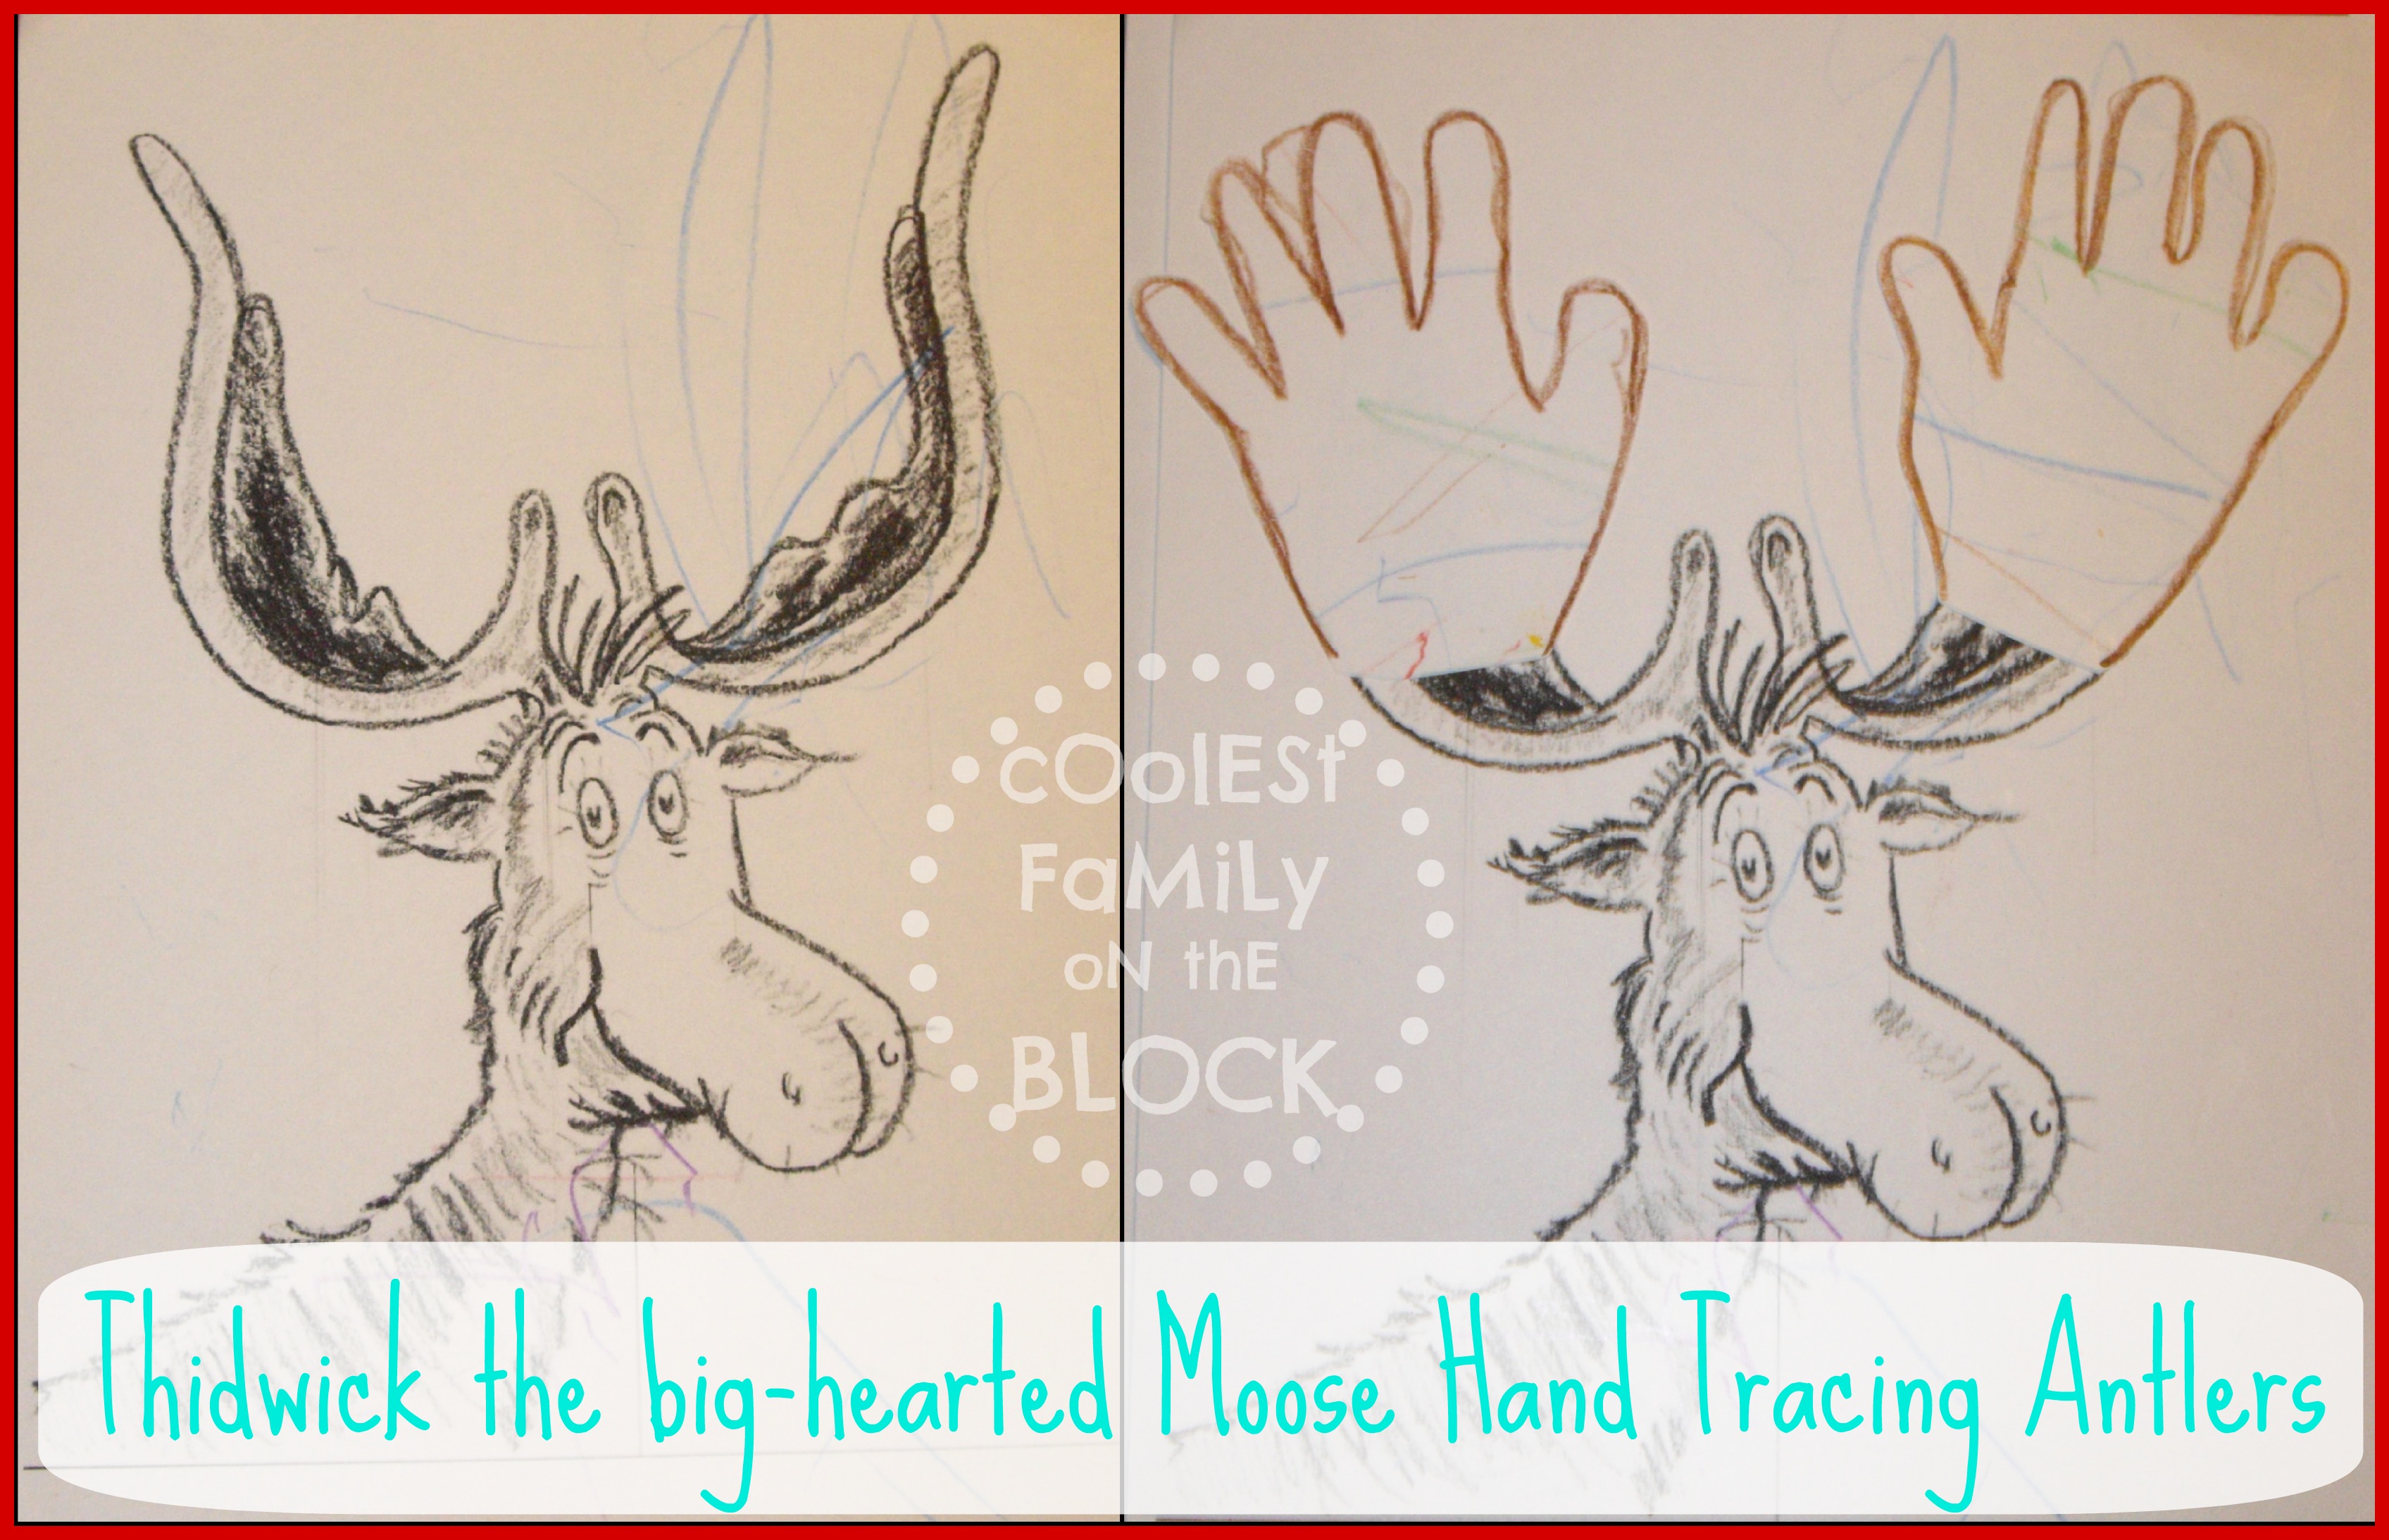

The problem is that I should’ve left Thidwick’s original antlers out of my drawing and pasted the hands coming directly out of his head. For whatever reason I drew the antlers anyway, but her hands weren’t big enough to cover them completely, so I had to move them up so that the other antlers didn’t show. This just makes it look like Thidwick is wearing gloves on his antlers. Oh well.
We had a great week celebrating Dr. Seuss. Adaline seemed to enjoy all of the activities we did and the readings that we attended (at Target and the library) and she even liked the green food that we ate. It seems as though she’s in the beginning stages of becoming quite the Dr. Seuss fan (yay!). She really has a love of books and reading and I’m so excited to encourage that and make it fun for her.
How did you celebrate Dr. Seuss’ birthday?
Let me know in the comments!

Seuss Fails 2011 / Dr. Seuss Celebration at the Library 2011 / Dr. Seuss Storytime at Target 2011 / Read Across America with Dr. Seuss 2011
This post is linked to…


The Ultimate Dr. Seuss Linky Party 2012 @ Mom to 2 Posh Lil Divas, Ready. Set. Read!, Reading Confetti, Montessori Tidbits, Make, Do & Friend, Putti Prapancha, Kitchen Counter Chronicles, Living at the Whitehead’s Zoo, Mama Mia’s Heart2Heart, Living Montessori Now, Kindergarten for Teachers and Parents, Toddler Approved, Creativity My Passion, Rainbows Within Reach, PreK and K Sharing
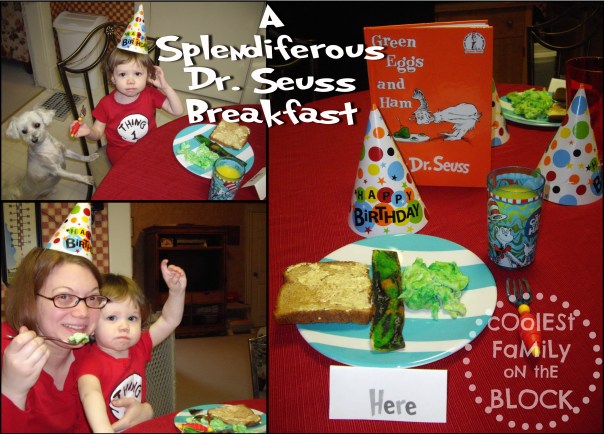
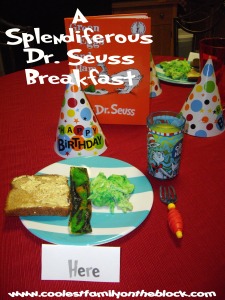
A Splendiferous Dr. Seuss Breakfast
When my sister and I were young our mother used to make us green eggs and ham and we thought it was the coolest thing ever. It wasn’t for Dr. Seuss’ birthday…I’m pretty sure no one thought to celebrate it back then since he was still alive at the time. It was just a random green eggs and ham breakfast…and we loved it!
Dr. Seuss’s Birthday was on Wednesday March 02 and we celebrated with a splendiferous Green Eggs and Ham breakfast.
We had green scrambled eggs and green vegetarian bacon (which we call “facon”) colored with food coloring. We had our bread butterside up and drank Moose Juice (orange juice) all foods that I mentioned here.

I set out place cards that read “Here”, “There”, and “Anywhere” that I printed out on cardstock using the Grinched font.

I put down a red tablecloth and polka dot birthday hats that I got at Target. I found the white and blue plates at Target in their Easter dinnerware section (available in store only). The lines are sort of squiggly and right away they reminded me of Thing 1 and Thing 2, so I thought they’d be perfect for our Seuss breakfast. I got the cute little Cat In The Hat cup for Adaline on Amazon using my Swagbucks so it was free 🙂

Adaline seemed to really enjoy her Seuss breakfast. She kept calling the eggs “broccoli-dot”, which is how she says “broccoli”…I’m not sure why she adds the “dot” to the end. Dot or not, she ate her green eggs 🙂 During breakfast she kept pointing to the book and saying “Ham!” and “Sammy-Sam” (Sam I Am). She seemed pretty excited about it.

The hats were actually left over from Adaline’s birthday party. I had bought them for the adults to wear, but nobody did…partypoopers 😦 Adaline didn’t leave her hat on for too long, but definitely longer than I expected!


Have you ever had Green Eggs and Ham?
Let me know in the comments!
*Links to Amazon products are Associate links and I may receive a very small payment if you purchase certain items through my link.
RELATED POSTS:
*FREE Dr. Seuss Fonts (Links)

*10 Easy Dr. Seuss Snacks

*A Splendiferous Dr. Seuss Breakfast

*Celebrating Seuss 2011

*Seuss Fails 2011
*Dr. Seuss Celebration at the Library 2011
*Dr. Seuss Storytime at Target 2011
*Read Across America with Dr. Seuss 2011
This post is linked to…
The Ultimate Dr. Seuss Linky Party 2012
@ Mom to 2 Posh Lil Divas, Ready. Set. Read!, Reading Confetti, Montessori Tidbits, Make, Do & Friend, Putti Prapancha, Kitchen Counter Chronicles, Living at the Whitehead’s Zoo, Mama Mia’s Heart2Heart, Living Montessori Now, Kindergarten for Teachers and Parents, Toddler Approved, Creativity My Passion, Rainbows Within Reach, PreK & K Sharing
Coolest Family on the Block is committed to helping you find creative ways to have fun and make memories with your family all year-long. Don’t miss an idea, tip, or trick…subscribe and have updates sent directly to your email!


Ham and Man Party: Cool Daddy’s 30th Birthday
*Disclaimer – I have mentioned a few times on my blog that I am an aspiring vegetarian. This is true. However my husband is not a vegetarian by any means. If you’ve stumbled upon my website by searching the word “vegetarian” and are now face to face with a veritable dead pig festival, my apologies.*

There were just so many photos of this party that I had to put them all in collages or this post would go on forever. Click on the photos to enlarge them. If it still isn’t big enough for you click on it again…then it’ll get super big and not really fit on your screen.
Cool Daddy absolutely loves the ham my mom makes at Easter and Christmas. For years he’s been asking me if he can have his friends over to watch a game and eat ham. For years I have told him no…because who wants a bunch of ham-eating men in their house?! Since his 30th birthday was this last year and because he threw me this Totally Awesome 80s Party for my 30th Birthday the year before, I decided to grant him his wish.
Since his only two requests were for ham and male bonding time I began to refer to his party as “The Ham and Man Party”.
I have to give credit to my husband for the theme idea. When we were taking down the decorations for Adaline’s first birthday party he was balling up a bunch of tulle and said, “Can I have tulle at my party? We can hang tools!” He was joking and he completely forgot about it. Since it was a “ham” and “man” party I decided that should be the theme as well. I would make it “manly” and also “ham-y”. The fellas were going to be watching the Steelers football game so I decided to decorate in gold and black to match the team colors.
(This party was on October 24, 2010…and of course I never procrastinate…which is why I’m posting it now in February 2011 after football season is over and the Steelers lost the Superbowl!
I am very fast, and efficient, and on top of things blogwise…as you can tell. Don’t envy my sweet-sweet time management skills.)
I had a lot of ideas for the “manly” theme. Tools, sports, cars, but I could only accomplish so much in so little time. I decided to focus mostly on the tools with a little football thrown in.
First off, here’s the food. Many different pig products as far as the eye can see.

In the living room where I put all of the decorations (not the room they were watching football in) I wanted to try my best to hide anything feminine to make it as “manly” as possible. I removed everything decorative and covered all of the pictures.

For the decorations we’ll begin with the Happy Birthday sign. I made the letters out of duck tape. This big sign is hiding my enormous bridal portrait (you can see it in one of the photos for Adaline’s party). Working hand in hand with the manly tools/construction theme I covered the mantel with “No Work Zone” tape (yellow and black matching the Steelers colors!), and hung cardboard cut-out tools and mustaches in front of the fireplace. The signs reading “manly”, “masculine”, “macho”, and “studly” were added to cover some decorative floral work above the fireplace.

The construction site cut-out would be used for photo ops like this:

Here are all of the photos on the wall covered with man-related words. This idea also came from my husband who use 80s words and phrases to decorate for my 30th birthday party. I created the signs in Word using their clipart, printed them on yellow paper that I’ve had for years, and hung them using black and yellow Duck tape.

Here are the door ways clad with “work zone” tape that reads “No Work Zone” and “Warning: 30th Birthday Party in Progress”. My man is such a hard worker it was nice for him to have a “no work zone” for a day (But only for a day…then it’s back to work, buddy!).

On the dessert table we have a pig cake, of course! I wanted to make a “Ham and Man” cake and put the pigs head on a man’s body, but my mom said that sounded creepy. Also, I don’t know how to do that. This is only the second cake that I’ve ever decorated, so yeah. My mom made the extra pink cake just in case there wasn’t enough pig cake to go around. Mom made piggy chocolates from a mold and put those on and around the cake. Sprinkled around the cake is “30” confetti. I placed plastic tools on the dessert table (A package of 3-4 from The Dollar Tree), lollipops that read “30 sucks”, and some gross-out candy (gummy ear wax, and vomit), because boys are gross. Needless to say nobody, even the gross boys, would even try the candy.
I used a piece of foam poster board on the wall and added yellow paper and used electrical tape and black duck tape to form the letters “Ham Man” and added some printed “Ham vs. Man” signs above it. There are more “manly” signs on either side with “manly” words on them. I also had white and black balloons, pink piggy balloons, and yellow balloons with dump trucks on them.

Instead of traditional cone party hats I got the guys some yellow (Steelers!) plastic construction hats (manly!) and put pig snouts (ham-y!) around them! The snouts could be removed and worn separately.
We actually didn’t have a table for the fellas to sit at (and they were just going to sit in front of the tv anyway), so I set the place settings on the coffee table in the living room and they could pick them up as they came in. Each setting included a Steelers paper plate, a yellow fork, and a black napkin, tucked inside of a nail belt.
The nail belts are my favorite thing about the whole party 🙂 …The Ham Depot! Get it?! Of course you do…but I’m going to explain it anyway. So “Home Depot” is a hardware store and tools are all manly and stuff, and since it was a “Ham and Man” party I changed the word “home” to “ham” as a play on words.
You know that you think I’m brilliant. Or really weird.
You’d be right on both counts 😉 Moving on…
I got the nail belts at Home Depot for about .80 a piece. I took an orange Sharpie marker and colored in the “E”. Then I colored in the bottom and the rounded sides of the “O”. I then took a small sliver of masking tape to make the dash in the A and also needed a small piece to close the top of the A because the “O” was open on the top and bottom like this ( ) (sorta). And there you have it…Ham Depot belts!

This is the family room where they watched the game. For the most part I didn’t decorate in there because there just wasn’t enough time or space to bother with it.
I got a cardboard football toss game online (note that one of the players is wearing gold and black!) and pink pig footballs. I figured this is another way that the “Ham and Man” party theme seems to flow since football is often referred to and made out of “pigskin”.
I put gold and black balloons on either side of the tv. The helium started giving out on the balloons before the party even started.
(They were Pirates balloons…go figure!)
I covered the wedding photo of me with baseball pics of Cool Daddy in Junior High and High School. I also taped a large goal post to the wall.
The red toolbox (one that we already had) was left opened and had “toys” in there for the fellas. The pig footballs, extra mustaches (that I used on the mantal), yellow water guns, policemen action figures, “flying” pigs, and a goal post headband that you put on and throw a Velcro football at. The guys actually used the Velcro game some, played the football toss game (it almost always fell over), and had fun hurting one another with the flying pigs. It’s just not fun unless it’s dangerous.

When it was time for cake, I put all of the candles on. There were 30 candles on the cake, one of them was a football candle, and 5 of them were shaped like little tools! 30 candles sure can blaze up a tiny cake so we quickly sang Happy Birthday so that Cool Daddy could blow them out.

30 Candles sure do make a lot of smoke!

This is the only “group” picture that I got and it’s not even everyone 😦
Naturally I would’ve loved to have gotten a photo of all the guys in their hats, snouts, and belts, but we just never got the chance, plus…yeah, they were NOT going to do that anyway.

Here’s the Birthday Boy posing with his birthday signs!

Lastly, what does every manly pig of a man want?
…a 50s-syle housewife waiting on him hand and foot!
I stuck around the party serving my man and wearing a referee vest and “Ham Depot” belt as my apron.

I was very tempted to do the whole party in pink. The irony of the Ham and Man pairing is that pigs are pink and I thought about going with a whole pink pig thing and only playing up on the “ham” side and sort of poking fun at the “man” side since it would actually all be pretty girly. My husband actually would’ve found the humor in it, but I decided against it and went with the Steelers colors instead (which worked perfectly with the construction colors).
My husband said that he really liked the theme of the party and he thought it was funny, even if his (stupid) friends didn’t get it.
Happy Birthday, Hubby! (4 months late)
To read more about Cool Daddy go here:
(Back off, ladies, he’s taken!)
*15 Reasons Why My Hubby is Awesome
*Colonel Mustard on a Rollercoaster With a Plastic Fork
*How I Met Cool Daddy: Part 1
*How I Met Cool Daddy: Part 2
Related Posts
BIRTHDAY PARTIES
*Totally Awesome 80s 30th Birthday Party
*Birthday Girl…2 years old: Photos of Adaline at her birthday party
*Ladybug Picnic: 2nd Birthday
*Pink and Green Polka Dots and Cupcakes Party: 1st Birthday
*Celebrating 30 years in 30 days! All of my birthdays from 1980-2009

BIRTHDAY TUTORIALS
*DIY No Sew Party Hat Tutorial
*Ribbon Topiary Video Tutorial (Centerpiece)
*Tissue Number Birthday Sign (Mini-Tutorial)
BIRTHDAY TRADITIONS

*Birthday Traditions: Personalized Birthday CD
*Birthday Traditions: Knife and Cake Server
*Birthday Traditions: Professional Photos
*Birthday Traditions: Photo Puzzle
*Happy 2nd Birthday, Adaline!
+Birthday posts will be published all throughout September 2011 including tutorials, party decor ideas, and birthday traditions!

Coolest Family on the Block is committed to helping you find creative ways to have fun and make memories with your family all year-long. Don’t miss an idea, tip, or trick…subscribe and have updates sent directly to your email!


%20%23birthday%20%23traditions%20)

)