Category Archives: Tutorials
")
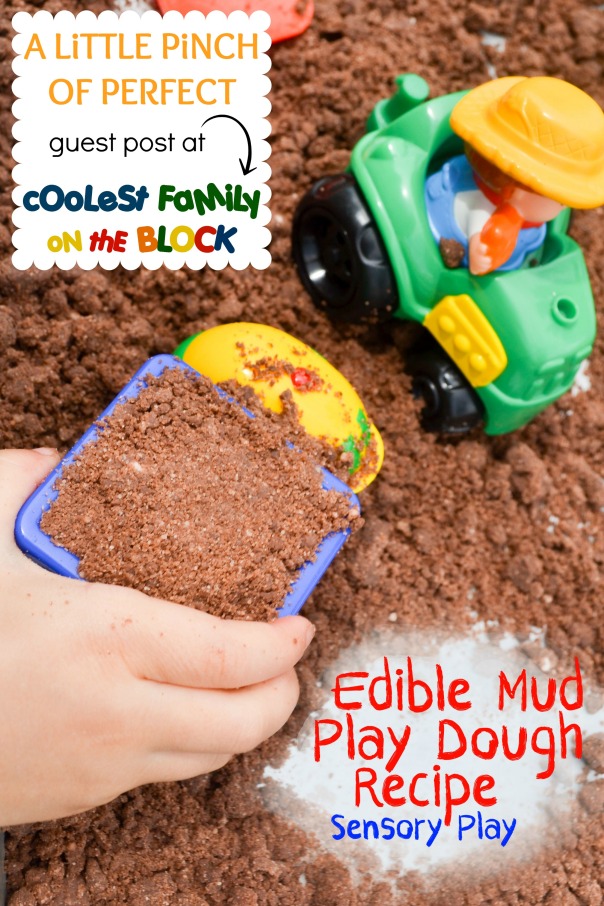
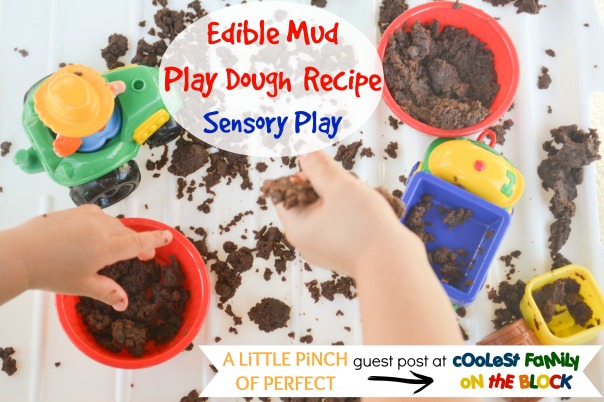
Edible Mud Play Dough (Guest Post: A Pinch of Perfect)
I’m excited to share this guest post with you by Katie from A Pinch of Perfect. Katie posted on my Facebook wall that she found me through the SITS Girls and as soon as I saw her blog I knew I had to ask her to guest post right away. Katie’s blog is packed full of great activities and fun ideas for your little ones, so be sure to visit her blog after reading and commenting on this post! Now here’s Katie…
I have noticed that mud must have some sort of magnetic properties because my son can’t seem to stay away from it. My poor garden has suffered multiple assaults from my son and his shovel. To try and deter him from the garden I wanted to make him some mud that he could play with indoors or outdoors and as often as he would like. This is how Edible Mud Play Dough came to be. It had to be edible because I think you never can be too safe when toddlers are around (my son just turned 1.5) so I work really hard at coming up with safe activities for him.
(See more Toddler Friendly Activities Here)
Our homemade mud can be made with things found in your pantry. It’s fast and simple to make and looks exactly like mud. After coming up with this awesome recipe, when my husband came home from work and took a look at the “muddy” tray on the table he wondered why I had brought mud into the house. Oh the look he gave me when I took a bite was priceless, lol! By now he should know we are always up to something fun and interesting.
The awesome part about Edible Mud Play Dough is it is dry and crumbly and at the same time doughy and shapeable. Although it is edible, it doesn’t taste good at all so this activity shouldn’t turn into snack time. Get those trucks, shovels, and mud pie pans out because your kiddo is going to love playing with it. What a fun new Sensory Play experience!
(see more Sensory Play Activities Here)
Supplies:
1 Large box of chocolate pudding mix (we used the instant kind)
1 C. baking soda
1/4 C water
3 Tbs. oil
I suggest making one batch per kid.
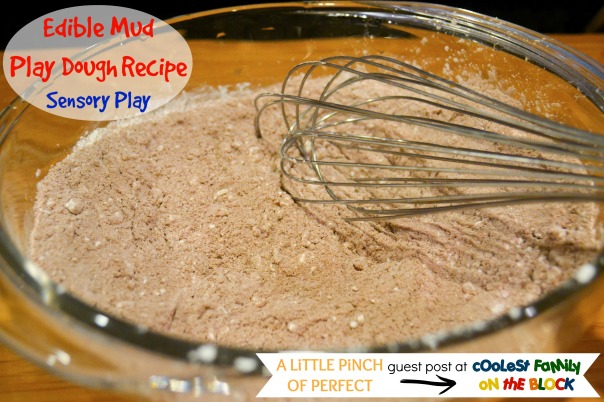
Directions:
Mix dry ingredients together.
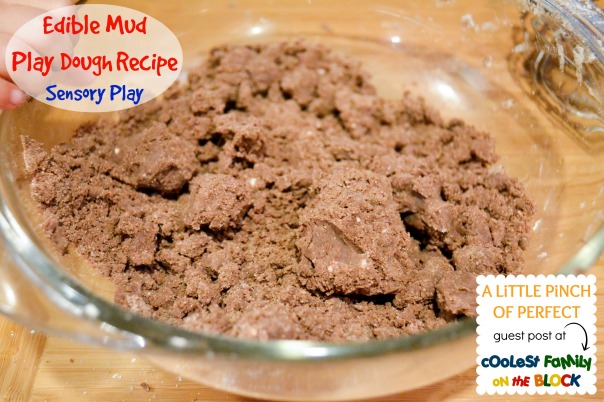
Add wet ingredients and mix evenly and it’s ready to be played with.
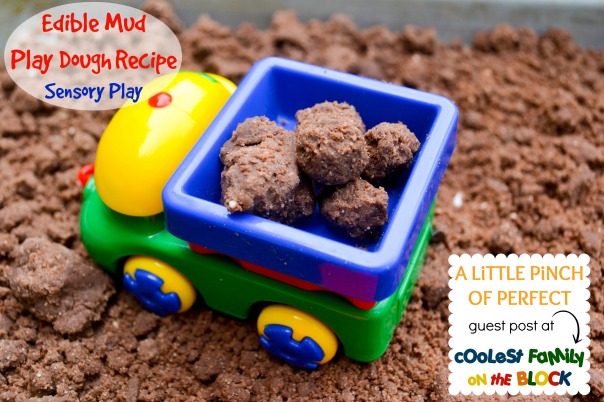
Makes a perfect mud ball because it can hold its shape, but will still crumble apart.
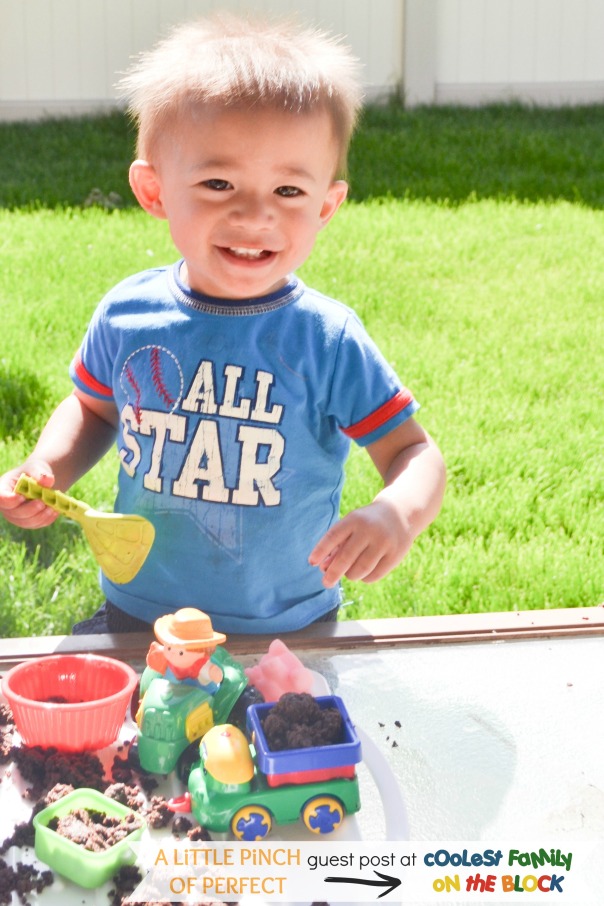
Here are my busy little kiddos smashing, filling, and building away.
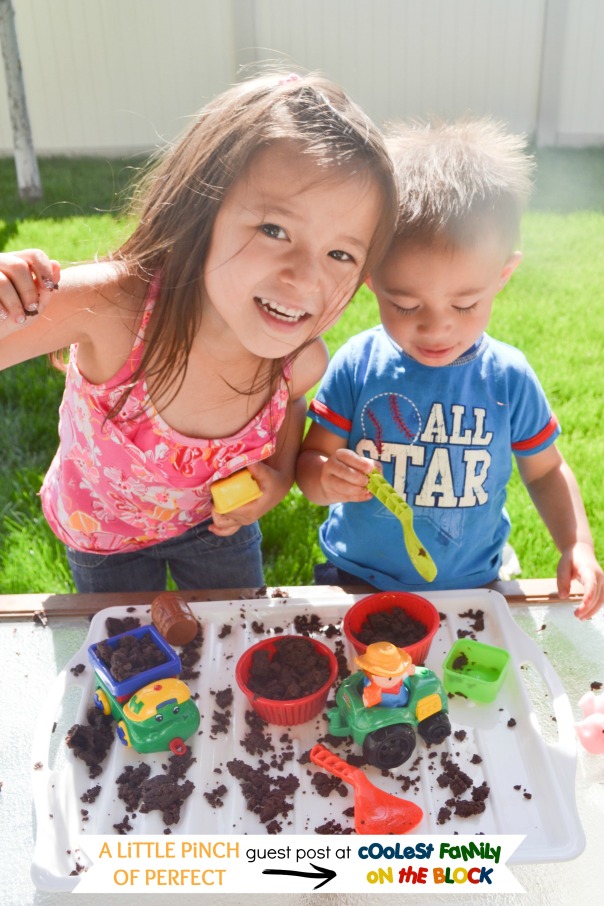
My daughter used the words, “crumbly, brown, and soft.” What sensory words will your kiddo use to describe it?
Sometimes toddlers are hard to keep entertained…well my little man played with his dough for an impressively long time and even outlasted my daughter. He must love his new mud!
We hope you enjoy our Edible Mud Play Dough Recipe. Thanks for playing with us. Drop by A Little Pinch of Perfect to say hi and make sure you catch our next fun idea!
Love-Katie and the Kiddos
![]() Katie is a Stay-At-Home-Mom who is kept busy by her spunky 3 year old daughter and curious 1 year old son. She is always coming up with new, fun, and creative ideas to keep her kiddos excited throughout the day. She believes that creativity helps little minds learn & grow in amazing ways that conventional methods only dream about. Visit A Little Pinch of Perfect to discover more or follow her on social media on Facebook, Pinterest, Twitter, Instagram, Google+, and Bloglovin’
Katie is a Stay-At-Home-Mom who is kept busy by her spunky 3 year old daughter and curious 1 year old son. She is always coming up with new, fun, and creative ideas to keep her kiddos excited throughout the day. She believes that creativity helps little minds learn & grow in amazing ways that conventional methods only dream about. Visit A Little Pinch of Perfect to discover more or follow her on social media on Facebook, Pinterest, Twitter, Instagram, Google+, and Bloglovin’
Thank you, Katie! 🙂
Do your kids love playing in the mud?
Have you ever made mud play dough?
Please leave a comment for Katie below!


This post is linked to: SITS Sharefest (July 12, 2014)

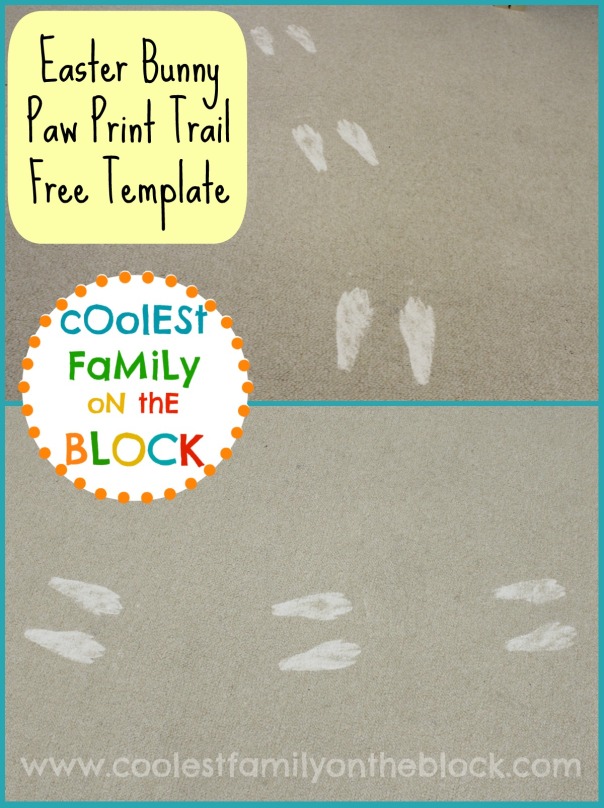
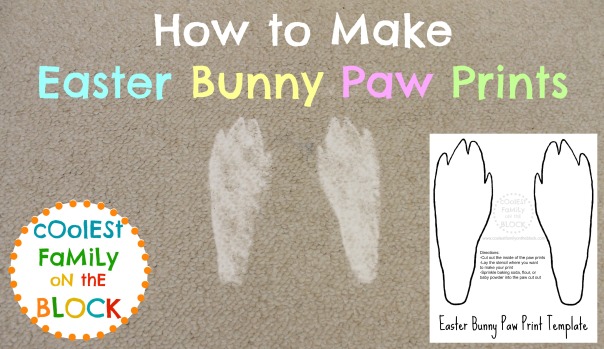
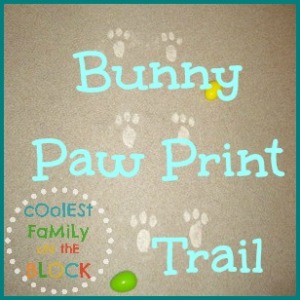
How to Make Easter Bunny Paw Prints with Free Printable Template
Learn how to make DIY Easter Bunny paw prints with a free printable template and video tutorial!


To create your own Easter Bunny paw print trail you’ll need to print out a template online or create your own template. Pick a white powder (baking soda, flour, baby powder) to sprinkle inside the bunny paw print stencil.
Watch the quick video tutorial below to learn how to make DIY Easter Bunny tracks using my free printable Easter Bunny paw print template!
(Watch video here)
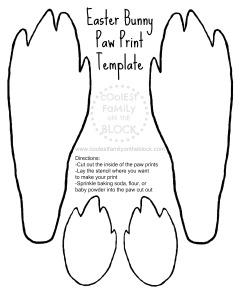
For the past few years I’ve used other free printable templates to create a more whimsical looking Easter bunny footprint. This year I decided to create my own template and I wanted to try to make it look like a more realistic rabbit paw print. I’ve never seen rabbit tracks in real life (I’m not very outdoorsy) but after looking over some photos online, I think I came up with a decent version.

I also created a version that includes front paws. In my opinion, the Easter bunny only hops on his back paws because he’s carrying the Easter baskets, but the front paws are included if you want them. There are three files below. You can print out the version with just the back paws, the version with front and back paws, or the last file which contains both of the other templates in one file. Click on the photos or links to download, or right click and “save link as” to save the pdf to your computer.
Easter Bunny Paw Print Templates are for personal non-commercial use only.
Attention pinners and bloggers:
When sharing please link to the original post, do not link directly to the pdf file url. Thank you.
Free Printable Easter Bunny Paw Print Template: Both versions in one document


Free Printable Easter Bunny Paw Print Template: Back Paws Only

Free Printable Easter Bunny Paw Print Template: Front and Back Paws
Print the template out on card stock as regular paper tends to be too flimsy to use as a stencil. Although I didn’t show this trick in the video, you can use a damp cloth to wet around the edges of the stencil to catch the powder that might otherwise creep outside of the template. Or you could use the damp cloth to dip in the powder first and then dab around the inside of the stencil rather than sprinkling. I’ve never needed to use either of these methods and always just sprinkled the powder the way I demonstrated in the video.


![]()
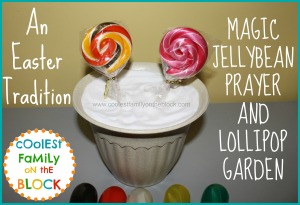
*EASTER TRADITION: MAGIC JELLYBEAN PRAYER and LOLLIPOP GARDEN
*EASTER TRADITION: EASTER BUNNY TRACKS 2011
*EASTER TRADITION: EASTER BUNNY TRACKS 2012

*EASTER TRADITION: EASTER BUNNY TRACKS 2013

*50+ EASTER EGG DECORATING IDEAS
*NATURAL DYES FOR COLORING EASTER EGGS

*APRIL HOLIDAY TRADITIONS
This post is linked to…
SITS Sharefest / Mama Kat’s Writer’s Workshop / Mama Kat’s Vlog Prompts

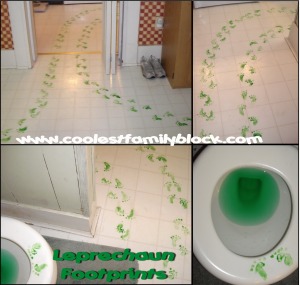
How to Make Leprechaun Footprints: Video Tutorial

How to make leprechaun footprints: video tutorial
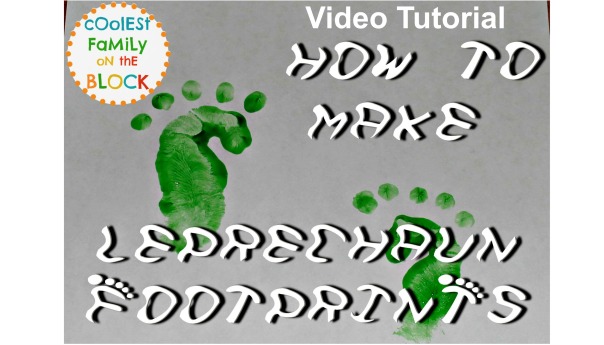

Here’s a quick video tutorial showing you how to make the leprechaun footprints that you see in these posts:
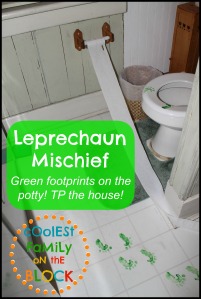
*Leprechaun trickery is afoot! and
*St. Patrick’s Day Tradition: Leprechaun Footprints.
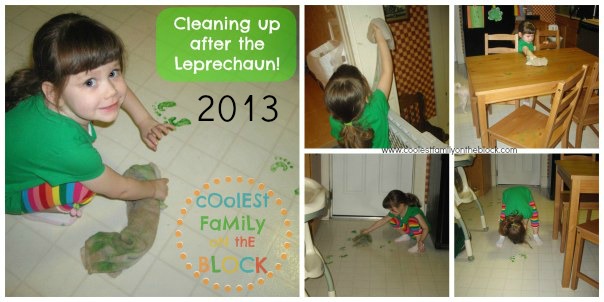
I also included some footage of Adaline discovering the mess the leprechauns made in 2013.
(Watch video here)
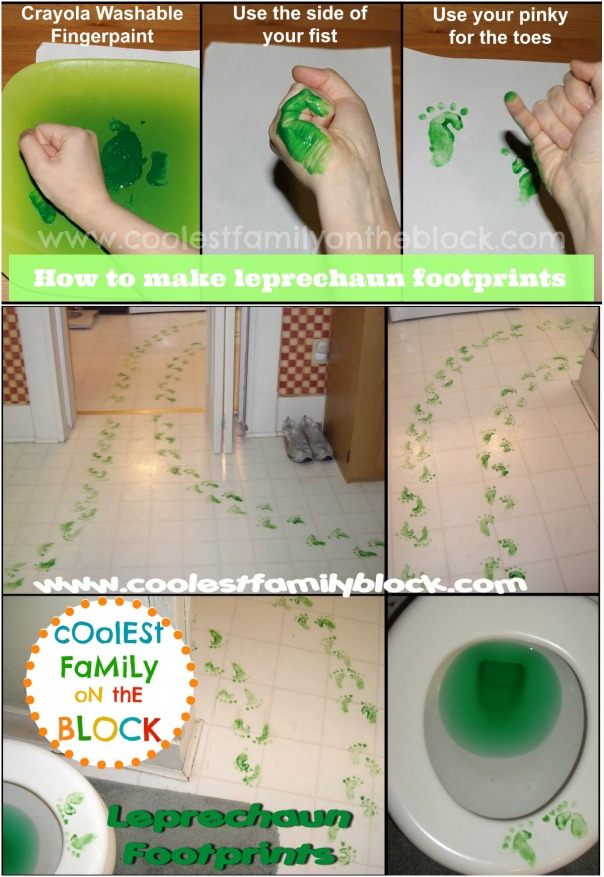
To make leprechaun footprints:
-Put green Crayola washable fingerpaint on a plate, piece of paper, or thick paper towel
-Make a fist and dip your hand into the paint (dab off the excess)
-Press your fist onto your surface of choice
-Use your pinky finger to make toes
-Repeat using other hand

More details:
-It takes me about 45 minutes to make the mess.
-I do ALL of the prints for one foot/fist at the same time so that I don’t have to keep switching hands.
-It takes about 5 minutes to clean up the footprints.
-The footprints wipe off easily with water. You may want to use some soap if the paint was on long enough to dry.
-My daughter enjoyed cleaning up the footprints.


Has a leprechaun ever visited your house? What kind of things have your kids thrown in the toilet? Let me know in the comments!
*March Holiday Traditions

*Leprechaun Visit 2013: Little green footprints!
*Leprechaun Visit 2011: Magic green milk, footprints, and more!
*50+ FREE St. Patrick’s Day Printables (Links)
*The time that Buddy the Elf stole a picture from my blog!
*30+ April Fools Pranks You Can Play on Your Kids!
Great for Leprechaun tricks and Elf mischief as well!
*Easter Bunny Tracks: Paw Print Trail!
*Santa’s Magic Sooty Bootprints!
This post is linked to…
SITS craft link up / SITS Sharefest /Kids Activities Blog: St. Patrick’s Day
How to Fold a Towel (Video Tutorial)
I’ve added this to Mama’s Kat Vlogging Workshop as prompt
3.) Make a video about anything…from a table in your kitchen.
Coincidentally I had just made this video last week for No Housework Day. Our kitchen light doesn’t work so I moved the table into the playroom to record the video. Enjoy 😉
I dislike all housework but if I had to pick a favorite chore it would be the laundry. I don’t mind laundry so much. Maybe it’s because there’s really no gross factor like there is with dishes. Maybe it’s because there are only four of us and the laundry is pretty manageable. I don’t know.
I’m actually really good at folding laundry, so I thought I’d show you how to fold a towel. I know, it’s exciting isn’t it? I like to rock a nice, fancy tri-fold with my towels. Also, I fold in the shadows because I am mysterious (or because I have crappy lighting in my house). Watch and learn, my friends, watch and learn.
(Email and feed readers click here to see the video.)
…and. You. Are. Welcome.
I just changed your life.
Spread the word.
If you’re looking for another pointless tutorial you can check out this ooooold one of mine: How to build a jigsaw puzzle.

How do fold your towels? Tri-fold, square, origami elephant? Tell me in the comments!
Don’t forget to link up your housework (or anti-housework) related posts to the No Housework Party April 05-12, 2013!
You can “like” the No Housework Party on Facebook, party with @coolfamilyblog and @nondomestic on Twitter at #nohousework, and follow our Non-Domestic and No Housework boards on Pinterest!

Related Posts:
*My Least Favorite Chore
*10 Things I’d Rather do Than the Dishes

Check out my other vlog for Mama Kat’s prompt #2
Something interesting you received in the mail

Coolest Family on the Block is committed to helping you find creative ways to have fun and make memories with your family all year-long. Don’t miss an idea, tip, or trick…subscribe and have updates sent directly to your email!


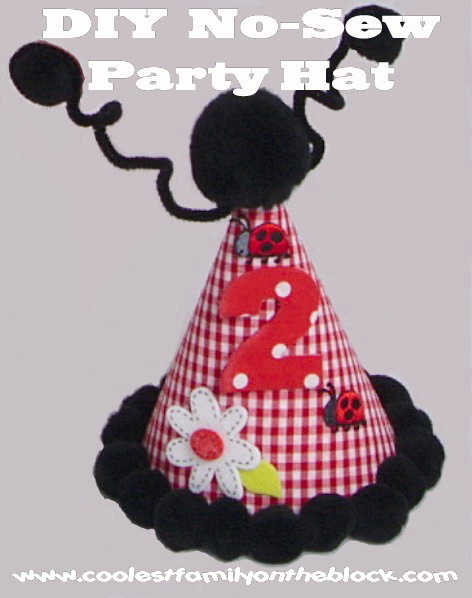
DIY No Sew Party Hat Tutorial
For Adaline’s 2nd Birthday Party I decided to try to make her party hat myself. Even though I knew she wouldn’t keep it on her head and I probably wouldn’t even get any decent pictures of it…every little kid should have a party hat for their birthday!
I do not sew and I’m not really crafty, so I came up with a fairly easy no sew party hat. The whole idea is to get any cardboard party hat and cover it with either scrapbook paper or fabric to match your party theme and then add embellishments.

Supplies you will need:
(2) Cardboard party hats
Fabric or Scrapbook Paper
Hot Glue Gun (and Glue Stick if you’re using paper)
Scissors
Chalk
Ribbon
Embellishments (Pom Poms, feathers, etc.)
Step 1: Trace and Cut
-Carefully unravel one of the cardboard party hats to use as a template
-Set it on the fabric/paper and trace around it. Be sure to trace a little wider to give you extra room for mistakes. Use chalk for tracing on fabric and pencil for paper…something that can be easily wiped off or erased.
-Cut it out


Step 2: Glue Fabric to Hat
-Adhere the fabric/paper to the party hat that’s still put together.
I used a glue stick for paper and a hot glue gun for fabric.
When using the hot glue gun I pressed things down using a spoon so that I didn’t burn my fingers.
Note: Because I used a designed party hat you could actually see the design through the fabric :(, so I covered the hat with scrapbook paper first and then with fabric.


-Because my “seam” was crooked and I was messy with the hot glue I decided to cover the seam with a ribbon to hide my mess 🙂

Step 3: Glue Trim to Hat
-Using a hot glue gun add your embellishments to the top and rim of the hat. I used pom poms.

Although I don’t show it in the photos, I also hot glued two ribbons to the inside of the hat to tie the hat on in place of a chin strap.

You can stop here or add more personalization to your hat. If you are making hats for all of your guests I would probably just add the chin strap and leave the guests’ hats like this but further personalize the birthday kid’s hat.
Adding a number to your hat (Optional)
Supplies you will need:
-Number template or stencil
-Felt and fabric
-Marker
-Scissors
-Hot Glue Gun

Step 1:
-Trace and cut your felt number.
I didn’t have a stencil, so rather than drawing freehand I chose a size and font and printed out a #2. I then cut out the #2 and placed it on top of the felt. I traced the number with a Sharpie marker because I intended to cover it with fabric. If you’re just going to use the felt be sure to trace out a little further so that you can cut off the marker lines so they aren’t visible.

-Trace and cut your fabric number.
I wanted to add the polka dot fabric to my hat so I chose to cover the felt number in fabric. To do this I traced the cut out felt #2 onto the fabric using chalk and then cut out the fabric.

Next I taped one end of the fabric to the felt (I used sticky back felt so the back was covered with paper. I then hot glued the fabric around the edges of felt trimming away any excess fabric that I didn’t need.

Step 2:
-Hot glue the number to the hat.
To make sure that I put the number right where I wanted it I first used scotch tape to tape it to the hat and then I used chalk to make a few guide marks. Then I hot glued the number onto the hat.


Making a Ladybug Party Hat (Optional)
Supplies you will need:
-(2) Fuzzy sticks (pipe cleaners)
-(2) Pom Poms
-Hot Glue Gun
-Additional ladybug embellishments.
For Antennae I hot glued tiny pom poms to the end of fuzzy sticks. I then twisted the pipe cleaners around the top of the hat under the large pom pon.

I found iron-on ladybugs that had sticky backs at Hobby Lobby. I just used the sticky backs and added them to the hat (you can hot glue to be sure they stick).

I wanted to add a white daisy with red center to match the flowers on Adaline’s dress.

I found these Felties at a craft store (Pat Catan’s).

They had white daisies with yellow centers and yellow daisies with white centers. They had sticky backs and the centers were just stuck to the flowers so I pulled the white center off and colored it red with a Sharpie marker and then put in on the white flower instead of the yellow center. I peeled off the back and stuck it to the hat (you can hot glue to be sure they stick).
The finished product…


Related Posts
BIRTHDAY TUTORIALS
*Ribbon Topiary Video Tutorial (Centerpiece)

*Tissue Number Birthday Sign (Mini-Tutorial)

BIRTHDAY PARTIES
*Ladybug Picnic: 2nd Birthday

*Pink and Green Polka Dots and Cupcakes Party: 1st Birthday

*Ham and Man Party: 30th Birthday

*Celebrating 30 years in 30 days! All of my birthdays from 1980-2009

BIRTHDAY TRADITIONS

*Birthday Traditions: Personalized Birthday CD
*Birthday Traditions: Knife and Cake Server
*Birthday Traditions: Professional Photos
*Birthday Girl…2 years old: Photos of Adaline at her birthday party
*Happy 2nd Birthday, Adaline!
+Birthday posts will be published all throughout September 2011 including tutorials, party decor ideas, and birthday traditions!

Coolest Family on the Block is committed to helping you find creative ways to have fun and make memories with your family all year-long. Don’t miss an idea, tip, or trick…subscribe and have updates sent directly to your email!
Tissue Number Birthday Sign (Mini-Tutorial)

I get a lot of compliments, comments, and questions about the Tissue Number Birthday Sign that I made for Adaline’s First Birthday Party. I tried to include all of the links in the original post, but I thought this deserved a post of its own. This is only going to be a “mini” tutorial, which means I’m going to tell you how I made it but you’re going to need to go to the original website for step-by-step instructions.
I found the tutorial for the tissue paper sign here: Prudent Baby
Basically what I did was:
1. I bought an artist’s canvas from The Hobby Lobby
2. I bought a pillowcase and sheet set from Target
(Obviously you can use fabric, but we don’t have a fabric store nearby so I improvised.)
3. I cut one of the pillowcases and stapled it to the canvas
4. I cut tissue paper flowers. Details found here
(Mine looked awful at first…took me awhile to get the hang of it.)
5. I used chalk to make an outline of the #1 on the pillow case
6. I twisted the bottoms of the tissue paper flowers and hot glued them to the pillow case inside the chalk outline.
7. All done!

Like I said the original tutorial that I found and used was Prudent Baby DIY Tissue Number Birthday Sign, they give details and show pictures of how to make it.
NOTE: Apparently WordPress hates me and it keeps breaking my links to the Prudent Baby website. I keep fixing them and it keeps breaking them again. Here are some ways you can hopefully fix that.
1. Click on one of the links to Prudent Baby and if it comes up saying the page doesn’t exist add .html to the end of the url in your browser. I keep doing this within this post and WordPress keeps erases the .html part 😦
OR IF THAT DOESN’T WORK
2. If the two following links don’t work when you click on them try copying and pasting them into your browser (separately of course).
http://www.prudentbaby.com/2010/06/diy-tissue-number-birthday-sign.html
http://www.prudentbaby.com/2010/06/diy-tissue-garland.html
OR IF THAT DOESN’T WORK
3. Go directly to the Prudent Baby homepage at http://www.prudentbaby.com (If that link doesn’t work just copy and paste the url into your browser.) Then type DIY Tissue Number Birthday Sign or DIY Tissue Garland into their search box (currently on the top right sidebar) and links should show up and hopefully work 🙂
Sorry for the inconvenience. I’ve never had this trouble with any other links before.

Posts COMING SOON…
Balloon Wreath Tutorial and Links Post
Ladybug Picnic Centerpiece Tutorial
Free Ladybug and Bug Fonts Links Post
Ladybug Picnic Products List
(I’ll be creating a separate post that contains all of the info and links for the supplies from this party. In the meantime if you want to know where I got something just ask in the comments.)
Related Posts
BIRTHDAY TUTORIALS
*DIY No Sew Party Hat Tutorial

*Ribbon Topiary Video Tutorial (Centerpiece)
*Tissue Number Birthday Sign (Mini-Tutorial)
BIRTHDAY PARTIES
*Birthday Girl…2 years old: Photos of Adaline at her birthday party
*Ladybug Picnic: 2nd Birthday
*Pink and Green Polka Dots and Cupcakes Party: 1st Birthday
*Ham and Man Party: 30th Birthday
*Celebrating 30 years in 30 days! All of my birthdays from 1980-2009
BIRTHDAY TRADITIONS
*Birthday Traditions: Personalized Birthday CD
*Birthday Traditions: Knife and Cake Server
*Birthday Traditions: Professional Photos
*Birthday Traditions: Photo Puzzle
*Happy 2nd Birthday, Adaline!
+Birthday posts will be published all throughout September 2011 including tutorials, party decor ideas, and birthday traditions!
Coolest Family on the Block is committed to helping you find creative ways to have fun and make memories with your family all year-long. Don’t miss an idea, tip, or trick…subscribe and have updates sent directly to your email!


%20%23birthday%20%23traditions%20)

)