Category Archives: Parties

Healthy Halloween Snacks


We were in charge of bringing classroom snacks for the Kindergarten Halloween party. Homemade treats were not allowed (which is just as well since I don’t cook or bake). I really get tired of all of the junk my kids accumulate from October to January during the holidays, so I really didn’t want to give the kids loads of sugar. Instead I prepared healthy snacks (fruit and cheese) with a fun “Halloween” twist…and they got organic lollipops as well. Yep, I’m one of those super fun parents :P.
(Don’t worry, they also got store bought cookies filled with sugar and artificial junk and bags of artificially colored Cheetos 😦 That was my husband’s doing. He’s everyone’s favorite.)
These healthy Halloween snacks were ridiculously easy to make. Seriously, I can’t express to you enough how quick and simple this was! I made 16 of each and it only took about half an hour to complete. I know, right?! All you need is a black Sharpie Marker!


These String Cheese Ghosts were the easiest to do. I just drew little ghostly faces on the back of a cheesestick and was finished in only minutes! Effortless!


Using a Sharpie marker I drew Jack-O-Lantern faces onto oranges. Okay, okay…so they were Halos or Cuties which are technically Mandarin Clementines. But I’m still going to call them “oranges” anyway because this is my blog and I’m a rebel that laughs in the face of accurately classifying fruits by their proper species and binomial name. Suck it, science!


I’ve seen these Banana Pirates around cyber space for years now. They’re not particularly “Halloween-y” but I still thought they were cute and fun. Halloween is a time you can dress up and be whatever you want…so can your banana! Maybe if I wasn’t so lazy I could’ve come up with a different more appropriately themed “character”, but this will have to do.


What are your kids’ favorite healthy Halloween themed treats?
What other creative character can you turn a banana into?
Do you call Clementines “oranges” too?
Let me know in the comments!
Need last minute Halloween Costumes for siblings?
Check out these adorable and easy Artist and Masterpiece costumes!


Visit my other blog: JennRian.com. It’s pointless, sarcastic, and mildly amusing.

Minute to Win It Games Using Household Items
Here are some games you can play as a family using average household items typically used for housework and housekeeping. Play these games to celebrate “No Housework” Day on April 7. Wouldn’t it be great to declare a day of fun and games with the spouse and kids rather than doing housework?!

%20%23nohousework)
Below you will find links to games that you can play with household items such as a broom, bucket, iron board, laundry basket, forks, spoons, plates, and cups! Way more fun than doing the laundry and washing the dishes!
*Broomski Ball: Roll tennis balls over a taped down broomstick and jump them into three buckets at different heights.

You’ll Need: 3 Buckets / 1 Broomstick / Tennis balls / Foul line / Tape
1) The game begins with the broomstick and buckets affixed to the floor, and the foul line placed 9 feet back from the front of the first bucket.
2) When the clock starts, player can begin rolling tennis balls.
3) To complete the game, player must land at least one ball into each basket.
*Bucket Head: Catch 3 balls in a bucket on top of the head.

You’ll Need: “bucket headgear” made of small bucket or water jug with top cut off / materials like a sweatband to keep it affixed to the head / container of ping-pong balls / wall with a foul line on the ground 5′ away
1) When the clock starts, player may grab 1 ball at a time and bounce it so that it hits the floor then wall before attempting to catch it in the bucket headgear.
2) Only balls caught behind the foul line may count toward total.
3) Ball must bounce directly from wall to bucket in order to score.
4) Player can’t play from a kneeling or seated position, or touch the bucket with the hands while trying to catch a ball.
5) To complete the game, player must catch and retain a total of 3 balls in the bucket atop the head within the 60-second time limit.
*Get Forked: Roll quarters from behind a foul line so that one stands between the tines of a fork from a designated distance.

You’ll Need: Fork / Foul line
1) Create a foul line.
2) Secure the fork a designated distance away from the foul line so that it is face down and the tine openings are facing the foul line.
3) When the clock starts, player rolls quarters toward the fork.
4) To complete the game, get one quarter to stand in one of the tines within the 60-second time limit. The quarter must remain in the tine opening for 3 seconds.
*Ka-Broom: Drop a broom onto a plate, catapulting a marshmallow into the air, then catch it in a cup.

You’ll Need: 1 cup / 1 broom / 10 paper plates / 10 large marshmallows / table
1) Set up each plate so that it hangs halfway off the table with a marshmallow centered on the portion of the plate covering the table.
2) Create a foul line 7′ from the plates.
3) When the clock starts, player places broom bristle side down, and releases the handle so it makes contact with the plate.
4) The marshmallow should catapult into the air and the player must attempt to catch it in the cup while at least 1 foot is behind the foul line.
5) If a player’s hand makes contact with a marshmallow, the attempt does not count.
6) To complete the game, player must catch 3 marshmallows so that they are in the cup concurrently within the 60-second time limit.
*Nimble Thimble: Player must bounce a marble into each of 6 thimbles.

You’ll Need: 6 thimbles / at least 6 marbles
1) Affix each thimble to the table with the open side facing up.
2) When the clock starts, player may toss 1 marble at a time towards the thimbles.
3) A marble must bounce at least once on the table, without being redirected by the player before landing in a thimble.
4) To complete the game, a marble must be stationary in each of the 6 thimbles concurrently within the 60-second time limit.
*Spoon Frog: Bang down on a spoon to propel another spoon into a glass.

You’ll Need: at least 6 spoons / 3 glasses
1) Set up 3 glasses in a row.
2) When the clock starts, player may begin arranging spoons and banging down on them to propel them into the glass.
3) Player must make a single motion, making contact with only 1 spoon when catapulting the spoon into the glass.
4) The spoon must land in the bottom of the glass to count.
5) To complete the game, player must land 1 spoon into each of 3 glasses and they must remain there concurrently within the 60-second time limit.
*Spoon Tune: Arrange glasses of water within 60 seconds so that they play a preselected song when tapped with a spoon.

You’ll Need: Glasses / Water / Spoon / Table / Tuning instrument
1) Prior to game start, fill glasses with water and tune them to the notes of the preselected song. Arrange the glasses in random order in the center of the table.
2) When the clock starts, contestant may start arranging the glasses in a line and tapping them with the spoon.
3) Glasses must be positioned in a clear line within 60 seconds to count toward completion of game.
4) If contestant knocks a glass over or spills enough water to change a glass’ note, the game will result in failure.
5) To complete the game, contestant must arrange the glasses in a line in the correct order correlating to the musical notes of the preselected song and have hands off the glasses within the 60-second time limit.
6) “Jingle Bells,” “Twinkle, Twinkle Little Star,” “Row, Row, Row Your Boat” and “Old MacDonald Had a Farm” are just a few examples of recommended songs.
*By a Thread: Use 1 hand to run a piece of thread through the eye of 10 needles.

You’ll Need: thread / 10 needles (each with an increasingly smaller eye)
1) All needles are placed sharp side down into a stable surface, arranged from largest eye to smallest.
2) Before starting the game, the player may hold thread with hand of choice, but may not lick or bend it.
3) When the clock starts, player may lick or bend thread as needed, but may only use 1 hand at all times.
4) To complete the game, player must get the thread through the eyes of all 10 needles within the 60-second time limit.
*Iron Board Man: Two people maneuver opposite ends of an ironing board in an attempt to land a marble in one of three designated holes.

You’ll Need: Ironing board / Marbles
1) Prior to game start, players stand in designated start zones with their hands holding the board with a marble preloaded on the ironing board.
2) Once the clock starts, players may place their hands on the sides of the ironing board behind the designated zone and will begin rolling the marble down the board by tilting the board.
3) If a marble falls off of the board at any time, the player must re-use marble or pick up another marble and place it in the start zone before attempting the game again.
4) Only one marble may be on the board at a time.
5) To complete the game, player must get one marble from the start position to one of the 3 end positions at the middle of the ironing board as described above within the 60-second time limit.
*Magic Carpet Ride: Player must sit on a bathroom floor mat and use an inchworm technique to move around obstacles.

You’ll Need: 1 standard bath mat / 3 obstacles (i.e. toilet brush, plunger, toilet paper roll) / smooth floor with start line
1) Set up 3 obstacles in a line in front of the start line.
2) Player begins game sitting on bathmat with fuzzy side down.
3) When the clock starts, player may begin moving across floor using the designated inchworm motion to move around the obstacles.
4) Player may slalom in any direction around the obstacles, then turn around and slalom back past the same obstacles.
5) If player touches the ground with any part of his or her body, he or she must stop moving forward until their body is correctly positioned back on the mat.
6) To complete the game, player must slalom around the obstacles to the end and back, and the bath mat must cross the start line entirely within the 60-second time limit.
*Whack Job: Use a broom to knock a pie tin off a glass, allowing the egg that is sitting on a toilet paper roll on top of the tin to fall into the glass.

You’ll Need: glass of water / pie tin / toilet paper roll / raw egg / kitchen broom
1) Set up tower so that it has a glass of water with a pie tin on top. On top of the pie tin is an empty toilet paper roll with an egg balanced on top.
2) When the clock starts, player steps on broom bristles and releases handle so that the handle hits the pie tin with the demonstrated motion.
3) The player may not make contact with the egg tower, and the entire egg must land inside the glass to count.
4) To complete the game, player must knock the egg off the tower and completely into the glass within the 60-second time limit.
*Whippersnapper: Player must use a towel affixed to the floor to whip a ping-pong ball into a laundry basket.

You’ll Need: 1 towel / ping-pong balls / 1 laundry basket
1) Set up laundry basket 15′ away from a towel which has 1 end affixed to the ground.
2) When the clock starts, player may put a ball on the towel and “pop” the ball into the laundry basket by holding the 2 closet corners of the towel.
3) Player may place the ping-pong ball anywhere on the towel, but may only place 1 ping-pong ball at a time.
4) To complete the game, the player must toss 1 ping-pong ball into the laundry basket within the 60-second time limit.
Link up your housework related projects with the No Housework Party April 07-12, 2014. Domestic Goddess’ and the Domestically Challenged welcome!
Tweet using the hashtag #nohousework


Making a Preschool Classroom Valentine

For Adaline’s Montessori Preschool class each child has to make one big Valentine to bring to school that their classmates will sign rather than bring in individual Valentine’s for each student. Honestly, I think that’s a GREAT idea and I’m so glad that she won’t be coming home with 25 different lollipops with eyes glued to them! 😉
I filmed the creative process of making “The Adaline Flower” with a 4.5 year old. Watch and be amazed!
(Video here)
(I post a lot of funny vlogs on my YouTube channel. Subscribe to follow along!)
To make the classroom Valentine for preschool we
-Cut a heart out of red poster board
-Colored craft sticks and glued them around a photo to make petals and a stem for a flower
-Made leaves out of fuzzy sticks
-Made a sun out of construction paper
-Made a pom pom lady bug
-Used glitter glue around the edges to make it shimmery
It was tough to reign in Adaline’s creativity. She LOVES art and wanted to draw all over the Valentine but she needed to keep it blank so that her classmates could sign it. I have a feeling her friends are going to end up with quite a few drawings of hers on their Valentines.

The pom pom ladybug was Adaline’s favorite part.
We used a black Sharpie marker to make dots on a pink pom pom, used a smaller black pom pom for the head, added googly eyes and adhered it all using craft glue. Adaline drew wings and legs around it onto the poster board.

Does your child’s school allow individual
Valentine’s or one classroom Valentine?
Let me know in the comments!

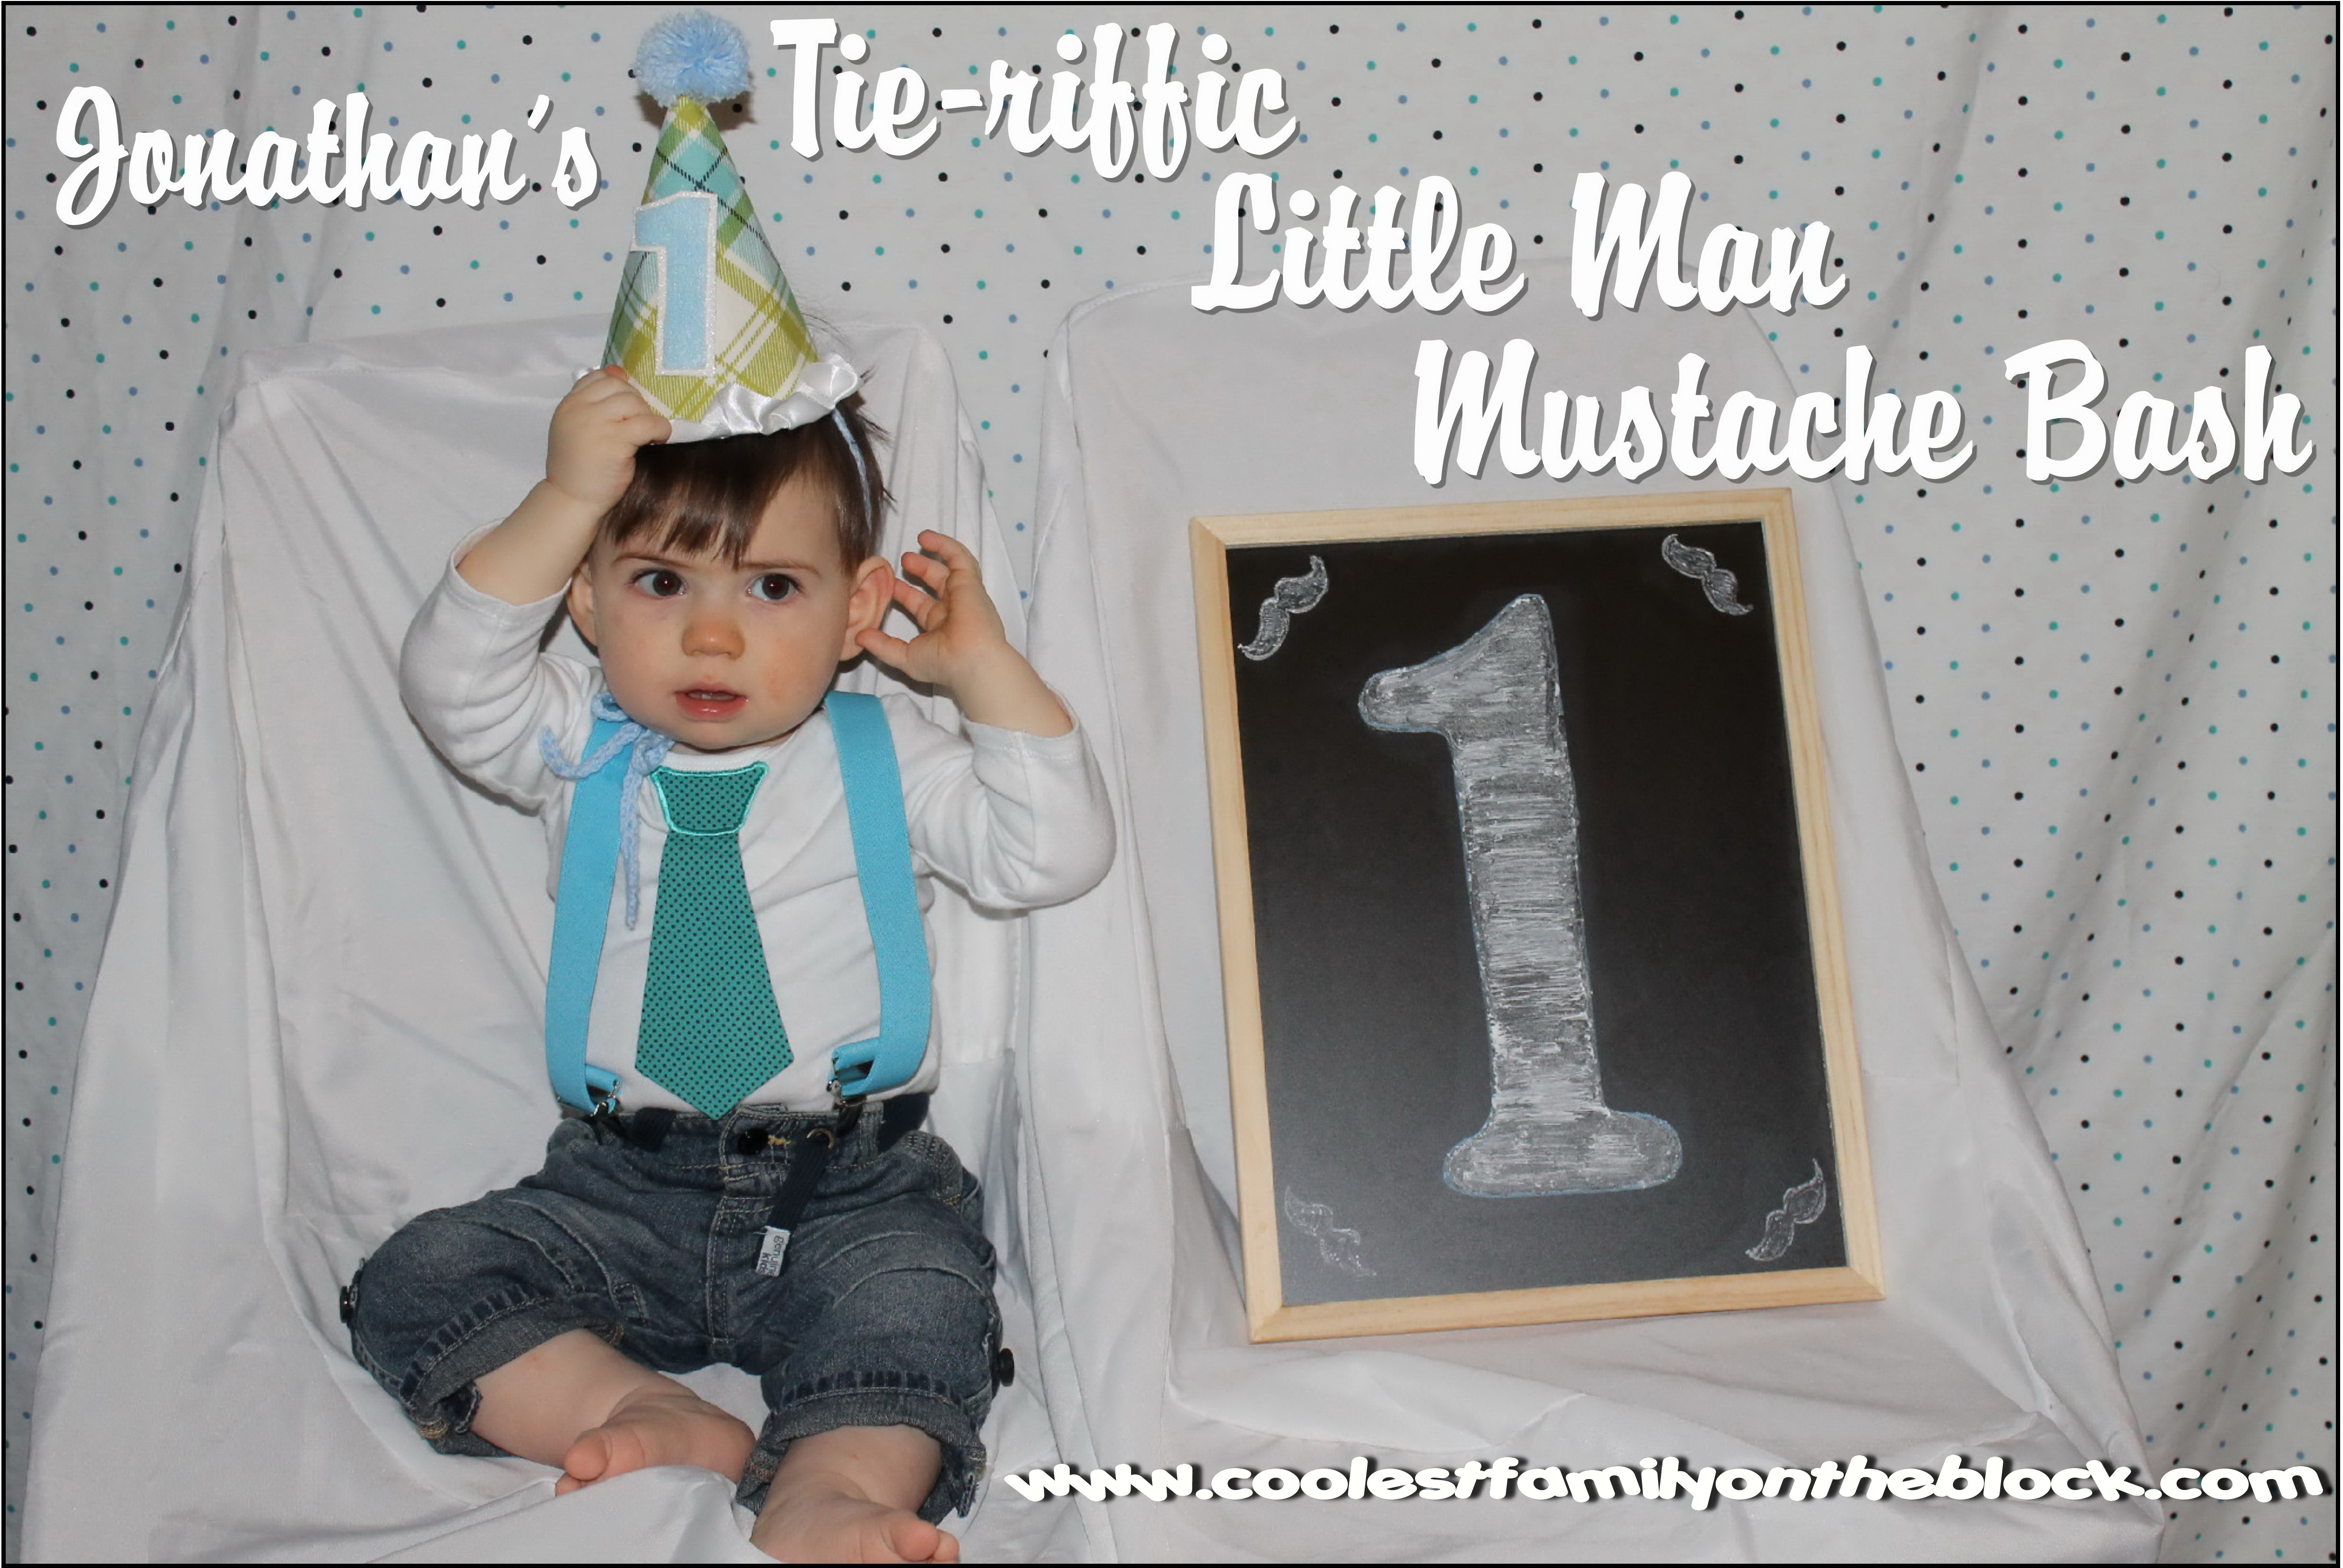
Jonathan’s Tie-riffic Little Man Mustache Bash 1st Birthday Party
Yesterday was Adaline’s half birthday!
She’s 4.5 years old and in just a few days Jonathan will turn 2!
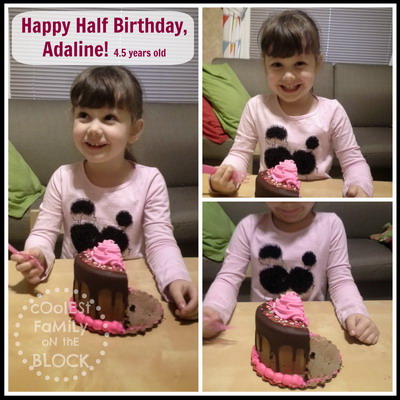

(You can see how we celebrate half-birthdays here.)
Last year my little man’s 1st birthday came and went and I didn’t even mention it on the blog. I’m a bad mom. Or a bad blogger. Maybe both. Anyway, now it’s days before his 2nd birthday and I’m finally going to show you the pictures from his first birthday party.
(Please scroll to the bottom of the post to find a complete vendor list of party items.)
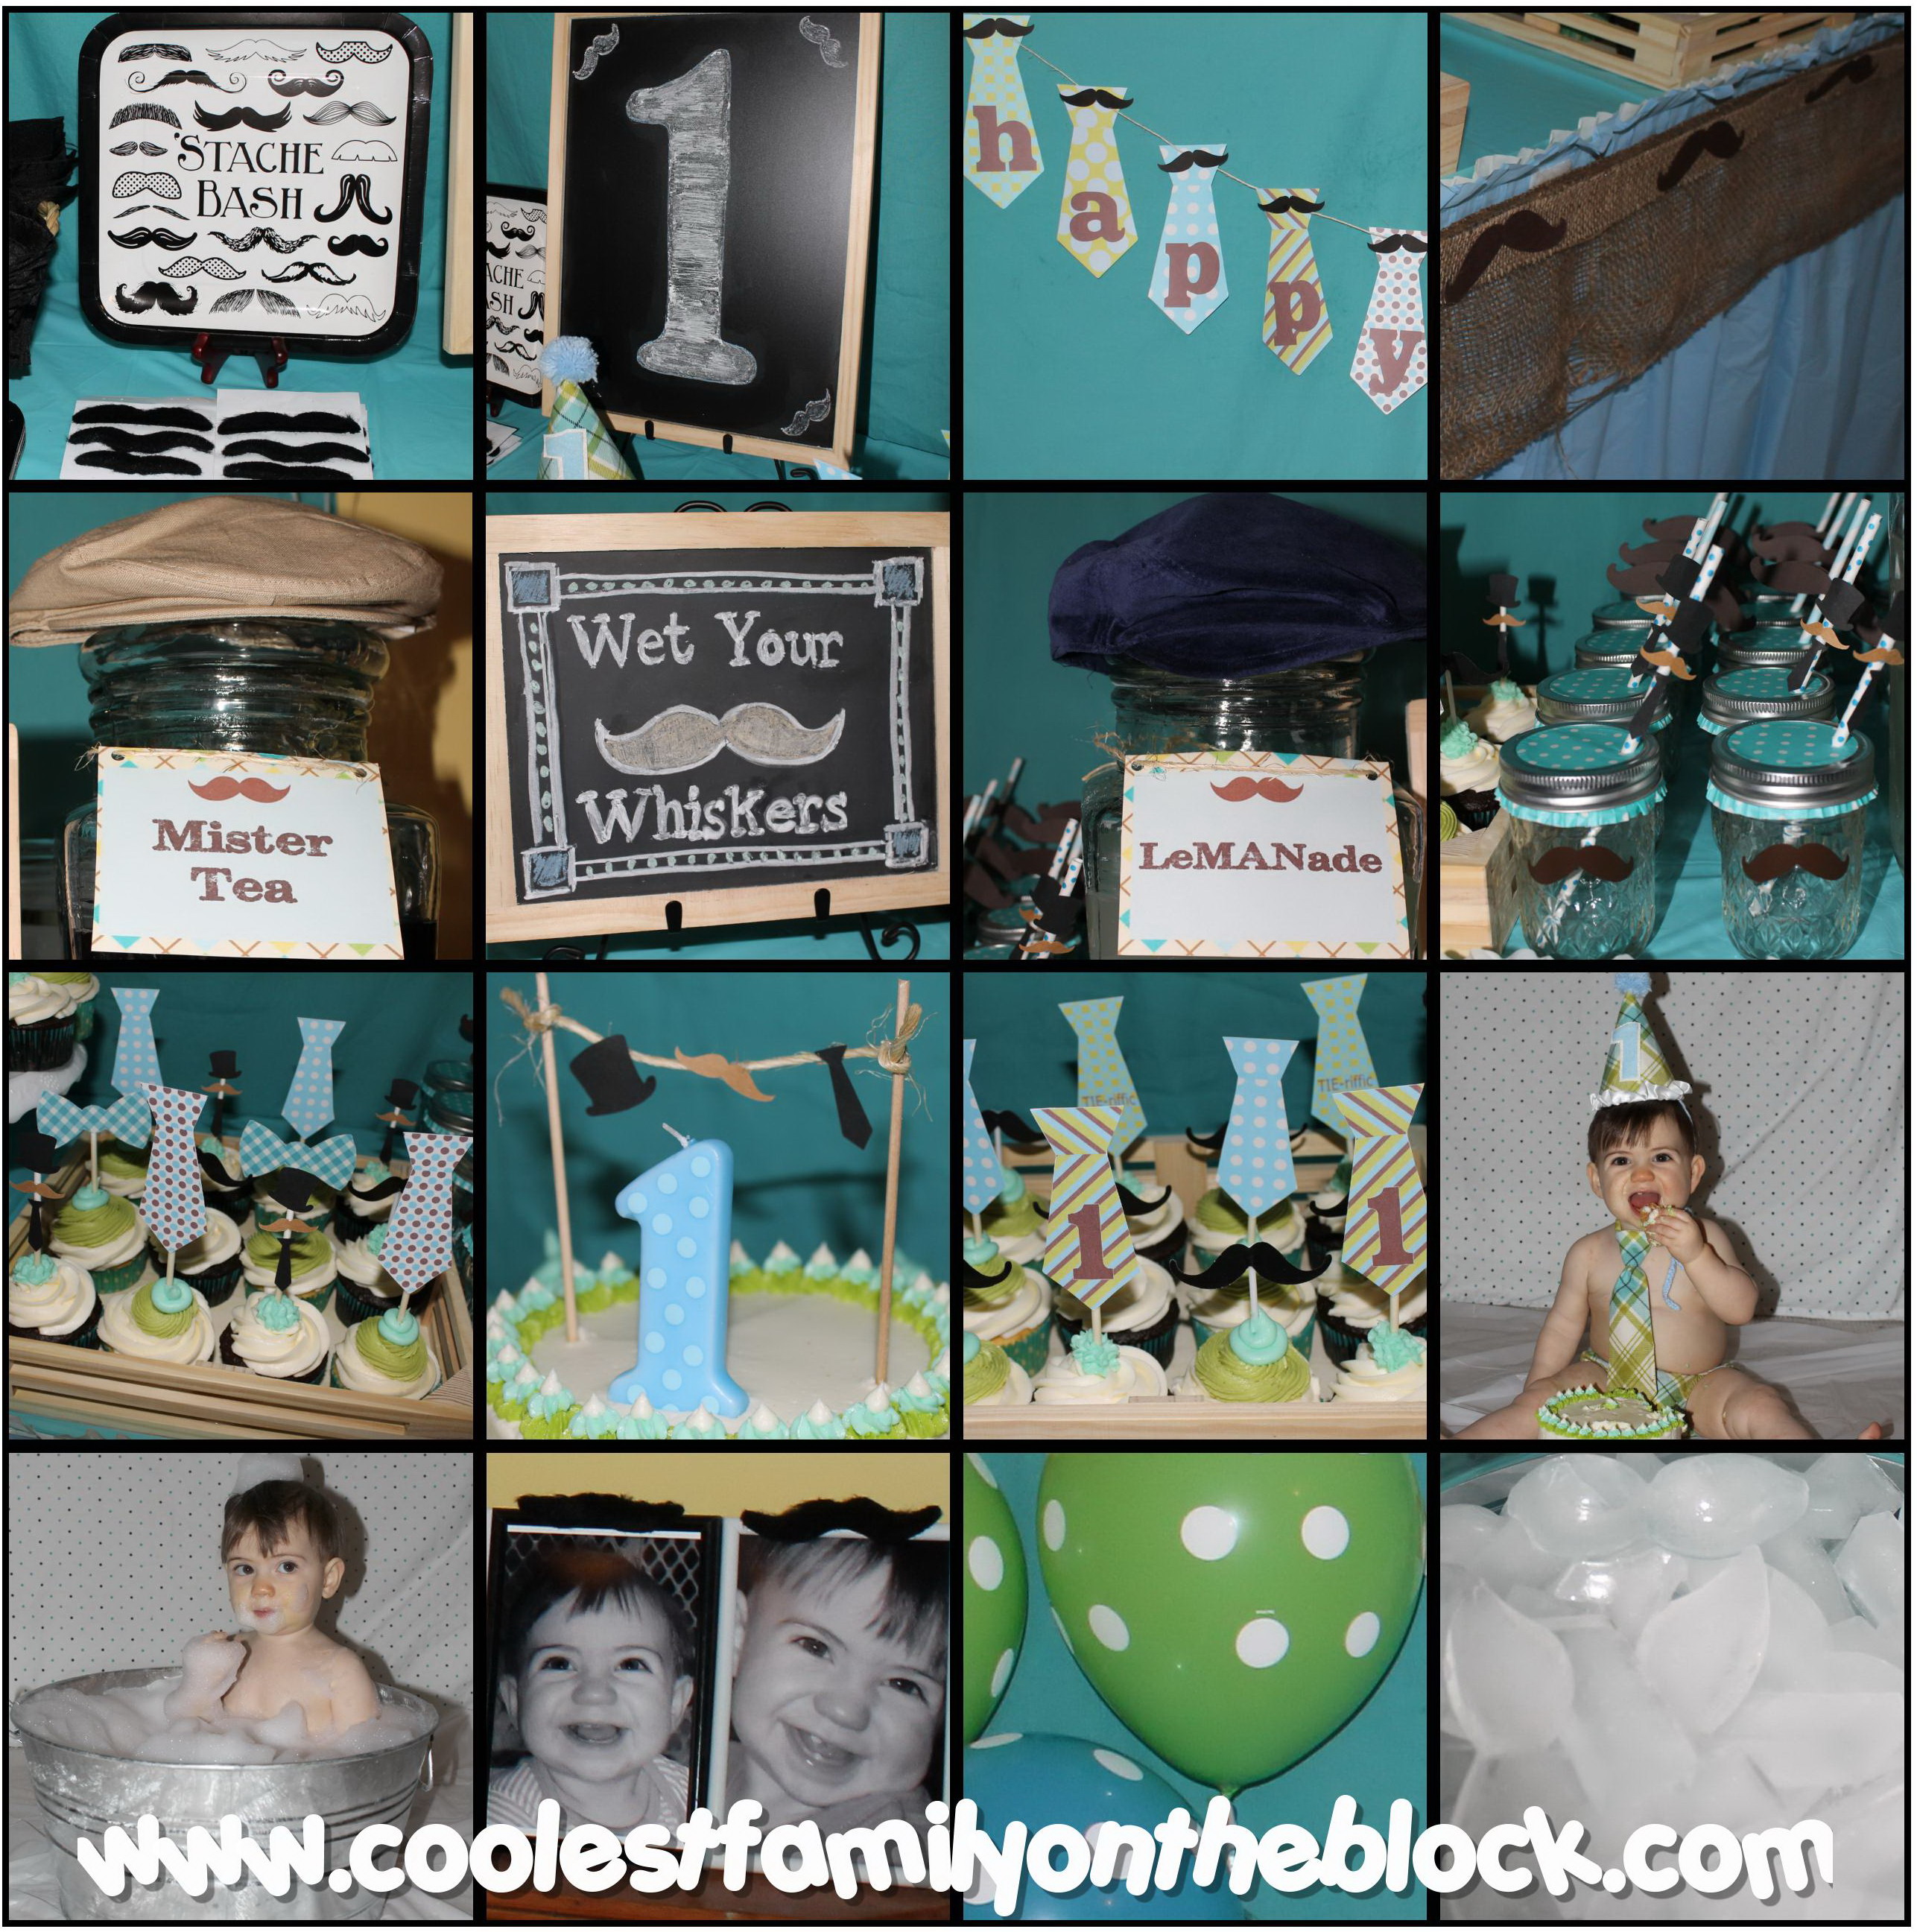
Jonathan’s Tie-riffic Little Man Mustache Bash 1st Birthday Party
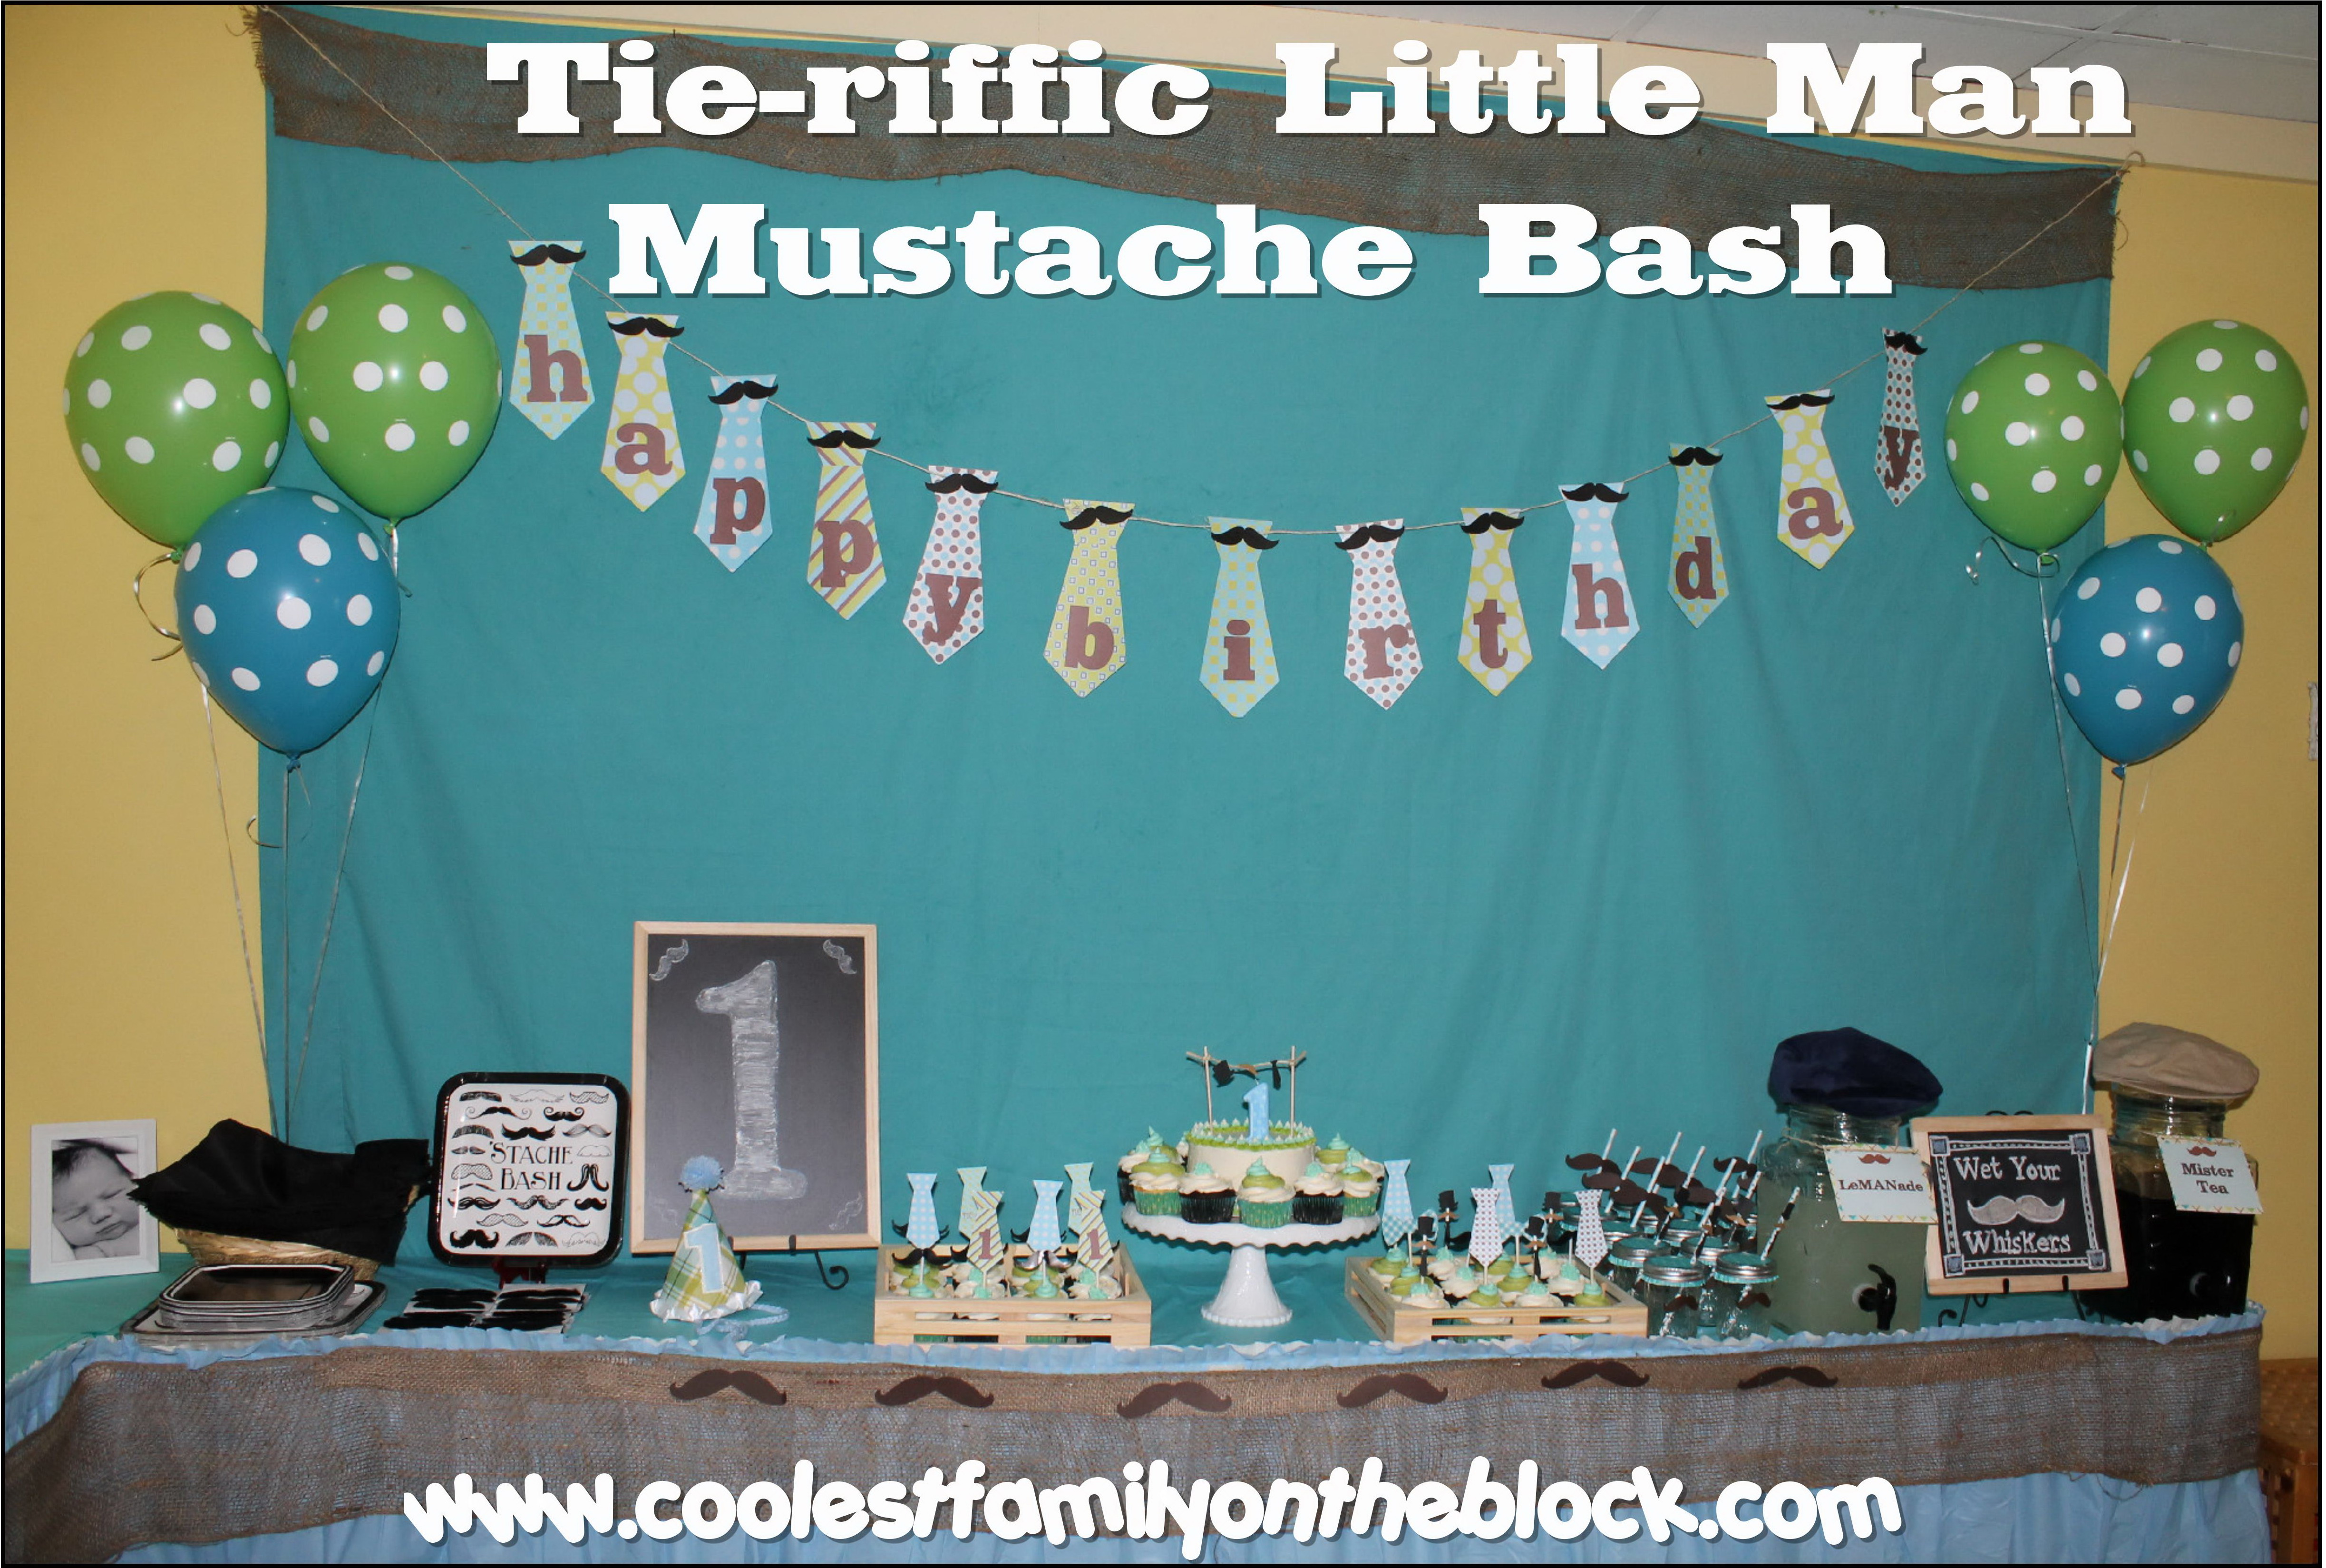

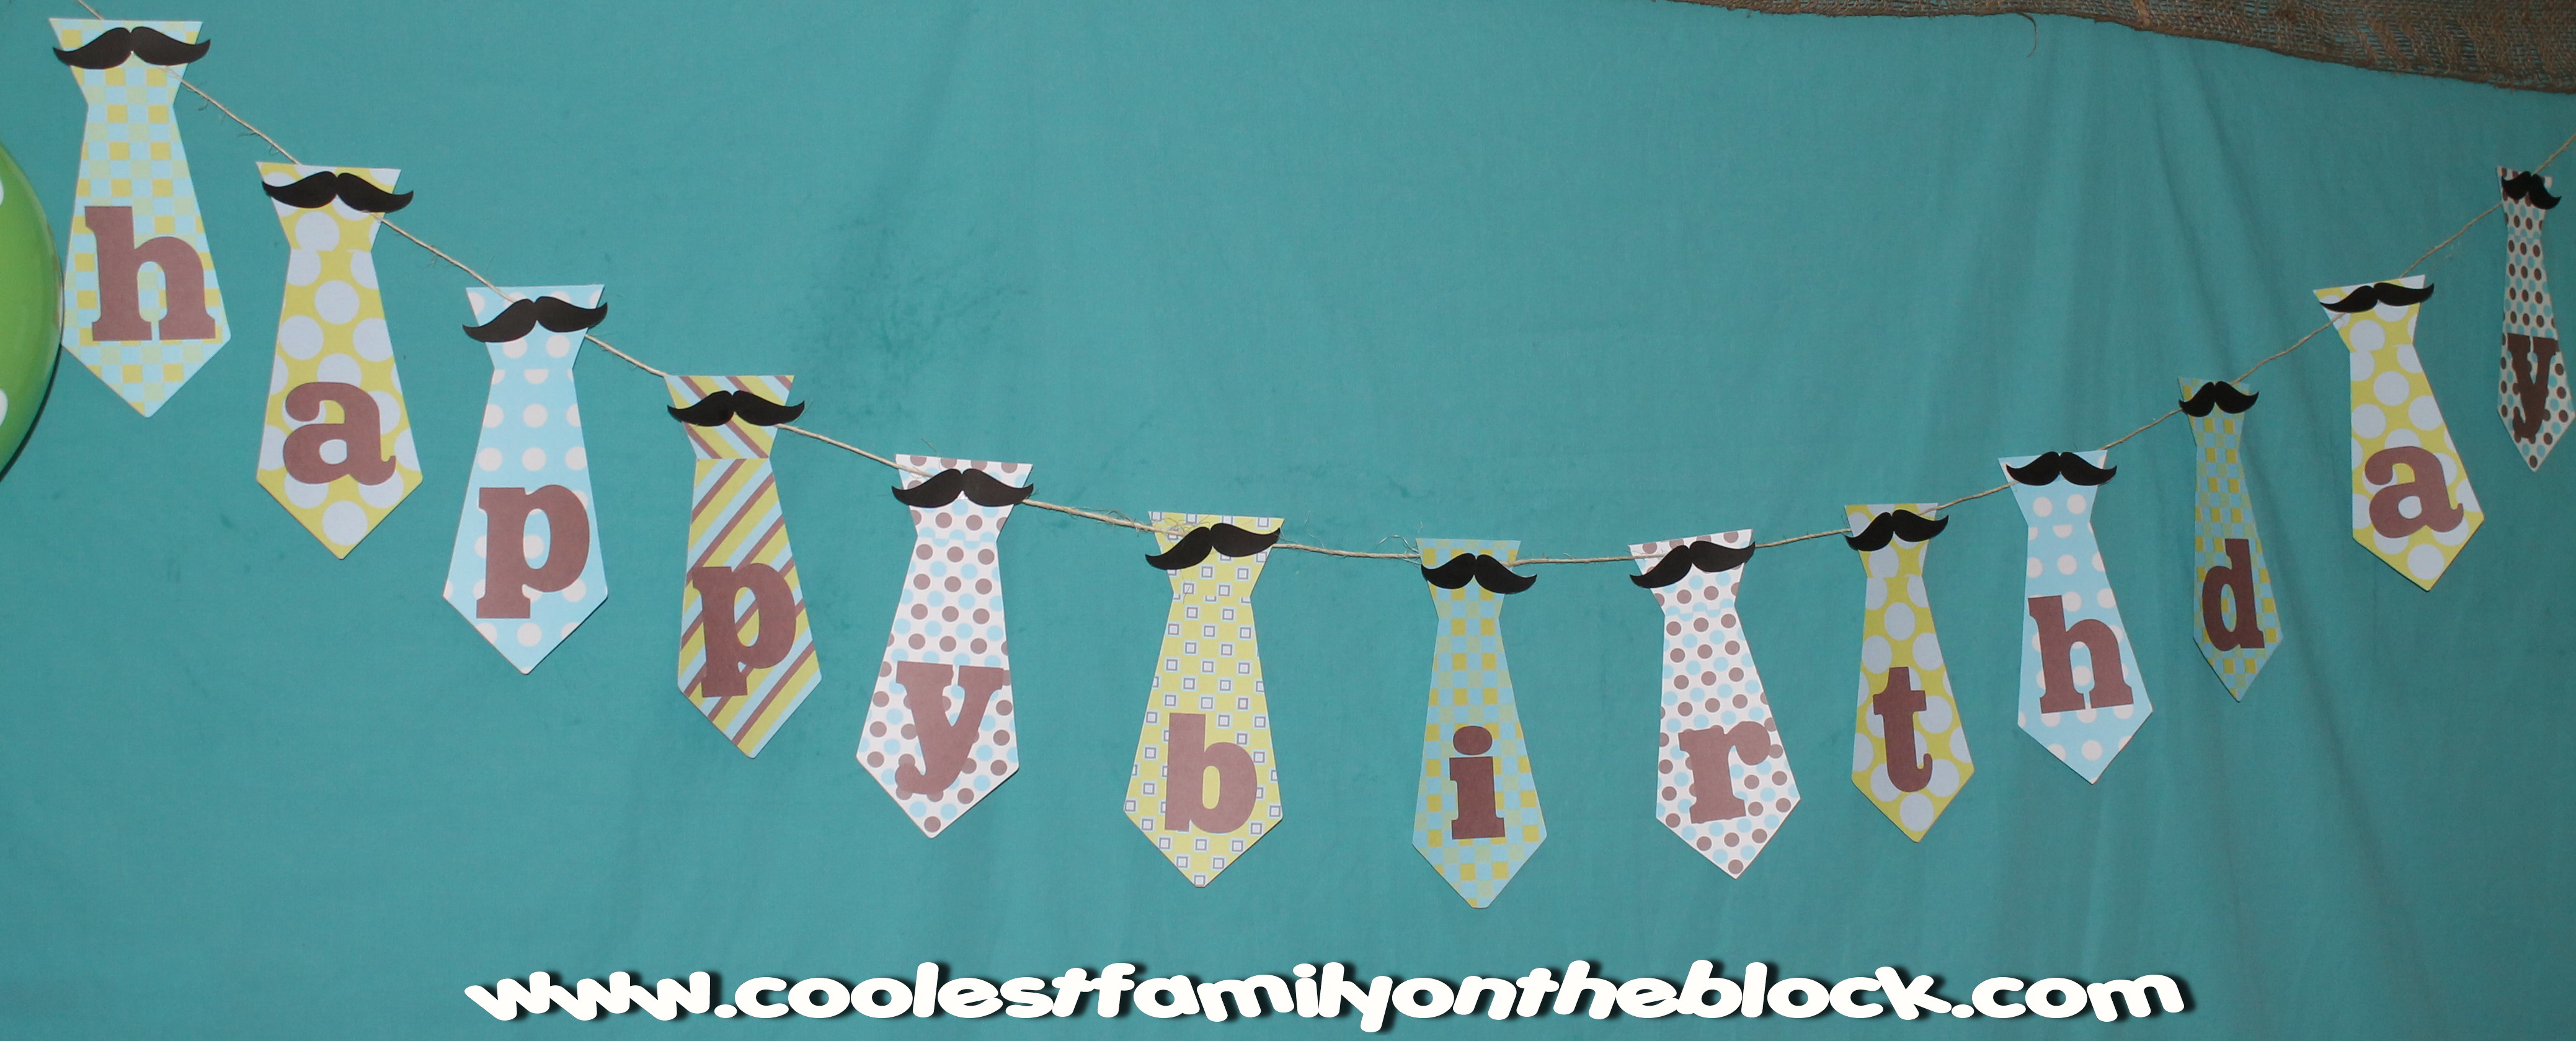
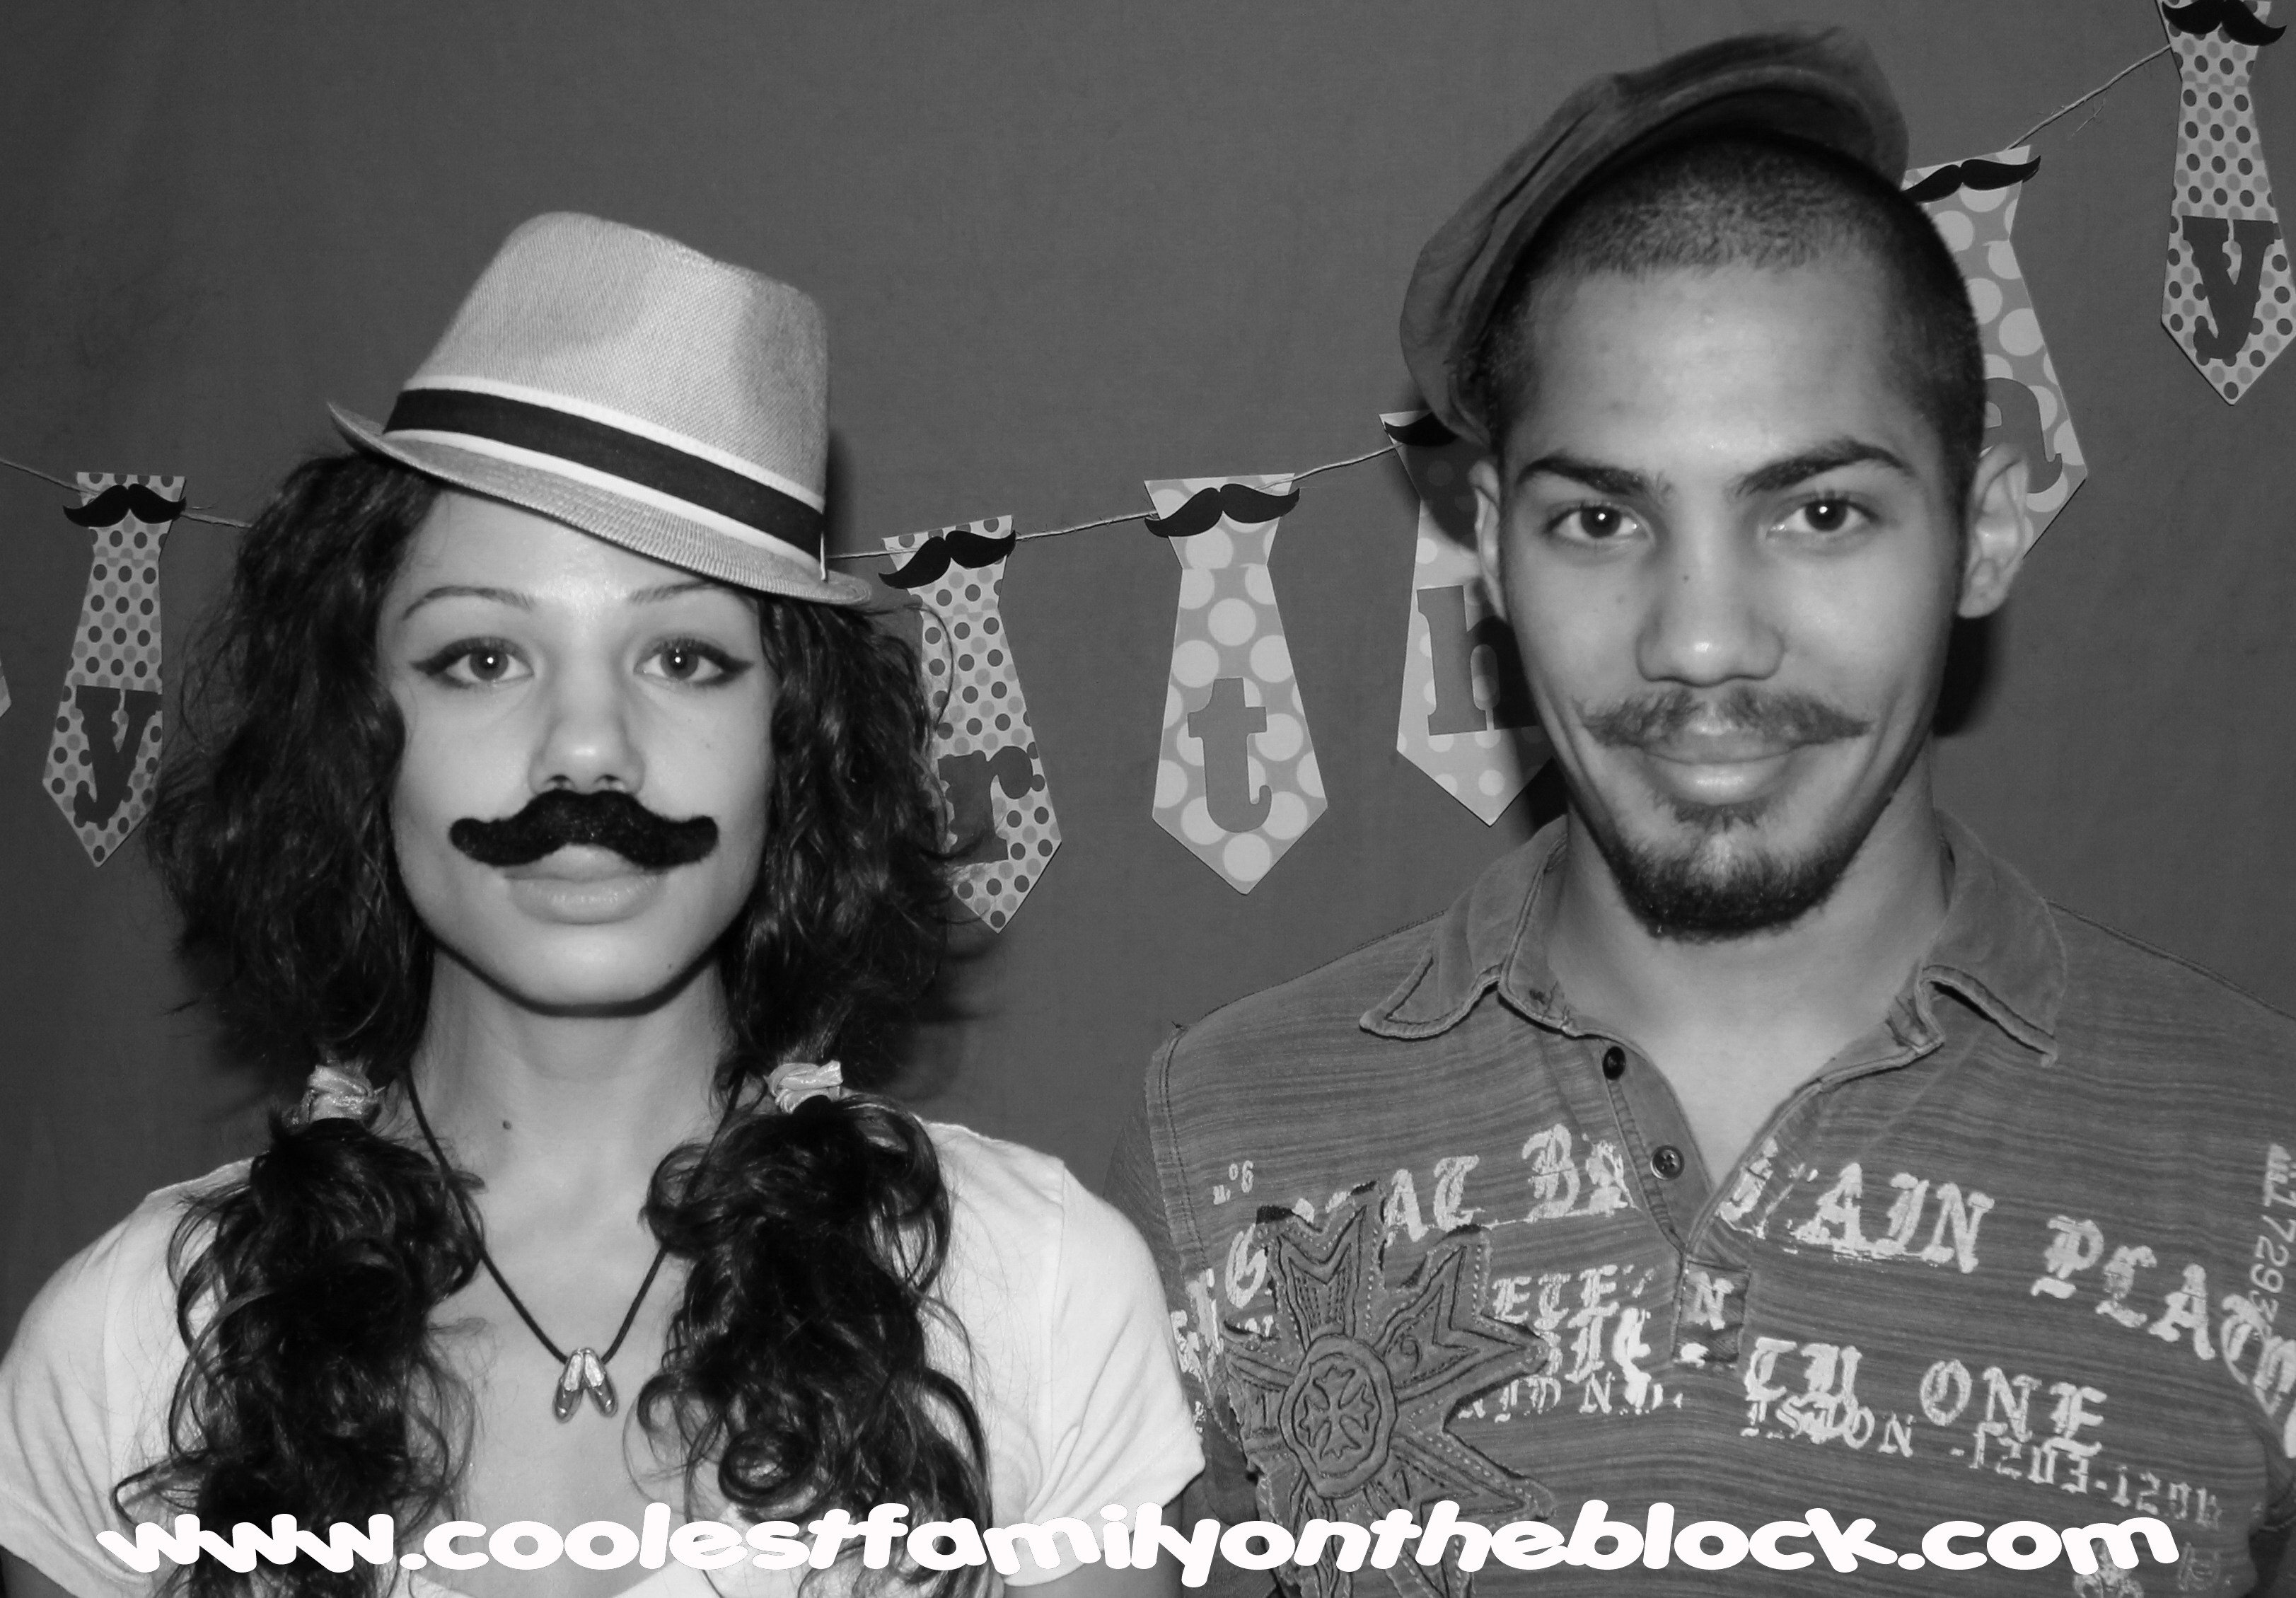
The printable necktie banner is actually a free Father’s Day printable. The only letters missing for “Happy Birthday” were “b” and “i” so I put the file in Paint, painted over it and added new letters. I cut out some free printable mustaches and attached them to each letter of the banner.
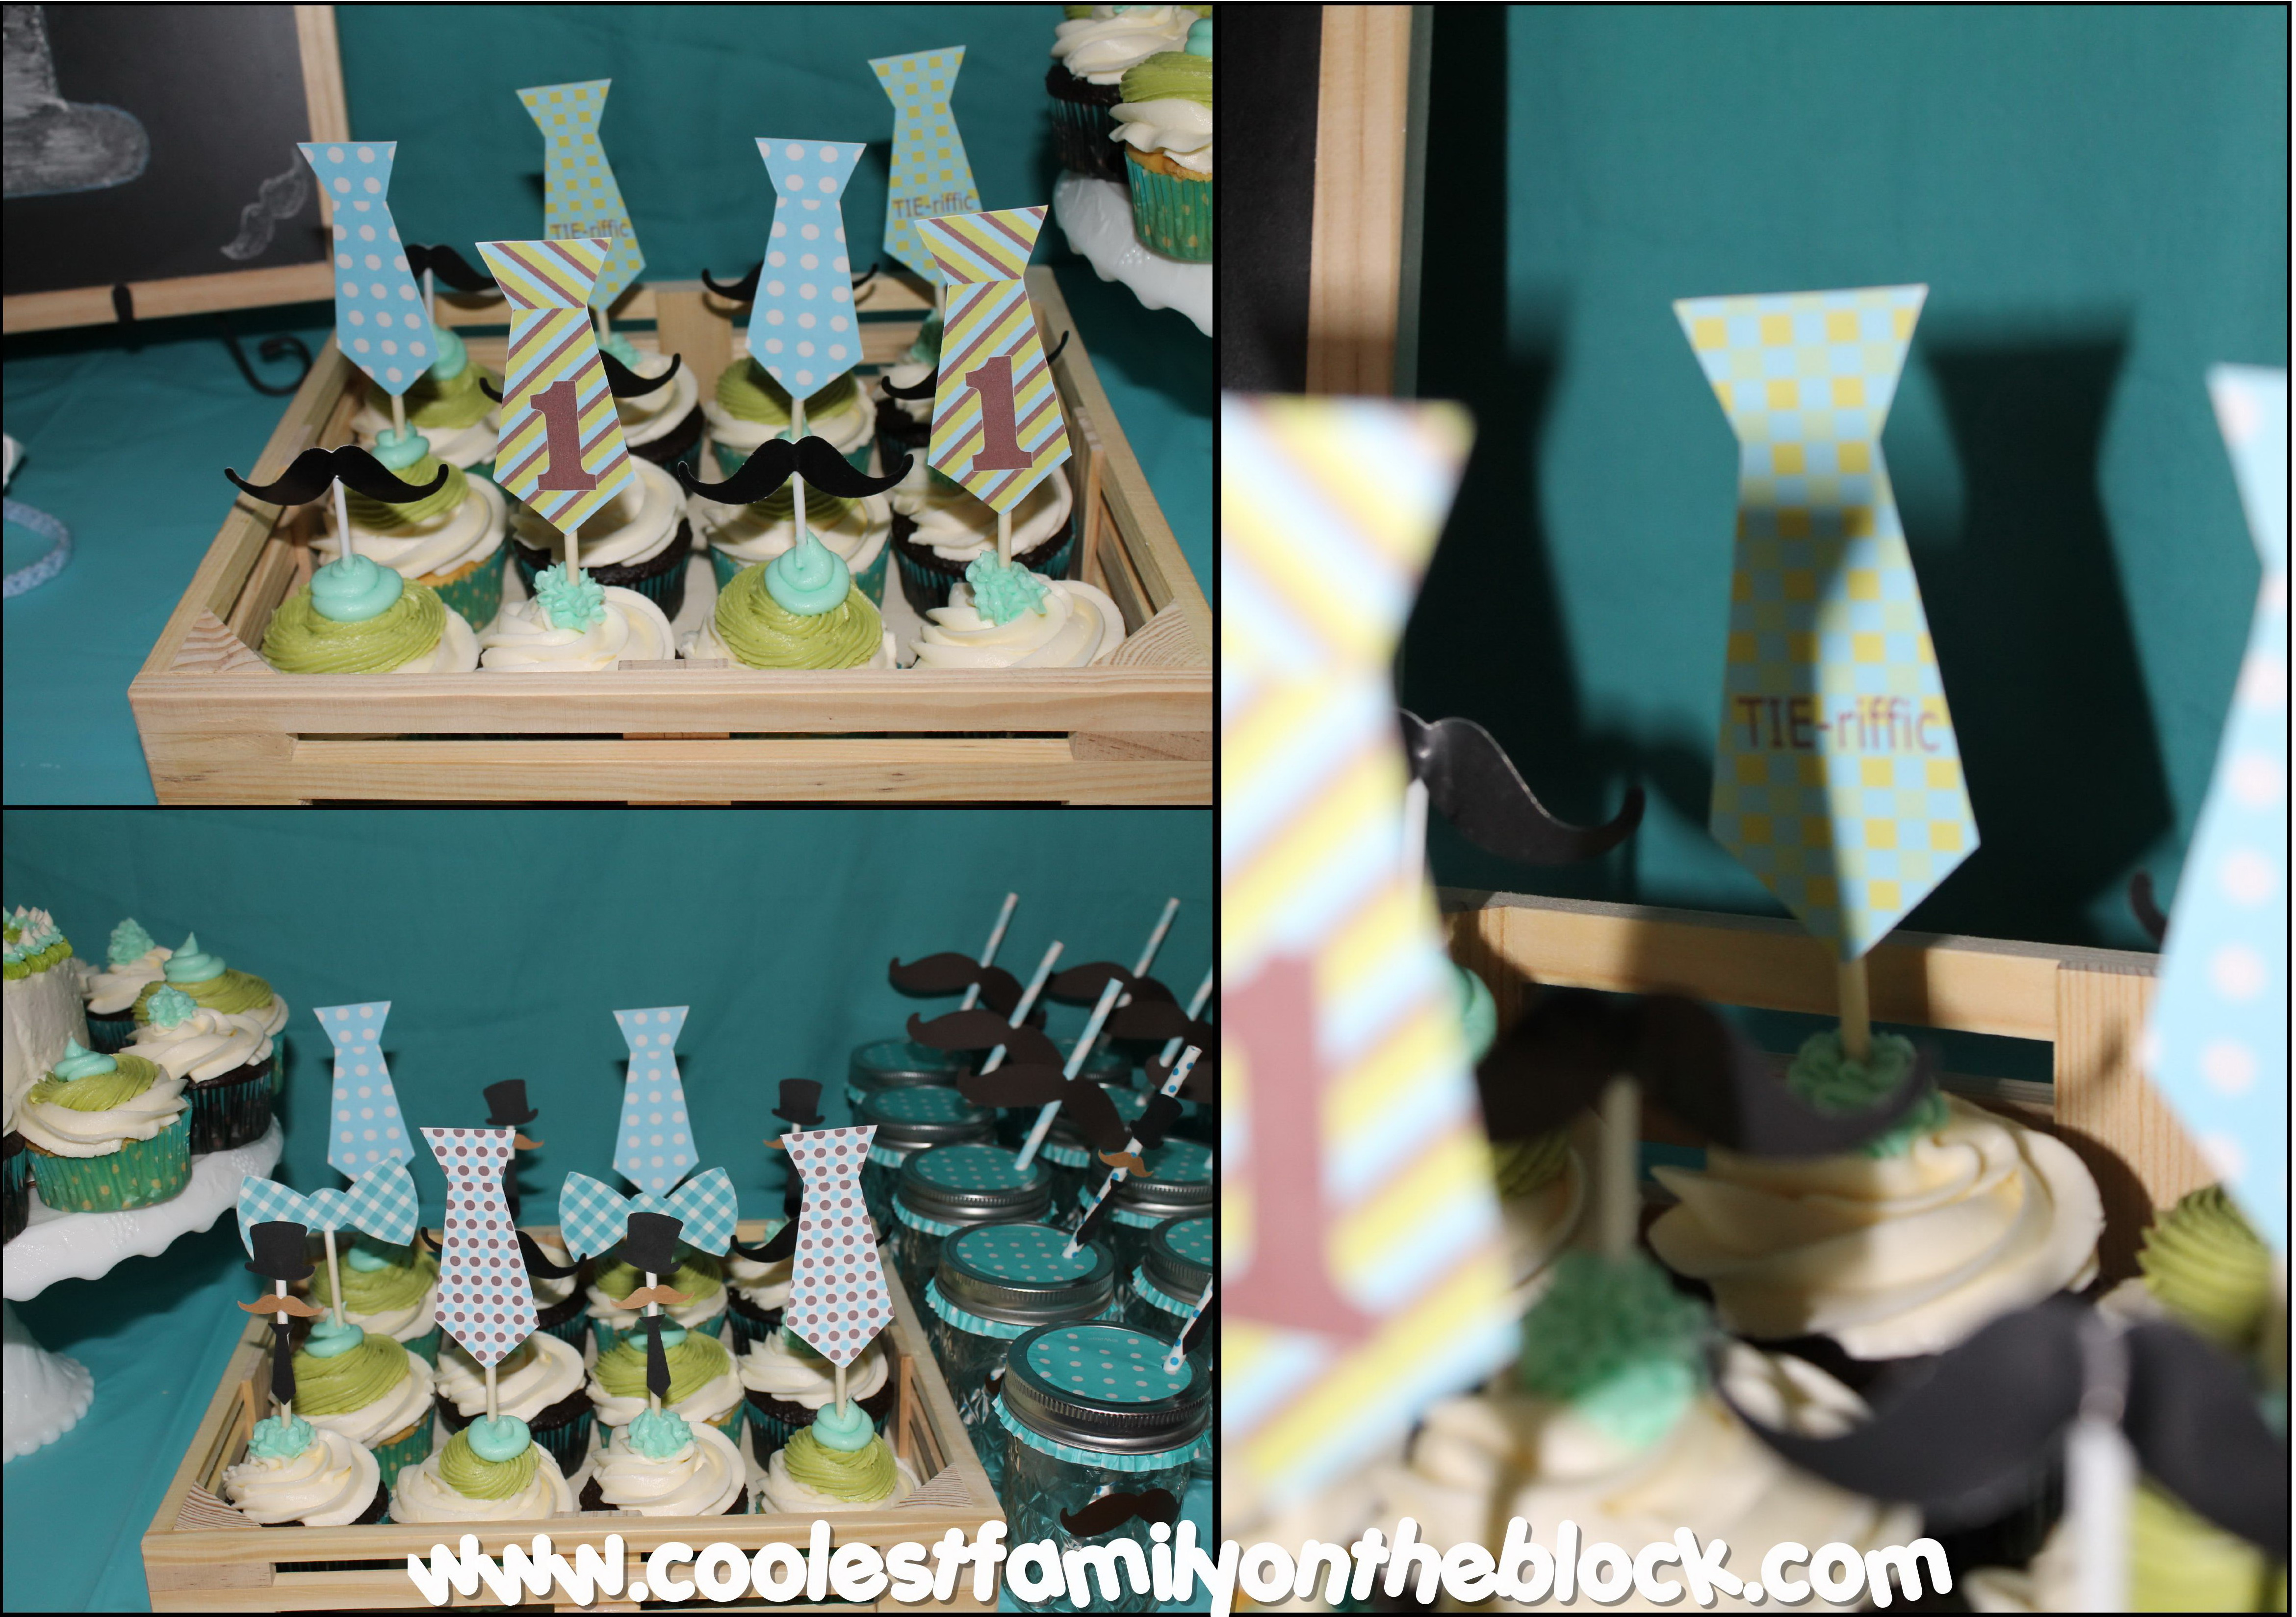
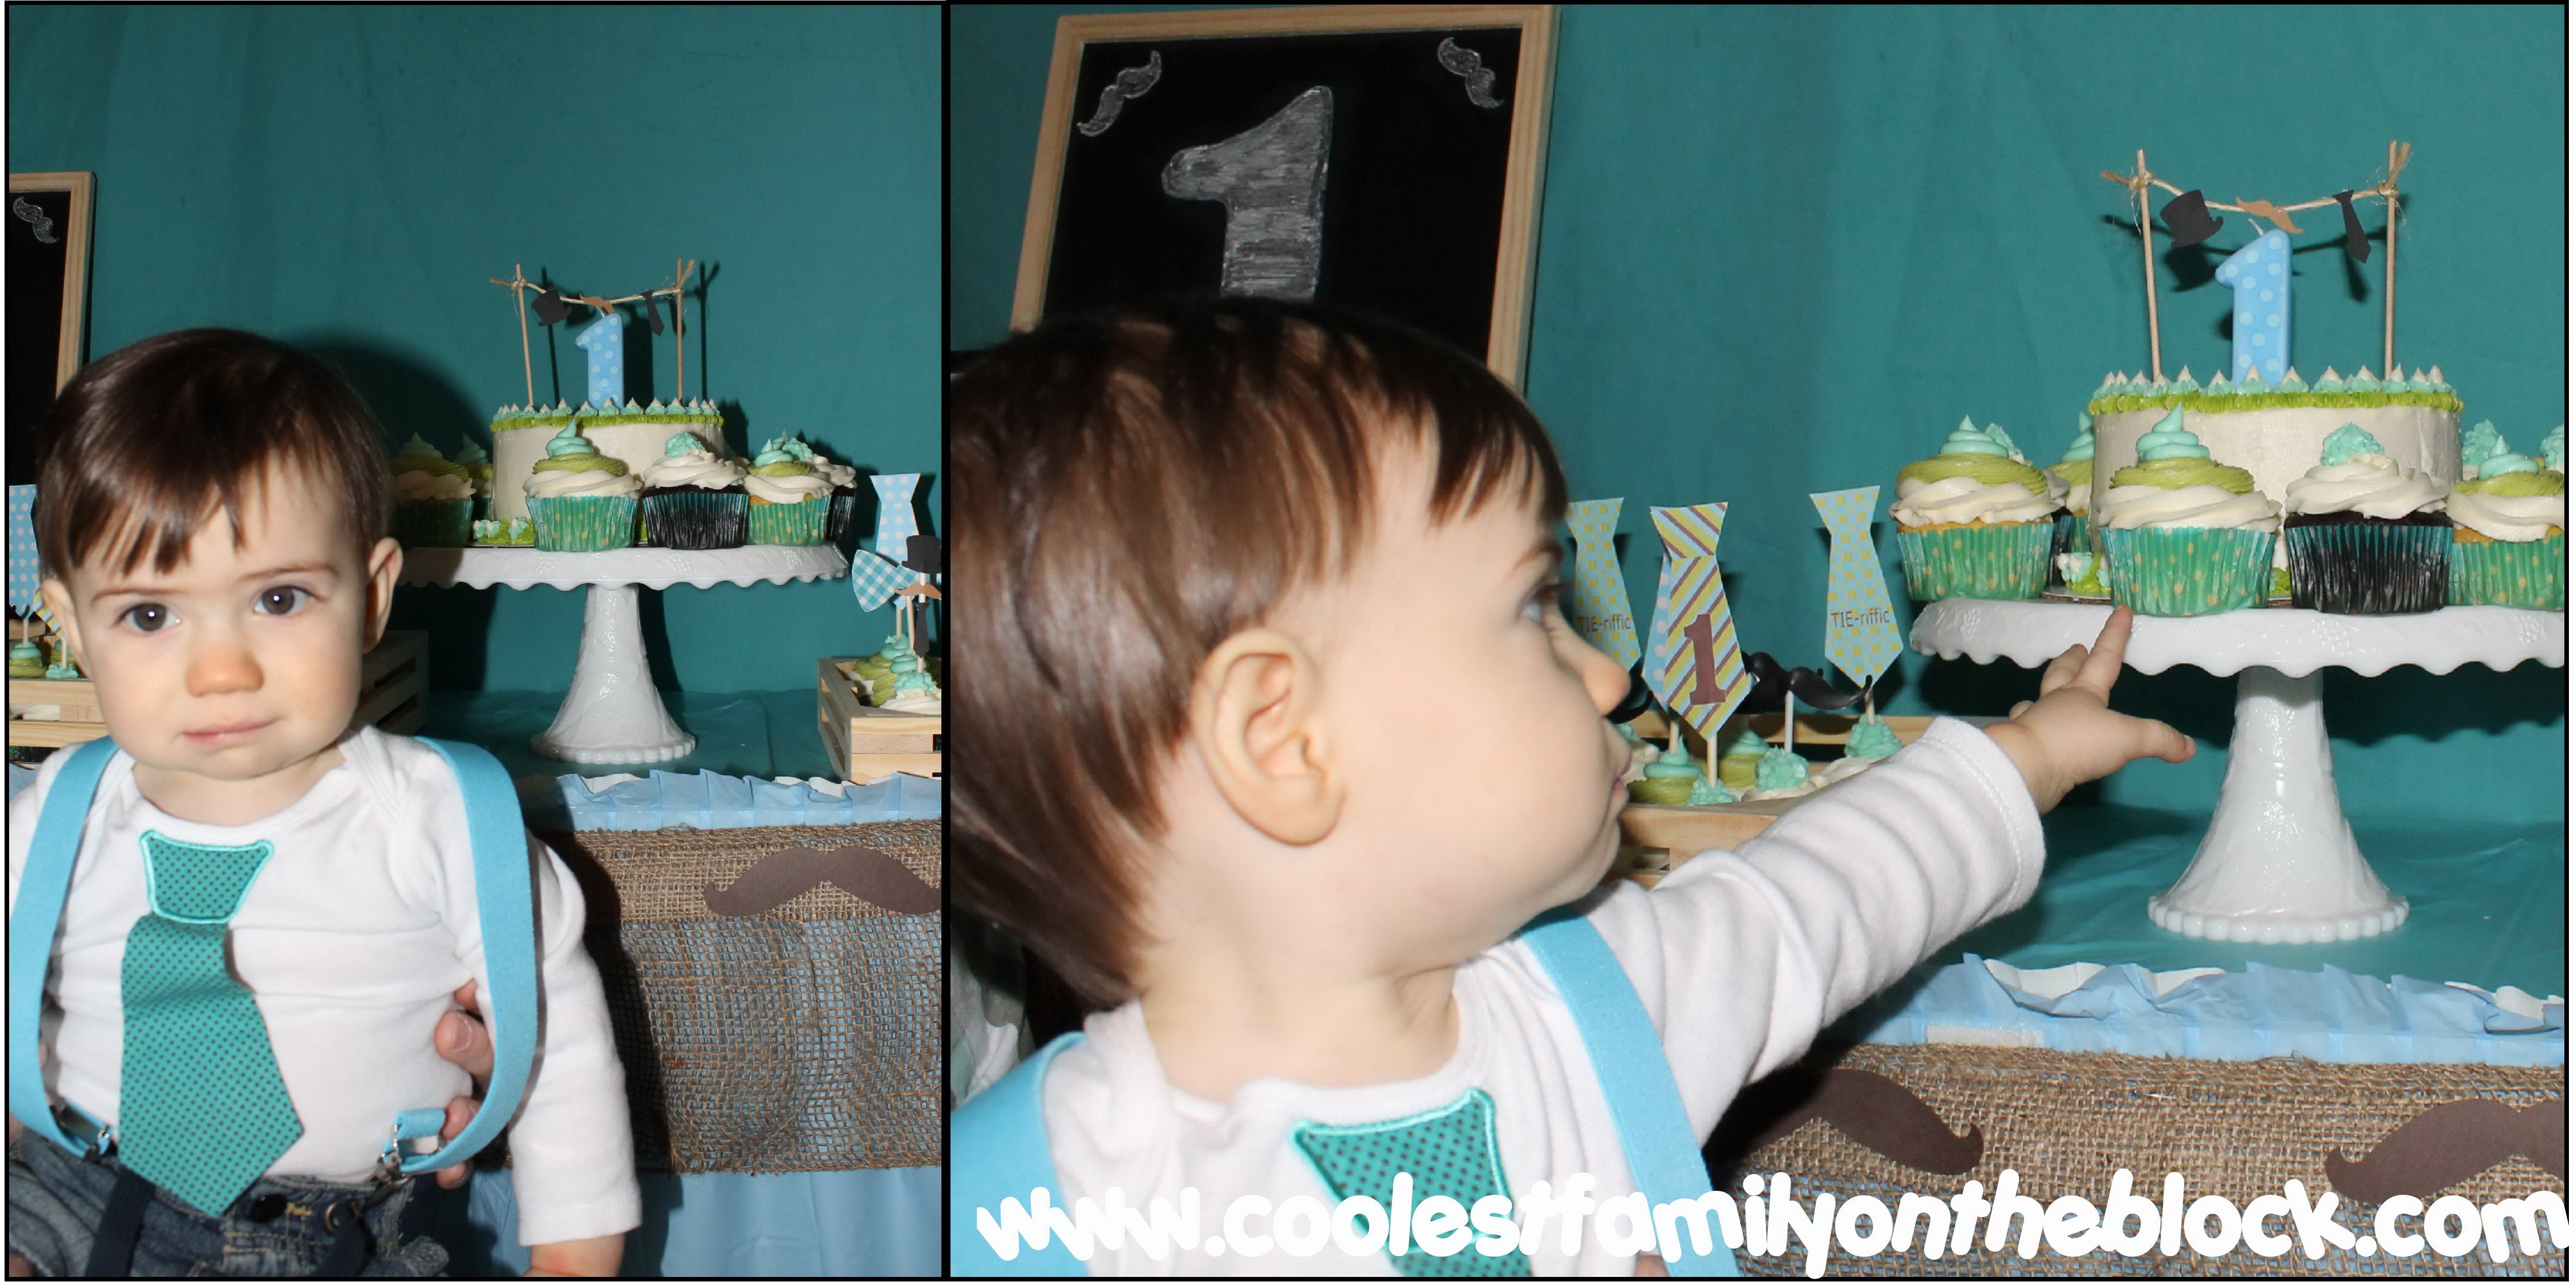
The cupcake toppers were from the same Father’s Day set. Some had said #1 so I just removed the “#” symbol in Paint by “painting” over it. The wooden crates that the cupcakes are in are actually from sets of Melissa and Doug play food.
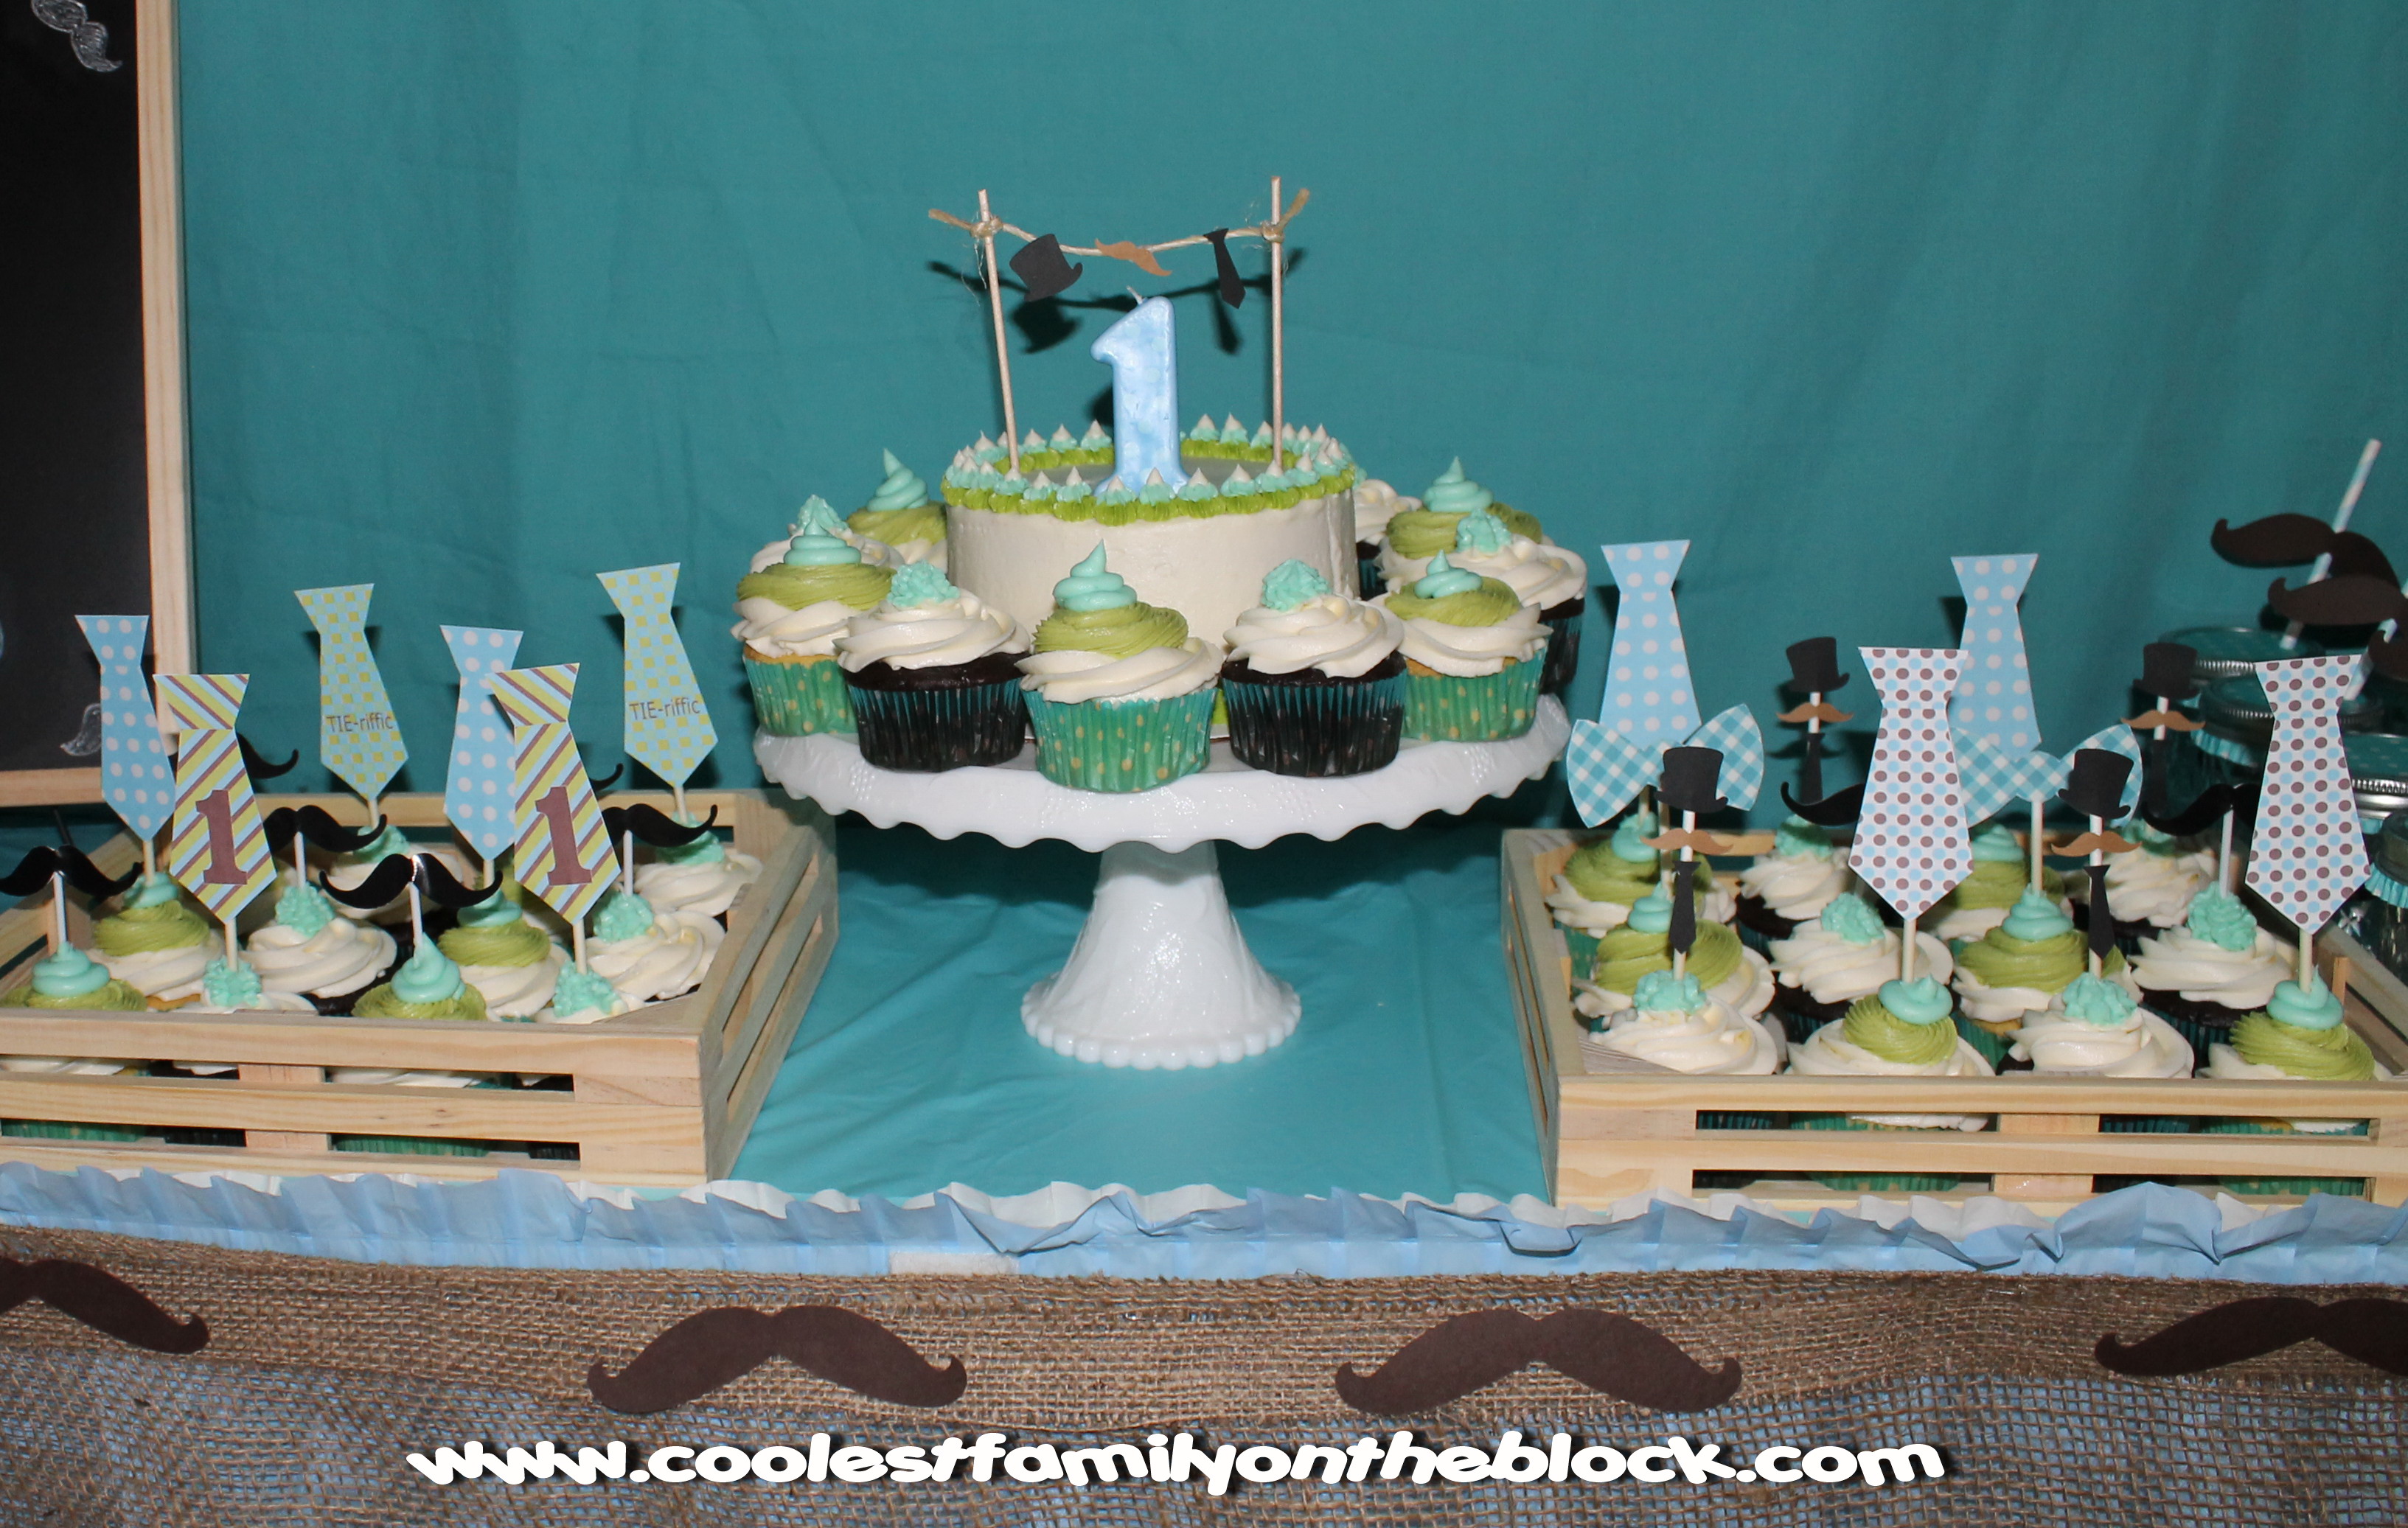
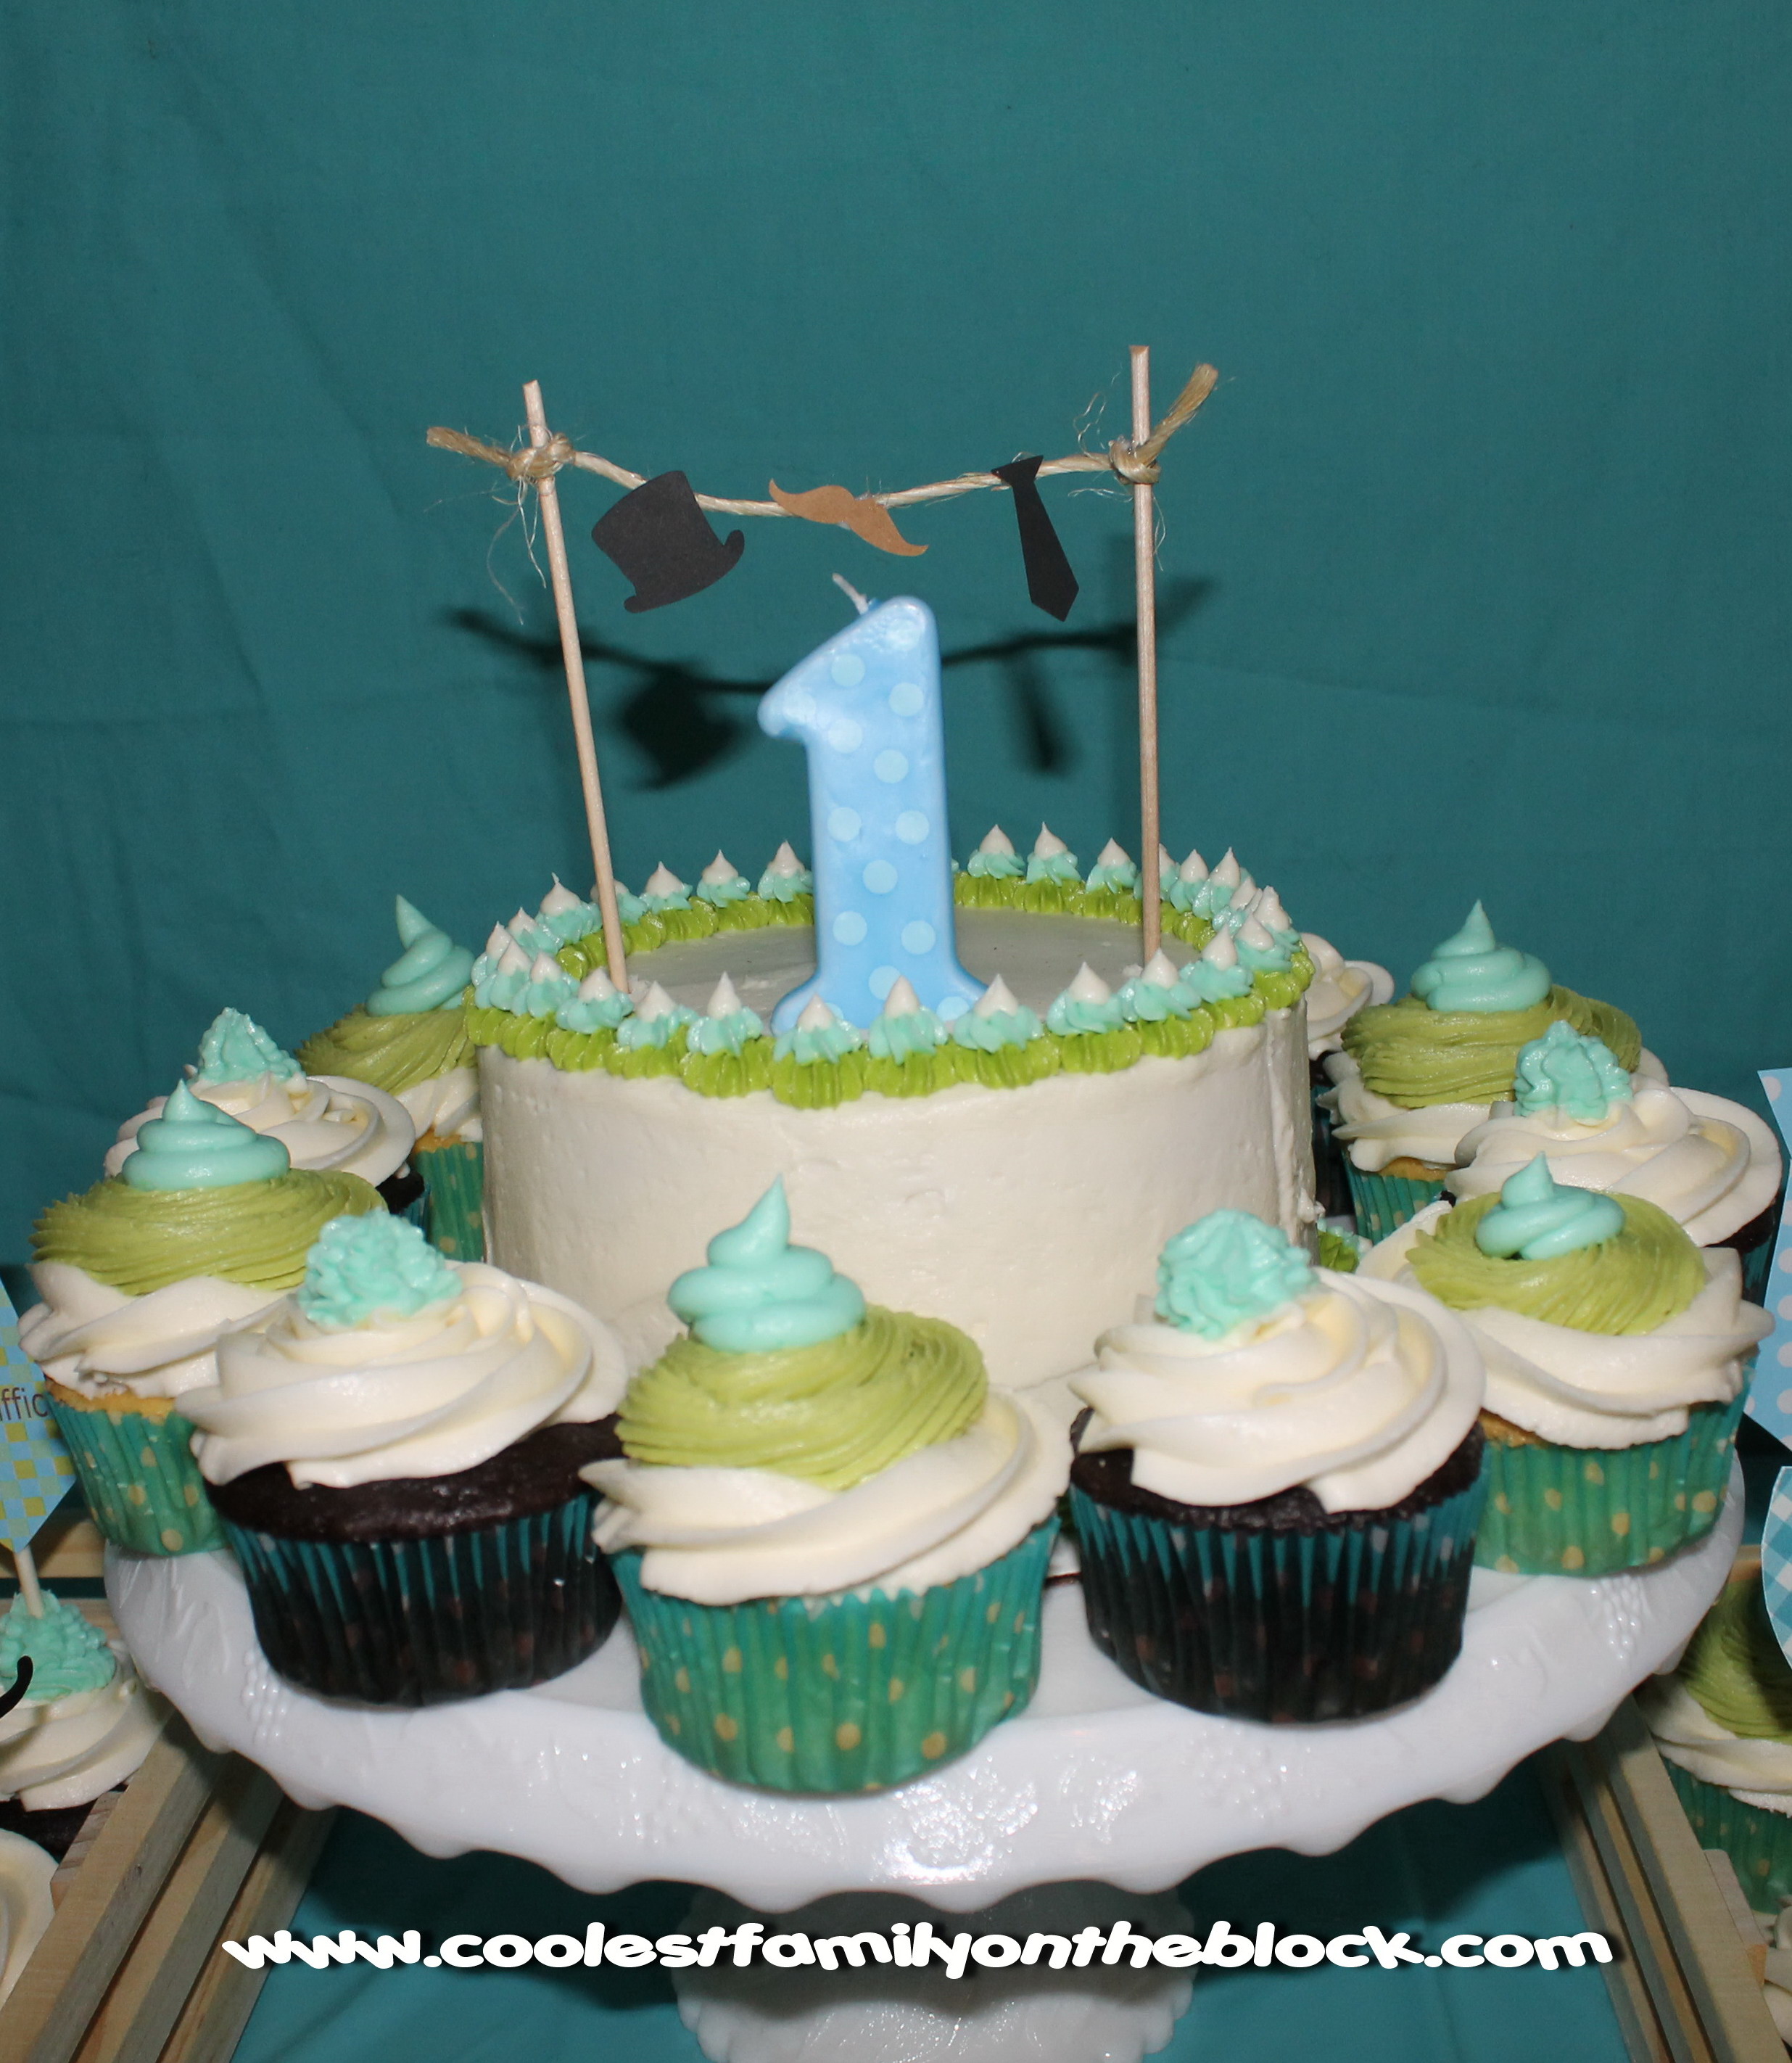
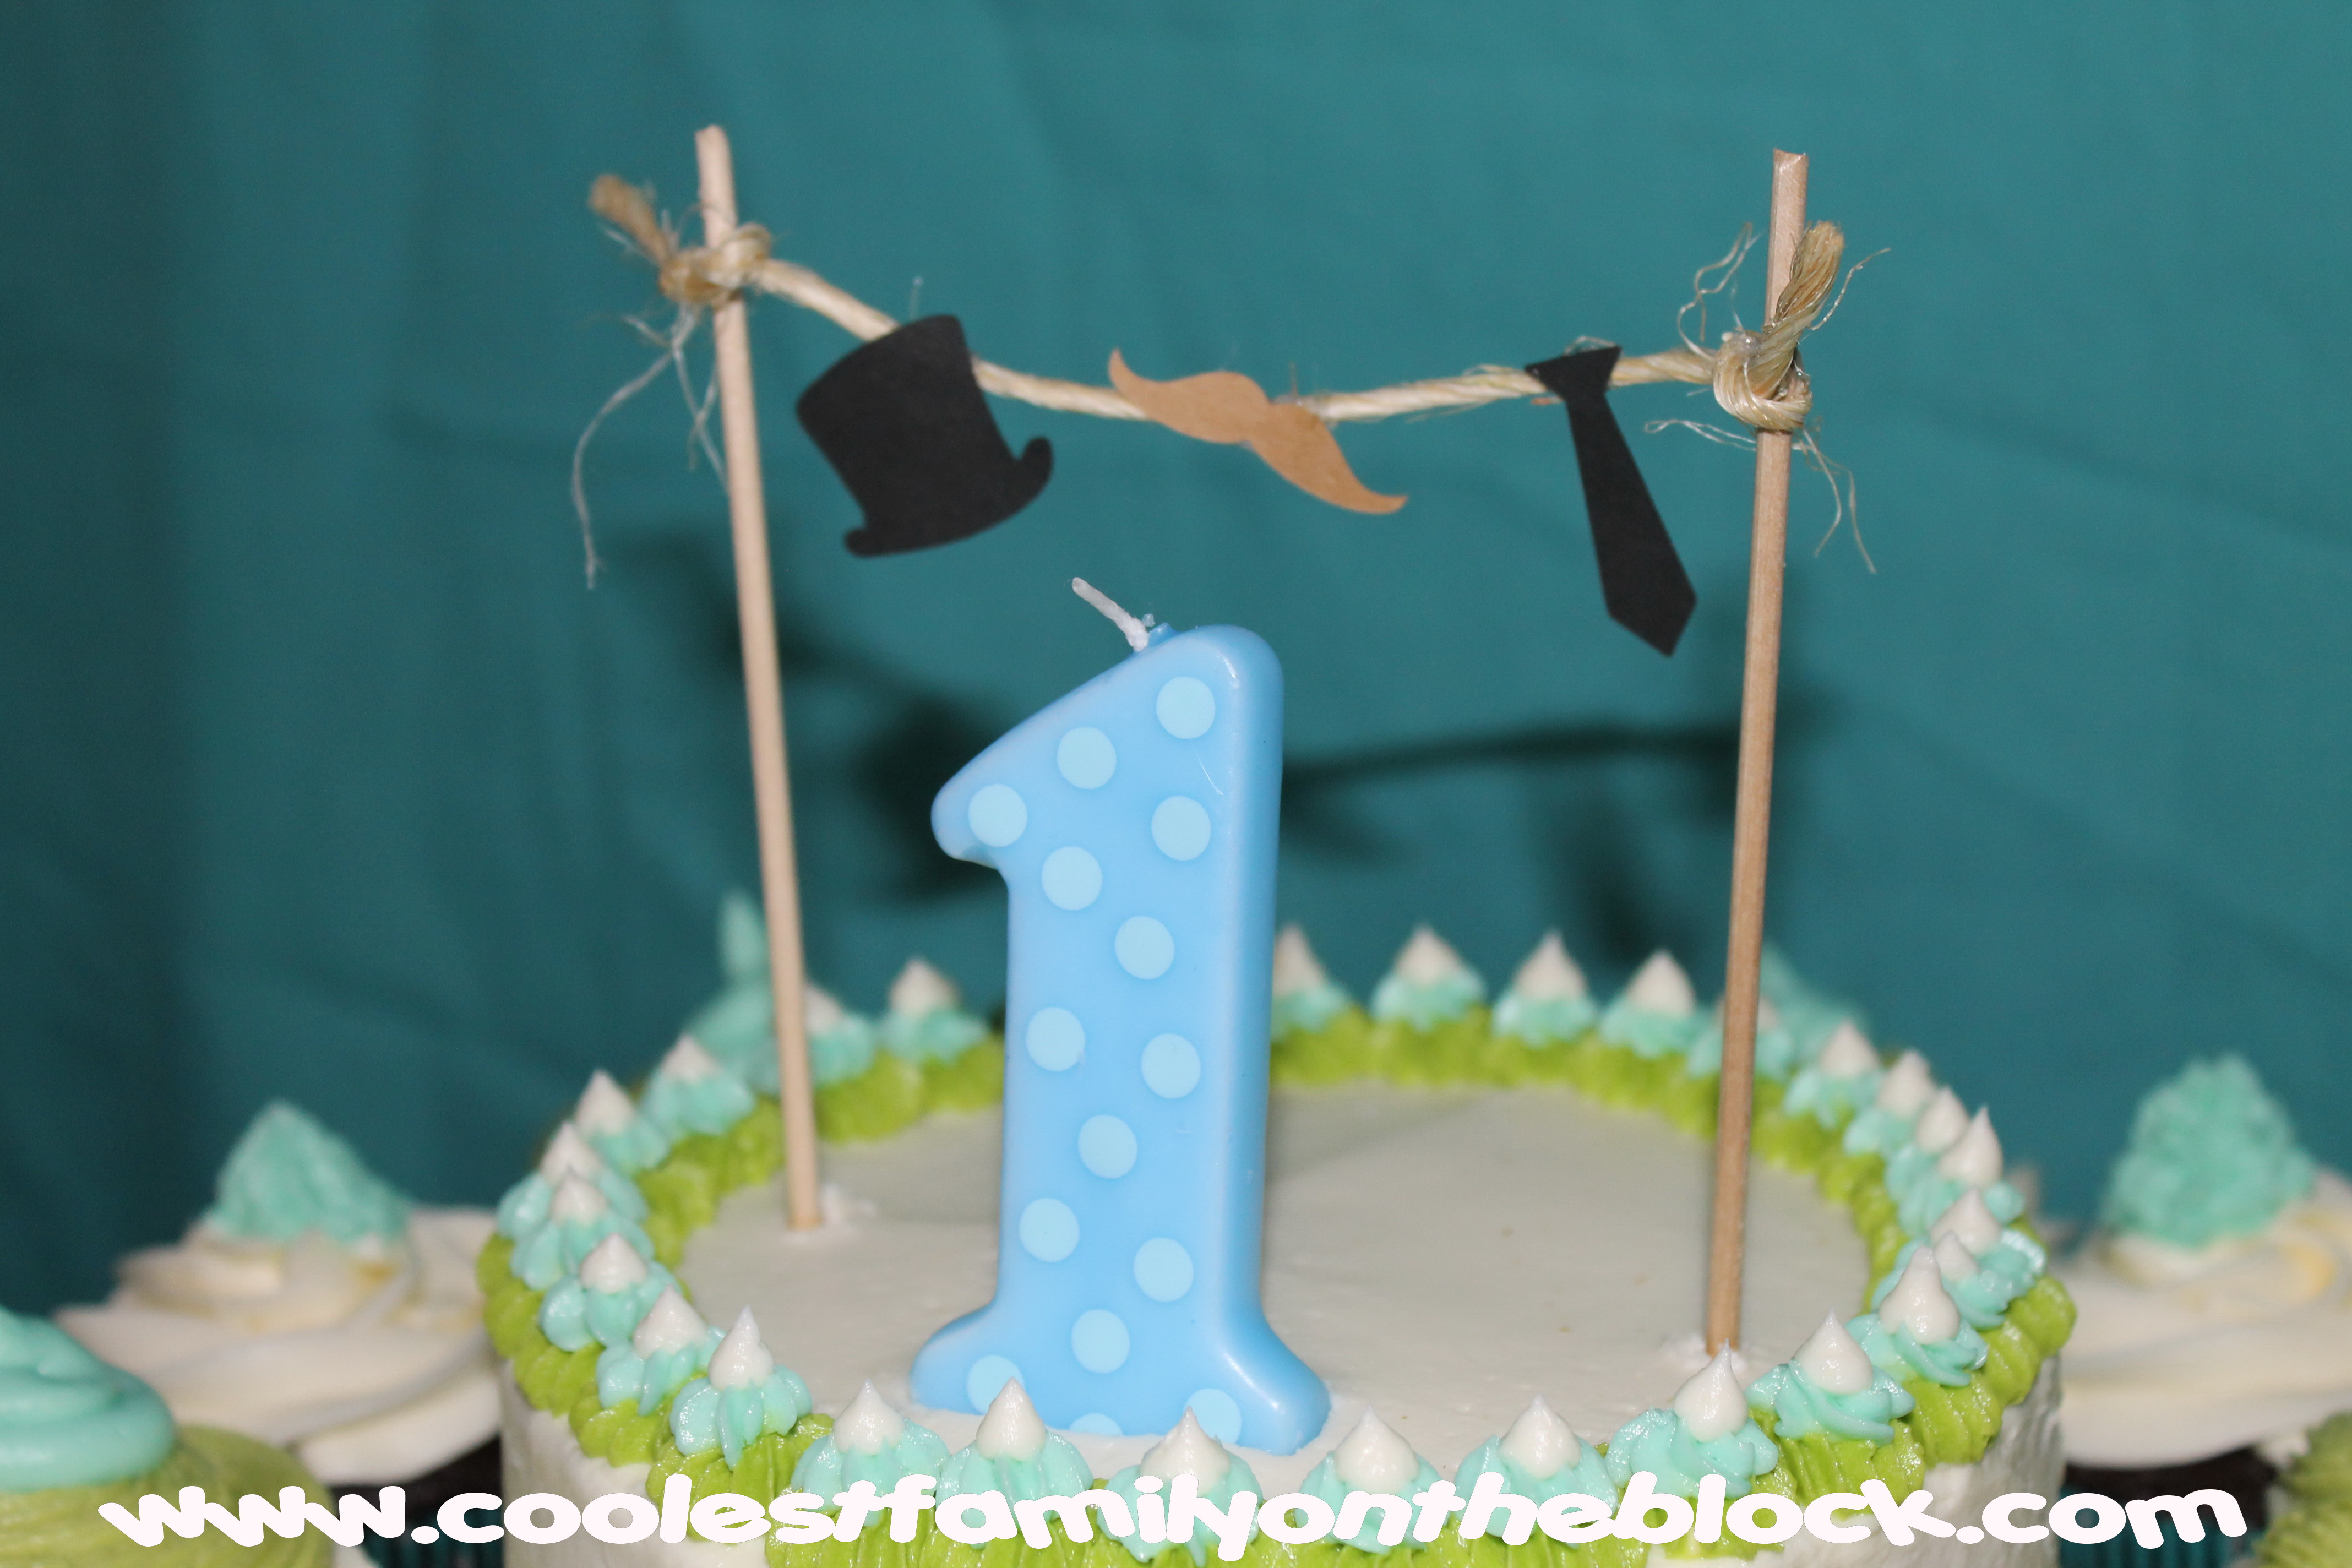
The Little Man cake topper was made using little dowel rod craft stick thingies (the technical term) and twine. The top hat, mustache, and necktie cutouts are from Etsy and were attached using craft glue.
Another look at the cupcake toppers
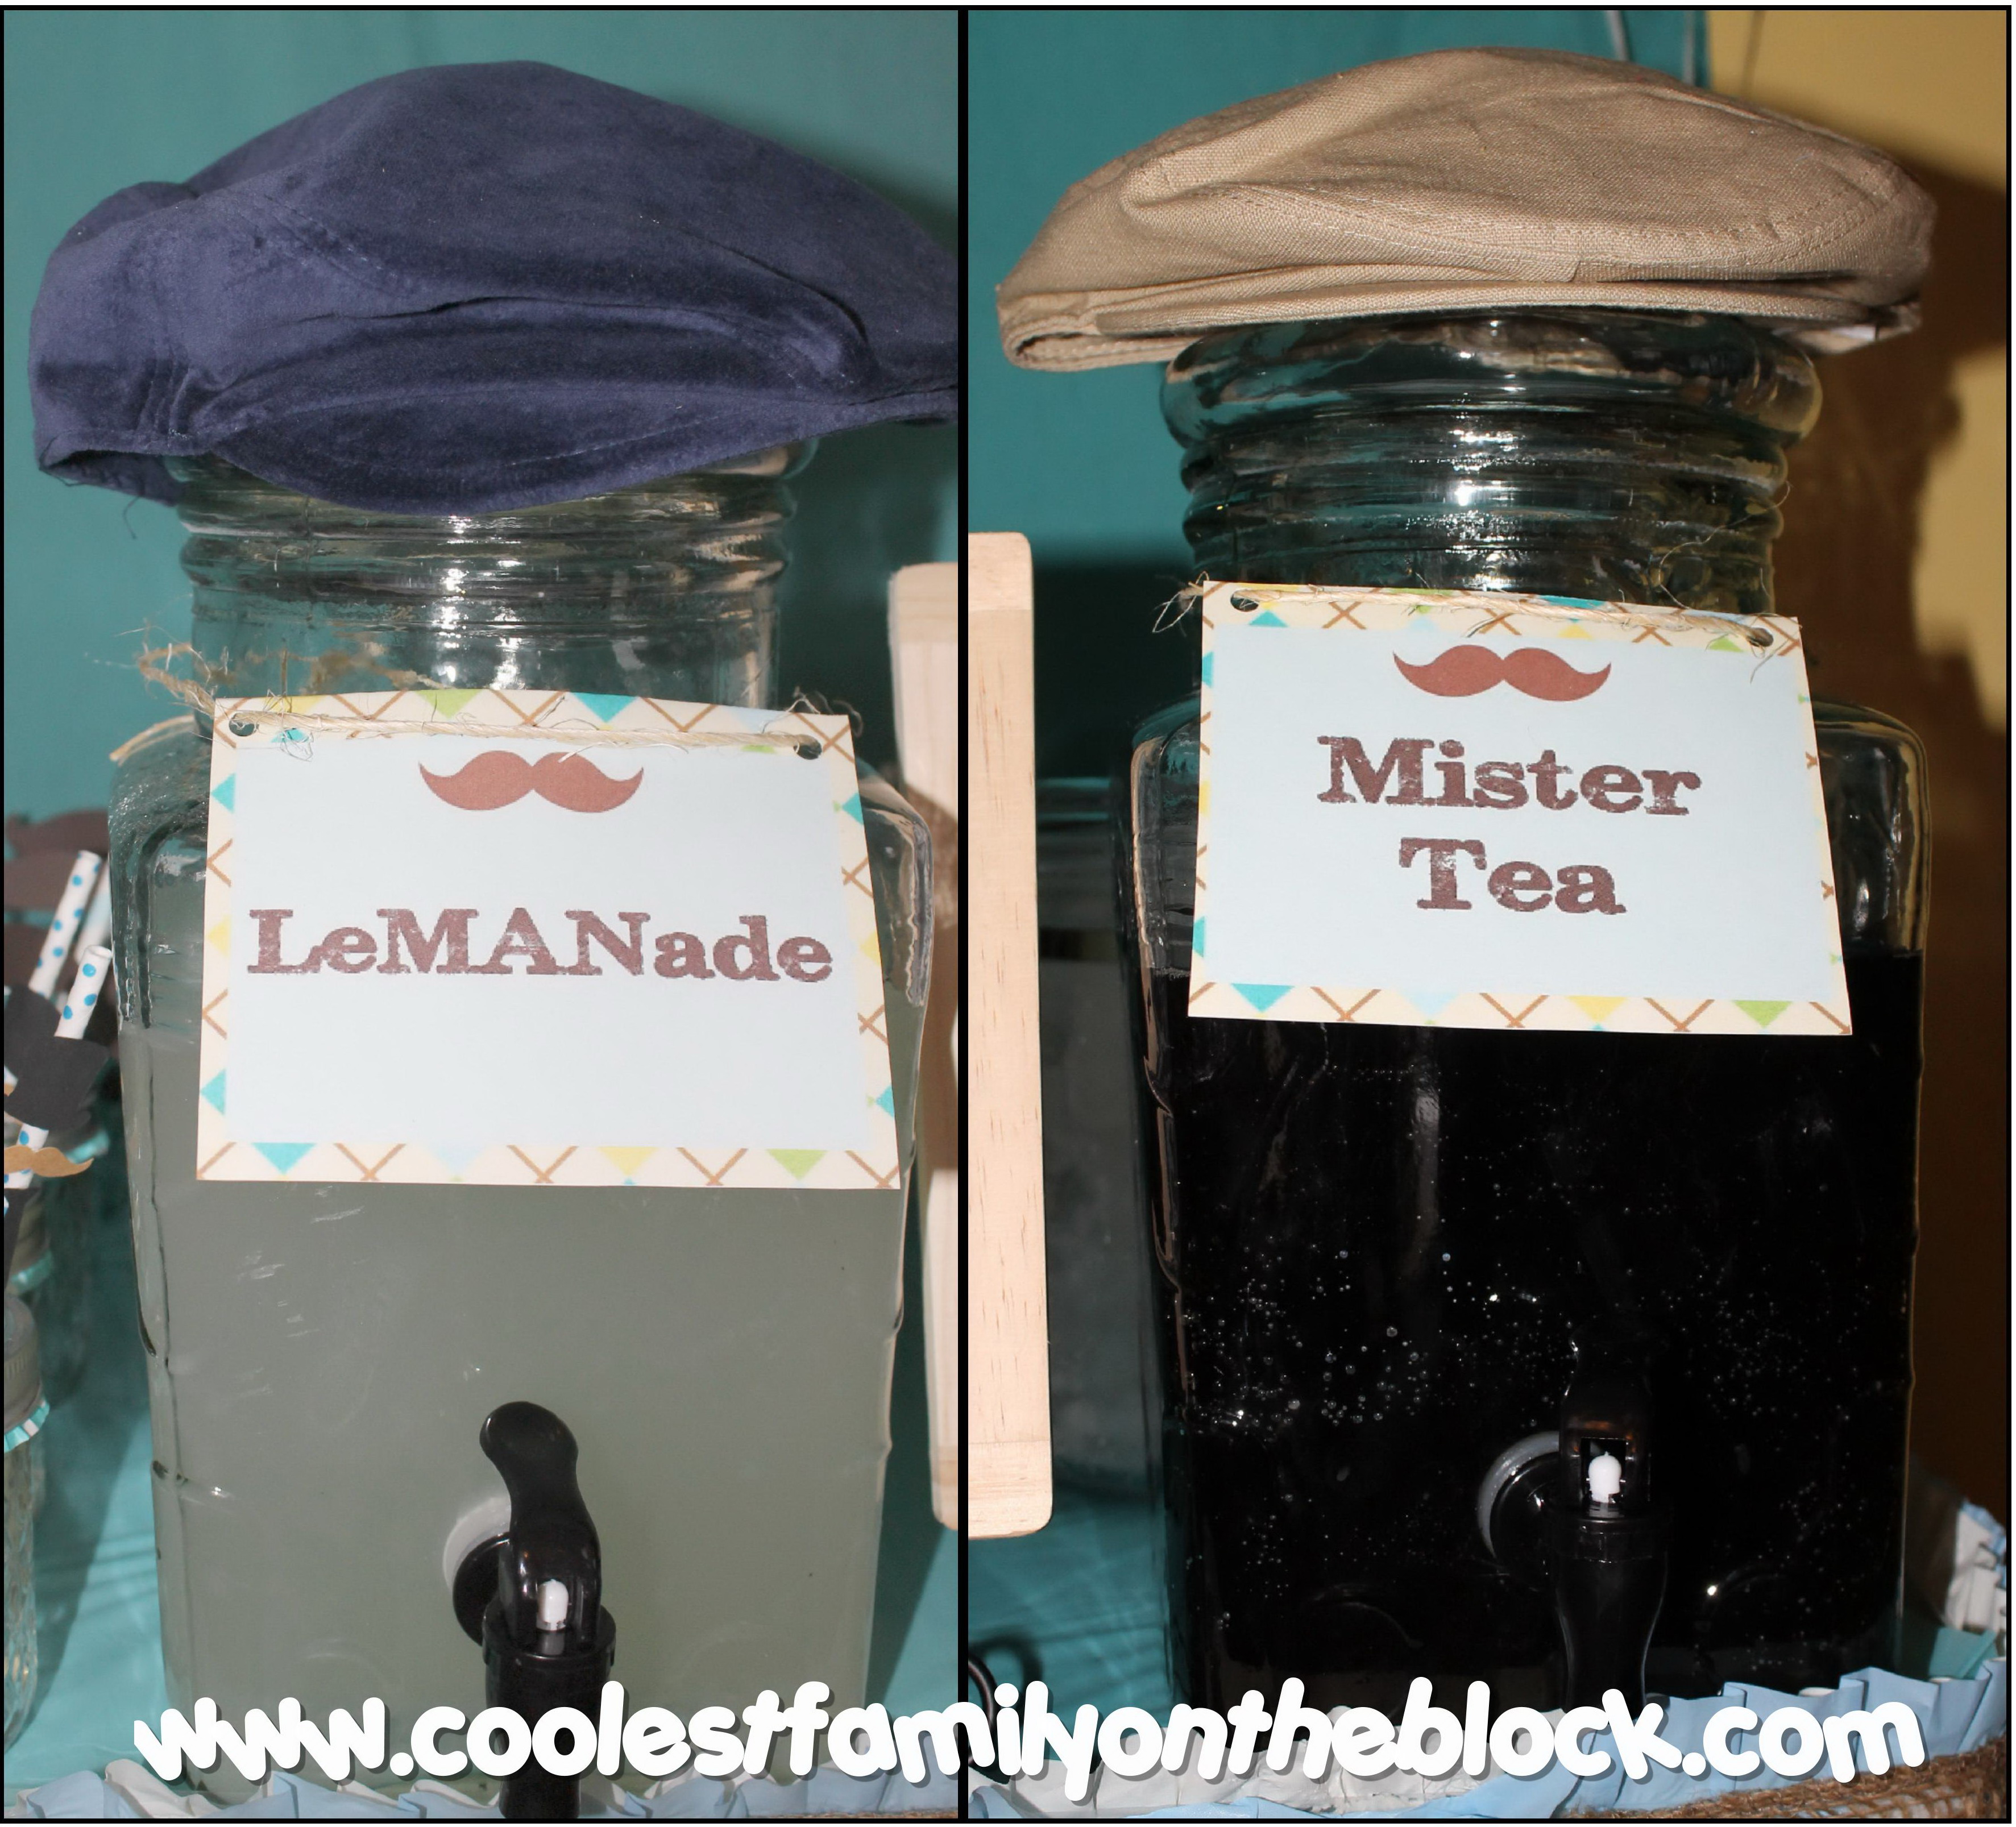
I think the Little Man drink station was my favorite detail of the party.
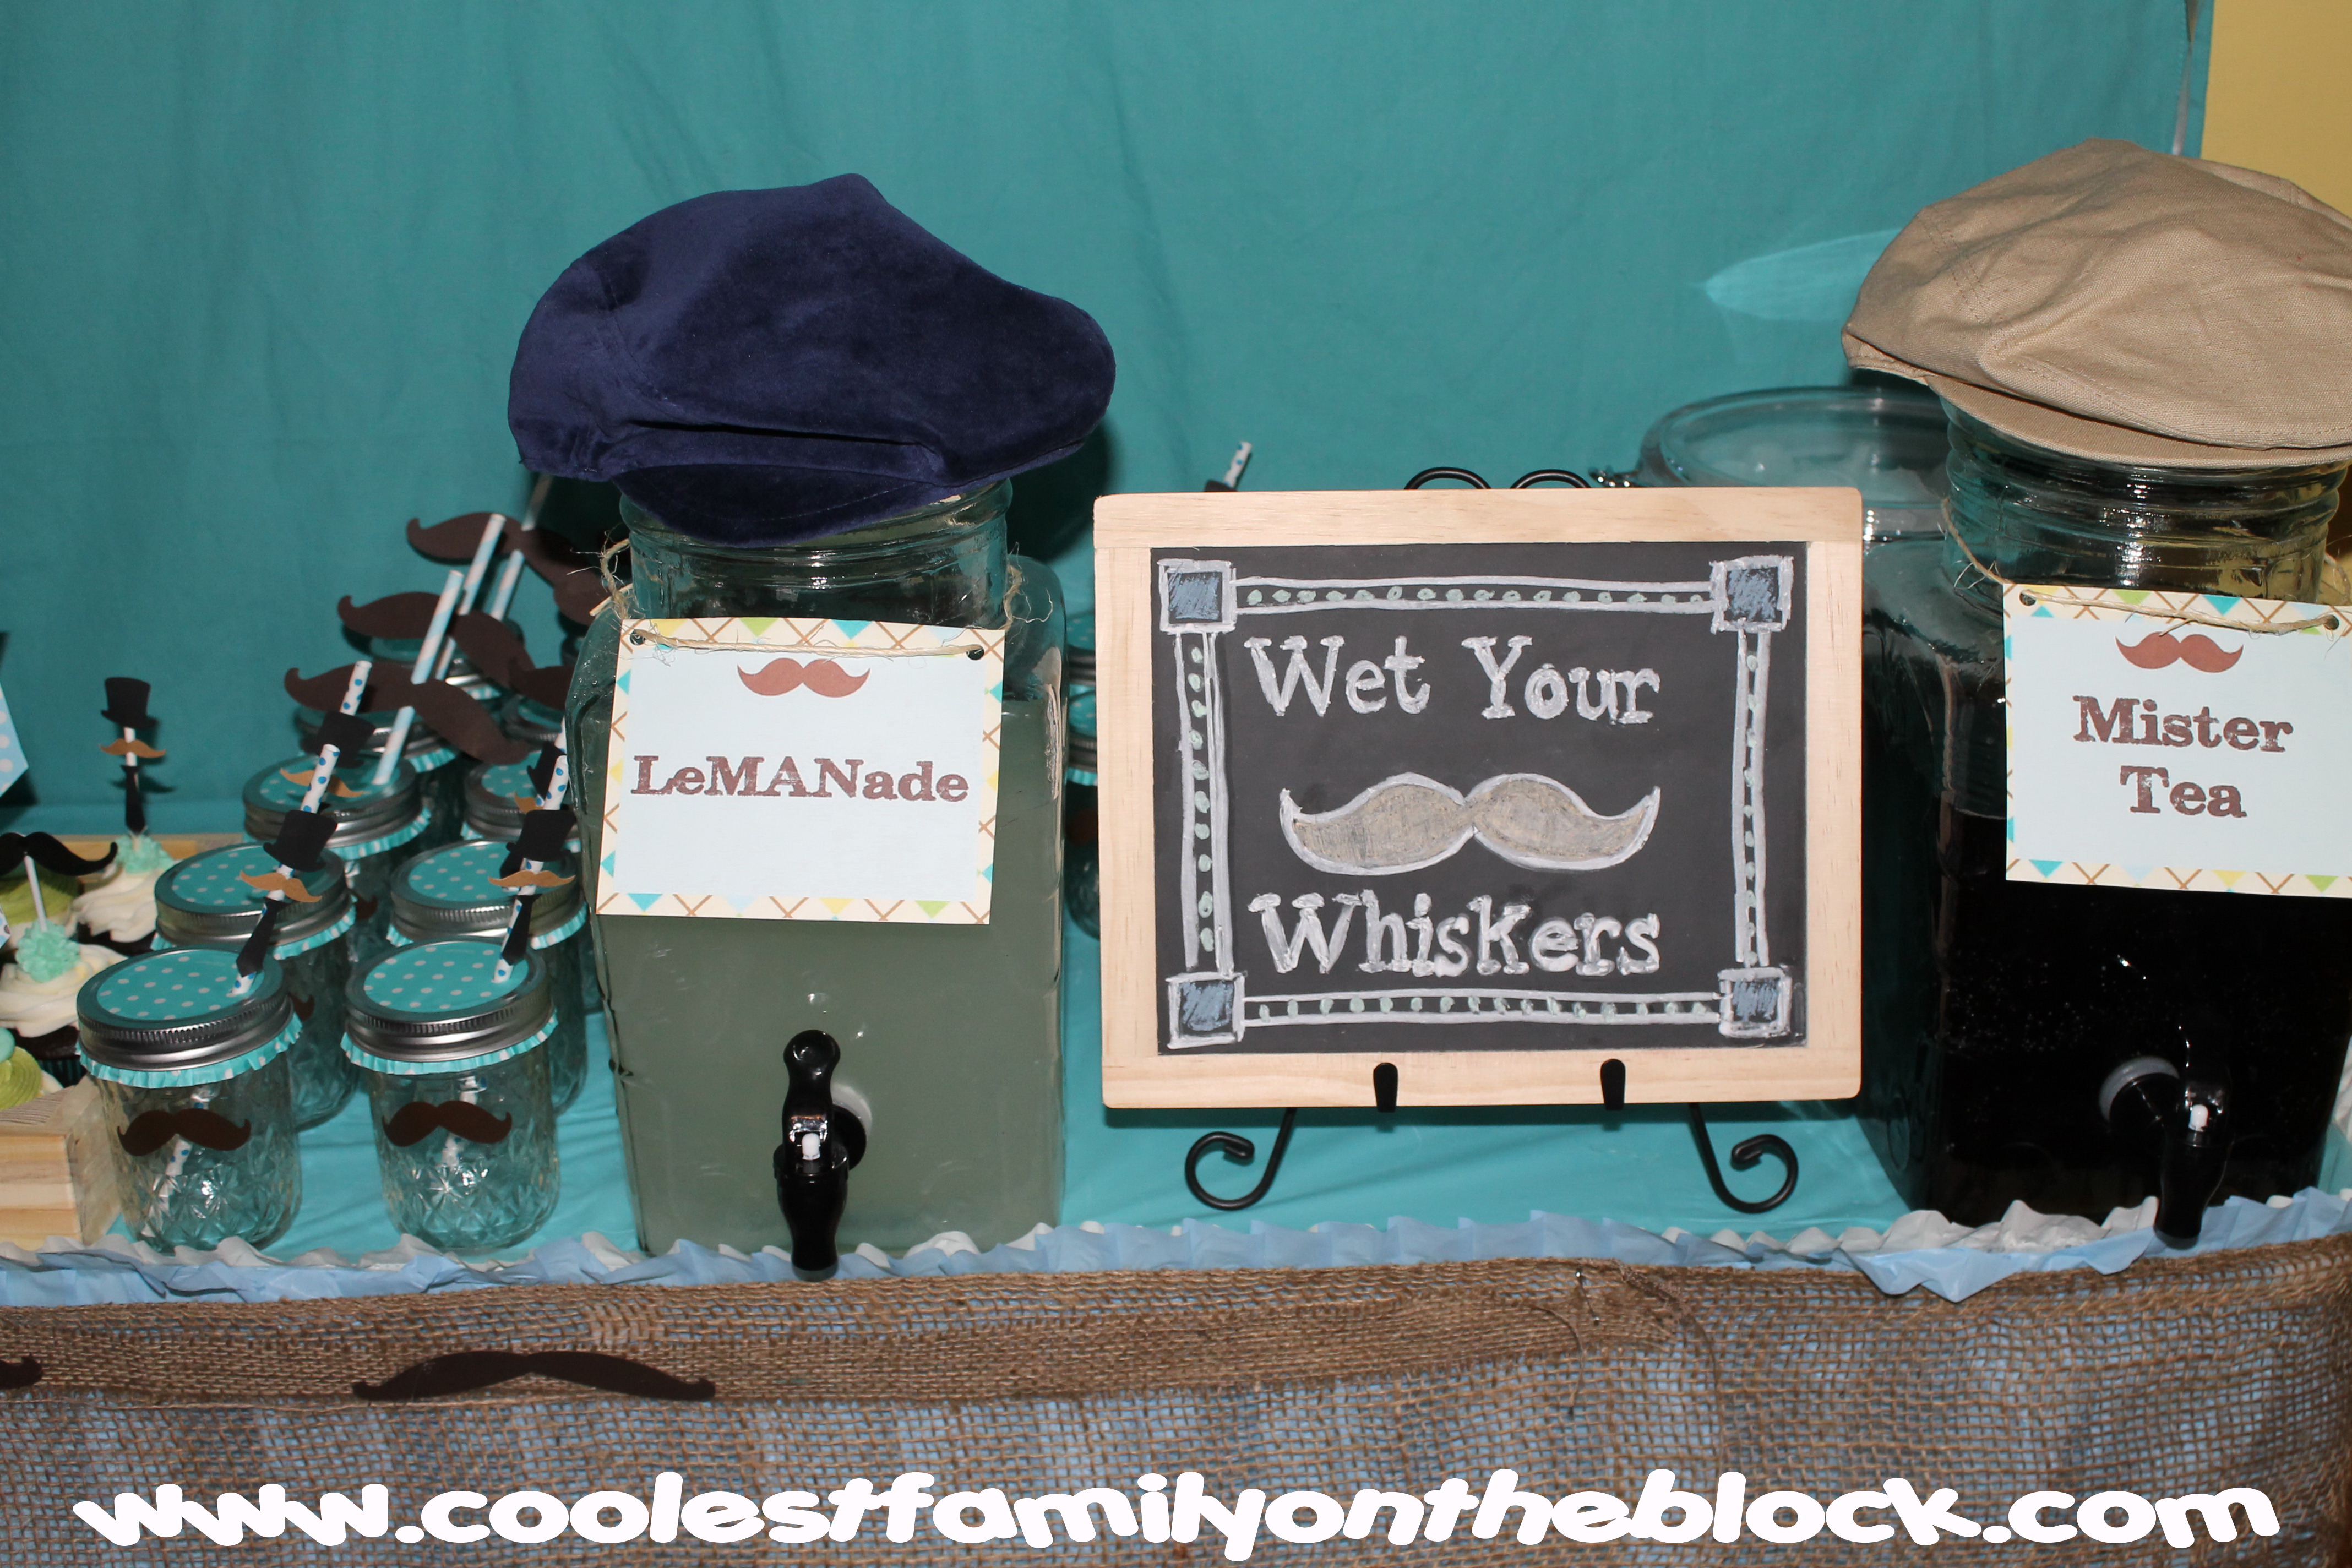
…and my favorite part of my favorite part is the punny names of the drinks: LeMANade and Mister Tea! I do love a good play on words! 😉
I used printable tent cards for the signs and added the text myself.
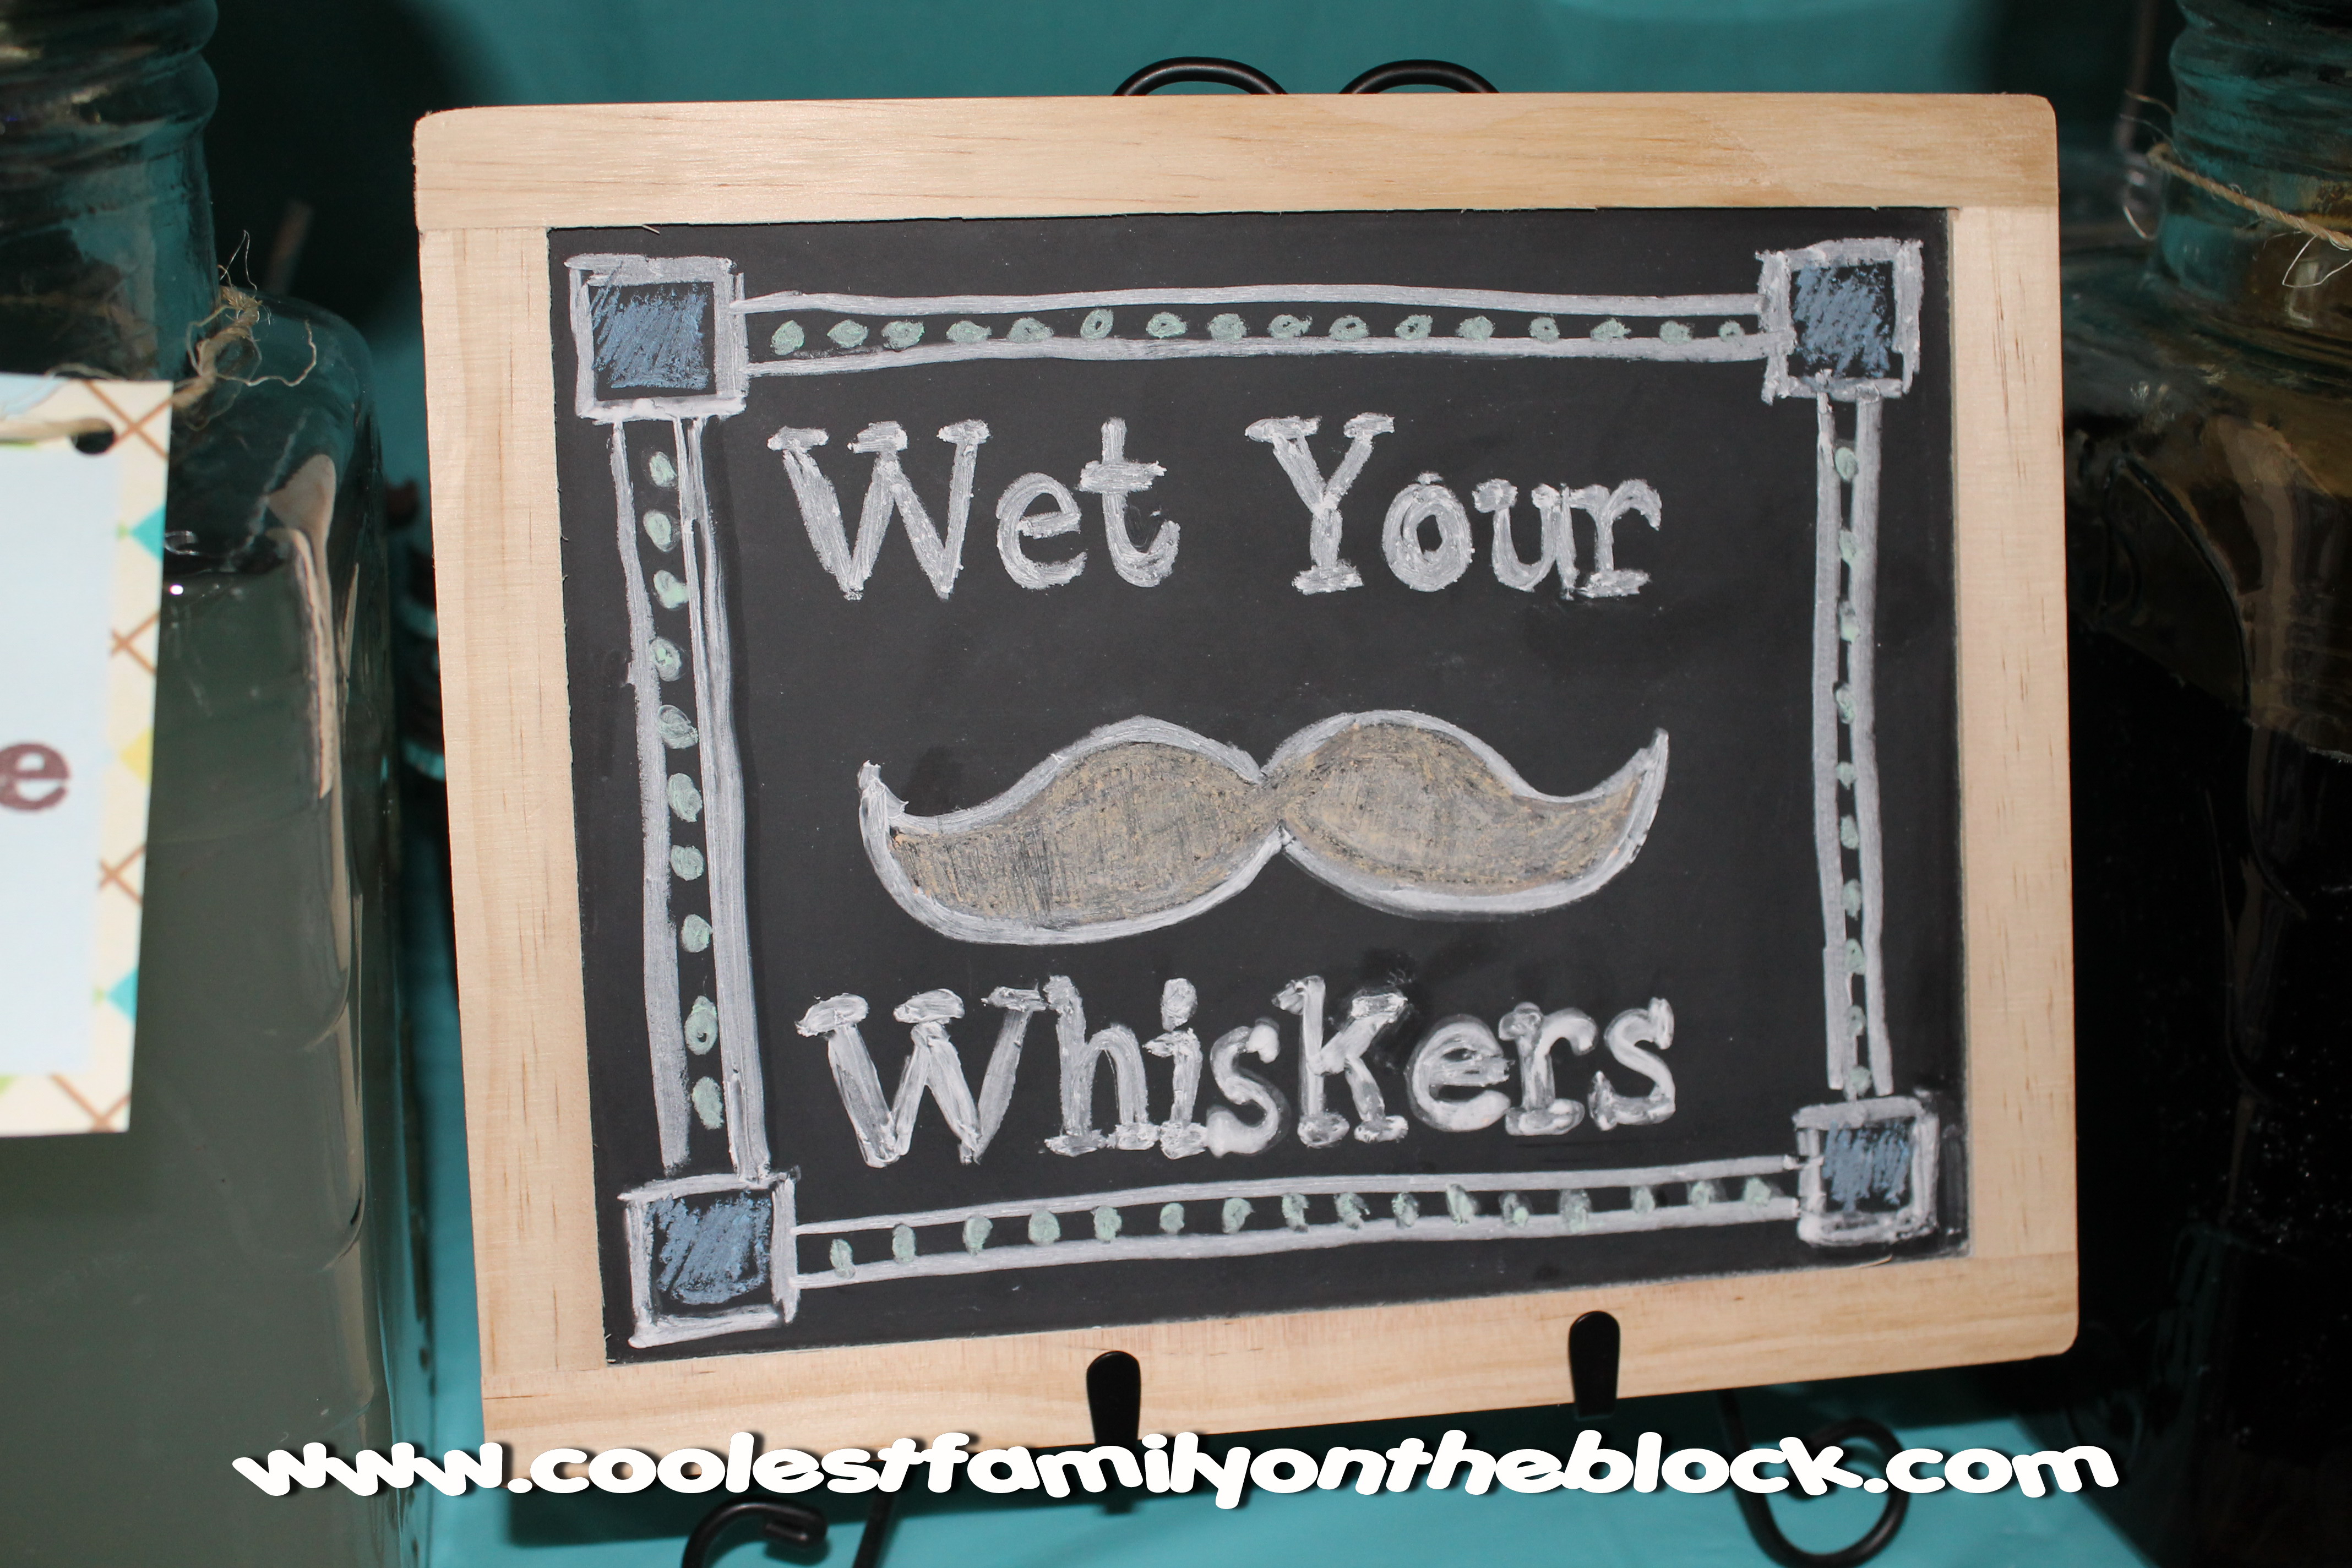
This was my first attempt at a chalkboard sign and I think the “Wet Your Whiskers” sign turned out really nice.
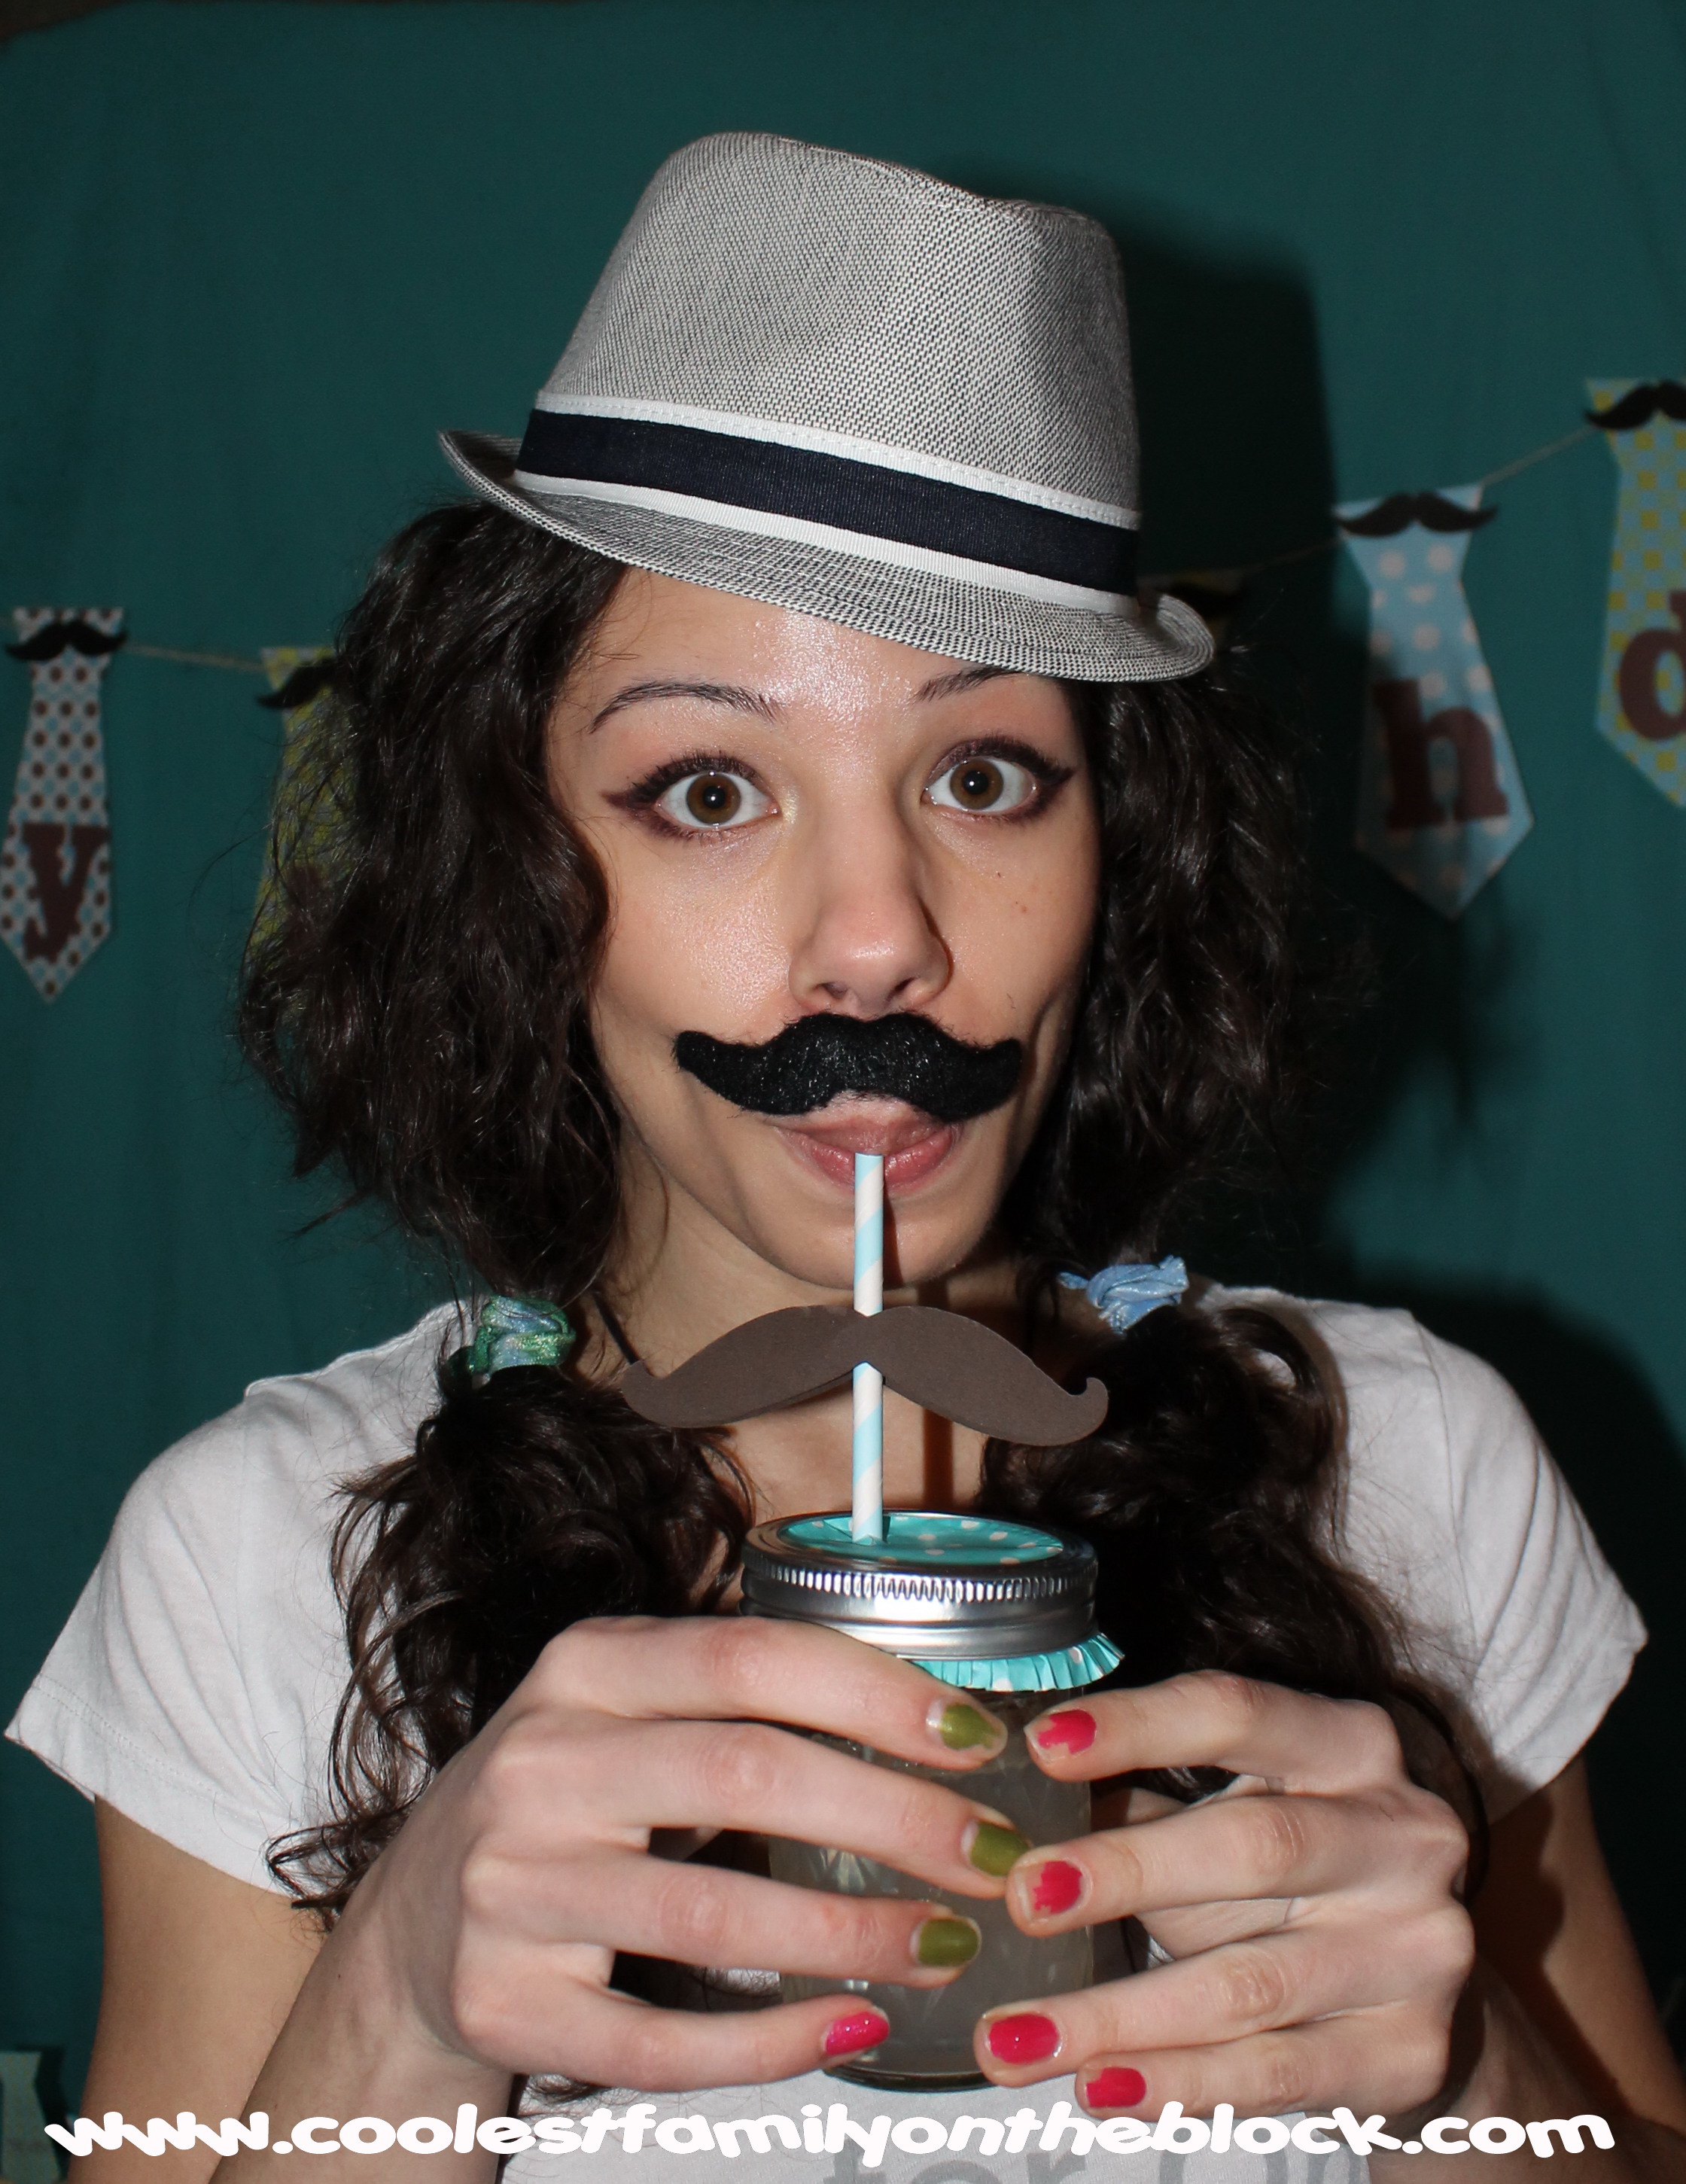
The drink glasses are mason jars with vinyl mustaches on them, cupcake paper toppers, and paper straws with mustaches or other details on them.

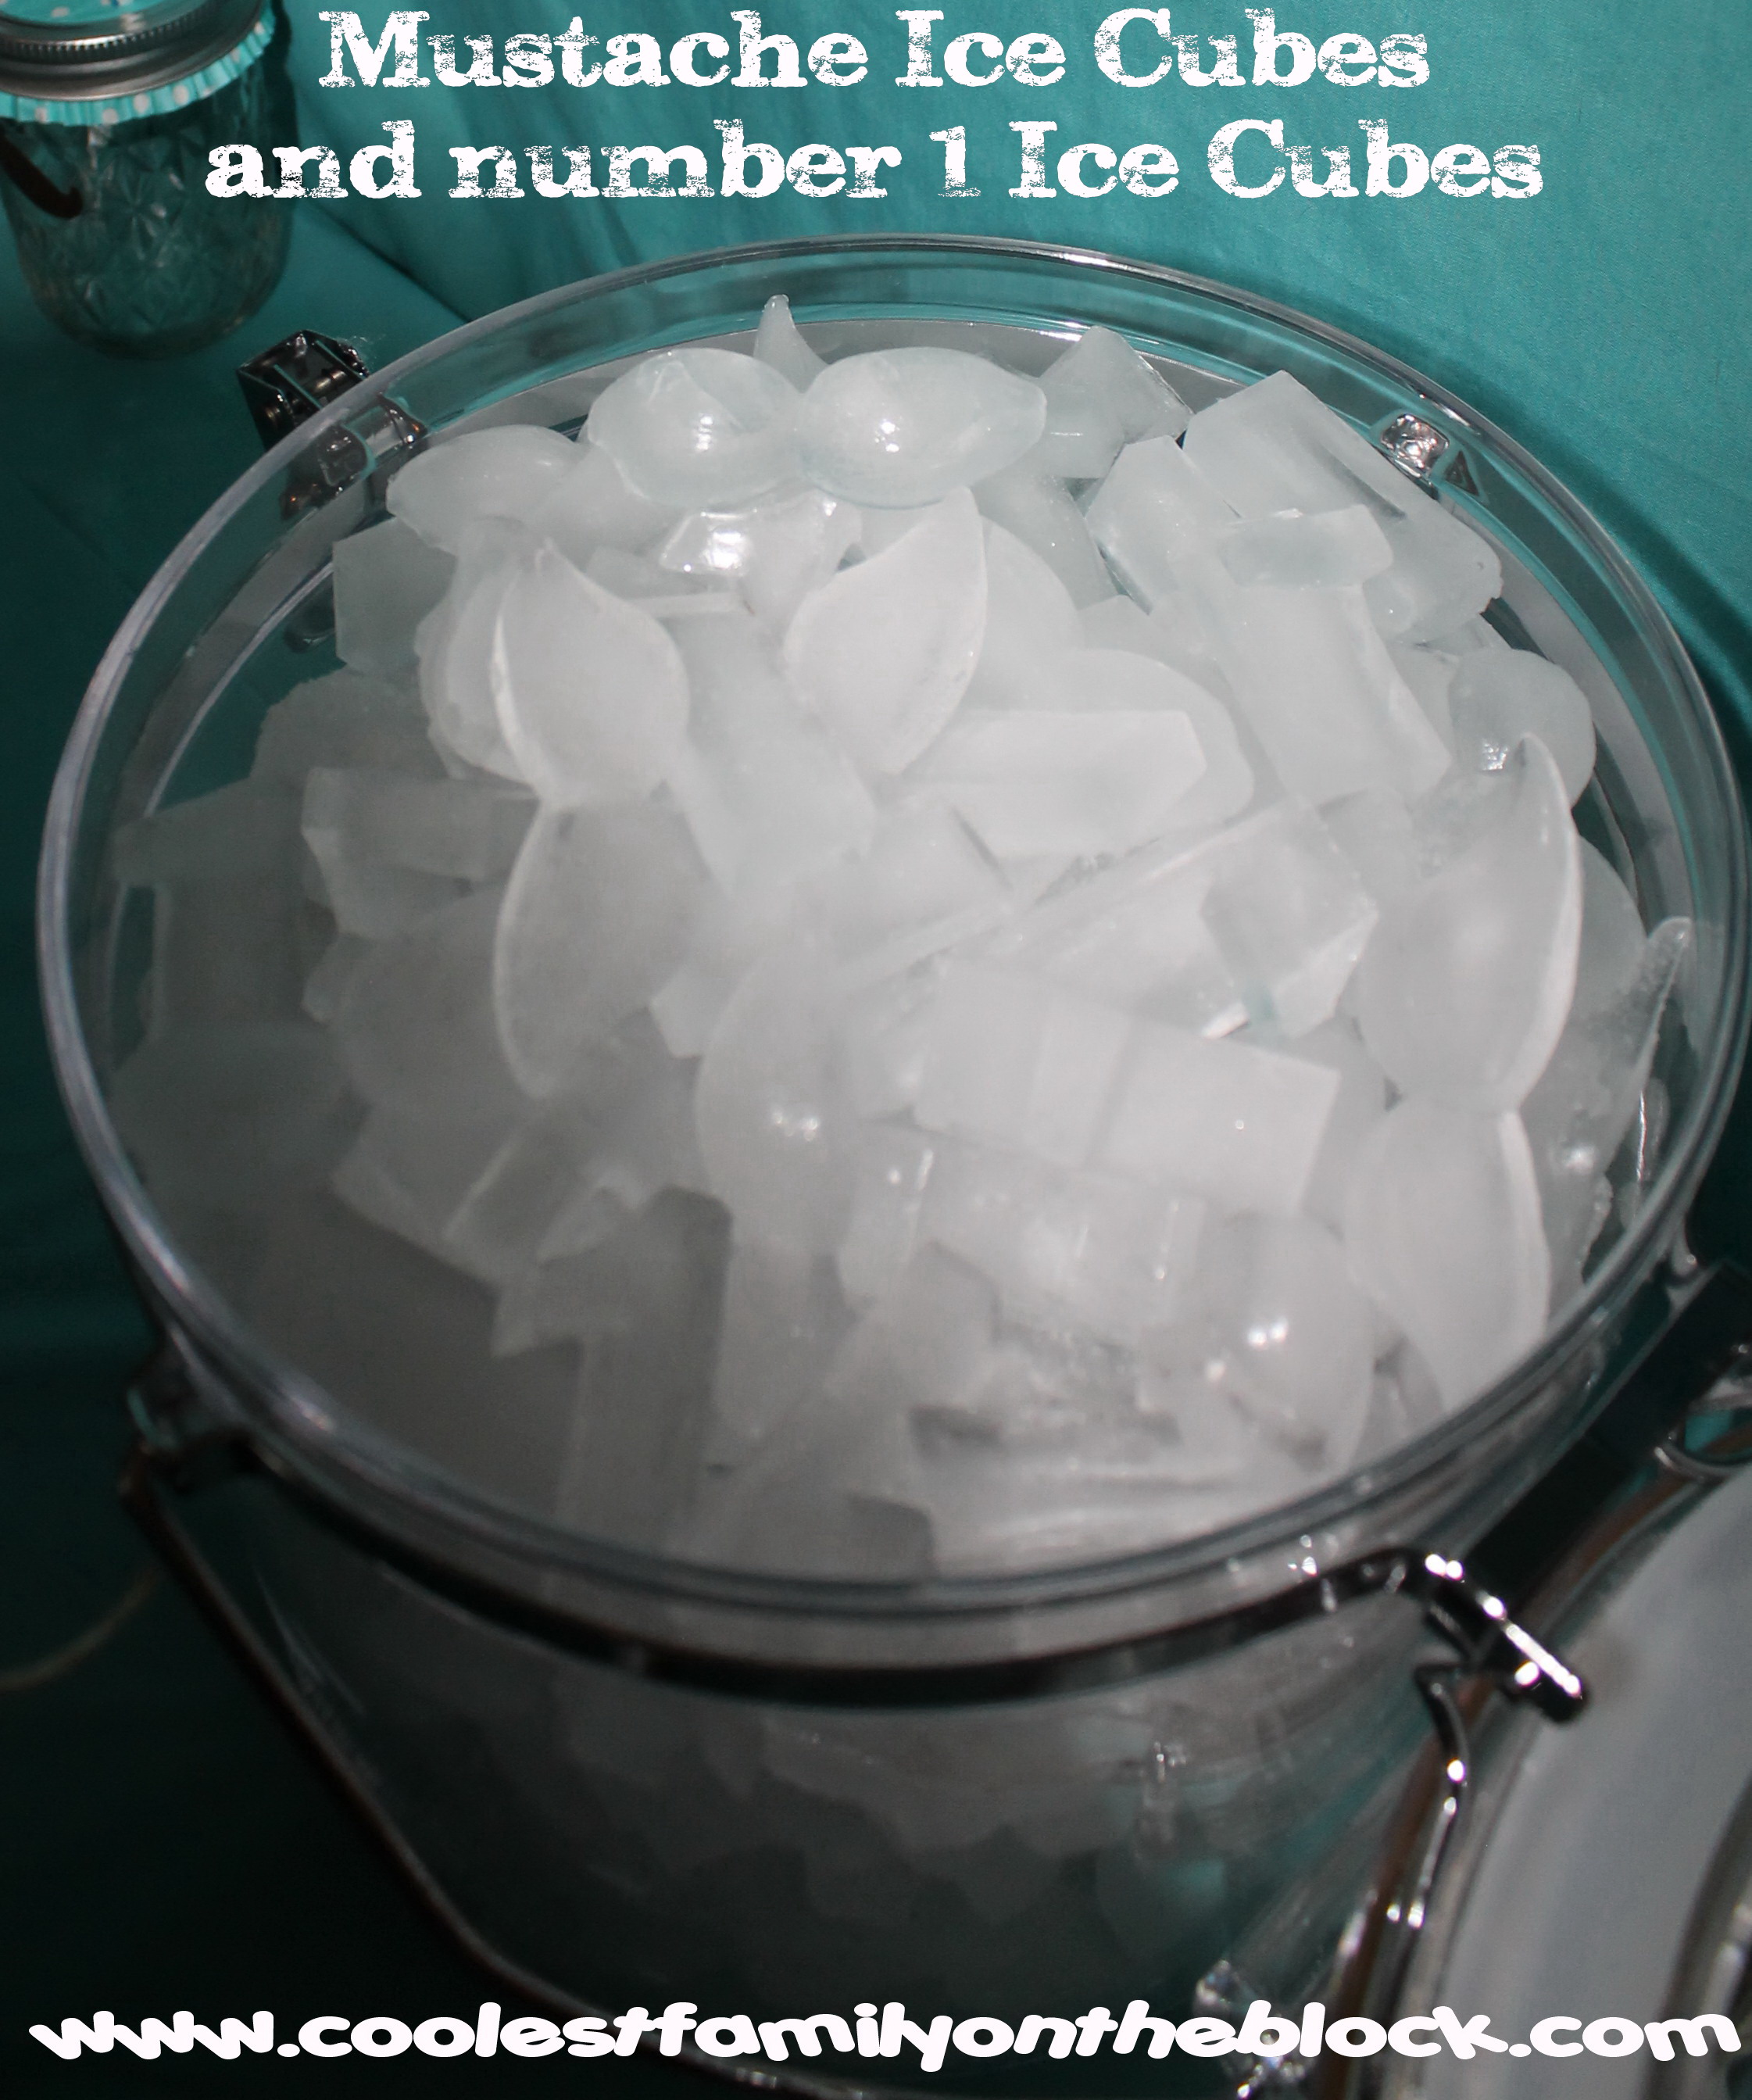
I make number ice cubes for the kids’ birthdays each year. This time I made mustache ice cubes in addition to the #1 ice cubes.
I wasn’t as thrilled with this #1 chalkboard sign as much as the “Wet your whiskers” one. I tried it a bunch of times but it never came out right.
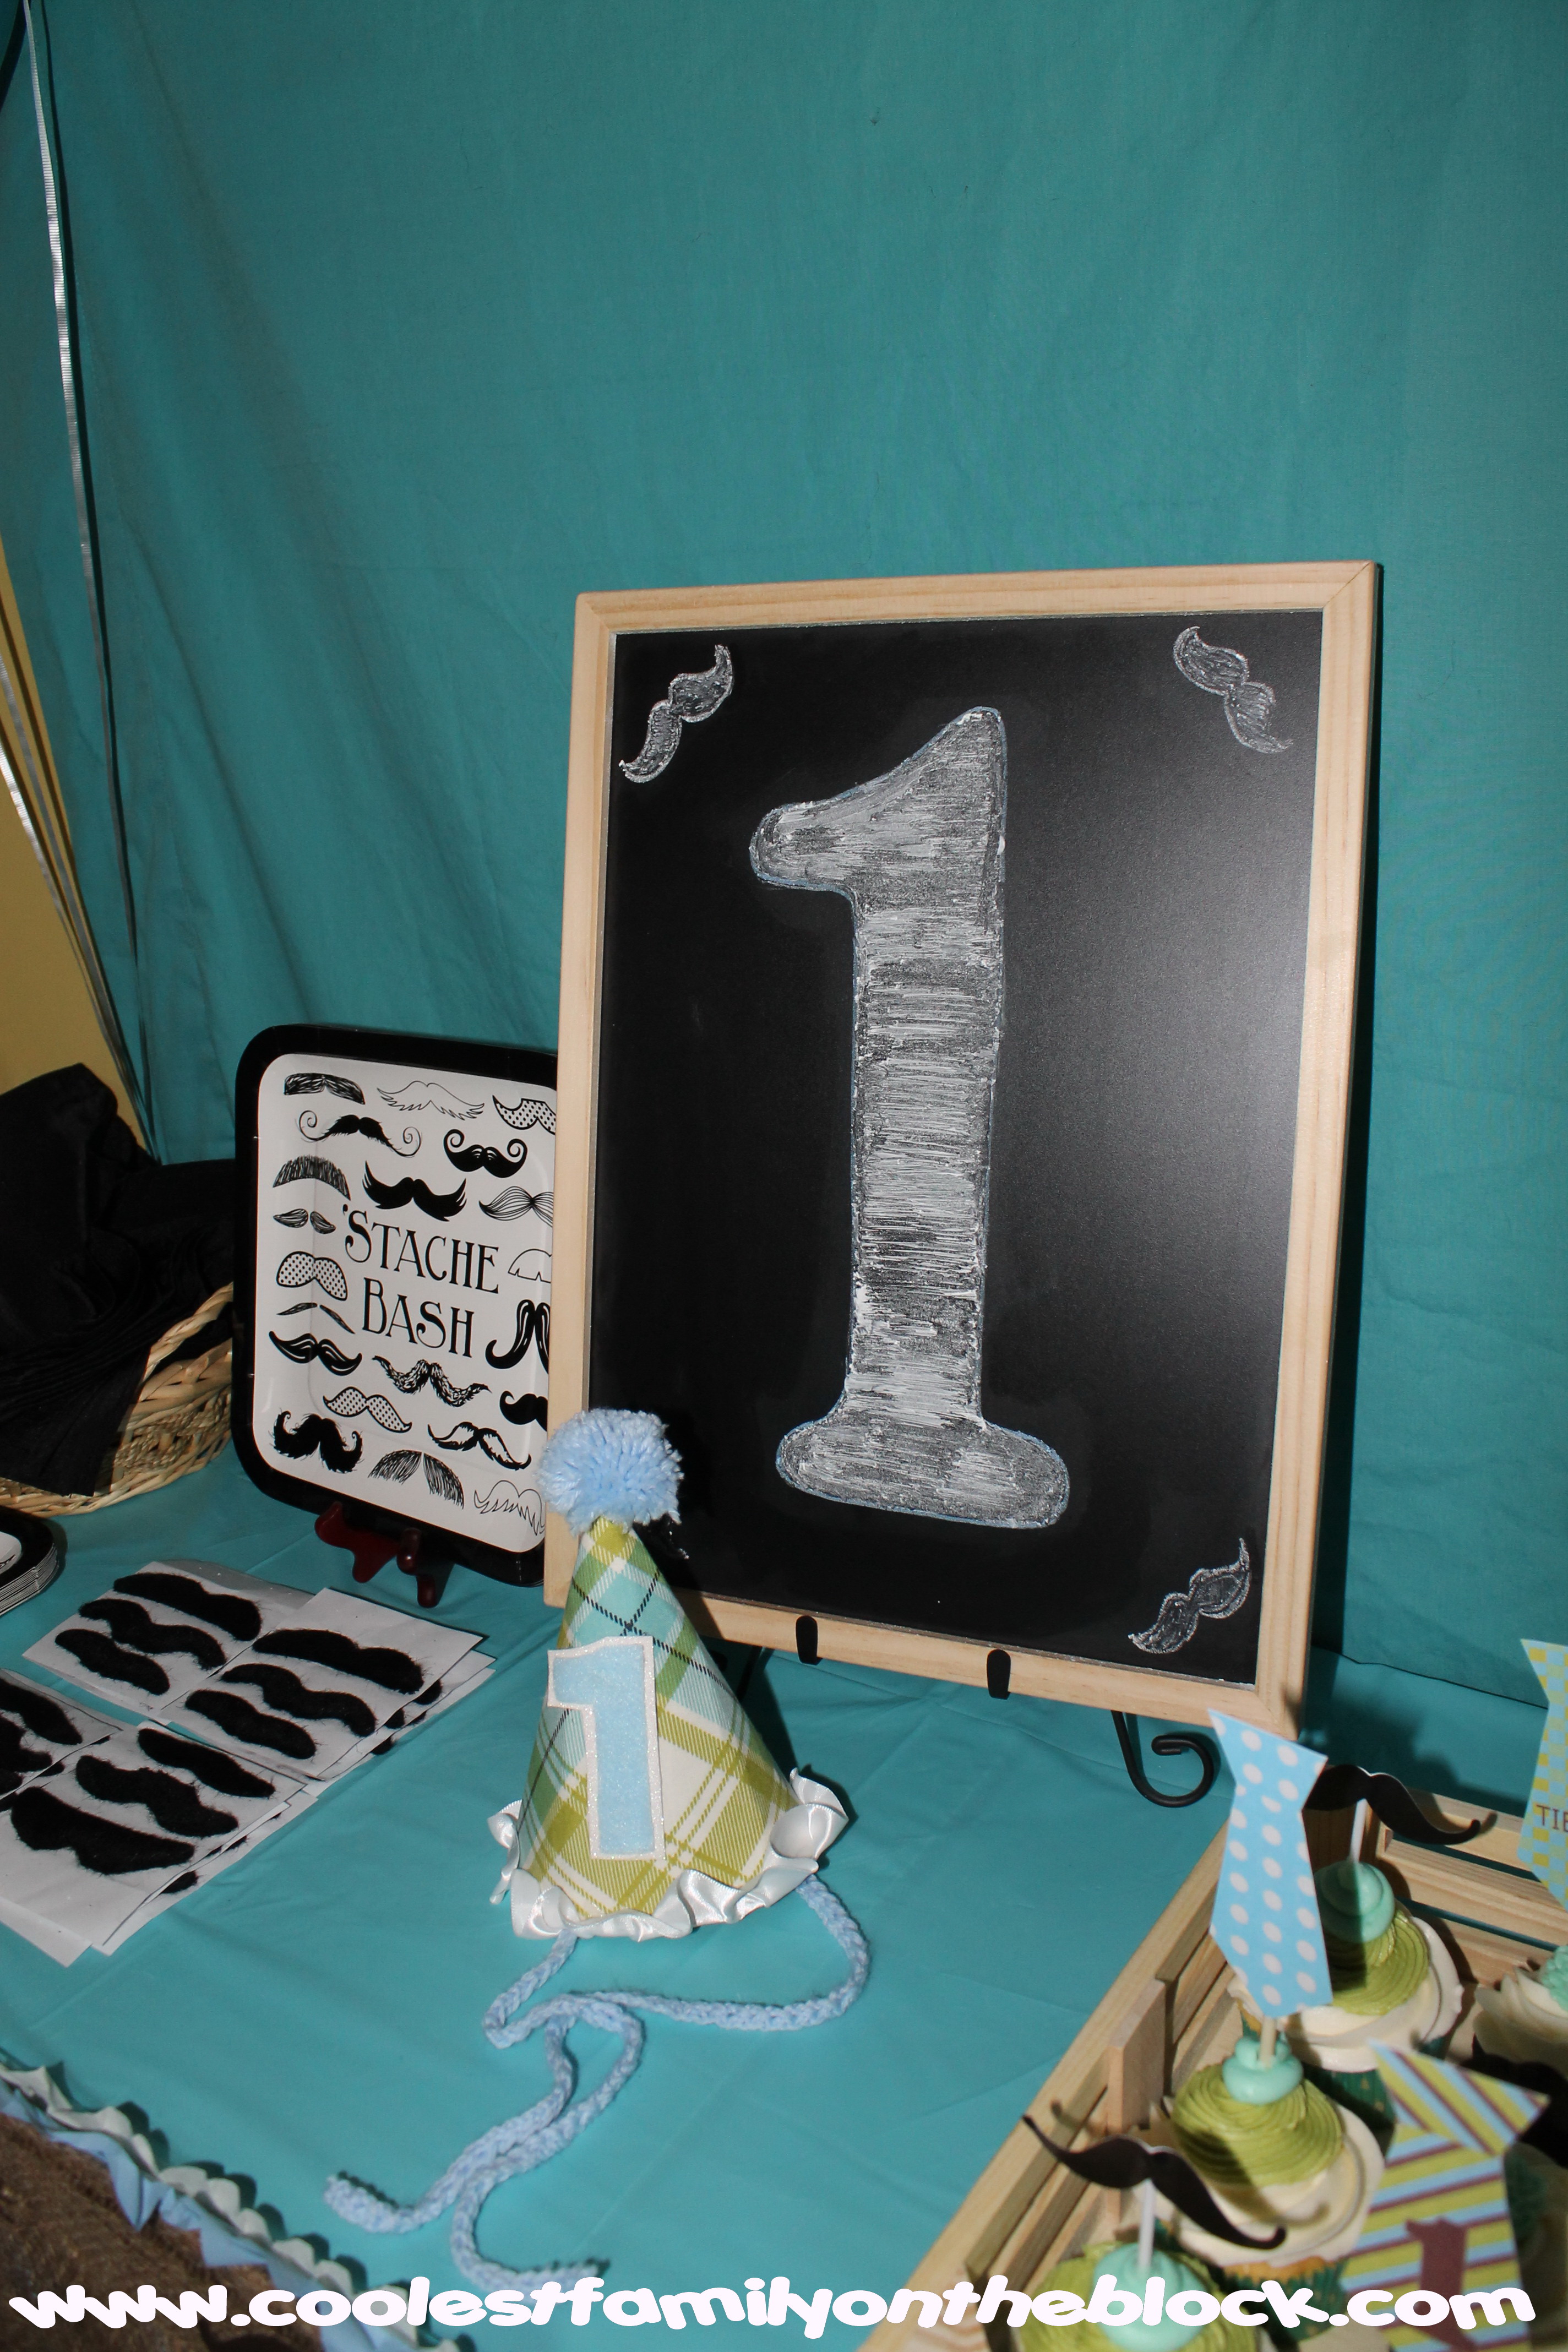
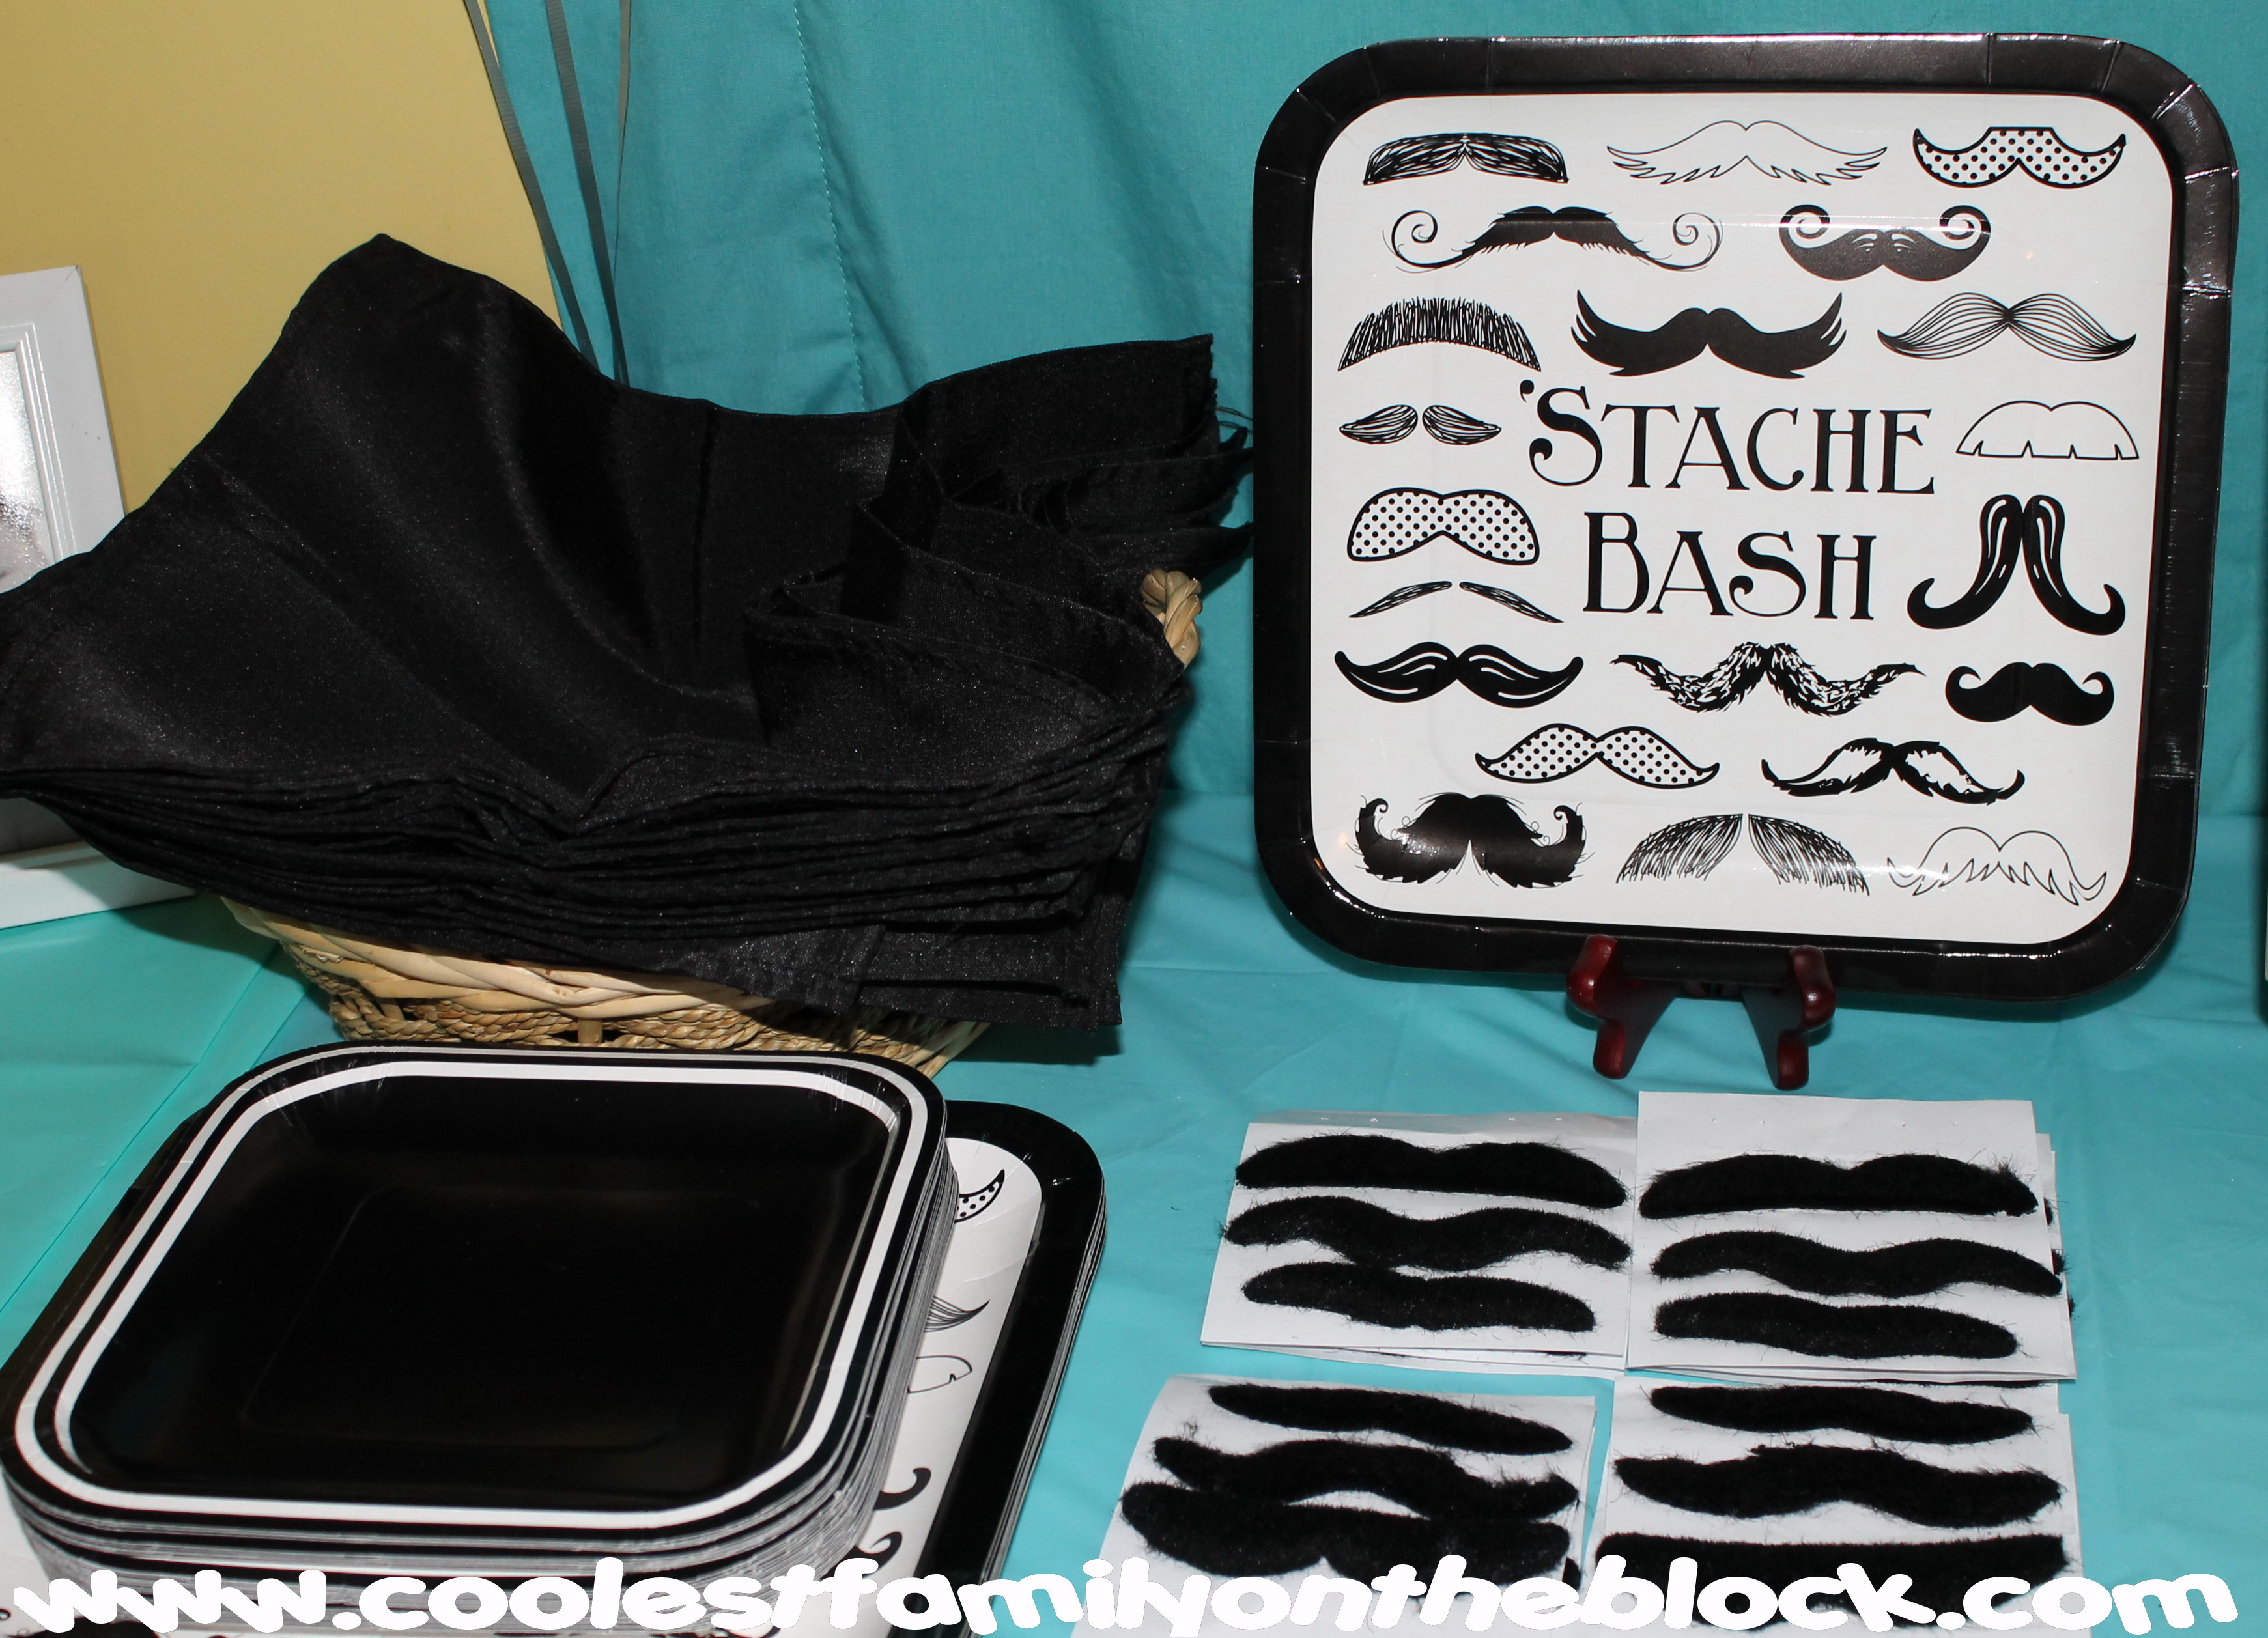
Cute “Stache Bash” paper plates and adhesive mustaches for all to enjoy! I was going to fold the napkins into neckties and ran out of time, so it’s just a basket of napkins. Oh well.
These are my cousins. Weirdness runs in the family.
13 photos of Jonathan from birth to 12 months line the mantel. I attached adhesive mustaches to the picture frames. The picture frames were purchased in 3-packs at Target in 2010 for Adaline’s 1st Birthday.

Jonny checking out his cake.
It’s time to sing Happy Birthday!
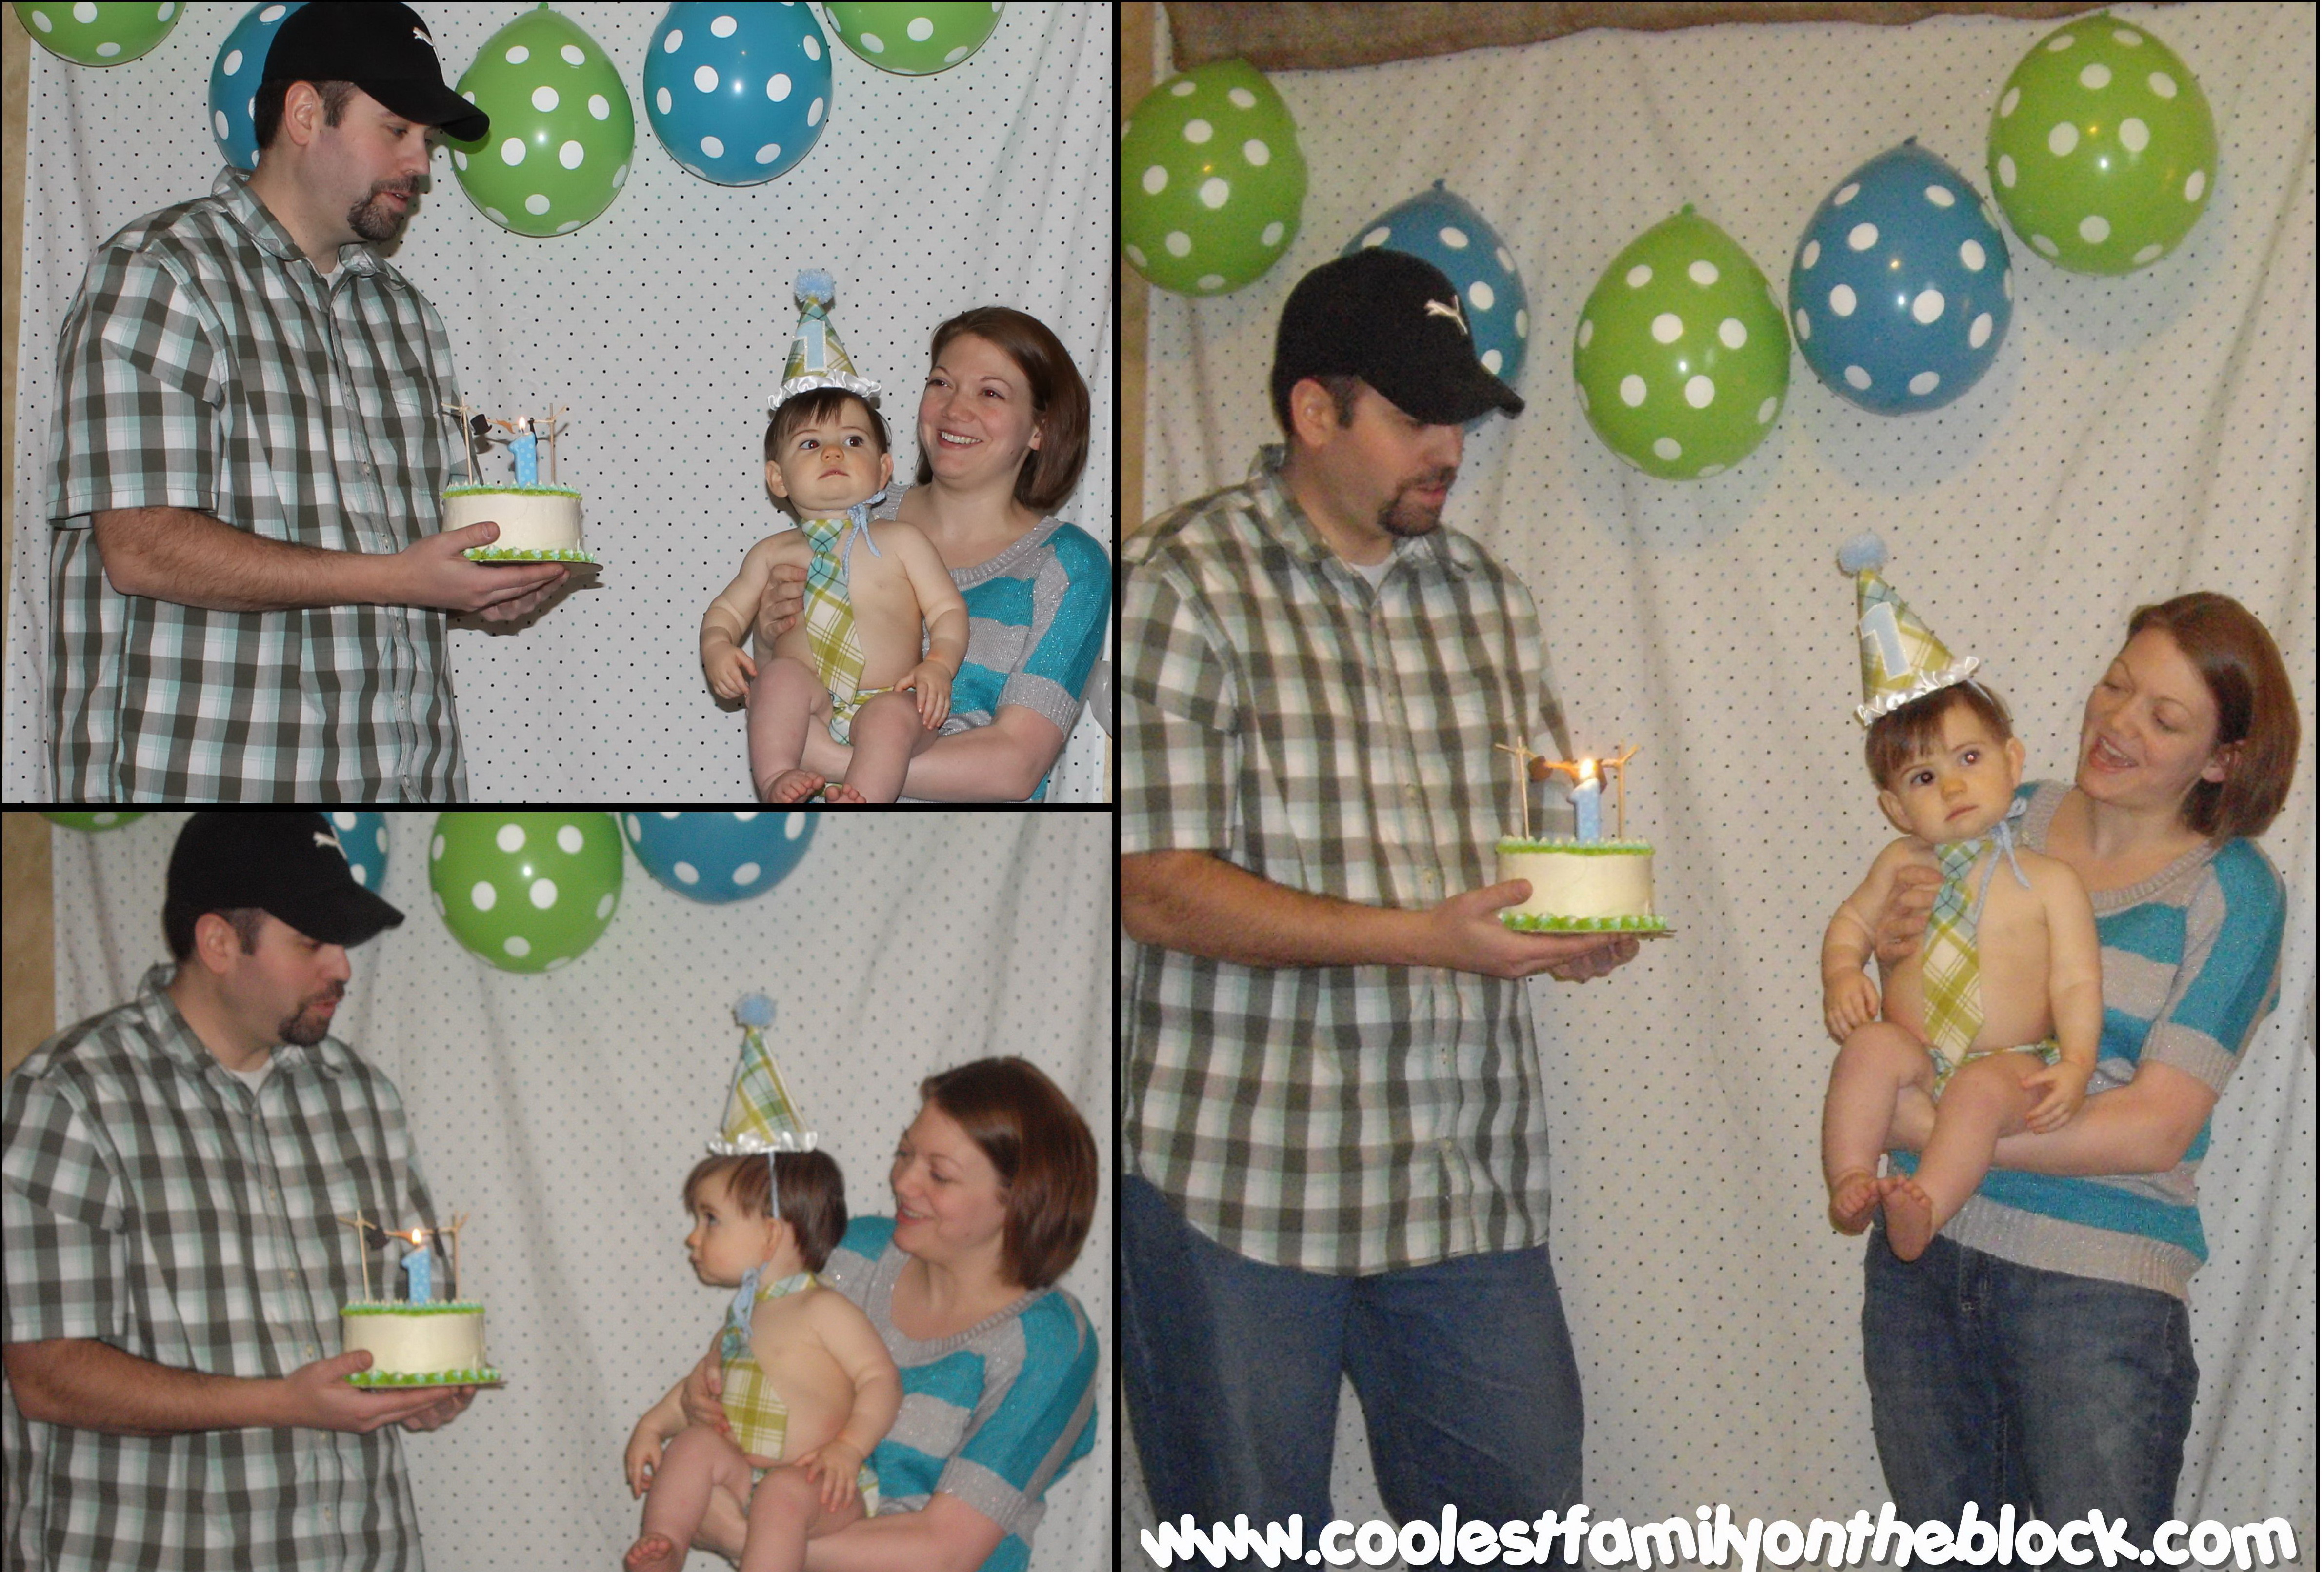
For the cake we laid a plastic table cloth on the floor and let him go to town. He never really did go to town. He just kinda walked around the block a little.
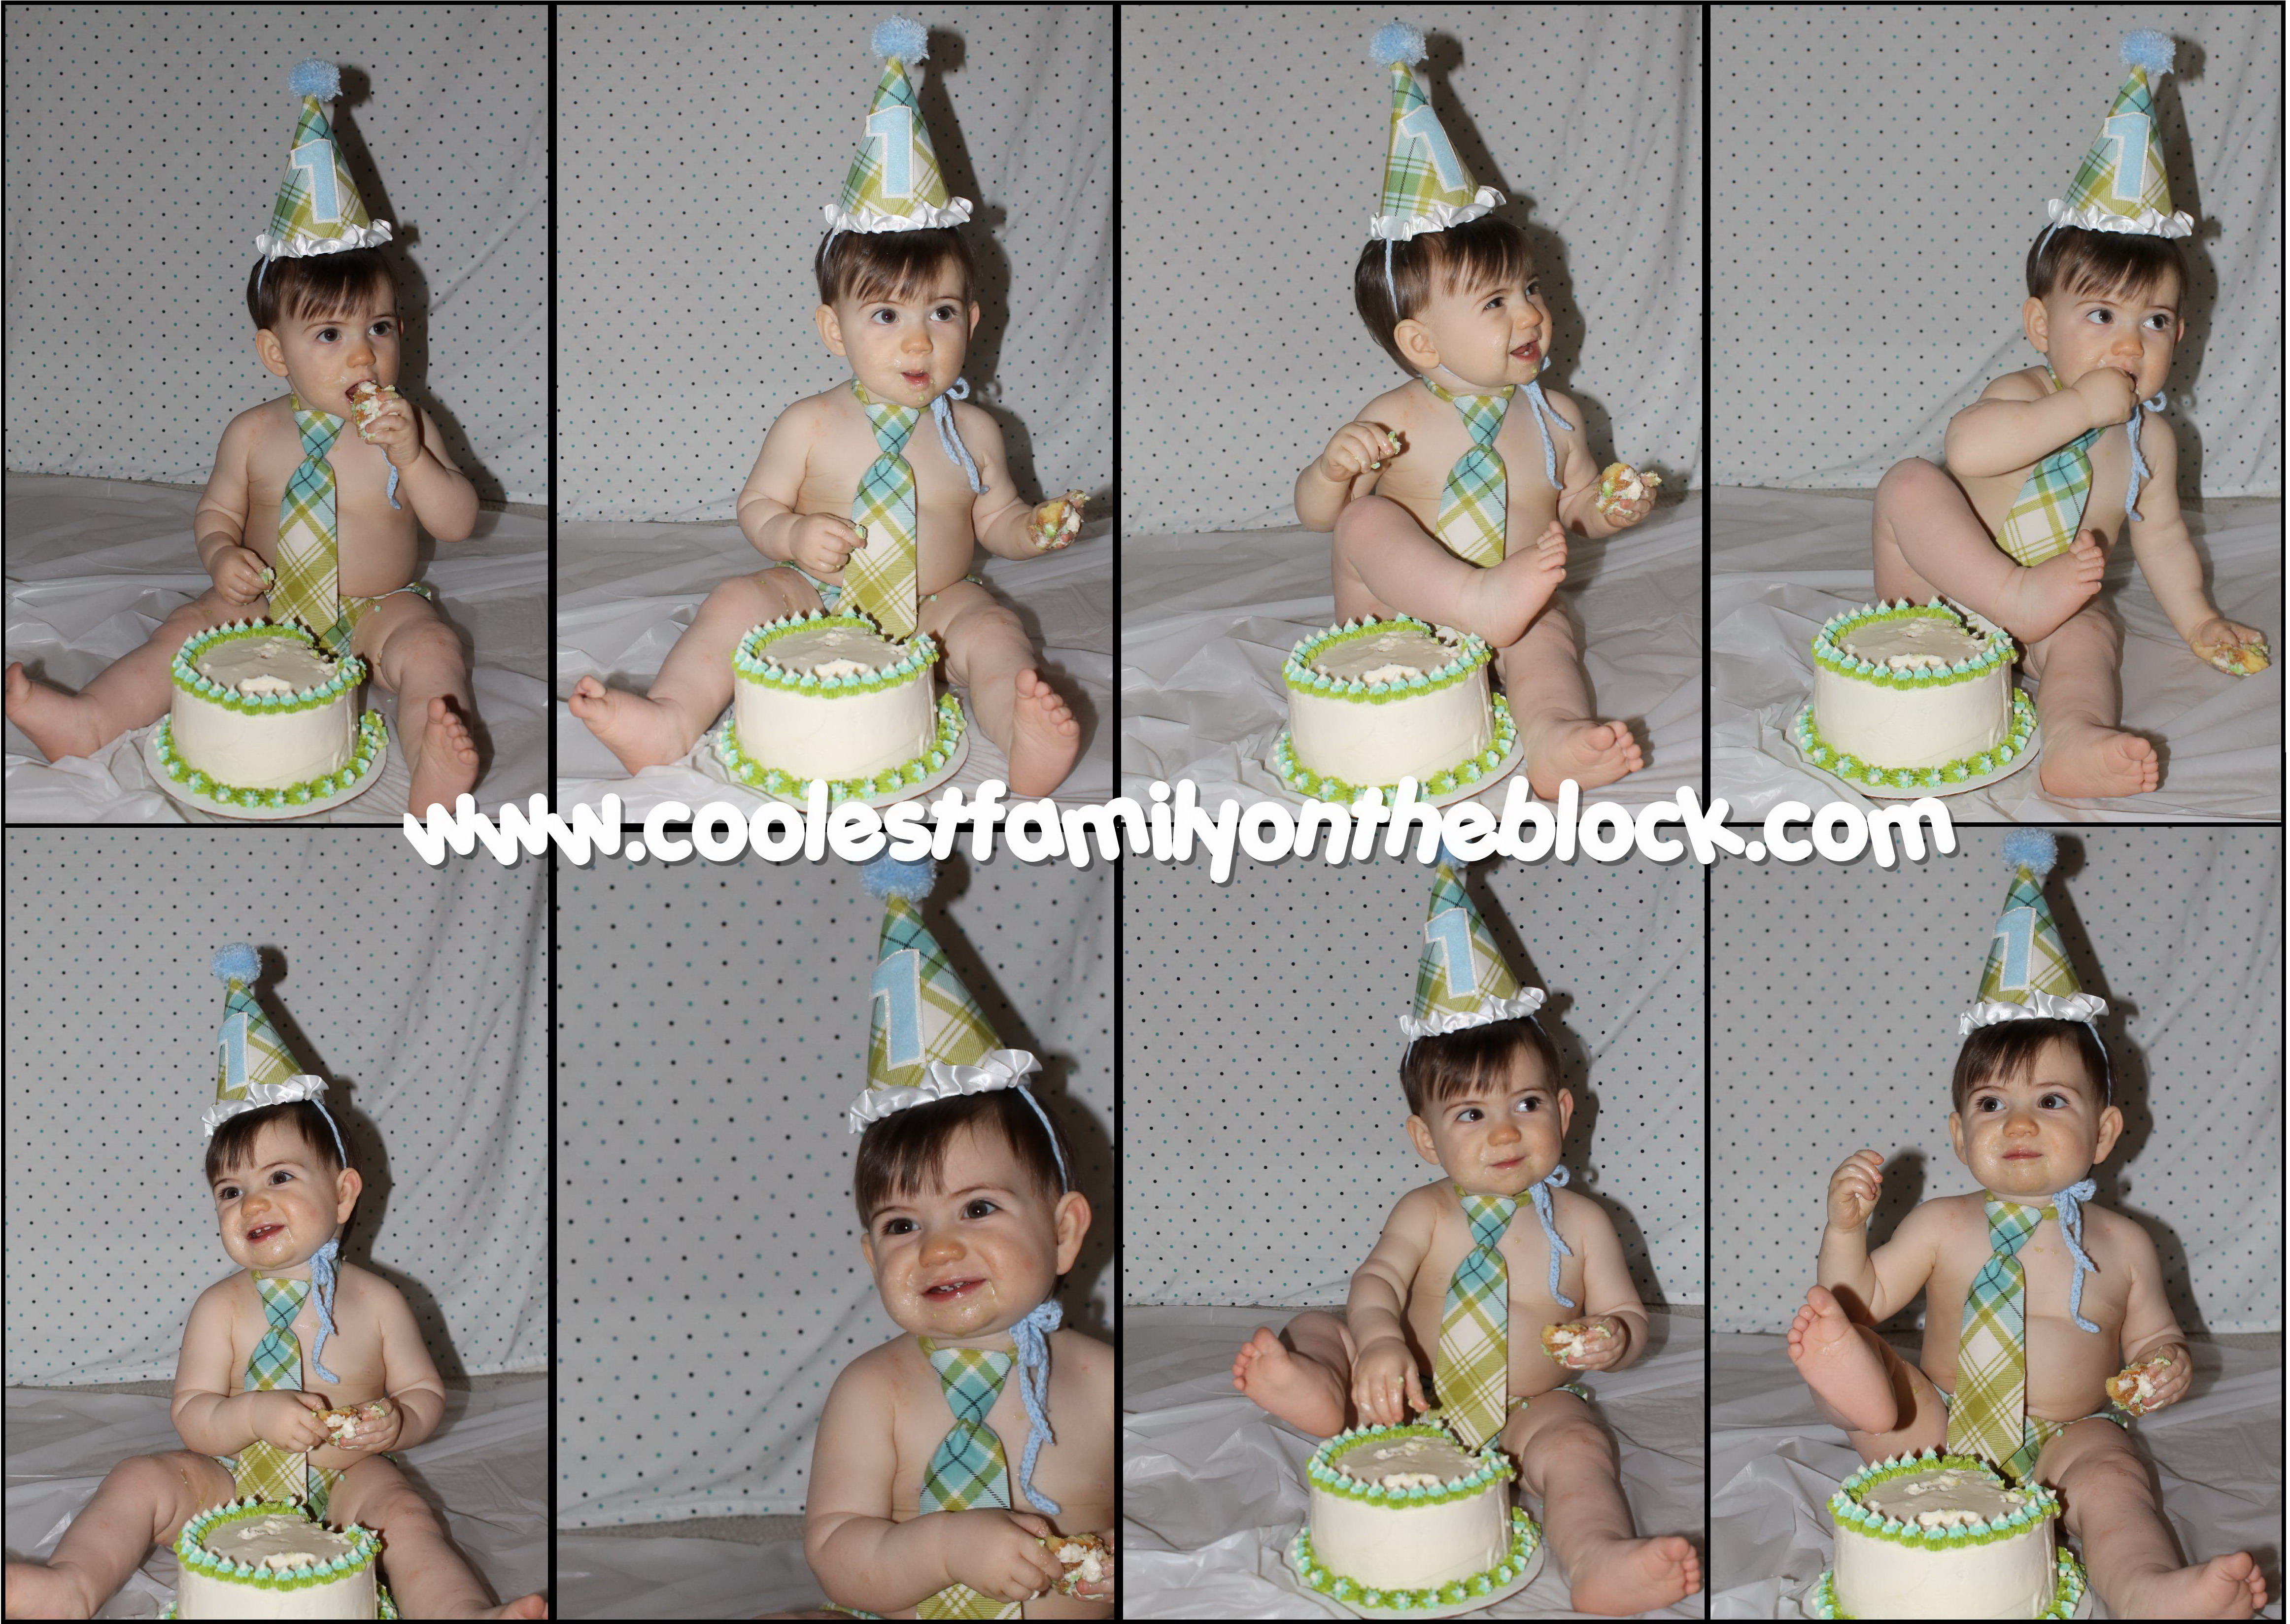
I adore the smash cake set we found on Etsy:
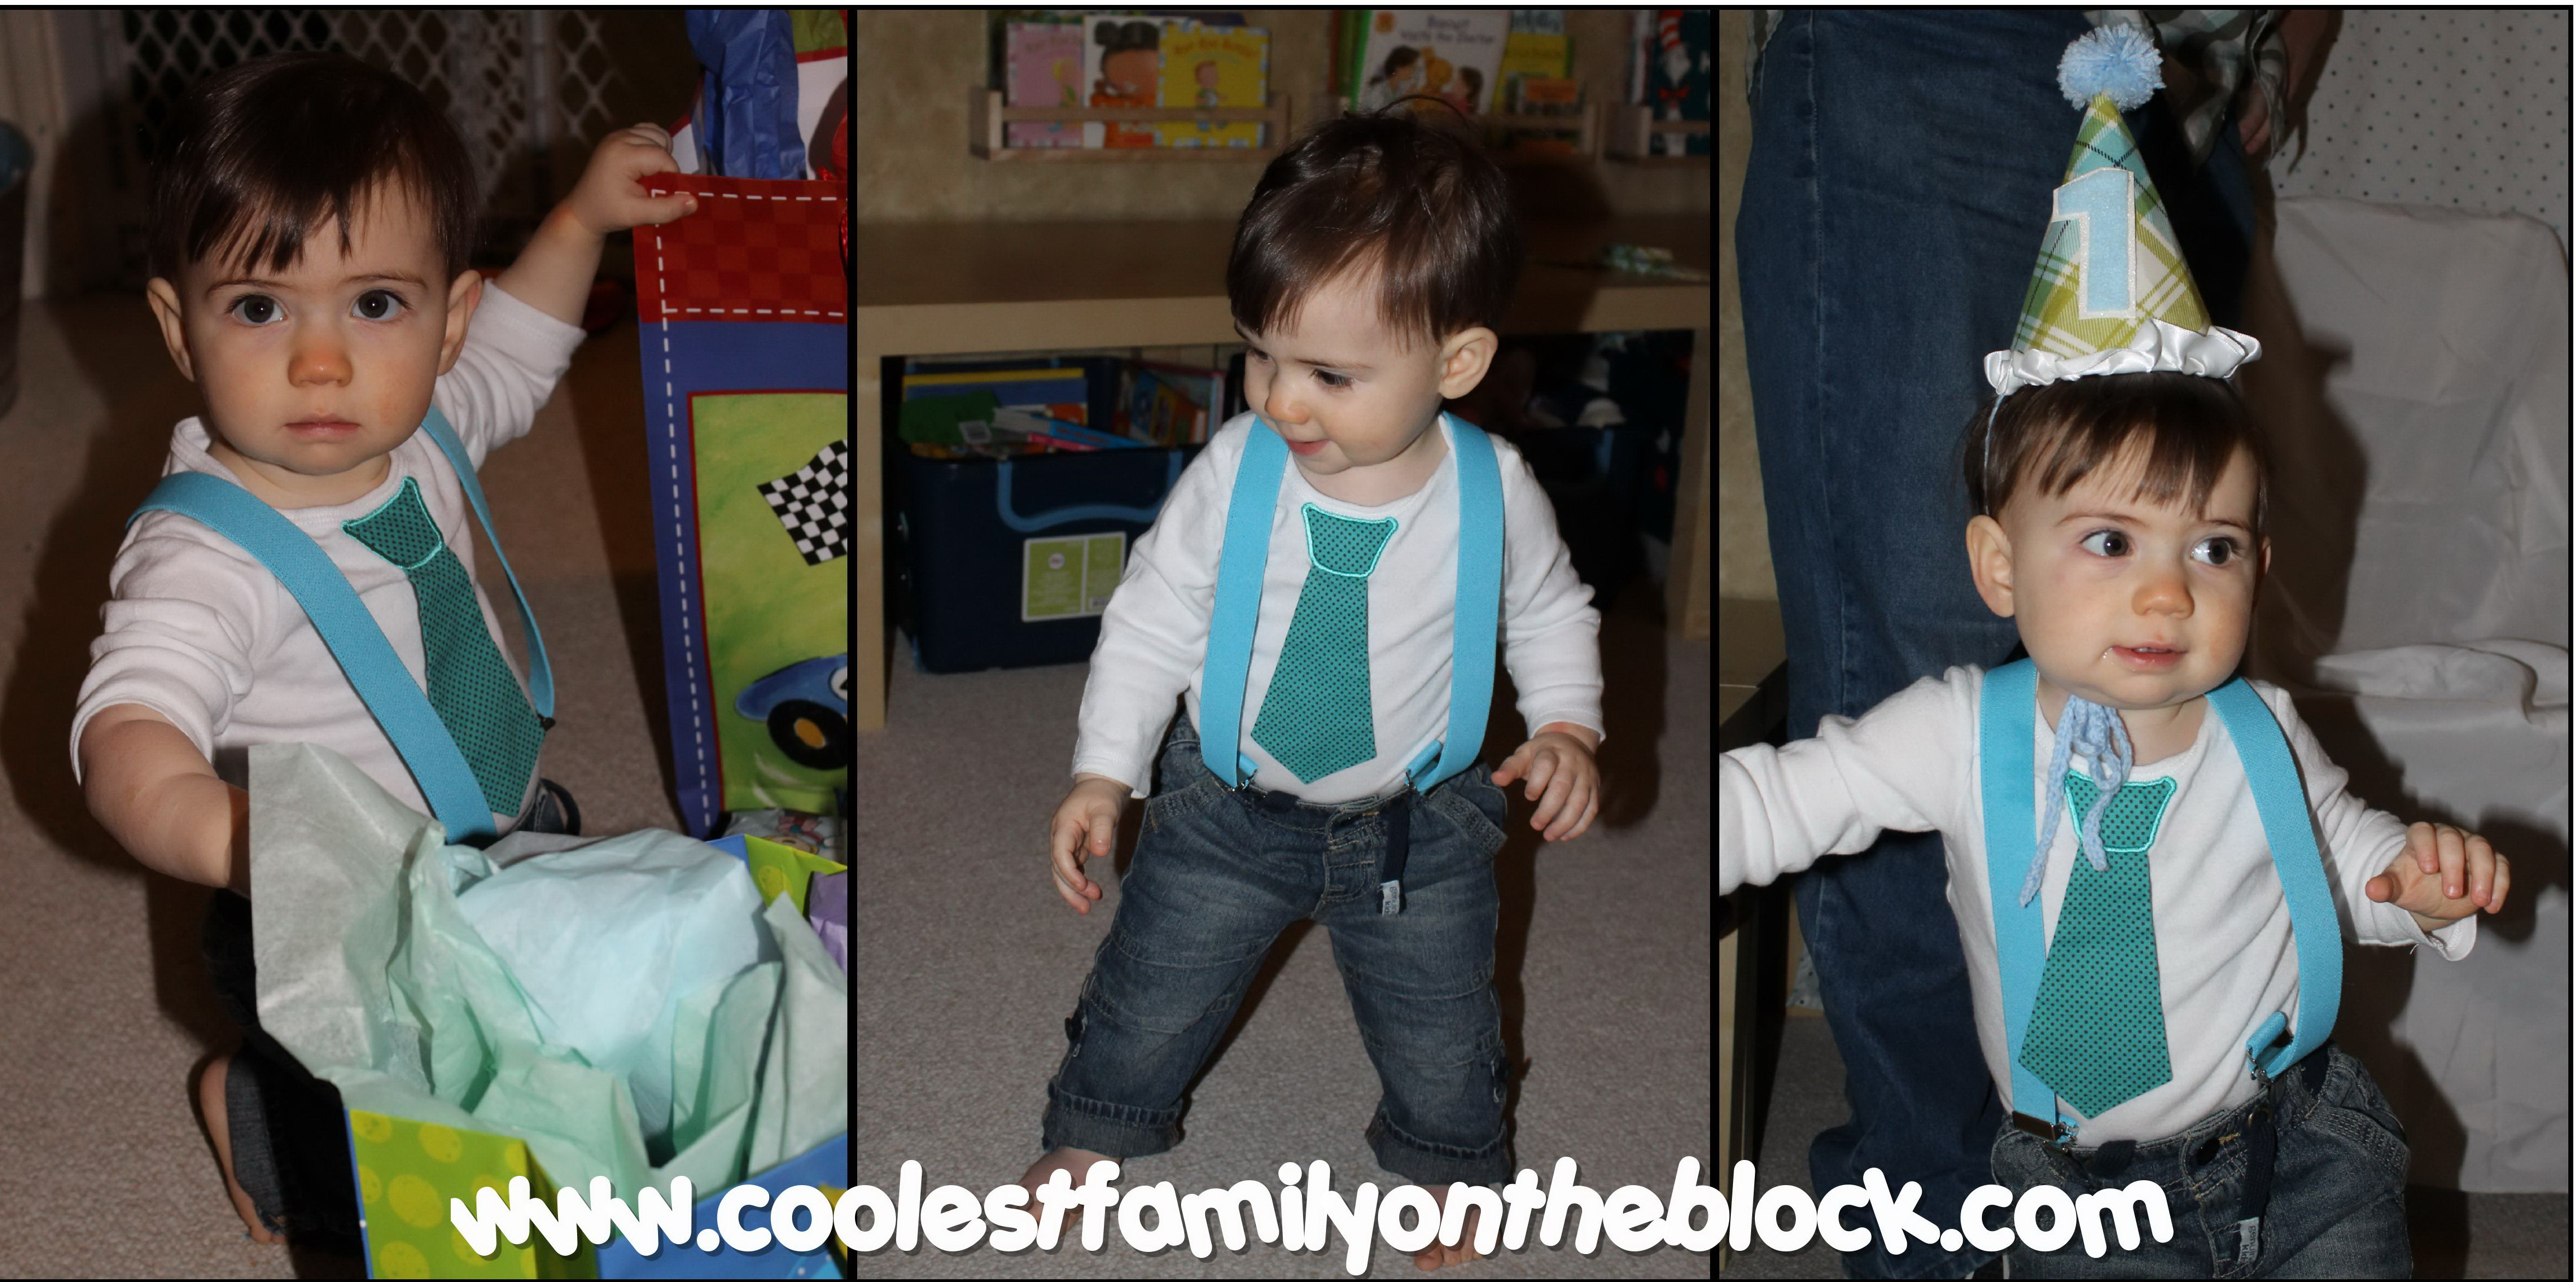
birthday hat, necktie, and diaper cover

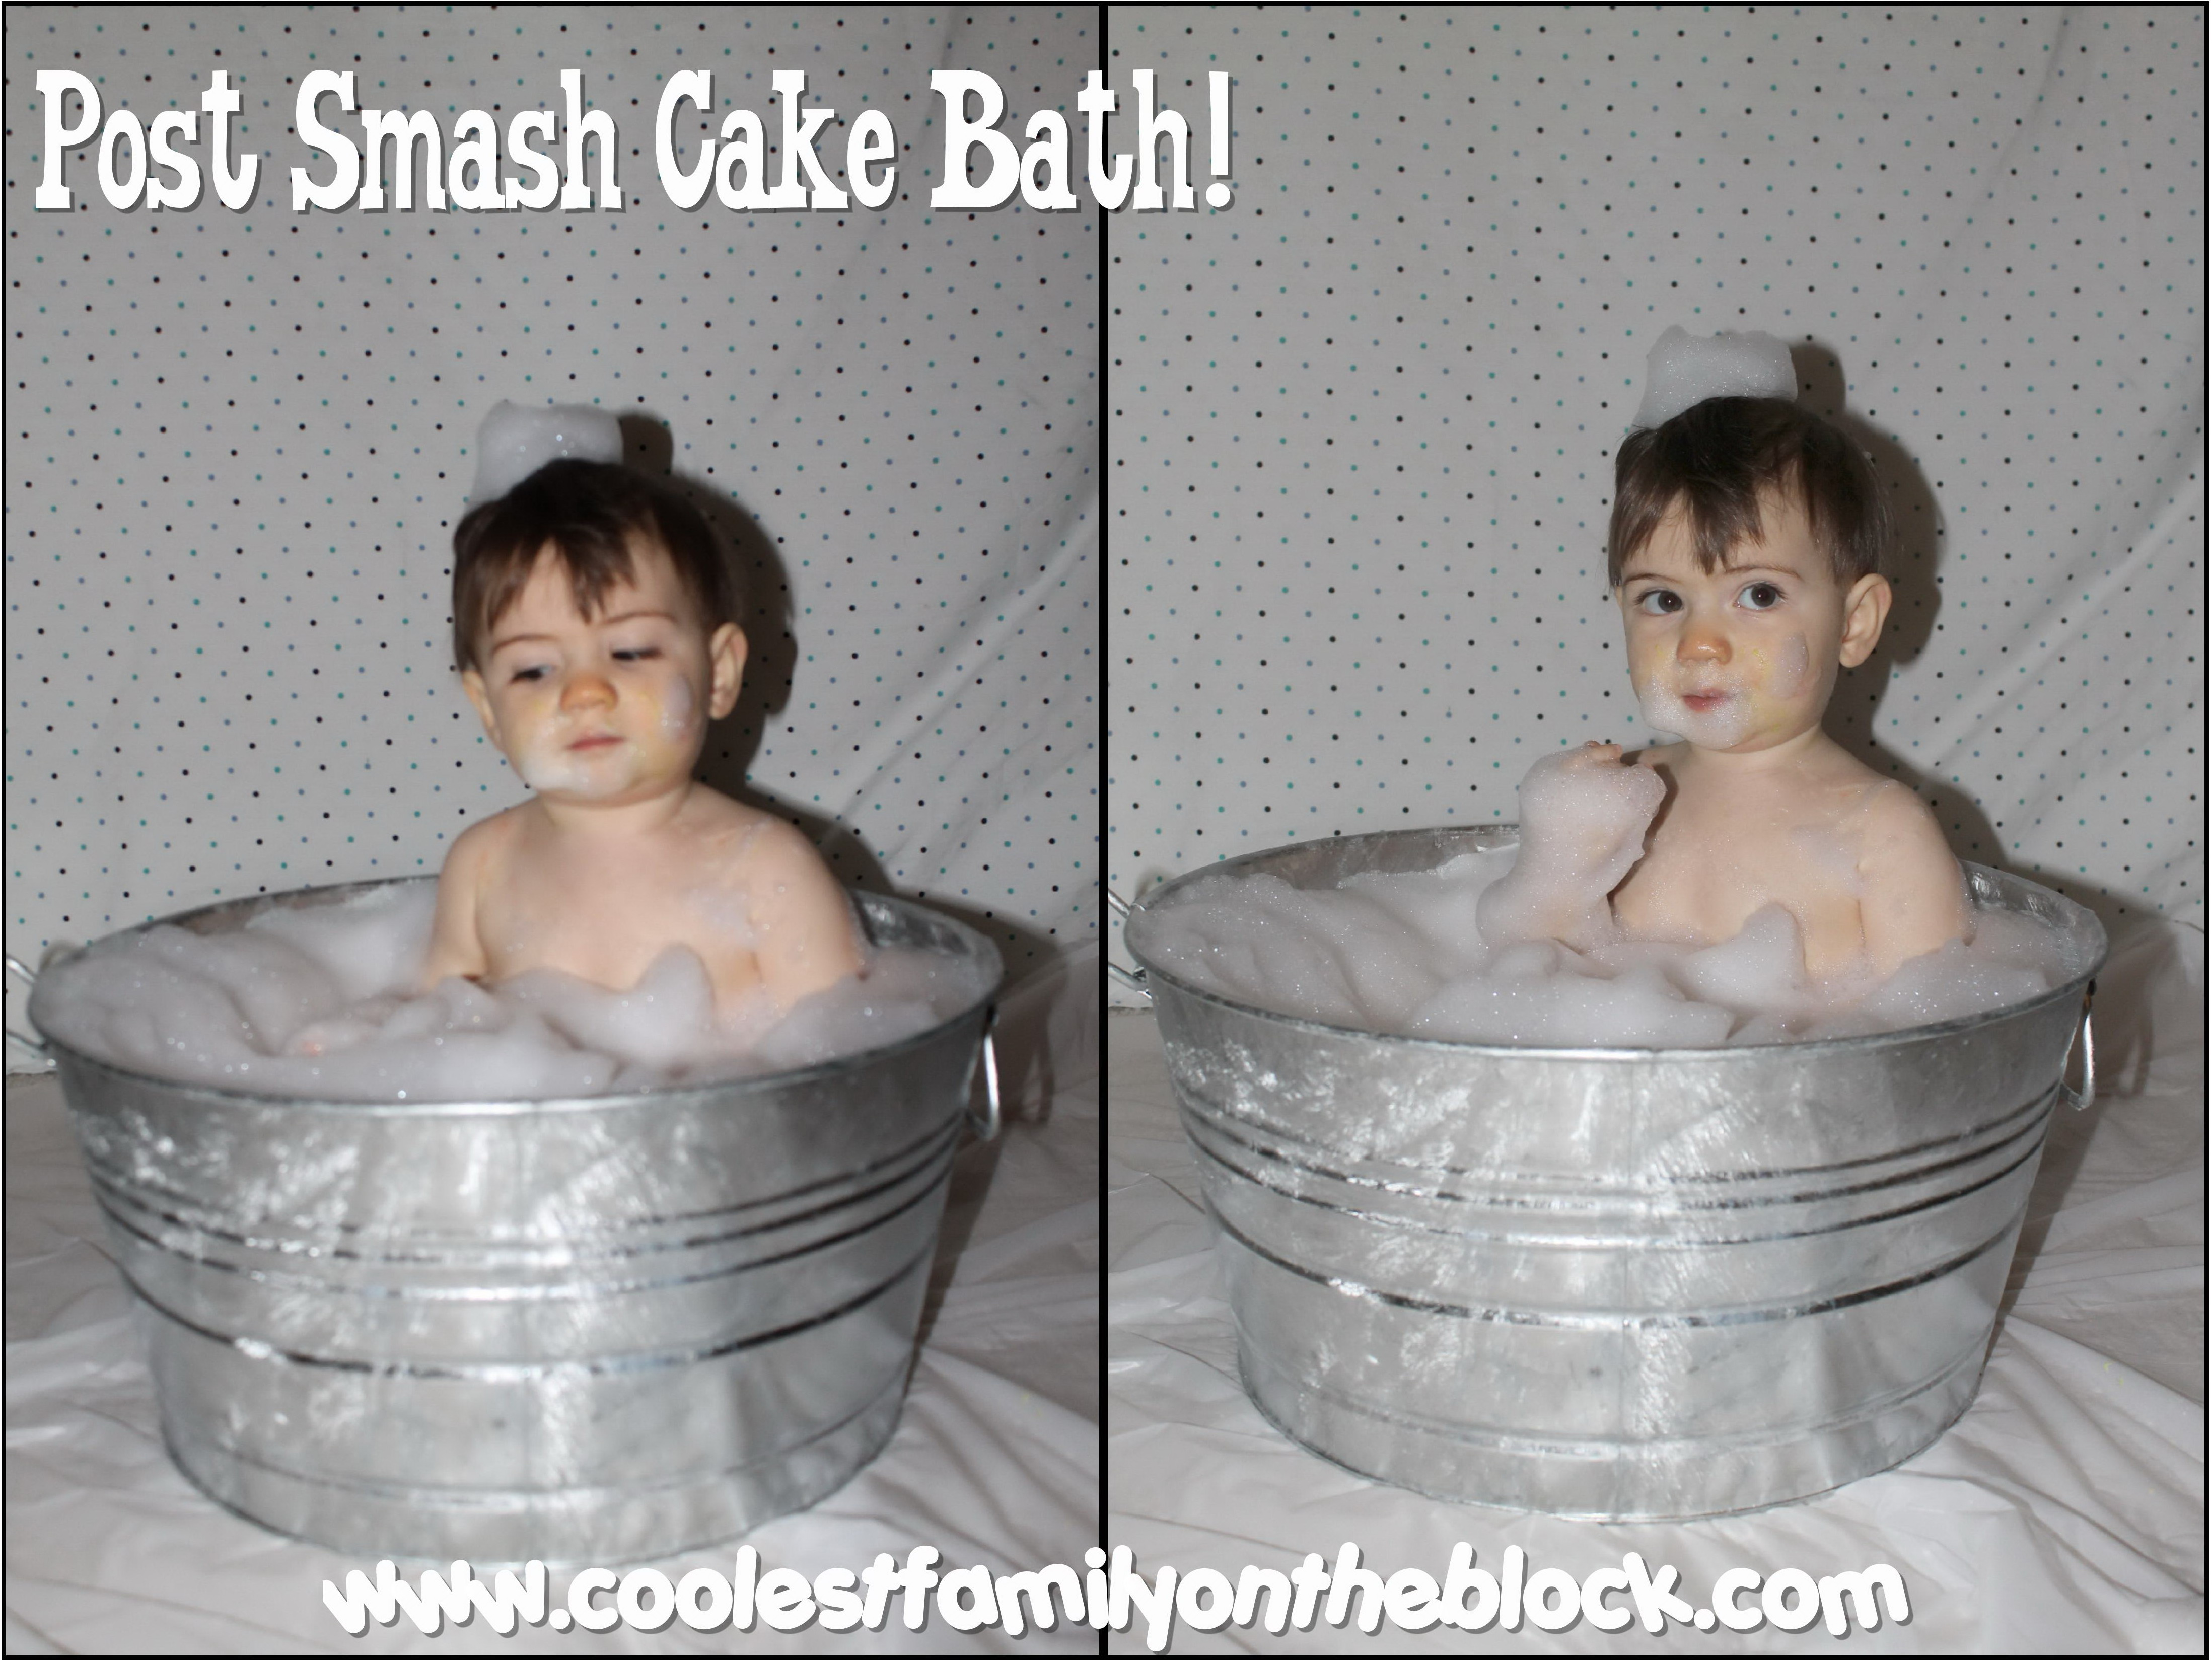
Jon barely had any cake on him but we still went ahead with his post smash cake bath. He was more interested in eating the bubbles than he was in the cake!
Here our little man was taking some of his first steps.
Adaline started walking on her first birthday as well.
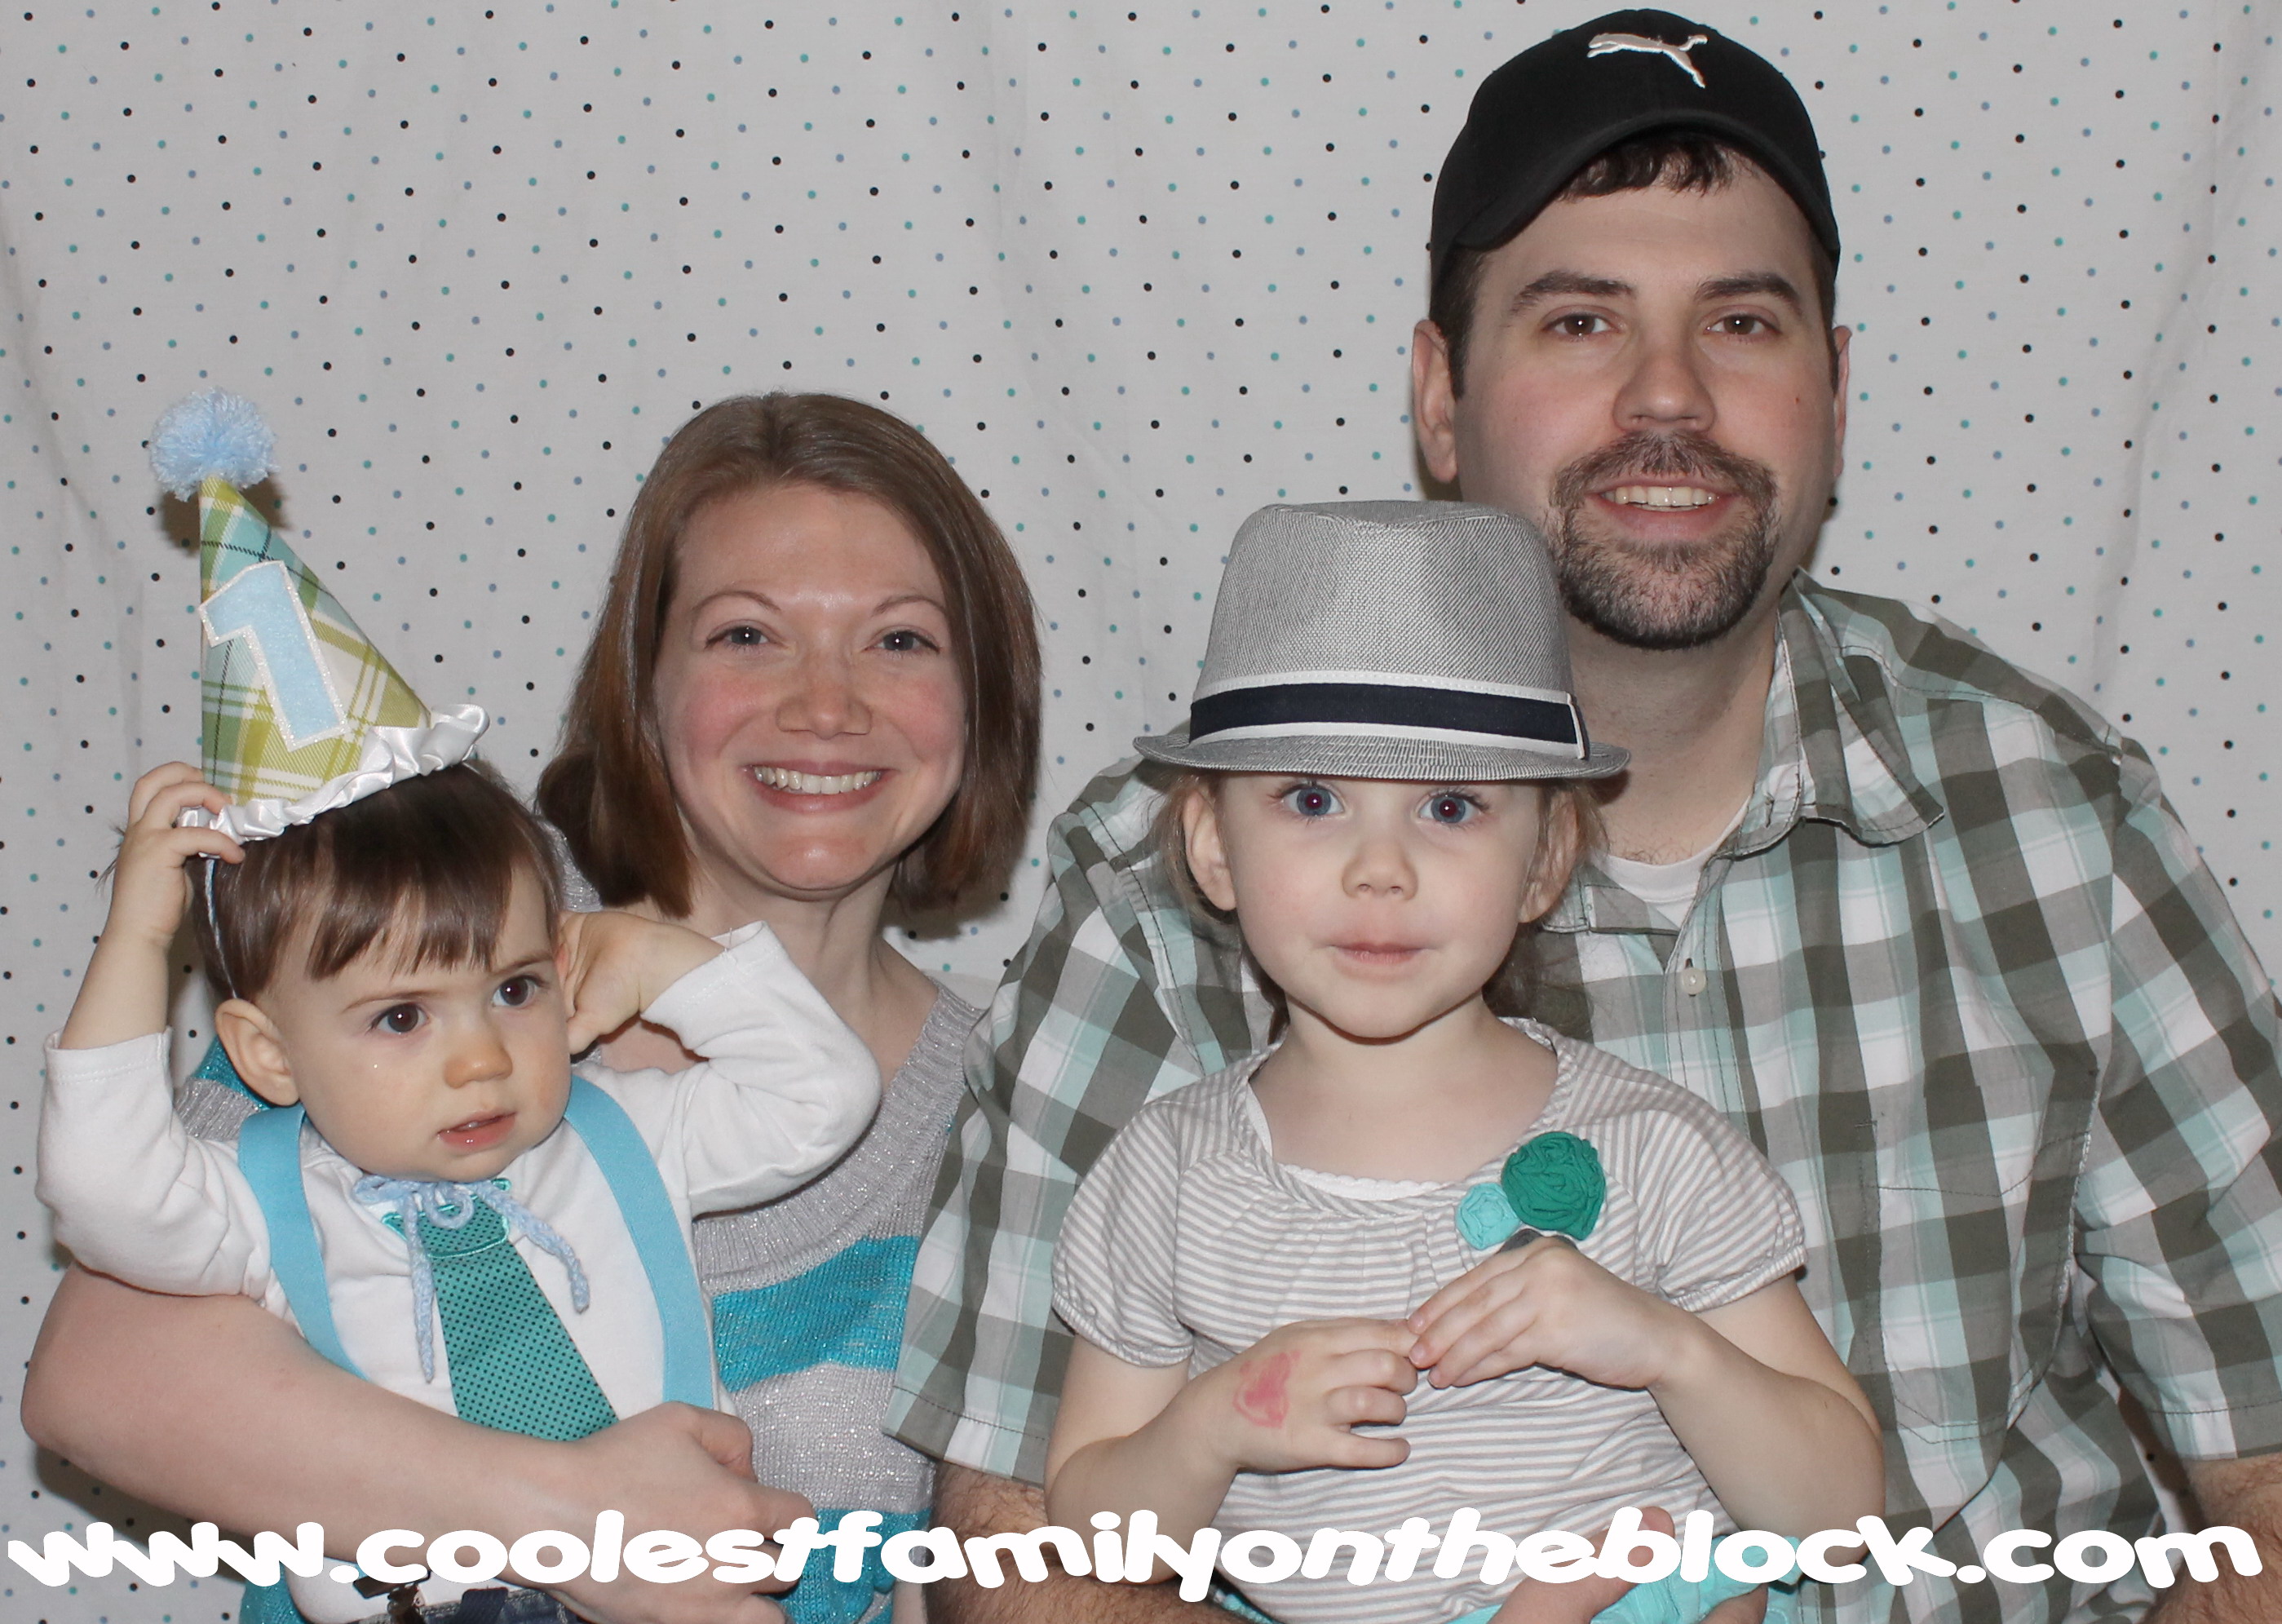
Family photo!
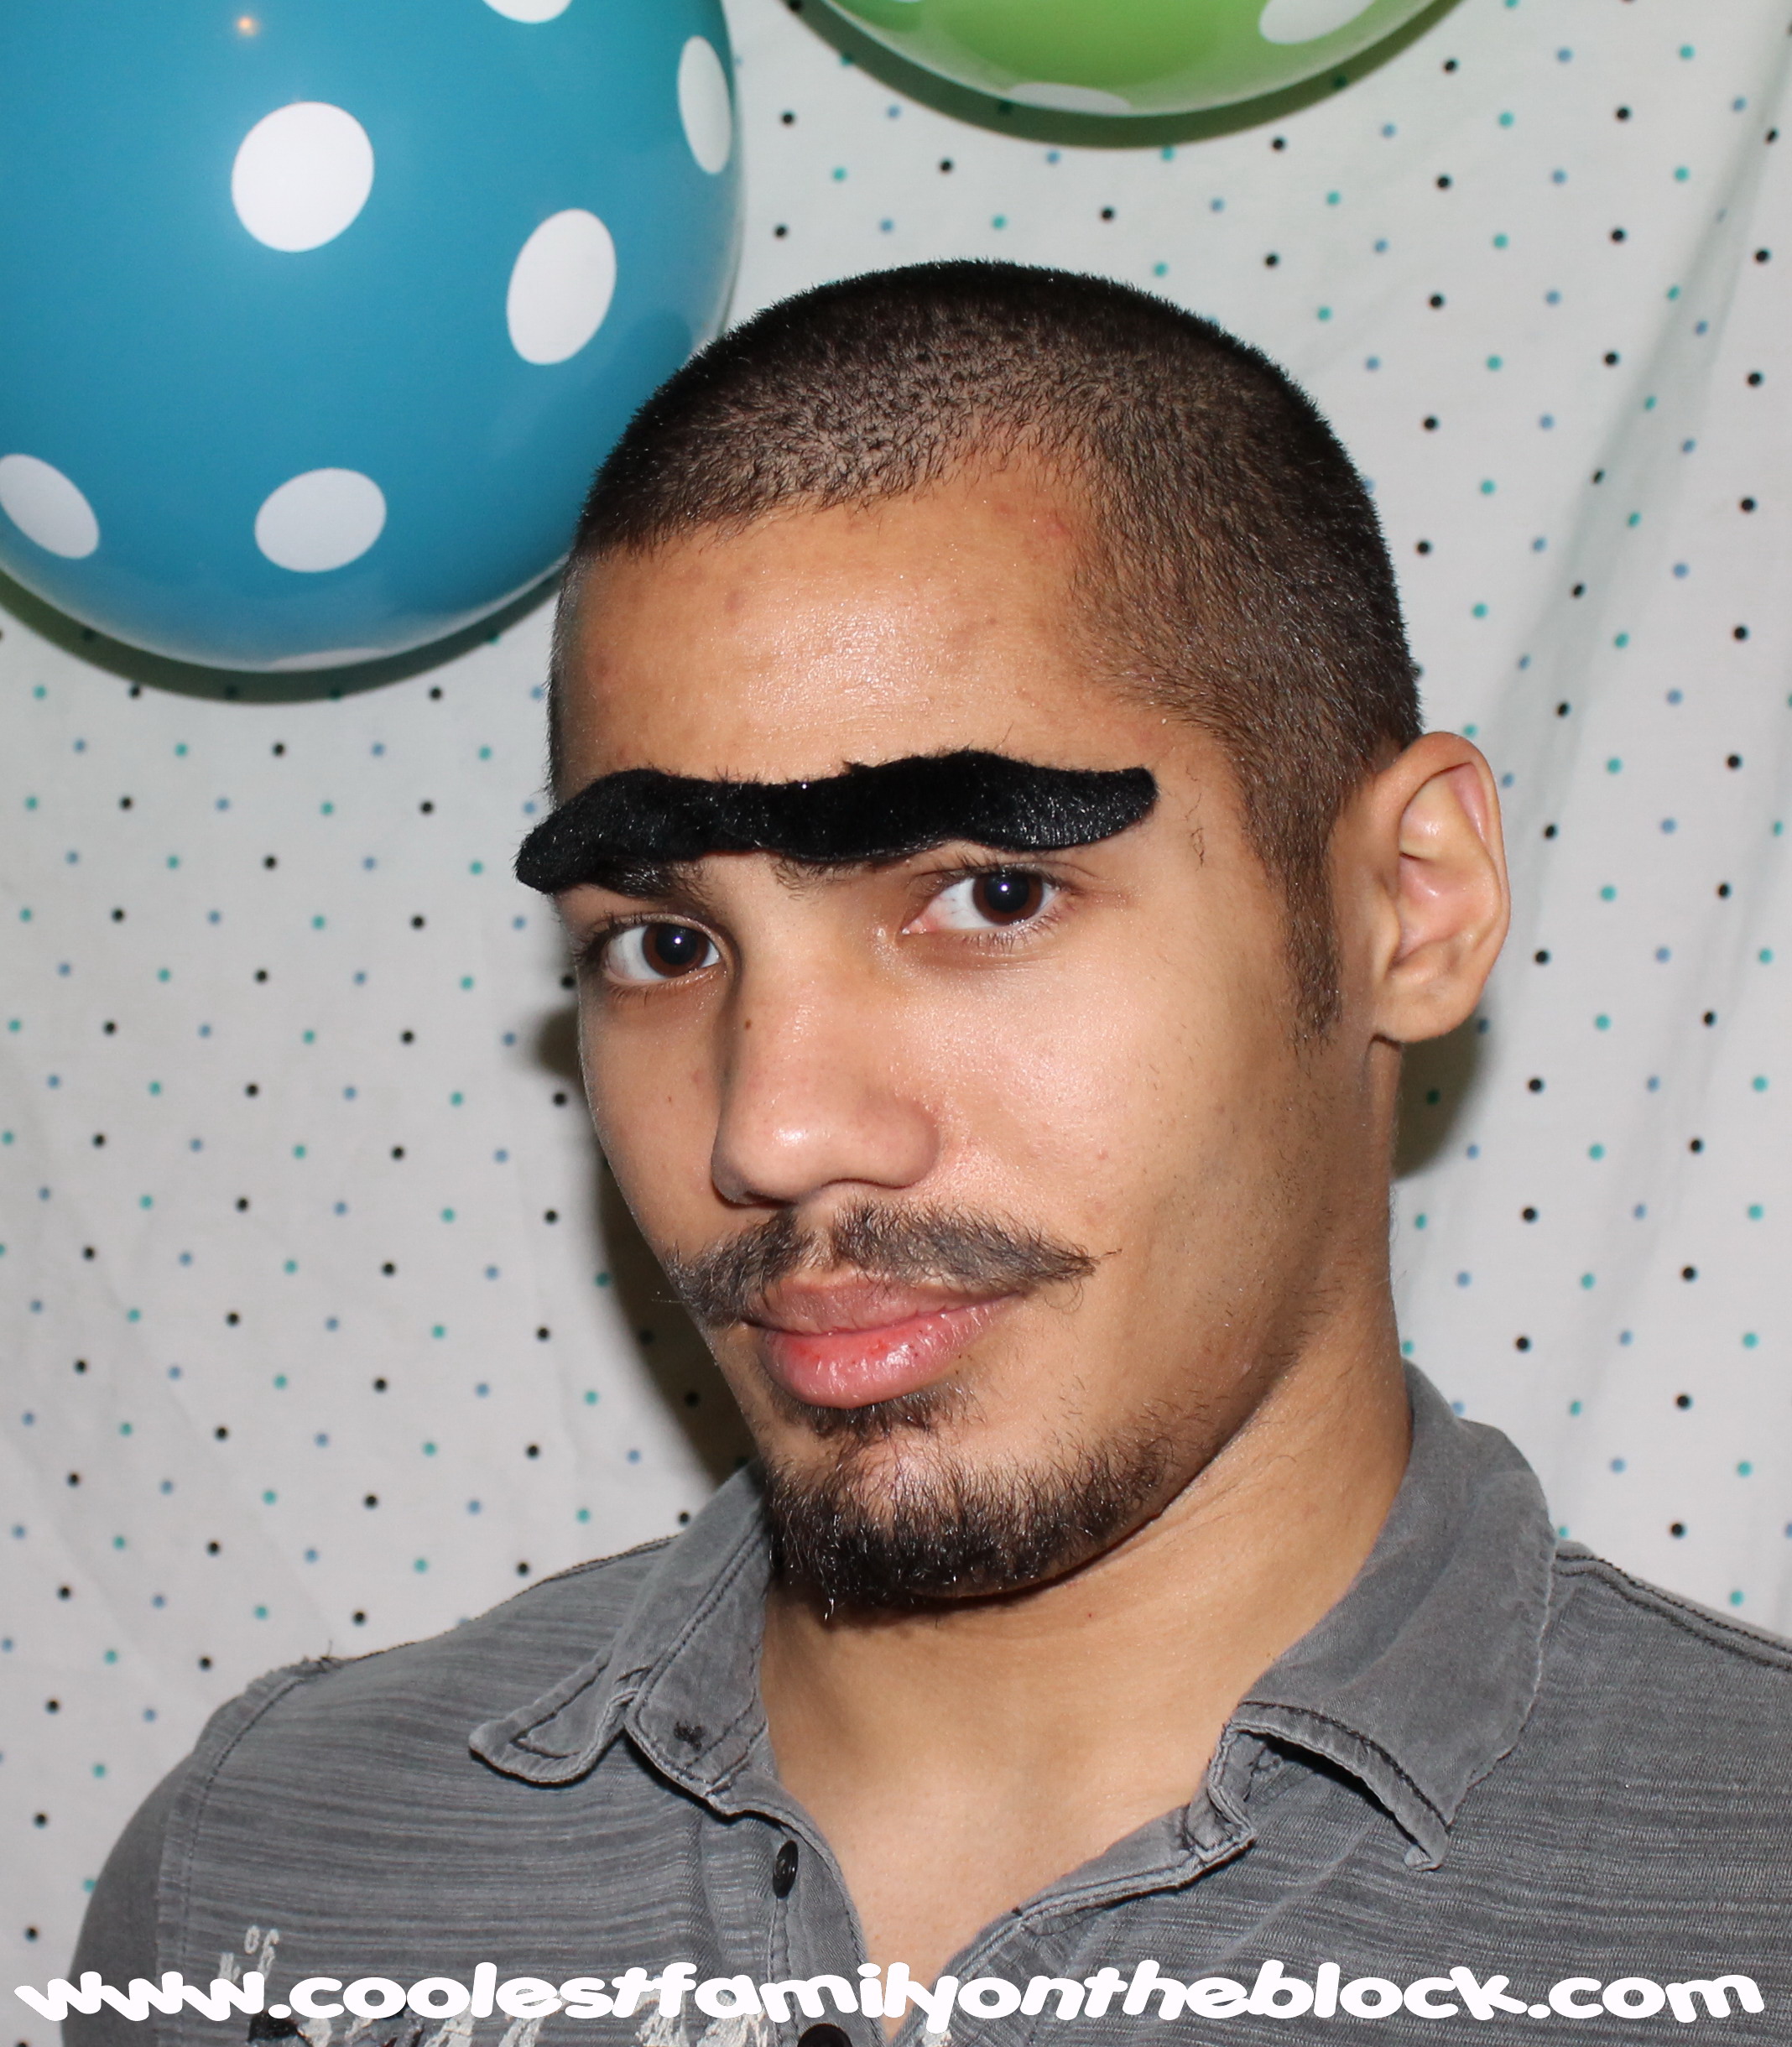
By the way, it’s not easy to smile wearing one of those adhesive mustaches.
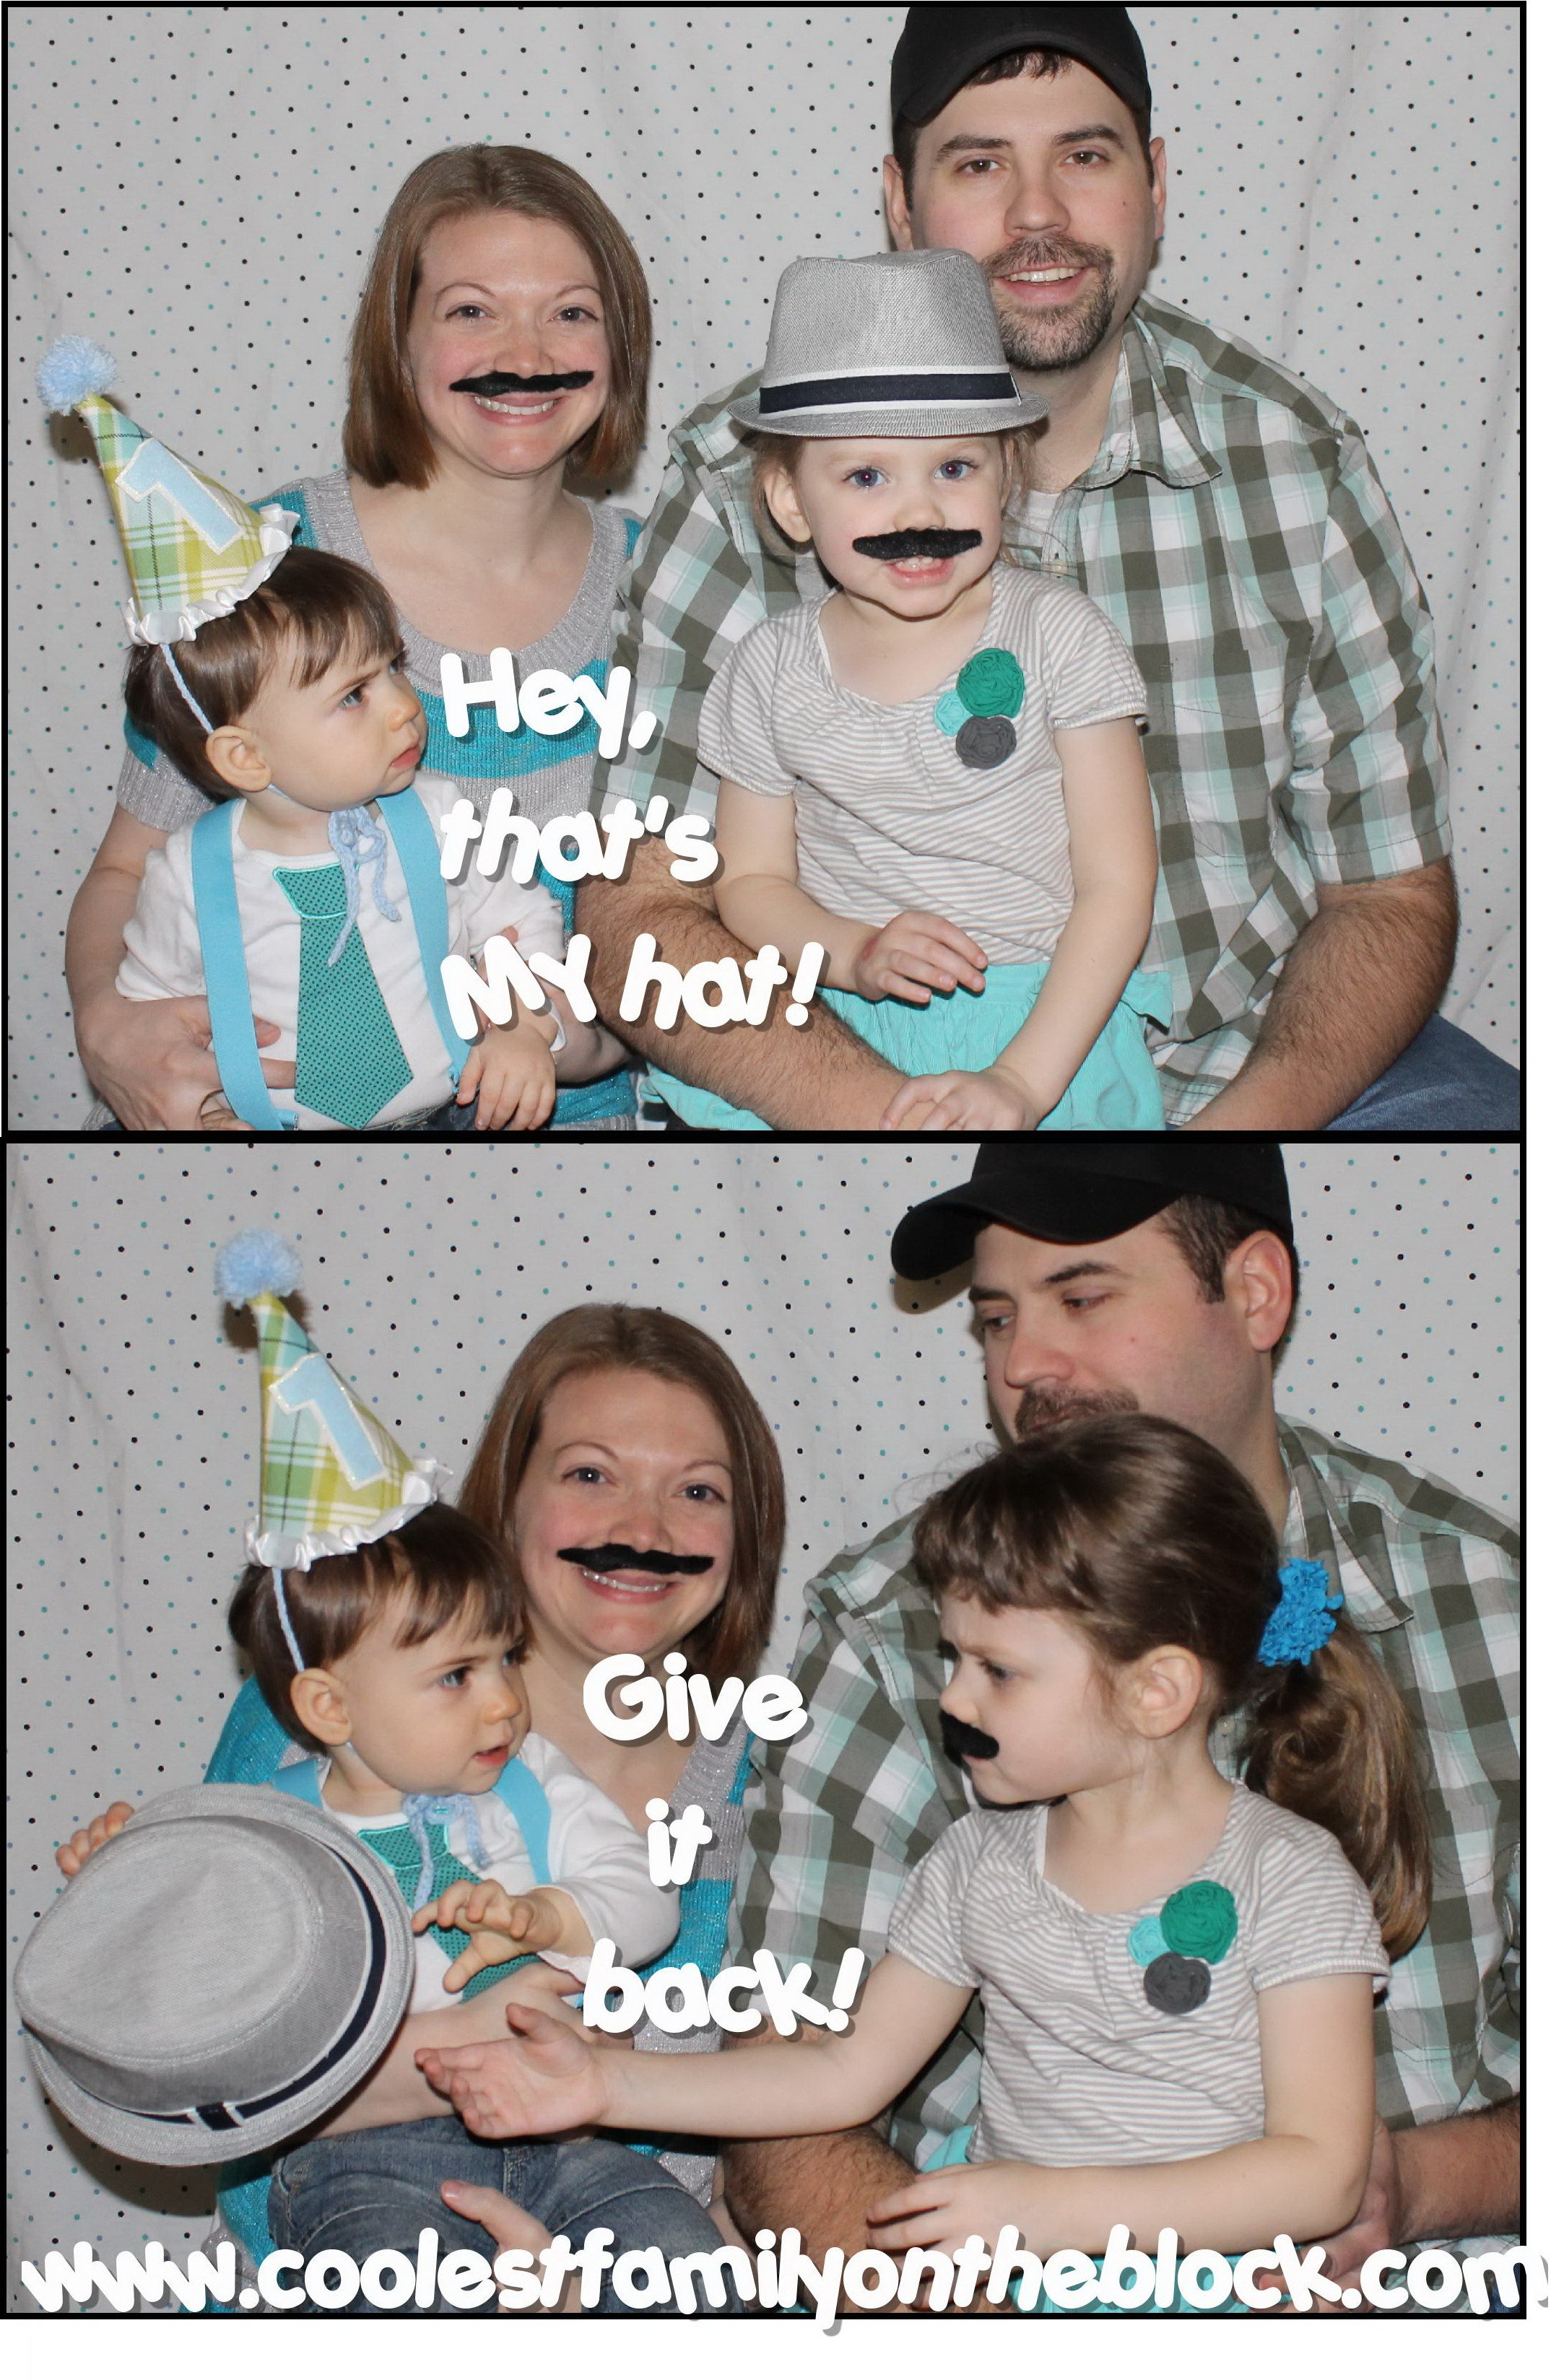
Here’s our family mustache free (for the most part).
I always try to get a photo of the birthday kid next to their number sign.


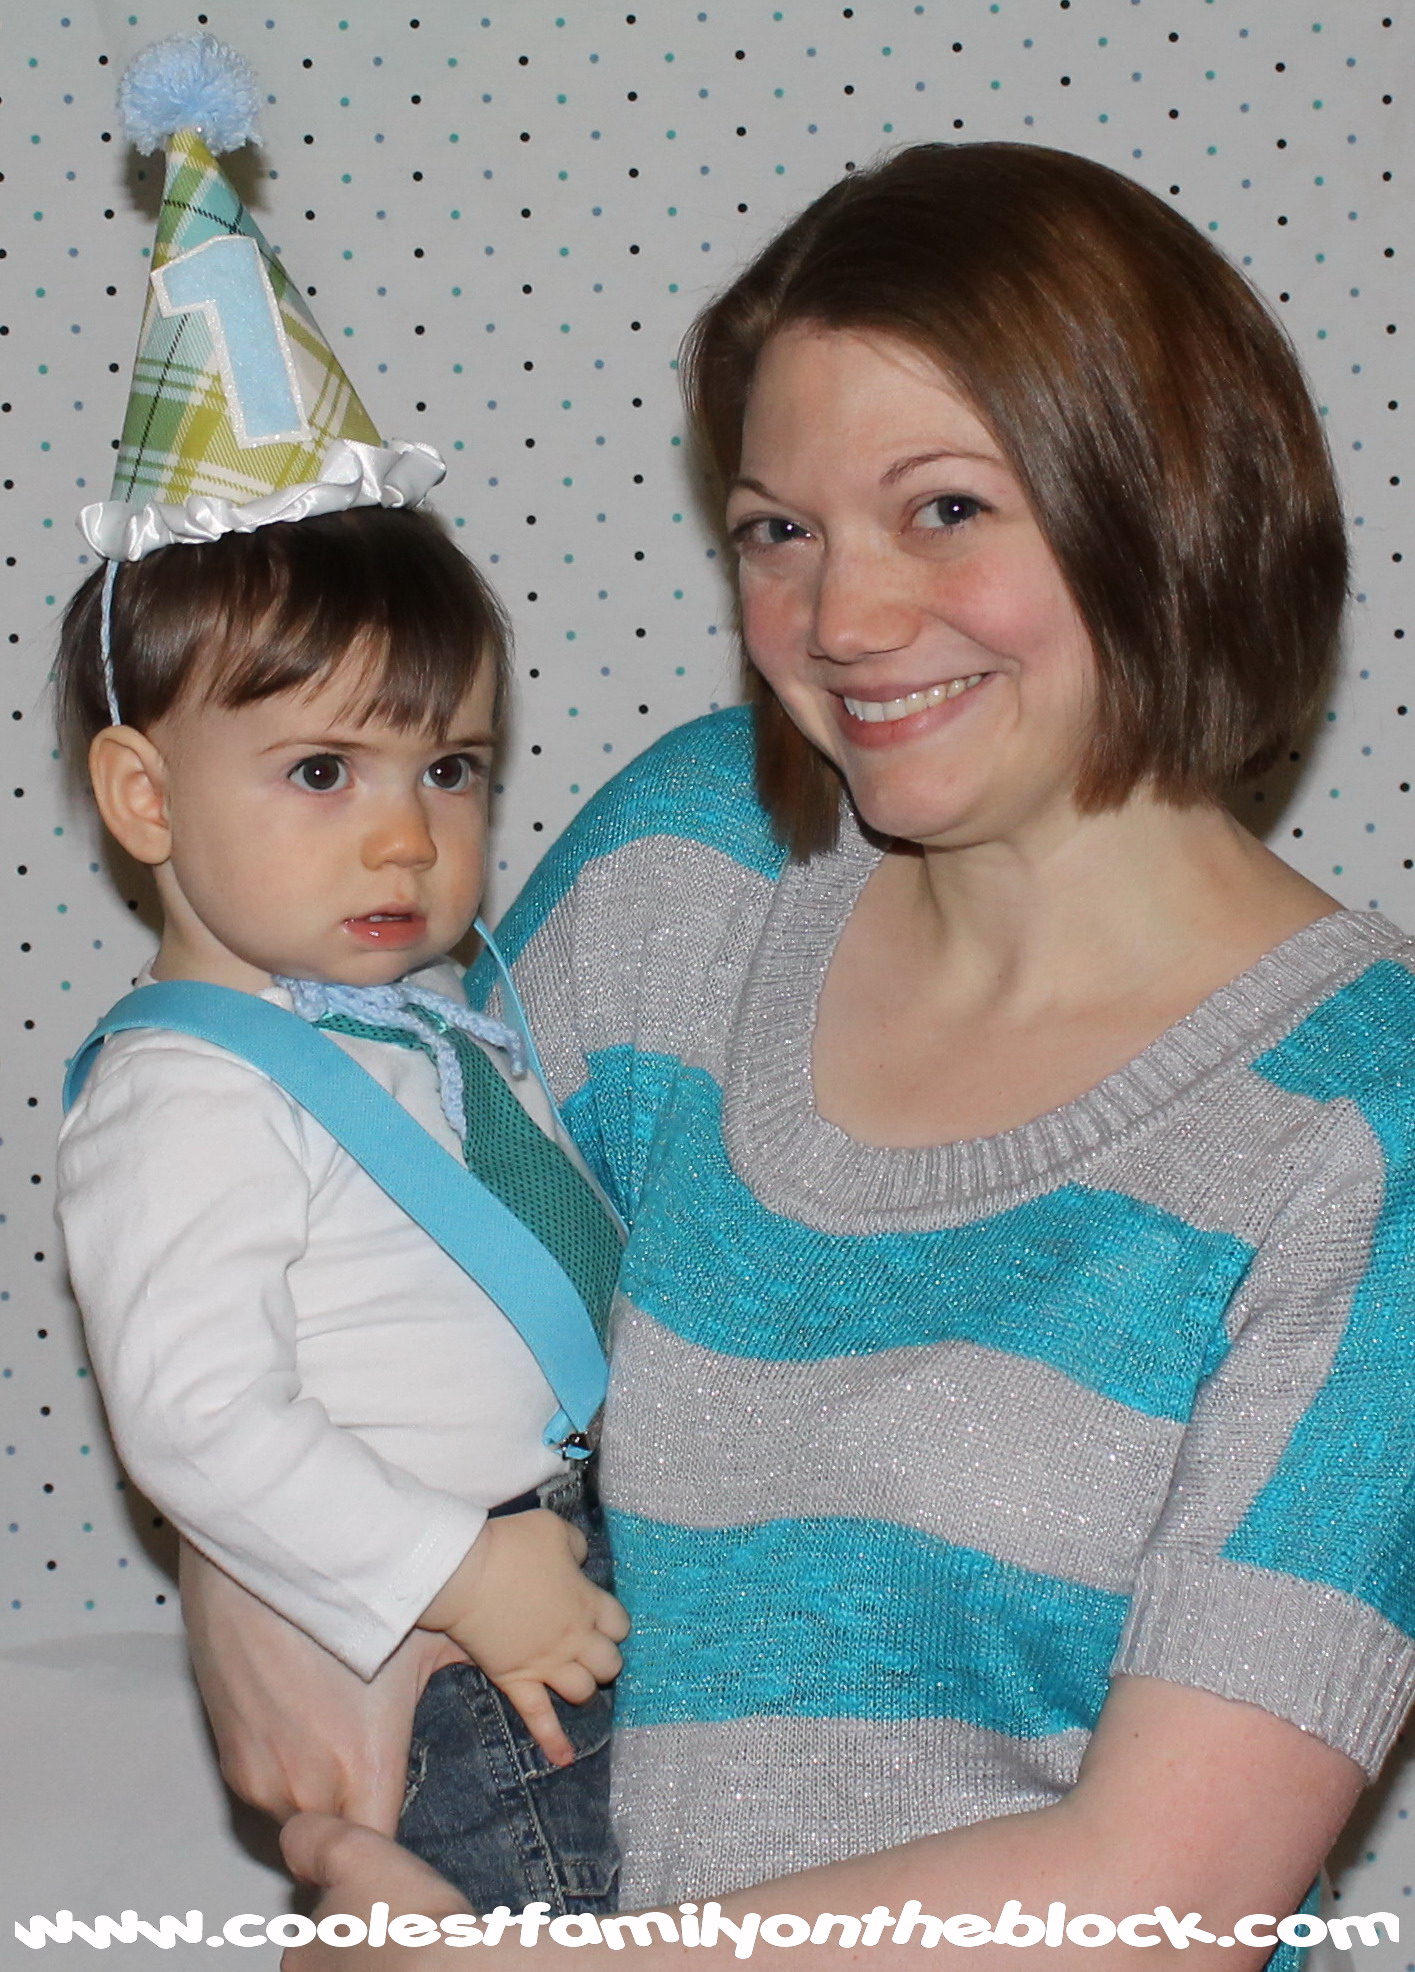
Jonny and Mommy!
What was your little one’s first birthday theme? How did they react to the smash cake? Let me know in the comments!
VENDOR LIST
This post does not contain affiliate links.
*Father’s Day Freebie Printables from Amanda’s Parties to Go
*Little Man Tie Onesie from Tabitha942 on Etsy
*Birthday Boy Diaper Cover, Necktie, and Cone Hat Set from JHP Couture on Etsy (Pattern #141) A note about the hat: It actually came with a small white fuzzy pom pom on it but we made a bigger one from yarn to replace it.
*Mustache Party Vinyl Stickers from QuiltedPolkaDot on Etsy
*Mucho Mustaches Burlap Border Banner from QuiltedPolkaDot on Etsy
*Mustache Stripey Straws from QuiltedPolkaDot on Etsy
*Little Man Straw Toppers (Top hat, Mustache, Necktie) from Confetti Grove on Etsy
(She made a separate price/listing for me to purchase the straw toppers alone.)
*”Stache Bash” Mustache Party Dinner Plates from Oriental Trading Company
*Polka Dot Paper Straws from Amazon
*Self Adhesive Mustaches Set – Fake Costume Accessory from Amazon
*Accoutrements Cool Mustache Ice Cube Tray Novelty from Amazon
*Solid Color Elastic Infant’s Suspenders by Suspender Factory from Amazon
*Blue Polka Dot #1 Birthday Candle: Purchased from a local party store, but you can find it on Amazon here and a similar one here

Ladybug Picnic: 2nd Birthday / Pink and Green Polka Dots and Cupcakes Party: 1st Birthday / Ham and Man Party: 30th Birthday / Celebrating 30 years in 30 days! All of my birthdays from 1980-2009 / Birthday Girl…2 years old


Birthday Traditions: Personalized Birthday CD / Birthday Traditions: Knife and Cake Server / Birthday Traditions: Professional Photos / Birthday Traditions: Photo Puzzle / Happy 2nd Birthday, Adaline!

DIY No Sew Party Hat Tutorial / Tissue Number Birthday Sign (Mini-Tutorial)


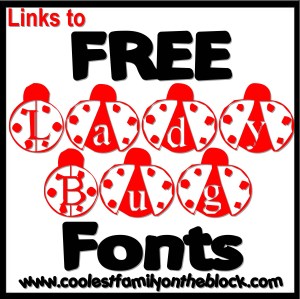
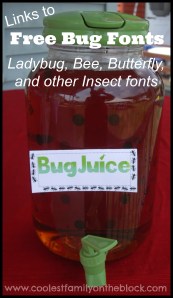
Free Ladybug Fonts (Links)
I thought I’d share with you some of the free Ladybug fonts and bug fonts that I found online while planning Adaline’s Ladybug Picnic. I did not create or design any of these fonts, this is just a list of links to the sources where I found and downloaded the fonts for free.
In addition to free ladybug fonts I’ve included free bee fonts, free butterfly fonts, and other free bug/insect fonts.
)
I found all of the Free Ladybug Fonts below at EverythingLadybug
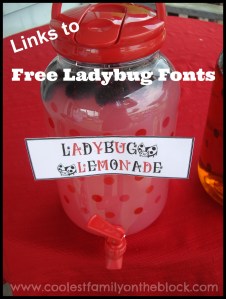
Font: KR Ladybug True Type Font

I used the above font for a Ladybug Lemonade label. The other ladybug on there are the Ladybug Dings True Type Font (Captial N).
)
Font: 101! Lady Bug Luv True Type Font

Font: Ladybird True Type Font

Font: Ladybug Dings True Type Font

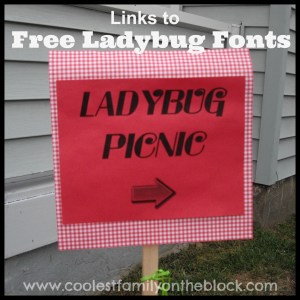
Font: Ladybug Italic True Type Font

I used the above font for my Ladybug Picnic sign
Font: LMS Ladybug True Type Font

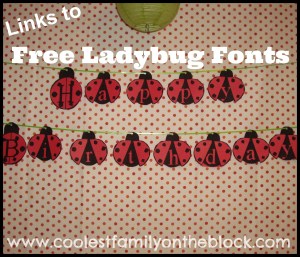
Font: LMS London Bugs True Type Font by London’s Letters @ FontSpace.com

I used the above font to create a Happy Birthday banner.
Font: LMS Ladybird True Type Font

Font: Flag waving ladybug True Type Font

FREE BUG FONTS
In addition to the fonts below more free bug and insect fonts can be found at FontSpace.com/category/insects
Font: Picnic Parade by London’s Letters @ FontSpace.com
![]()
Font: KR Ants by Kat’s Fun Fonts @ FontSpace.com
![]()
Font: Ant Pile @ Font-Zone.com

Font: a bug’s life by Filmhimmel @ dafont.com
a bug’s life by 
I used the above font to create a Bug Juice label for the iced tea. The surrounding ants were made using the Ant Pile font (left to right: Lower case a, lower case d, upper case C).
Font: KR Cute As A Bug Font by Kat’s Fun Fonts @ 1001fonts.com
![]()
Font: LMS Yes Young Grasshopper by London’s Letters @ FontSpace.com
![]()
Font: Along Came a Spider by Kat’s Fun Fonts @ FontSpace.com
![]()
FREE BEE FONTS
In addition to the fonts below more free bee fonts can be found at FontSpace.com Search: Bees
Font: Hunny’s Bees by Barb Johnson@ FontSpace.com
![]()
Font: Bees by Lady Sara @ FontSpace.com
![]()
Font: Sssssum by Dingfontbats @ FontSpace.com
![]()
Font: JLR Bizzy Beez by GorillaBlu @ FontSpace.com
![]()
Font: KR Buzzzz by Kat’s Fun Fonts @ FontSpace.com

Font: LMS Spelling Bee by London’s Letters @ FontSpace.com

Font: D3 Honeycombism by Digitaldreamdesign @ FontSpace.com

FREE BUTTERFLY FONTS
In addition to the fonts below more free butterfly fonts can be found at FontSpace.com/category/butterflies
Font: KR Butterfly by Kat’s Fun Fonts @ FontSpace.com
![]()
Font: KR Butterfly Two by Kat’s Fun Fonts @ FontSpace.com
![]()
Font: KR Butterfly Three by Kat’s Fun Fonts @ FontSpace.com

Font: Butterfly Letters by Darrian Lynx @ FontSpace.com
![]()
Font: Butterfly Chromosome by Astigmatic One Eye Typographic Institute @ FontSpace.com
![]()
Font: LMS Beautiful Butterfly by London’s Letters @ FontSpace.com
![]()
Related Posts
Ladybug Picnic: 2nd Birthday / Free Dr. Seuss Fonts


DIY No Sew Party Hat Tutorial
For Adaline’s 2nd Birthday Party I decided to try to make her party hat myself. Even though I knew she wouldn’t keep it on her head and I probably wouldn’t even get any decent pictures of it…every little kid should have a party hat for their birthday!
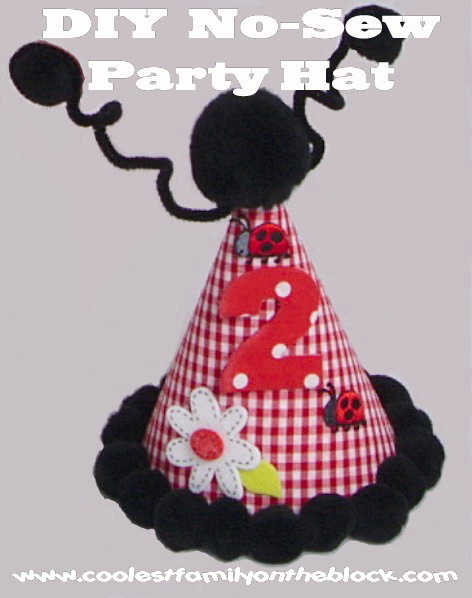
I do not sew and I’m not really crafty, so I came up with a fairly easy no sew party hat. The whole idea is to get any cardboard party hat and cover it with either scrapbook paper or fabric to match your party theme and then add embellishments.

Supplies you will need:
(2) Cardboard party hats
Fabric or Scrapbook Paper
Hot Glue Gun (and Glue Stick if you’re using paper)
Scissors
Chalk
Ribbon
Embellishments (Pom Poms, feathers, etc.)
Step 1: Trace and Cut
-Carefully unravel one of the cardboard party hats to use as a template
-Set it on the fabric/paper and trace around it. Be sure to trace a little wider to give you extra room for mistakes. Use chalk for tracing on fabric and pencil for paper…something that can be easily wiped off or erased.
-Cut it out


Step 2: Glue Fabric to Hat
-Adhere the fabric/paper to the party hat that’s still put together.
I used a glue stick for paper and a hot glue gun for fabric.
When using the hot glue gun I pressed things down using a spoon so that I didn’t burn my fingers.
Note: Because I used a designed party hat you could actually see the design through the fabric :(, so I covered the hat with scrapbook paper first and then with fabric.


-Because my “seam” was crooked and I was messy with the hot glue I decided to cover the seam with a ribbon to hide my mess 🙂

Step 3: Glue Trim to Hat
-Using a hot glue gun add your embellishments to the top and rim of the hat. I used pom poms.

Although I don’t show it in the photos, I also hot glued two ribbons to the inside of the hat to tie the hat on in place of a chin strap.

You can stop here or add more personalization to your hat. If you are making hats for all of your guests I would probably just add the chin strap and leave the guests’ hats like this but further personalize the birthday kid’s hat.
Adding a number to your hat (Optional)
Supplies you will need:
-Number template or stencil
-Felt and fabric
-Marker
-Scissors
-Hot Glue Gun

Step 1:
-Trace and cut your felt number.
I didn’t have a stencil, so rather than drawing freehand I chose a size and font and printed out a #2. I then cut out the #2 and placed it on top of the felt. I traced the number with a Sharpie marker because I intended to cover it with fabric. If you’re just going to use the felt be sure to trace out a little further so that you can cut off the marker lines so they aren’t visible.

-Trace and cut your fabric number.
I wanted to add the polka dot fabric to my hat so I chose to cover the felt number in fabric. To do this I traced the cut out felt #2 onto the fabric using chalk and then cut out the fabric.

Next I taped one end of the fabric to the felt (I used sticky back felt so the back was covered with paper. I then hot glued the fabric around the edges of felt trimming away any excess fabric that I didn’t need.

Step 2:
-Hot glue the number to the hat.
To make sure that I put the number right where I wanted it I first used scotch tape to tape it to the hat and then I used chalk to make a few guide marks. Then I hot glued the number onto the hat.


Making a Ladybug Party Hat (Optional)
Supplies you will need:
-(2) Fuzzy sticks (pipe cleaners)
-(2) Pom Poms
-Hot Glue Gun
-Additional ladybug embellishments.
For Antennae I hot glued tiny pom poms to the end of fuzzy sticks. I then twisted the pipe cleaners around the top of the hat under the large pom pon.

I found iron-on ladybugs that had sticky backs at Hobby Lobby. I just used the sticky backs and added them to the hat (you can hot glue to be sure they stick).

I wanted to add a white daisy with red center to match the flowers on Adaline’s dress.

I found these Felties at a craft store (Pat Catan’s).

They had white daisies with yellow centers and yellow daisies with white centers. They had sticky backs and the centers were just stuck to the flowers so I pulled the white center off and colored it red with a Sharpie marker and then put in on the white flower instead of the yellow center. I peeled off the back and stuck it to the hat (you can hot glue to be sure they stick).
The finished product…


Related Posts
BIRTHDAY TUTORIALS
*Ribbon Topiary Video Tutorial (Centerpiece)

*Tissue Number Birthday Sign (Mini-Tutorial)
BIRTHDAY PARTIES
*Ladybug Picnic: 2nd Birthday
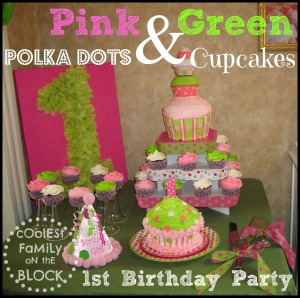
*Pink and Green Polka Dots and Cupcakes Party: 1st Birthday

*Ham and Man Party: 30th Birthday

*Celebrating 30 years in 30 days! All of my birthdays from 1980-2009

BIRTHDAY TRADITIONS

*Birthday Traditions: Personalized Birthday CD
*Birthday Traditions: Knife and Cake Server
*Birthday Traditions: Professional Photos
*Birthday Girl…2 years old: Photos of Adaline at her birthday party
*Happy 2nd Birthday, Adaline!
+Birthday posts will be published all throughout September 2011 including tutorials, party decor ideas, and birthday traditions!

Coolest Family on the Block is committed to helping you find creative ways to have fun and make memories with your family all year-long. Don’t miss an idea, tip, or trick…subscribe and have updates sent directly to your email!


%20%23birthday%20%23traditions%20)

)