Blog Archives

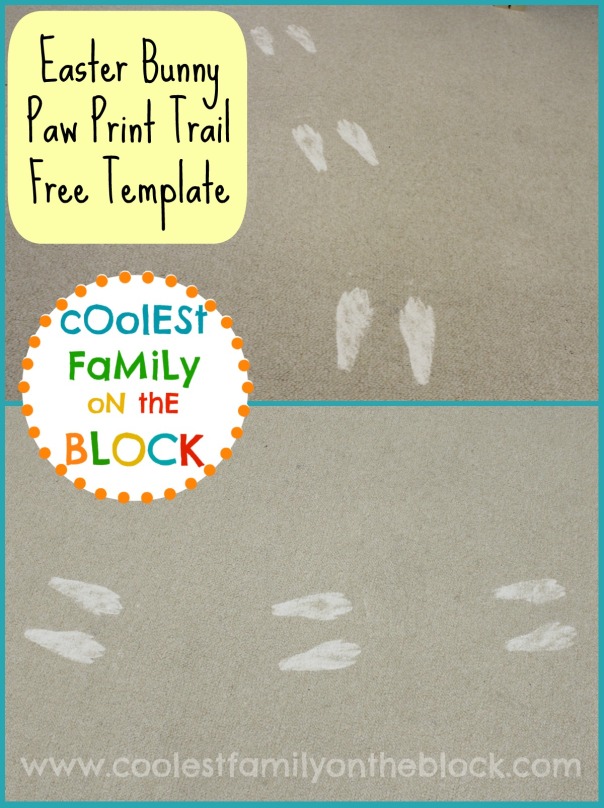
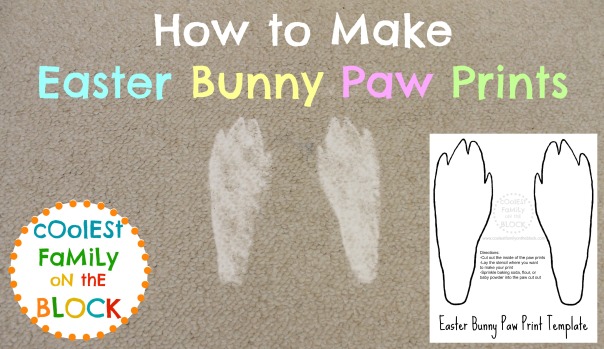
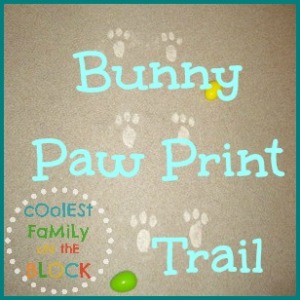
How to Make Easter Bunny Paw Prints with Free Printable Template
Learn how to make DIY Easter Bunny paw prints with a free printable template and video tutorial!


To create your own Easter Bunny paw print trail you’ll need to print out a template online or create your own template. Pick a white powder (baking soda, flour, baby powder) to sprinkle inside the bunny paw print stencil.
Watch the quick video tutorial below to learn how to make DIY Easter Bunny tracks using my free printable Easter Bunny paw print template!
(Watch video here)
For the past few years I’ve used other free printable templates to create a more whimsical looking Easter bunny footprint. This year I decided to create my own template and I wanted to try to make it look like a more realistic rabbit paw print. I’ve never seen rabbit tracks in real life (I’m not very outdoorsy) but after looking over some photos online, I think I came up with a decent version.

I also created a version that includes front paws. In my opinion, the Easter bunny only hops on his back paws because he’s carrying the Easter baskets, but the front paws are included if you want them. There are three files below. You can print out the version with just the back paws, the version with front and back paws, or the last file which contains both of the other templates in one file. Click on the photos or links to download, or right click and “save link as” to save the pdf to your computer.
Easter Bunny Paw Print Templates are for personal non-commercial use only.
Attention pinners and bloggers:
When sharing please link to the original post, do not link directly to the pdf file url. Thank you.
Free Printable Easter Bunny Paw Print Template: Both versions in one document


Free Printable Easter Bunny Paw Print Template: Back Paws Only
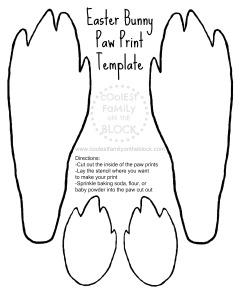

Free Printable Easter Bunny Paw Print Template: Front and Back Paws
Print the template out on card stock as regular paper tends to be too flimsy to use as a stencil. Although I didn’t show this trick in the video, you can use a damp cloth to wet around the edges of the stencil to catch the powder that might otherwise creep outside of the template. Or you could use the damp cloth to dip in the powder first and then dab around the inside of the stencil rather than sprinkling. I’ve never needed to use either of these methods and always just sprinkled the powder the way I demonstrated in the video.


![]()
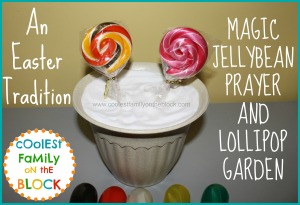
*EASTER TRADITION: MAGIC JELLYBEAN PRAYER and LOLLIPOP GARDEN
*EASTER TRADITION: EASTER BUNNY TRACKS 2011
*EASTER TRADITION: EASTER BUNNY TRACKS 2012

*EASTER TRADITION: EASTER BUNNY TRACKS 2013

*50+ EASTER EGG DECORATING IDEAS
*NATURAL DYES FOR COLORING EASTER EGGS

*APRIL HOLIDAY TRADITIONS


This post is linked to…
SITS Sharefest / Mama Kat’s Writer’s Workshop / Mama Kat’s Vlog Prompts
DIY No Sew Party Hat Tutorial
For Adaline’s 2nd Birthday Party I decided to try to make her party hat myself. Even though I knew she wouldn’t keep it on her head and I probably wouldn’t even get any decent pictures of it…every little kid should have a party hat for their birthday!
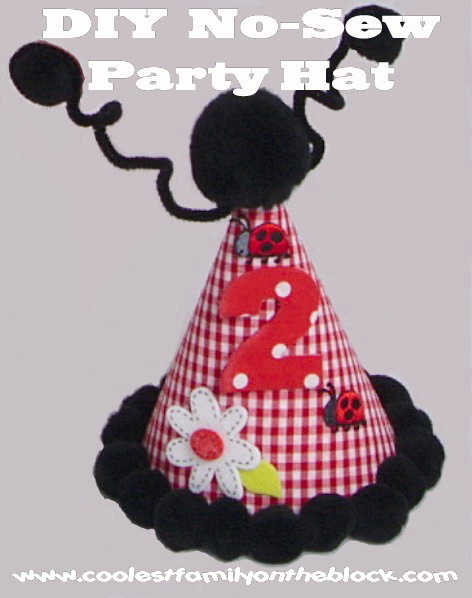
I do not sew and I’m not really crafty, so I came up with a fairly easy no sew party hat. The whole idea is to get any cardboard party hat and cover it with either scrapbook paper or fabric to match your party theme and then add embellishments.

Supplies you will need:
(2) Cardboard party hats
Fabric or Scrapbook Paper
Hot Glue Gun (and Glue Stick if you’re using paper)
Scissors
Chalk
Ribbon
Embellishments (Pom Poms, feathers, etc.)
Step 1: Trace and Cut
-Carefully unravel one of the cardboard party hats to use as a template
-Set it on the fabric/paper and trace around it. Be sure to trace a little wider to give you extra room for mistakes. Use chalk for tracing on fabric and pencil for paper…something that can be easily wiped off or erased.
-Cut it out


Step 2: Glue Fabric to Hat
-Adhere the fabric/paper to the party hat that’s still put together.
I used a glue stick for paper and a hot glue gun for fabric.
When using the hot glue gun I pressed things down using a spoon so that I didn’t burn my fingers.
Note: Because I used a designed party hat you could actually see the design through the fabric :(, so I covered the hat with scrapbook paper first and then with fabric.


-Because my “seam” was crooked and I was messy with the hot glue I decided to cover the seam with a ribbon to hide my mess 🙂

Step 3: Glue Trim to Hat
-Using a hot glue gun add your embellishments to the top and rim of the hat. I used pom poms.

Although I don’t show it in the photos, I also hot glued two ribbons to the inside of the hat to tie the hat on in place of a chin strap.

You can stop here or add more personalization to your hat. If you are making hats for all of your guests I would probably just add the chin strap and leave the guests’ hats like this but further personalize the birthday kid’s hat.
Adding a number to your hat (Optional)
Supplies you will need:
-Number template or stencil
-Felt and fabric
-Marker
-Scissors
-Hot Glue Gun

Step 1:
-Trace and cut your felt number.
I didn’t have a stencil, so rather than drawing freehand I chose a size and font and printed out a #2. I then cut out the #2 and placed it on top of the felt. I traced the number with a Sharpie marker because I intended to cover it with fabric. If you’re just going to use the felt be sure to trace out a little further so that you can cut off the marker lines so they aren’t visible.

-Trace and cut your fabric number.
I wanted to add the polka dot fabric to my hat so I chose to cover the felt number in fabric. To do this I traced the cut out felt #2 onto the fabric using chalk and then cut out the fabric.

Next I taped one end of the fabric to the felt (I used sticky back felt so the back was covered with paper. I then hot glued the fabric around the edges of felt trimming away any excess fabric that I didn’t need.

Step 2:
-Hot glue the number to the hat.
To make sure that I put the number right where I wanted it I first used scotch tape to tape it to the hat and then I used chalk to make a few guide marks. Then I hot glued the number onto the hat.


Making a Ladybug Party Hat (Optional)
Supplies you will need:
-(2) Fuzzy sticks (pipe cleaners)
-(2) Pom Poms
-Hot Glue Gun
-Additional ladybug embellishments.
For Antennae I hot glued tiny pom poms to the end of fuzzy sticks. I then twisted the pipe cleaners around the top of the hat under the large pom pon.

I found iron-on ladybugs that had sticky backs at Hobby Lobby. I just used the sticky backs and added them to the hat (you can hot glue to be sure they stick).

I wanted to add a white daisy with red center to match the flowers on Adaline’s dress.

I found these Felties at a craft store (Pat Catan’s).

They had white daisies with yellow centers and yellow daisies with white centers. They had sticky backs and the centers were just stuck to the flowers so I pulled the white center off and colored it red with a Sharpie marker and then put in on the white flower instead of the yellow center. I peeled off the back and stuck it to the hat (you can hot glue to be sure they stick).
The finished product…


Related Posts
BIRTHDAY TUTORIALS
*Ribbon Topiary Video Tutorial (Centerpiece)

*Tissue Number Birthday Sign (Mini-Tutorial)

BIRTHDAY PARTIES
*Ladybug Picnic: 2nd Birthday

*Pink and Green Polka Dots and Cupcakes Party: 1st Birthday

*Ham and Man Party: 30th Birthday

*Celebrating 30 years in 30 days! All of my birthdays from 1980-2009

BIRTHDAY TRADITIONS

*Birthday Traditions: Personalized Birthday CD
*Birthday Traditions: Knife and Cake Server
*Birthday Traditions: Professional Photos
*Birthday Girl…2 years old: Photos of Adaline at her birthday party
*Happy 2nd Birthday, Adaline!
+Birthday posts will be published all throughout September 2011 including tutorials, party decor ideas, and birthday traditions!

Coolest Family on the Block is committed to helping you find creative ways to have fun and make memories with your family all year-long. Don’t miss an idea, tip, or trick…subscribe and have updates sent directly to your email!


")
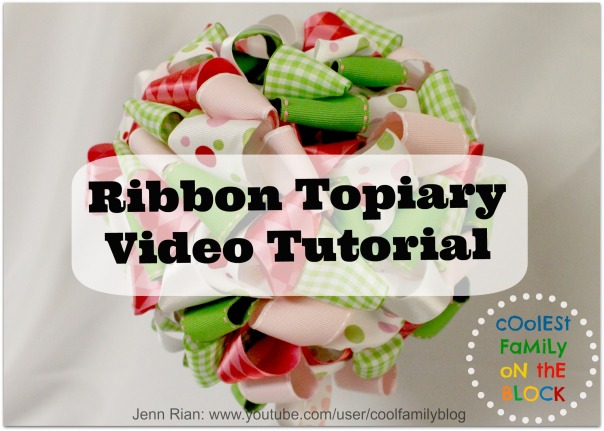
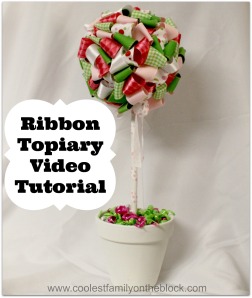
Ribbon Topiary Video Tutorial (Centerpiece)


)
For Adaline’s 1st Birthday Party in 2010 I made ribbon topiaries as the centerpieces. I originally saw the idea and tutorial on the Polka Dot Birthday blog. I bought all of the supplies for the topiaries at The Hobby Lobby and got the ribbon at 50% off.
While making the ribbon balls for the topiaries last year I made a video “tutorial” (if you can call it that) of how to put the ribbon ball together. The video is really unprofessional since I did it by myself on a whim while Adaline was napping. I didn’t even have any free hands to make the ribbon ball while holding the camera!

Supplies to make a ribbon ball:
-Styrofoam ball
-Ribbon
-Straight pins
Supplies to make a topiary:
-Completed ribbon ball or floral ball
-Wooden dowel rod
-Flower pot, bucket, basket, box, etc.
-Floral foam (to hold the dowel in place)
-Curling ribbon, Easter grass, moss, shredded paper, etc. (to cover the floral foam)
Video Tutorial for Ribbon Ball:
(Click to view on YouTube)
(Note: I edited the video on 10/31/13. To watch the excruciatingly long unedited version Click to view on YouTube.)
Instructions:
1. Cut the ribbon into 4.5″ strips

2. Loop the ribbons


Secure with two straight pins. I angled the pins.


3. Cover the entire ball with strips of ribbon. Fill in as necessary.
4. Put the floral foam into your pot or topiary base of your choice
(If the pot needs painted…paint it first!)
5. Paint or cover your dowel rod
6. Poke the dowel rod into the floral foam and also into the completed ribbon ball
7. Cover the floral foam with curling ribbon, etc.
)
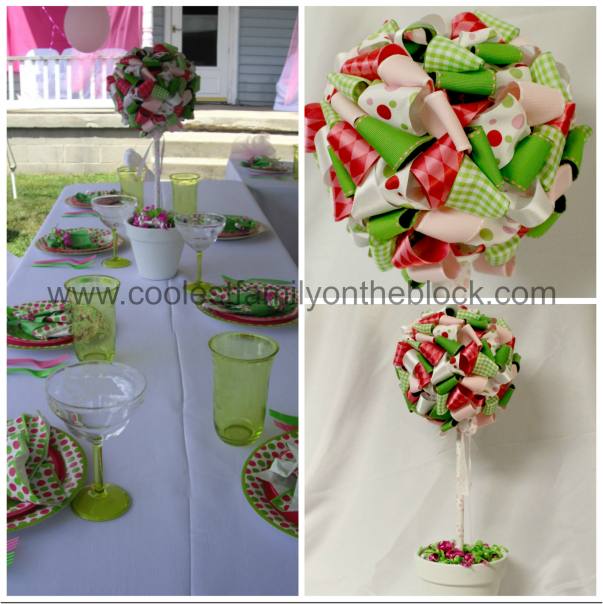
Below are the details for what I used to make the 3 ribbon balls.

Details:
-I used 6 inch foam balls
-I used 16 yards ribbon per ball cut into 4.5” strips (48 yards total for 3)
-I used 20-22 strips per color and used 6 different colors,
120-132 strips per ball (360-396 total for 3)
-I used 2 straight pins per ribbon, a total of 250 pins
-The topiaries cost me $20 a piece to make
-The ribbon balls took about 2 hours each to complete
)
This post is linked to:
Tip Junkie /Design Dazzle / Patches of Pink / The Frugal Girls: Chic and Crafty
DIY No Sew Party Hat Tutorial / Tissue Number Birthday Sign (Mini-Tutorial)

Ladybug Picnic: 2nd Birthday / Pink and Green Polka Dots and Cupcakes Party: 1st Birthday / Ham and Man Party: 30th Birthday / Celebrating 30 years in 30 days! All of my birthdays from 1980-2009 / Birthday Girl…2 years old
Birthday Traditions: Personalized Birthday CD / Birthday Traditions: Knife and Cake Server / Birthday Traditions: Professional Photos / Birthday Traditions: Photo Puzzle / Happy 2nd Birthday, Adaline!


%20%23birthday%20%23traditions%20)