Blog Archives

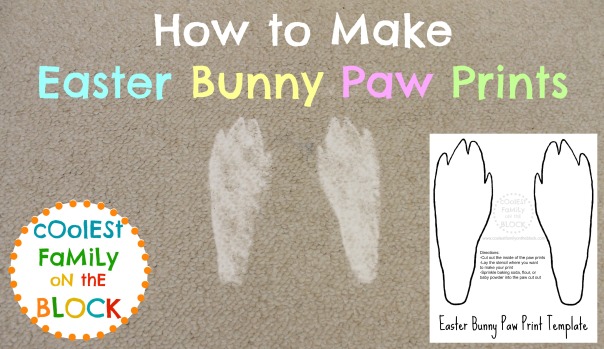
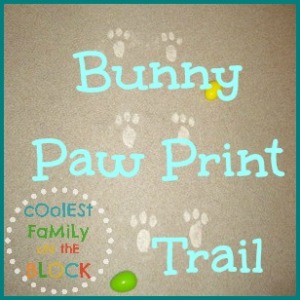
How to Make Easter Bunny Paw Prints with Free Printable Template
Learn how to make DIY Easter Bunny paw prints with a free printable template and video tutorial!


To create your own Easter Bunny paw print trail you’ll need to print out a template online or create your own template. Pick a white powder (baking soda, flour, baby powder) to sprinkle inside the bunny paw print stencil.
Watch the quick video tutorial below to learn how to make DIY Easter Bunny tracks using my free printable Easter Bunny paw print template!
(Watch video here)
For the past few years I’ve used other free printable templates to create a more whimsical looking Easter bunny footprint. This year I decided to create my own template and I wanted to try to make it look like a more realistic rabbit paw print. I’ve never seen rabbit tracks in real life (I’m not very outdoorsy) but after looking over some photos online, I think I came up with a decent version.
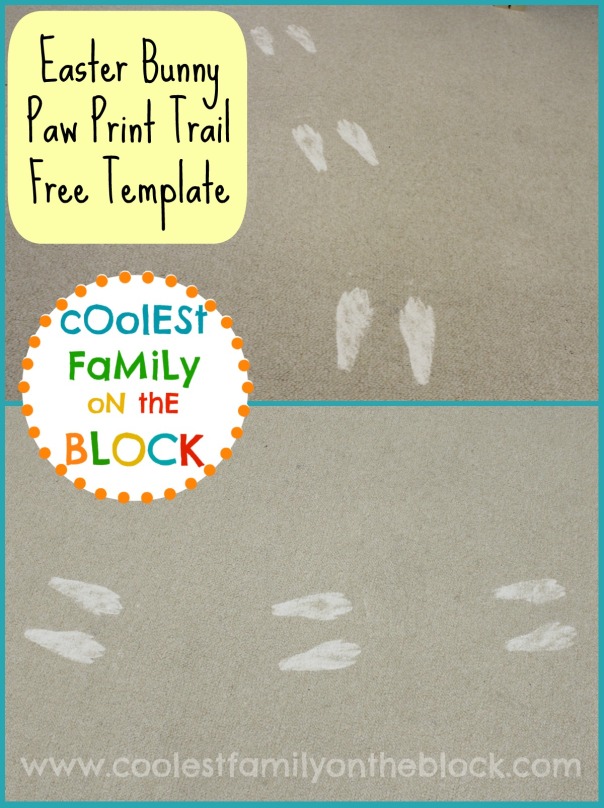

I also created a version that includes front paws. In my opinion, the Easter bunny only hops on his back paws because he’s carrying the Easter baskets, but the front paws are included if you want them. There are three files below. You can print out the version with just the back paws, the version with front and back paws, or the last file which contains both of the other templates in one file. Click on the photos or links to download, or right click and “save link as” to save the pdf to your computer.
Easter Bunny Paw Print Templates are for personal non-commercial use only.
Attention pinners and bloggers:
When sharing please link to the original post, do not link directly to the pdf file url. Thank you.
Free Printable Easter Bunny Paw Print Template: Both versions in one document


Free Printable Easter Bunny Paw Print Template: Back Paws Only
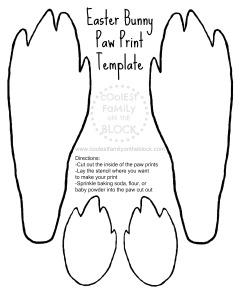

Free Printable Easter Bunny Paw Print Template: Front and Back Paws
Print the template out on card stock as regular paper tends to be too flimsy to use as a stencil. Although I didn’t show this trick in the video, you can use a damp cloth to wet around the edges of the stencil to catch the powder that might otherwise creep outside of the template. Or you could use the damp cloth to dip in the powder first and then dab around the inside of the stencil rather than sprinkling. I’ve never needed to use either of these methods and always just sprinkled the powder the way I demonstrated in the video.


![]()
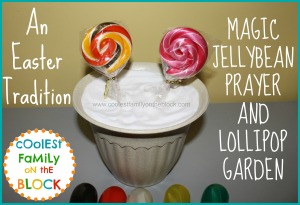
*EASTER TRADITION: MAGIC JELLYBEAN PRAYER and LOLLIPOP GARDEN
*EASTER TRADITION: EASTER BUNNY TRACKS 2011
*EASTER TRADITION: EASTER BUNNY TRACKS 2012

*EASTER TRADITION: EASTER BUNNY TRACKS 2013

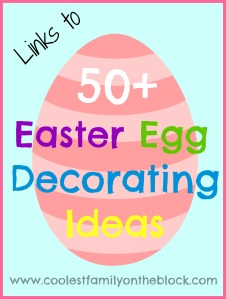
*50+ EASTER EGG DECORATING IDEAS
*NATURAL DYES FOR COLORING EASTER EGGS

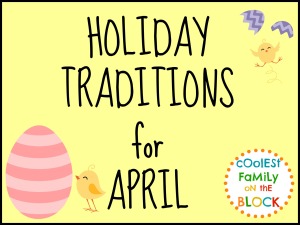
*APRIL HOLIDAY TRADITIONS


This post is linked to…
SITS Sharefest / Mama Kat’s Writer’s Workshop / Mama Kat’s Vlog Prompts

No Bippity-Boo!
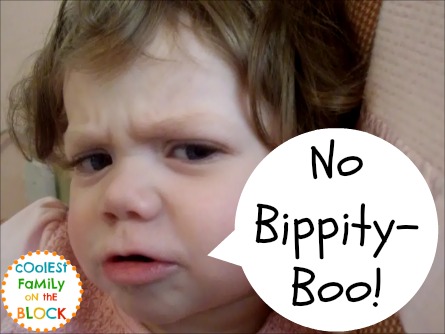
When I saw the Mama Kat vlog prompt “Things kids do that I don’t understand…” a million things ran through my head, because, seriously, kids do the weirdest things. But this one moment with my daughter when she was just shy of 21 months old stuck out in my mind so much, I had to share it with you…
Adaline wants me to sing Bippity-Boo…or does she? (Video here)
This post is linked to…


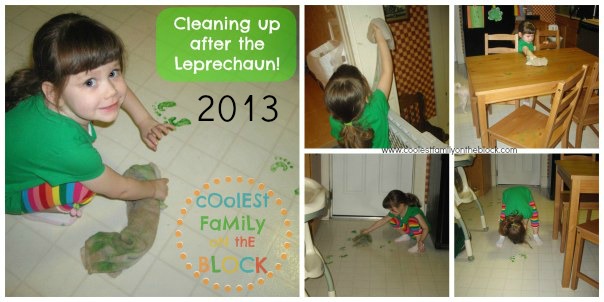
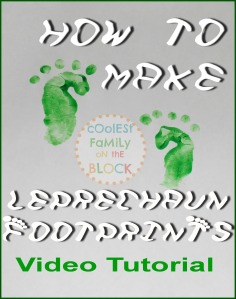
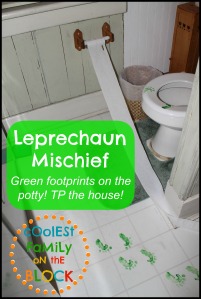
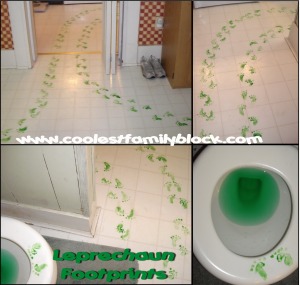
How to Make Leprechaun Footprints: Video Tutorial

How to make leprechaun footprints: video tutorial
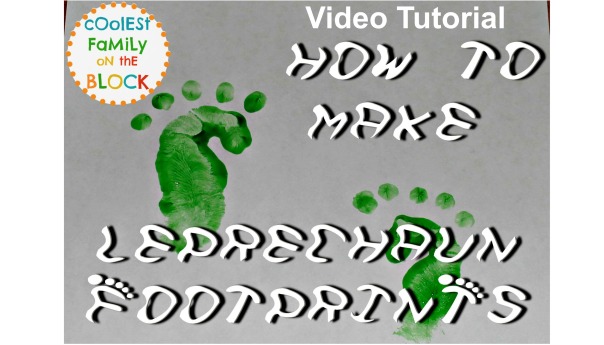

Here’s a quick video tutorial showing you how to make the leprechaun footprints that you see in these posts:
*Leprechaun trickery is afoot! and
*St. Patrick’s Day Tradition: Leprechaun Footprints.
I also included some footage of Adaline discovering the mess the leprechauns made in 2013.
(Watch video here)
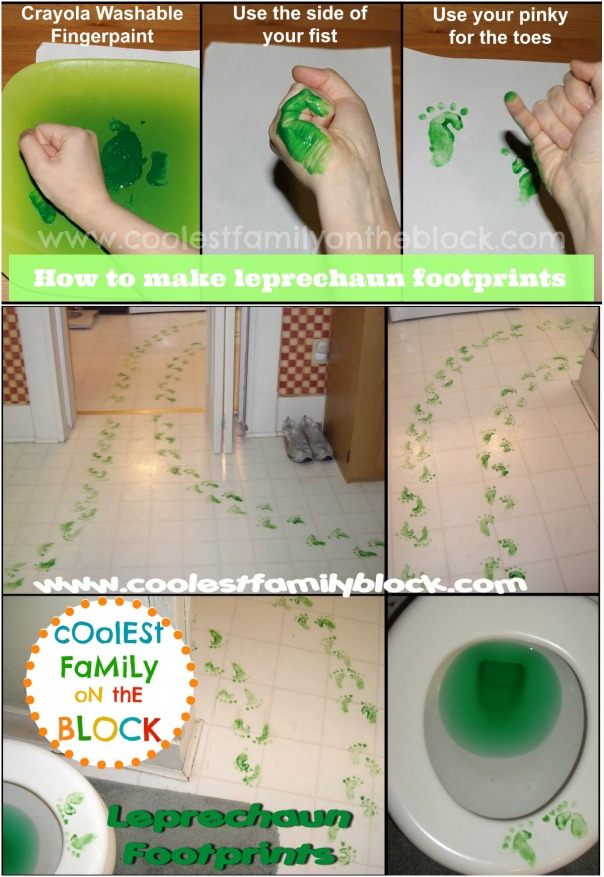
To make leprechaun footprints:
-Put green Crayola washable fingerpaint on a plate, piece of paper, or thick paper towel
-Make a fist and dip your hand into the paint (dab off the excess)
-Press your fist onto your surface of choice
-Use your pinky finger to make toes
-Repeat using other hand

More details:
-It takes me about 45 minutes to make the mess.
-I do ALL of the prints for one foot/fist at the same time so that I don’t have to keep switching hands.
-It takes about 5 minutes to clean up the footprints.
-The footprints wipe off easily with water. You may want to use some soap if the paint was on long enough to dry.
-My daughter enjoyed cleaning up the footprints.


Has a leprechaun ever visited your house? What kind of things have your kids thrown in the toilet? Let me know in the comments!
*March Holiday Traditions

*Leprechaun Visit 2013: Little green footprints!
*Leprechaun Visit 2011: Magic green milk, footprints, and more!
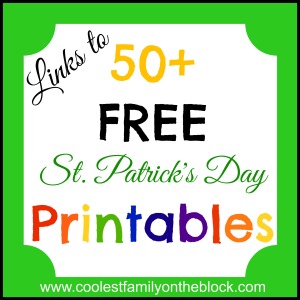
*50+ FREE St. Patrick’s Day Printables (Links)
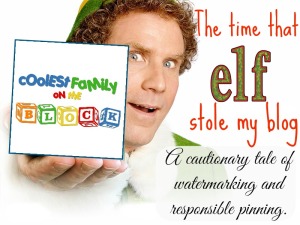
*The time that Buddy the Elf stole a picture from my blog!
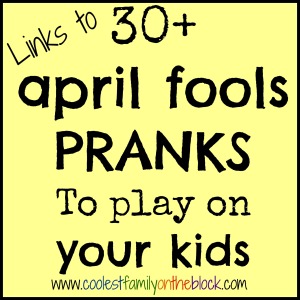
*30+ April Fools Pranks You Can Play on Your Kids!
Great for Leprechaun tricks and Elf mischief as well!
*Easter Bunny Tracks: Paw Print Trail!
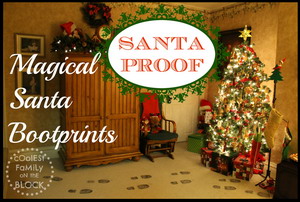
*Santa’s Magic Sooty Bootprints!
This post is linked to…
SITS craft link up / SITS Sharefest /Kids Activities Blog: St. Patrick’s Day

Making a Preschool Classroom Valentine

For Adaline’s Montessori Preschool class each child has to make one big Valentine to bring to school that their classmates will sign rather than bring in individual Valentine’s for each student. Honestly, I think that’s a GREAT idea and I’m so glad that she won’t be coming home with 25 different lollipops with eyes glued to them! 😉
I filmed the creative process of making “The Adaline Flower” with a 4.5 year old. Watch and be amazed!
(Video here)
(I post a lot of funny vlogs on my YouTube channel. Subscribe to follow along!)
To make the classroom Valentine for preschool we
-Cut a heart out of red poster board
-Colored craft sticks and glued them around a photo to make petals and a stem for a flower
-Made leaves out of fuzzy sticks
-Made a sun out of construction paper
-Made a pom pom lady bug
-Used glitter glue around the edges to make it shimmery
It was tough to reign in Adaline’s creativity. She LOVES art and wanted to draw all over the Valentine but she needed to keep it blank so that her classmates could sign it. I have a feeling her friends are going to end up with quite a few drawings of hers on their Valentines.

The pom pom ladybug was Adaline’s favorite part.
We used a black Sharpie marker to make dots on a pink pom pom, used a smaller black pom pom for the head, added googly eyes and adhered it all using craft glue. Adaline drew wings and legs around it onto the poster board.

Does your child’s school allow individual
Valentine’s or one classroom Valentine?
Let me know in the comments!
Product Review: Blackout EZ Window Cover

We’ve been very blessed that we have little difficulty getting the children to sleep at night. We usually begin our bedtime routine (potty, pajamas, brush teeth, books, songs, sleep) around 6:30-6:45PM and both kids are asleep by 7:30PM most nights (often sooner!).
Then there’s summer with all of the sun and all of the brightness going on until nearly 9PM. So last year I began my search for the best window covers to block out the most light so that we could continue with our glorious early bedtime routine. Well, I found them…
Blackout EZ Window Cover!

Seriously, if you need to block the light coming from a window these are the window covers that you need!
In the following video I sing the praises of the Blackout EZ Window Cover and I demonstrate just how dark the room is with them installed. (Watch on YouTube)

We love these window covers so much that we have them in ALL of the bedrooms…including ours! My husband works shifts, so when he works midnight and sleeps the next day, the Blackout EZ Window Cover keeps the room really dark so that he can get the best quality sleep.
Not only does the Blackout EZ Window Cover block out all of the light, but it has many other great features that make it the best window cover on the market.
*It’s super easy to install!
All you need is a tape measure and scissors! (And you don’t really NEED the tape measure either)
No drill, screwdrivers, or other tools needed!
*It installs with your current window treatments already in place!
You don’t need to remove your curtains or blinds to install!
*It’s well made!
Don’t ask me how, the fabric is practically indestructible but cuts easily with scissors.
*They look great!
No ugly blanket or funky shades, from the outside all you see is white, which is in compliance with most Home Owner’s Associations. (Scroll down for photo)
*Easy to clean.
In over a year I haven’t needed to clean them, but if I do you just wipe them down…unlike blinds and shades which are horrible to clean.
*Total privacy
The cover blocks out everything, unlike blinds, no one can see anything inside.
If you can’t watch the video right now here a few photos showing the level of light in the room before and after the covers were installed. To see what the room looks like with the lights off you’re going to have to watch the video because, well, the photos would just be black, so…
WINDOW 1

WINDOW 2

WINDOW 3

View of WINDOW 1 from the outside

Disclaimer: I found, purchased, and reviewed this product on my own. I did NOT receive anything for free, I was NOT compensated in anyway for this review, and I was NOT asked to do this review. All opinions expressed are my own. I just really think this is a great product!
If you have the time, watch this great demonstration video from the inventor of Blackout EZ Window Covers himself. He shows you how to install the covers on 3 different windows.
(Watch on YouTube)
Blackout EZ Window Covers are available for purchase on their website: www.blackoutez.com.
You can follow Blackout EZ Window Covers on Twitter (@BlackoutEZ), Pinterest, and like them on Facebook as well.
If you found this review helpful please leave a comment here or on YouTube, “thumbs up” the video on YouTube, and feel free to like, pin, tweet, and otherwise share this review! Thanks!
Do your kids have trouble sleeping while it’s still bright out?
How do you keep your rooms dark for sleep? Let me know in the comments!
Fun in a dark room!
Shadow Puppets (Links)

How to Fold a Towel (Video Tutorial)
I’ve added this to Mama’s Kat Vlogging Workshop as prompt
3.) Make a video about anything…from a table in your kitchen.
Coincidentally I had just made this video last week for No Housework Day. Our kitchen light doesn’t work so I moved the table into the playroom to record the video. Enjoy 😉
I dislike all housework but if I had to pick a favorite chore it would be the laundry. I don’t mind laundry so much. Maybe it’s because there’s really no gross factor like there is with dishes. Maybe it’s because there are only four of us and the laundry is pretty manageable. I don’t know.
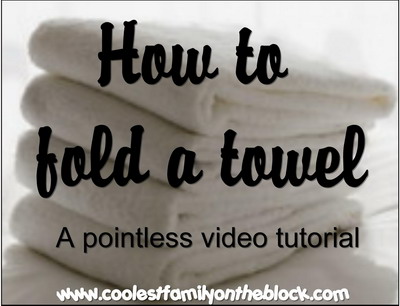
I’m actually really good at folding laundry, so I thought I’d show you how to fold a towel. I know, it’s exciting isn’t it? I like to rock a nice, fancy tri-fold with my towels. Also, I fold in the shadows because I am mysterious (or because I have crappy lighting in my house). Watch and learn, my friends, watch and learn.
(Email and feed readers click here to see the video.)
…and. You. Are. Welcome.
I just changed your life.
Spread the word.
If you’re looking for another pointless tutorial you can check out this ooooold one of mine: How to build a jigsaw puzzle.

How do fold your towels? Tri-fold, square, origami elephant? Tell me in the comments!
Don’t forget to link up your housework (or anti-housework) related posts to the No Housework Party April 05-12, 2013!
You can “like” the No Housework Party on Facebook, party with @coolfamilyblog and @nondomestic on Twitter at #nohousework, and follow our Non-Domestic and No Housework boards on Pinterest!

Related Posts:
*My Least Favorite Chore
*10 Things I’d Rather do Than the Dishes

Check out my other vlog for Mama Kat’s prompt #2
Something interesting you received in the mail

Coolest Family on the Block is committed to helping you find creative ways to have fun and make memories with your family all year-long. Don’t miss an idea, tip, or trick…subscribe and have updates sent directly to your email!


%20%23birthday%20%23traditions%20)

)